Frost Effect Photo Manipulation in Photoshop

Frost Effect Photo Manipulation in Photoshop

The ability to realistically portray extreme weather effects in photo manipulation can transform an ordinary image into a captivating visual narrative. Mastering elements like frost not only enhances creative projects but also refines advanced compositing skills, allowing artists to convey chilling narratives or fantastical scenes with precision.

This tutorial offers a comprehensive guide to producing a striking frost effect on a human arm within Photoshop. Viewers will learn to integrate various adjustment layers, textures, and blending techniques to achieve a convincing icy appearance, complete with cracked skin and flying debris, elevating their photo manipulation expertise.

Watch the Video

Video by Nemanja Sekulic. Any links or downloads mentioned by the creator are available only on YouTube

The Art of Icy Realism: Simulating Frost and Fractures

Achieving a convincing frost effect in digital art extends beyond simple color overlays; it demands a nuanced understanding of how ice forms, reflects light, and interacts with surfaces. Real frost is characterized by its intricate crystalline structures and subtle variations in opacity, which designers must replicate to avoid a flat or artificial appearance.

Beyond surface texture, simulating the impact of extreme cold on a subject, such as cracked skin, introduces another layer of realism. This involves considering not just the visual break but also the underlying tissue and how light might interact with fractured edges. Techniques often leverage Photoshop's powerful tools for:

  • Texture application
  • Layer blending
  • Selective adjustments

These elements work in concert to build a believable visual narrative, transforming the perception of temperature and physical stress within the image.

Practical Tips for Creating Frost Effects

  • Utilize a Hue/Saturation adjustment layer with the Colorize option to establish the foundational blue tint of the frost.
  • Apply Filter Gallery effects like Chrome and Glass to generate intricate frost textures and visual distortions, enhancing surface detail.
  • Employ Blend If sliders with the Alt/Option key to achieve seamless transitions, preventing the effect from appearing too harsh on highlights or shadows.
  • Incorporate Layer Masks and specialized brushes to selectively apply or remove frost, mimicking natural patterns of ice formation and melting.
  • Create a cracked skin effect by duplicating and manipulating parts of the subject, adding depth and visual impact through painted details and red tones for exposed tissue.

More Tutorials about Frost and Weather Effects

Explore more techniques to incorporate realistic weather phenomena and textured effects into your Photoshop projects.
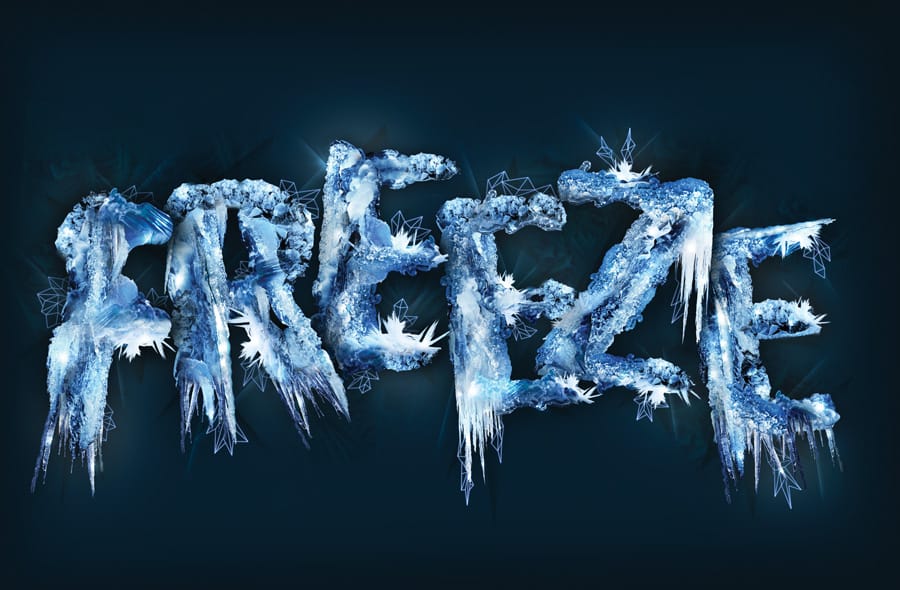

Create a frosty text effect in Photoshop
Are you looking to add some winter magic to your Photoshop designs? This tutorial from Advanced Photoshop Magazine has got you covered. You can learn how to create a stunning frosty text effect, complete with icicles and a wintry vibe. The step-by-step instructions make it easy to follow along and achieve the desired result. You'll start by setting up your document and choosing the font you want to use. Then, you'll add the icy texture and elements to bring the text to life. The tutorial even s
Snow painting and ice texturing on a text in Photoshop
In this Photoshop tutorial by James Qu from PSD Vault, you'll learn how to create a realistic frozen text effect. The tutorial focuses on using ice textures, custom brushes, adjustment layers, and filters to achieve the desired icy appearance. James guides you through the process step-by-step, demonstrating techniques to enhance realism and texture, making the text appear as if it's frozen solid. This tutorial is ideal for those looking to add a chilling and visually captivating effect to thei
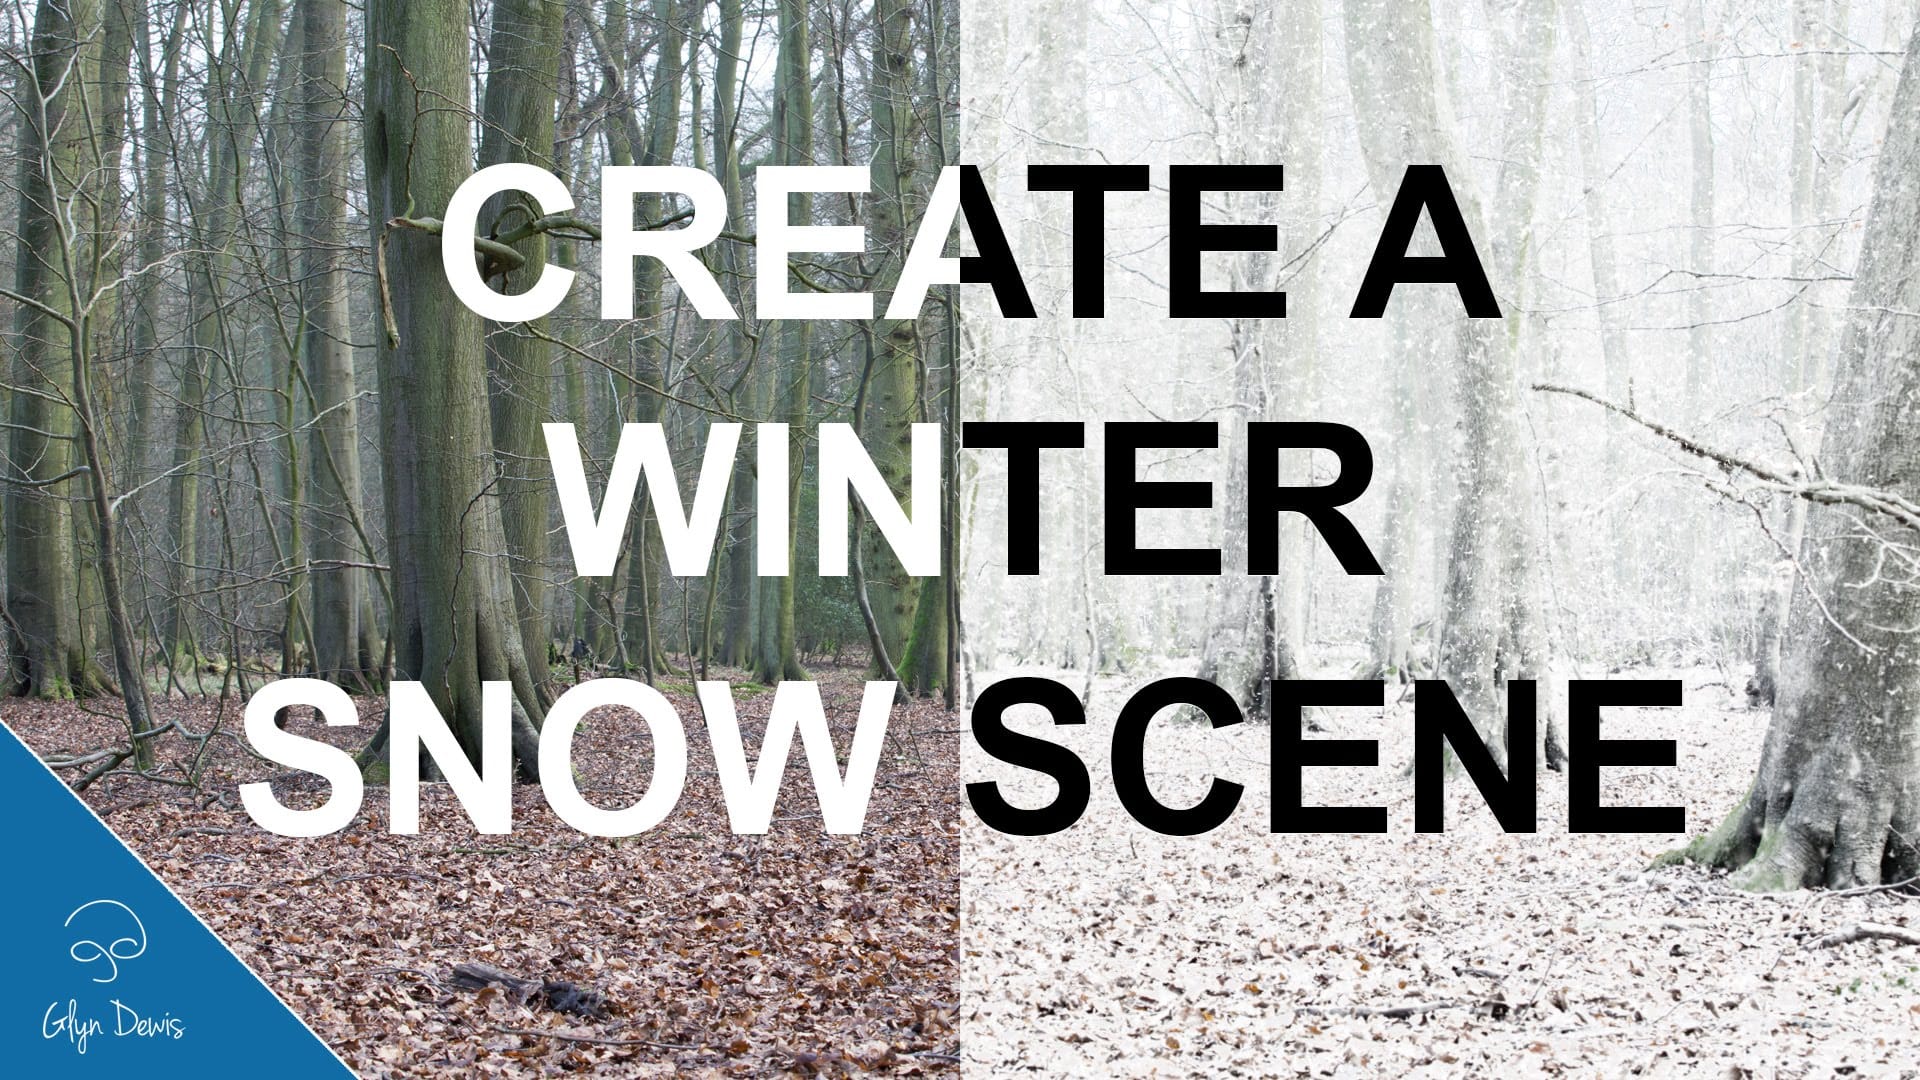
Create a Winter Snow Scene with Photoshop
In this tutorial, you'll learn how to transform a regular photograph into a captivating winter snow scene using Adobe Photoshop. The step-by-step approach is straightforward and easy to follow, making it accessible for both beginners and experienced Photoshop users. The tutorial covers the key techniques required to add realistic-looking snow to your image. You'll discover how to create a snowy atmosphere, including snowflakes and icy effects, to bring your scene to life. The instructor's clear
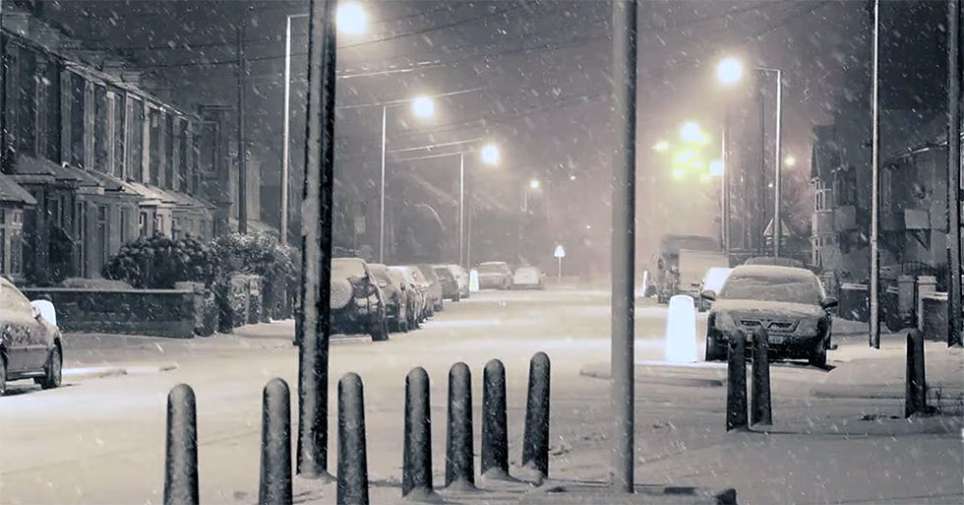
11 weather changing photo effects Photoshop tutorials
Too often, we hear photographers lament about how they missed the Golden Hour, or how they wish they could have photographed a place in the middle of a blizzard. Sure, nothing beats being in the actual moment with the perfect weather condition. However, that doesn’t mean that you can’t use some imagination, creativity, and nifty Photoshop skills to create the exact environment that you want. If you don’t happen to have the superpowers to change the weather, the next best thing you can do is to

Get tutorials & freebies delivered to you.

Subscribe to the Photoshop Roadmap newsletter, a weekly roundup of new tutorials, insights and quality downloads, trusted by 6500+ readers.

You might also like

How to Remove Skin Blemishes and Fix Skin Tones in Camera Raw

Two recent additions to Camera Raw make skin retouching significantly faster: an automatic blemish removal tool with separate controls for moles and freckles, and a vectorscope-based skin tone indicator for correcting off-color skin. Both features work non-destructively inside a smart object workflow, so no pixel data is...

Portrait Retouching in Photoshop: Smooth Skin While Keeping Natural Texture

Smooth skin and natural texture are not opposites — achieving both at once is the mark of a professional retouch. This workflow covers blemish removal, flyaway hair cleanup, dark under-eye correction, and eye brightening, all while keeping the skin looking like skin. Watch the Video Practical Tips These key points...

How to Use Camera Raw's Blemish Removal Tool in Photoshop

Camera Raw 18.5 introduced an automatic blemish removal tool that does something previous solutions rarely managed: it removes skin imperfections while preserving the underlying skin texture. It also distinguishes between temporary marks and permanent ones like moles, giving you separate controls for each. Watch the Video Practical Tips These...

Portrait Slice Effect in Photoshop Using Step and Repeat

The portrait slice effect splits a single image into offset vertical bars, creating the illusion of a displaced or fragmented face. The entire technique relies on layer masks and a lesser-known Photoshop shortcut called step and repeat — no filters, no AI, no destructive edits required. Watch the Video Practical...

How to Remove Blemishes in Photoshop: Camera Raw vs. Generative AI

Photoshop now offers two distinct approaches to removing skin blemishes automatically. The Camera Raw Filter includes a dedicated Blemishes option that analyzes and cleans skin with a single checkbox, while Generative AI fills a face selection with clean, texture-consistent results using a simple text prompt. Each method has clear...

Common Photoshop Compositing Mistakes and How to Fix Them

Most compositing errors come down to a handful of repeatable problems: mismatched lighting direction, inconsistent white points, misaligned perspective, and atmosphere applied in the wrong layer order. Catching these issues early — ideally before you shoot — saves significant time in post. Watch the Video Practical Tips These corrections apply to nearly...

You’ve successfully subscribed to Photoshop Roadmap
Welcome back! You’ve successfully signed in.
Great! You’ve successfully signed up.
Success! Your email is updated.
Your link has expired
Success! Check your email for magic link to sign-in.