Dramatic text on fire effect

Dramatic text on fire effect

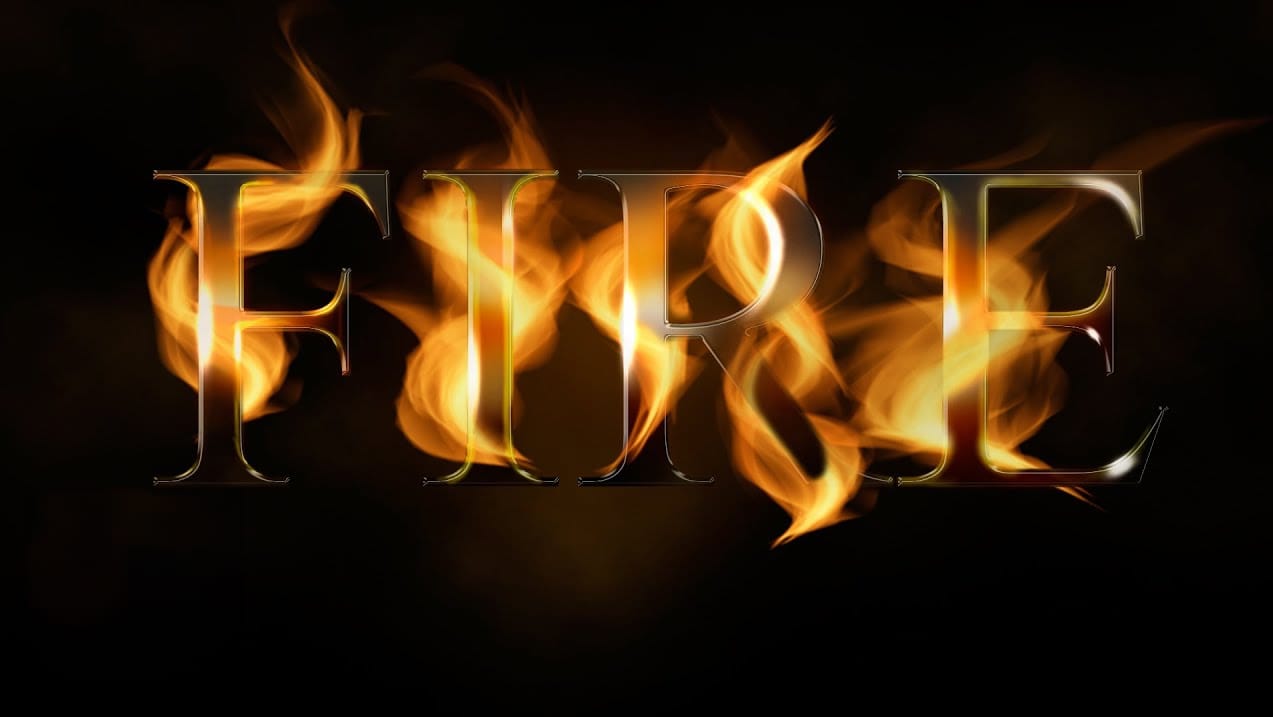
A text on fire effect offers a visually striking way to elevate your graphic design projects, adding an element of intense drama and powerful energy. This technique can transform ordinary text into a captivating visual statement, making your designs truly memorable.

This tutorial provides a comprehensive guide to crafting a realistic fire text effect in Photoshop. You will learn to manipulate layers, apply specialized filters, and blend elements seamlessly, all to achieve an authentic fiery appearance that stands out.

Watch the Full Tutorial

Video by Envato Tuts+. Any links or downloads mentioned by the creator are available only on YouTube

Mastering Layer Blending and Fire Effects

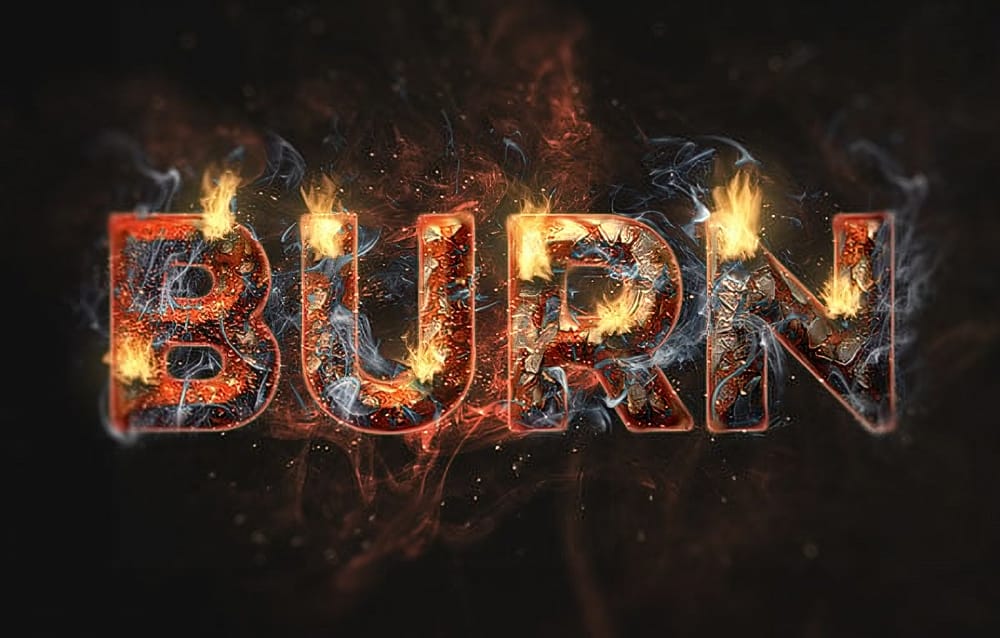
Crafting a convincing fire text effect in Photoshop relies heavily on the strategic use of layer blending modes and precise filter applications. Building depth and realism involves starting with foundational elements like background textures and then progressively adding complexity with various overlays and shadows.

The interaction between different layers, combined with careful opacity adjustments, is crucial for simulating the glow and intensity of flames. Understanding how to integrate these elements ensures the text not only appears ablaze but also seamlessly blends into its environment, creating a cohesive and striking visual impact.

  • Applying grunge textures for background depth
  • Utilizing layer blending modes for luminosity and overlay effects
  • Creating dynamic gradient overlays for color transitions
  • Employing channel manipulation to extract flame details
  • Integrating Gaussian Blur and other filters for realistic flame rendering

Practical Tips for Creating Fire Text

  • Begin with a textured background and add a grunge texture to establish immediate depth.
  • Use overlay and softlight blending modes to integrate textures and gradients subtly into your composition.
  • Manipulate individual color channels to isolate and refine specific elements like flames for cleaner integration.
  • Employ Gaussian Blur with varying pixel radii to soften shadows and create a realistic glow around the text and flames.
  • Experiment with opacity and color adjustments on multiple layers to build the intense, vibrant look of real fire.

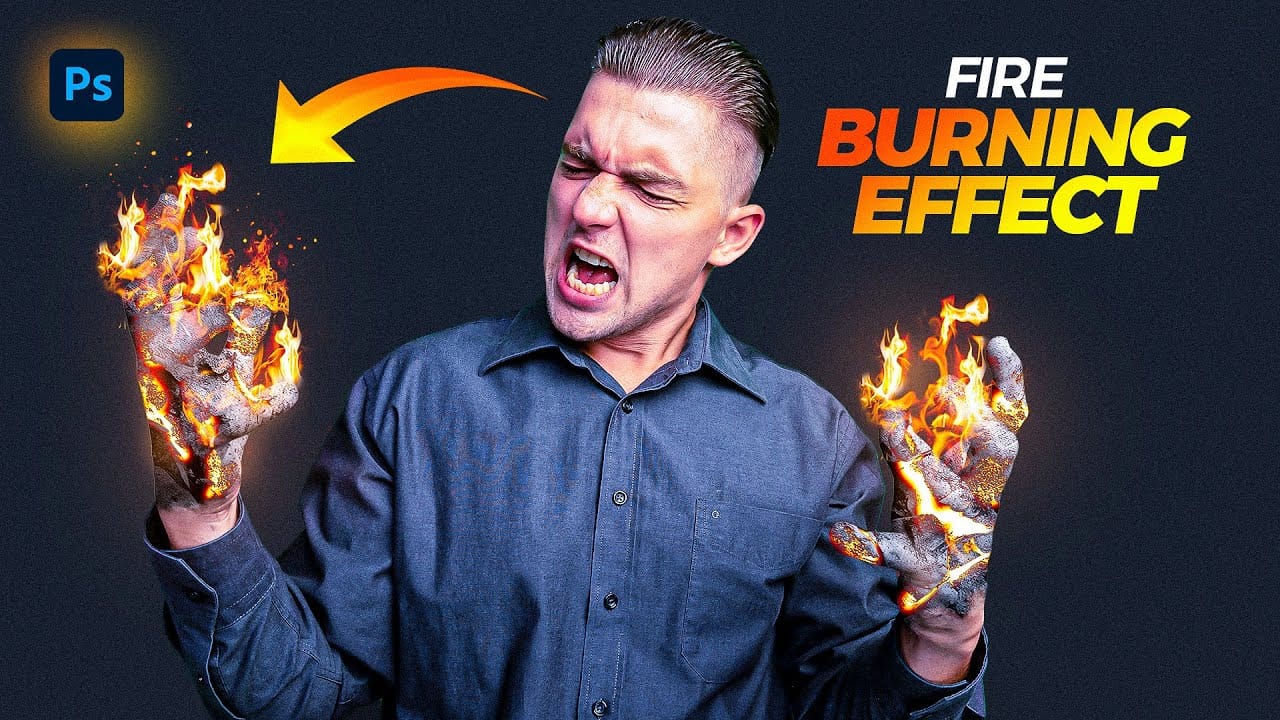
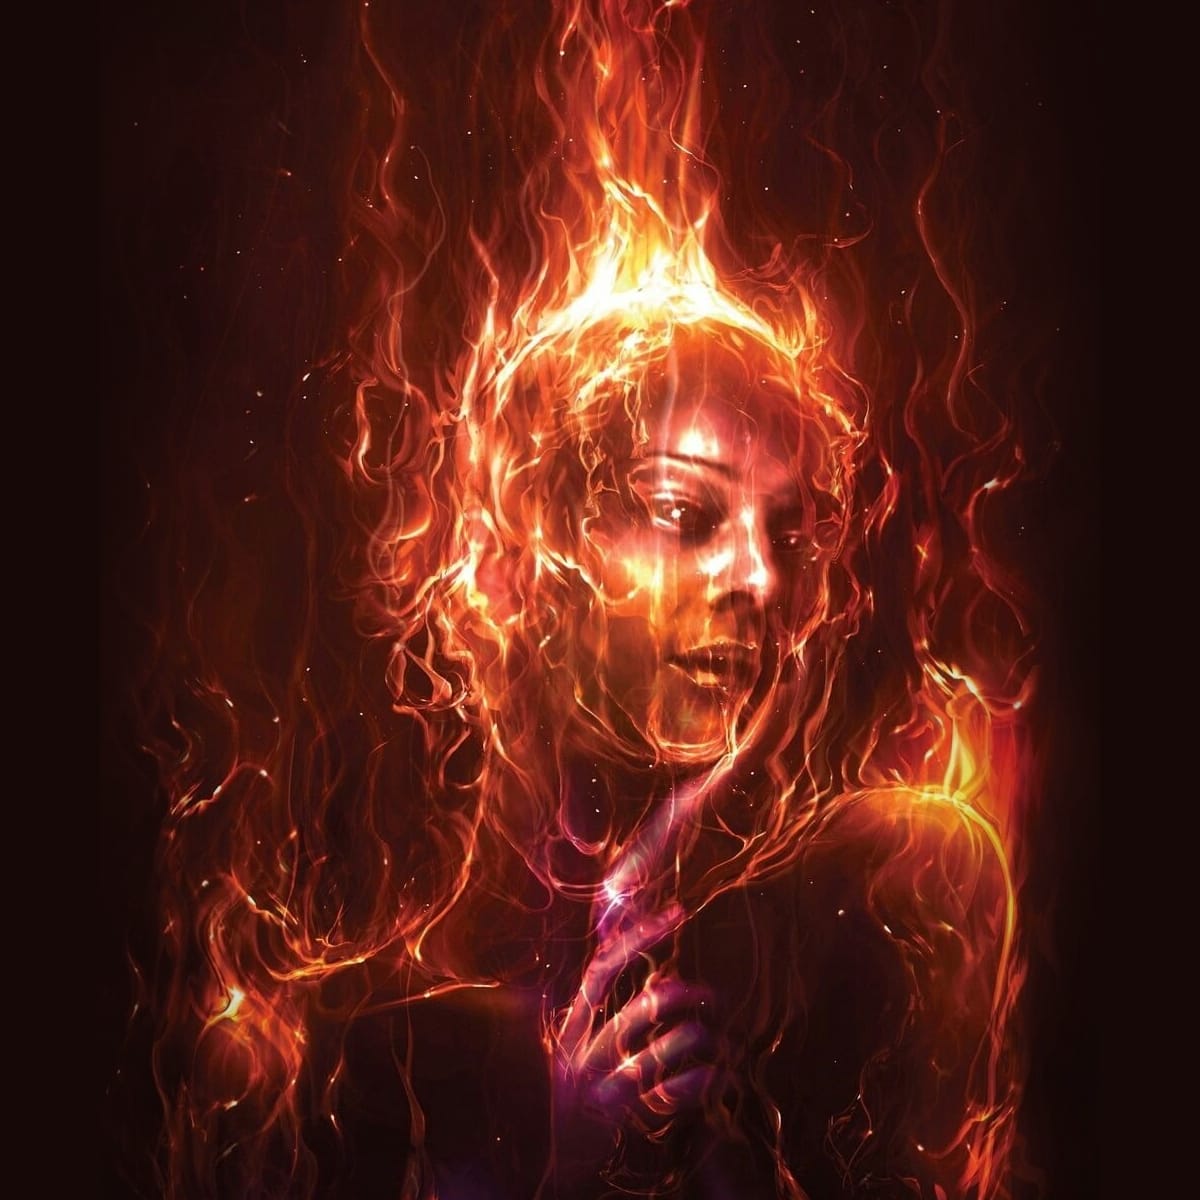
More Tutorials about Fire Effects in Photoshop

Discover additional techniques to create stunning fire effects and apply burning elements to your designs.

Realistic Fire Text Effect In Photoshop
In this Photoshop text effects tutorial by Jesus Ramirez from PTC Photoshop Training Channel you are going to learn how to create a vibrant flaming text effect. This effect will be created from scratch, without using any photographs. The flames will be created with The Flame Generator filter, a feature found in Photoshop CC. This filter is designed to render realistic flames on user-defined paths. Watch tutorial
Create a Fire Burning Effect in Photoshop
Creating a fire-burning effect in Photoshop is a fascinating process that can enhance your images dramatically. Start by setting up a new file with dimensions of 1920 x 1080 pixels. Import the necessary images, which can be found in the provided link. Duplicate your main layer using Ctrl + J, then convert it to black and white through the Image Adjustments menu by selecting Hue/Saturation and removing all saturation. Next, apply an inverted mask to the black and white layer. Use the brush tool
Apply a Burning Flames Effect to a Photo in Photoshop
In this tutorial by Neville D’Souza, you will learn how to take a simple model shot and transform it into a striking, dynamic piece of art that resembles a spitting, crackling beacon of fire. The tutorial guides you through the process using some of the most common tools available in Photoshop, showcasing techniques that allow you to create intricate and impressive effects. The author meticulously explains each step, ensuring you can follow along without the need for third-party plug-ins. By th
Create a Fire and Rust Text Effect in Photoshop
If you're looking to add some fiery flair to your text, this tutorial has you covered. The team at TutsPlus walks you through the process of creating a striking fire and rust text effect in Photoshop. First, you'll learn how to style and texture a rusty, weathered look for your text. This involves using various tools and techniques to achieve an authentic, gritty appearance. Once the base is set, the tutorial then demonstrates how to incorporate flames using the Flame filter, as well as other s

Get tutorials & freebies delivered to you.

Subscribe to the Photoshop Roadmap newsletter, a weekly roundup of new tutorials, insights and quality downloads, trusted by 6500+ readers.

You might also like

Professional Portrait Retouching with the B.S.T. Method in Photoshop

Professional portrait retouching requires artistic choices that automated tools can't make. The B.S.T. method breaks retouching into three focused steps: removing blemishes with precision, smoothing skin while preserving natural texture, and equalizing skin tones throughout the image. This systematic approach gives you complete control over every...

Create Motion Blur Light Effects in Photoshop

Transform ordinary portraits into dynamic, cinematic images by combining path blur effects with creative background textures. This technique creates the illusion of camera movement while maintaining focus on key elements like the subject's eyes, resulting in professional-looking motion blur effects that add energy and visual interest to static...

How to Paint Realistic Jewelry on Portraits in Photoshop

Adding painted jewelry to portraits transforms ordinary photos into fantasy portraits with ornate accessories that never existed. This digital painting technique uses careful layering, proper lighting, and realistic shadows to create convincing rings, earrings, and decorative headpieces. The method combines basic brush work with advanced blending techniques to build up...

How to Sharpen Images Using the High Pass Filter in Photoshop

The High Pass filter method remains one of the most versatile sharpening techniques in Photoshop, offering precise control over which image areas receive enhancement. This non-destructive approach works by identifying edge details and allowing you to selectively apply sharpening exactly where it's needed most. Unlike automated sharpening tools,...

How to Find Missing Actions in the New Photoshop Actions Panel

The redesigned Actions panel in Photoshop can catch users off guard when their custom actions seem to disappear. With the new tabbed interface, your previously created actions are still there—they're just located in a different tab than before. Understanding the new layout will help you quickly access...

Fast Portrait Retouching: Remove Stray Hairs, Clothing Wrinkles, and Fix Backgrounds

Every portrait photographer knows the feeling: you've captured a beautiful shot, but stray hairs, wrinkled clothing, and messy backgrounds turn editing into hours of tedious work. These common retouching challenges can drain your time and energy, especially when dealing with high-volume projects or tight deadlines. This tutorial demonstrates...

You’ve successfully subscribed to Photoshop Roadmap
Welcome back! You’ve successfully signed in.
Great! You’ve successfully signed up.
Success! Your email is updated.
Your link has expired
Success! Check your email for magic link to sign-in.