

Traditional dodge and burn techniques can be time-consuming and require careful layer management. This high pass method streamlines the entire process by combining layer duplication, blend modes, and selective masking into a quick workflow that works on any photo with good contrast.
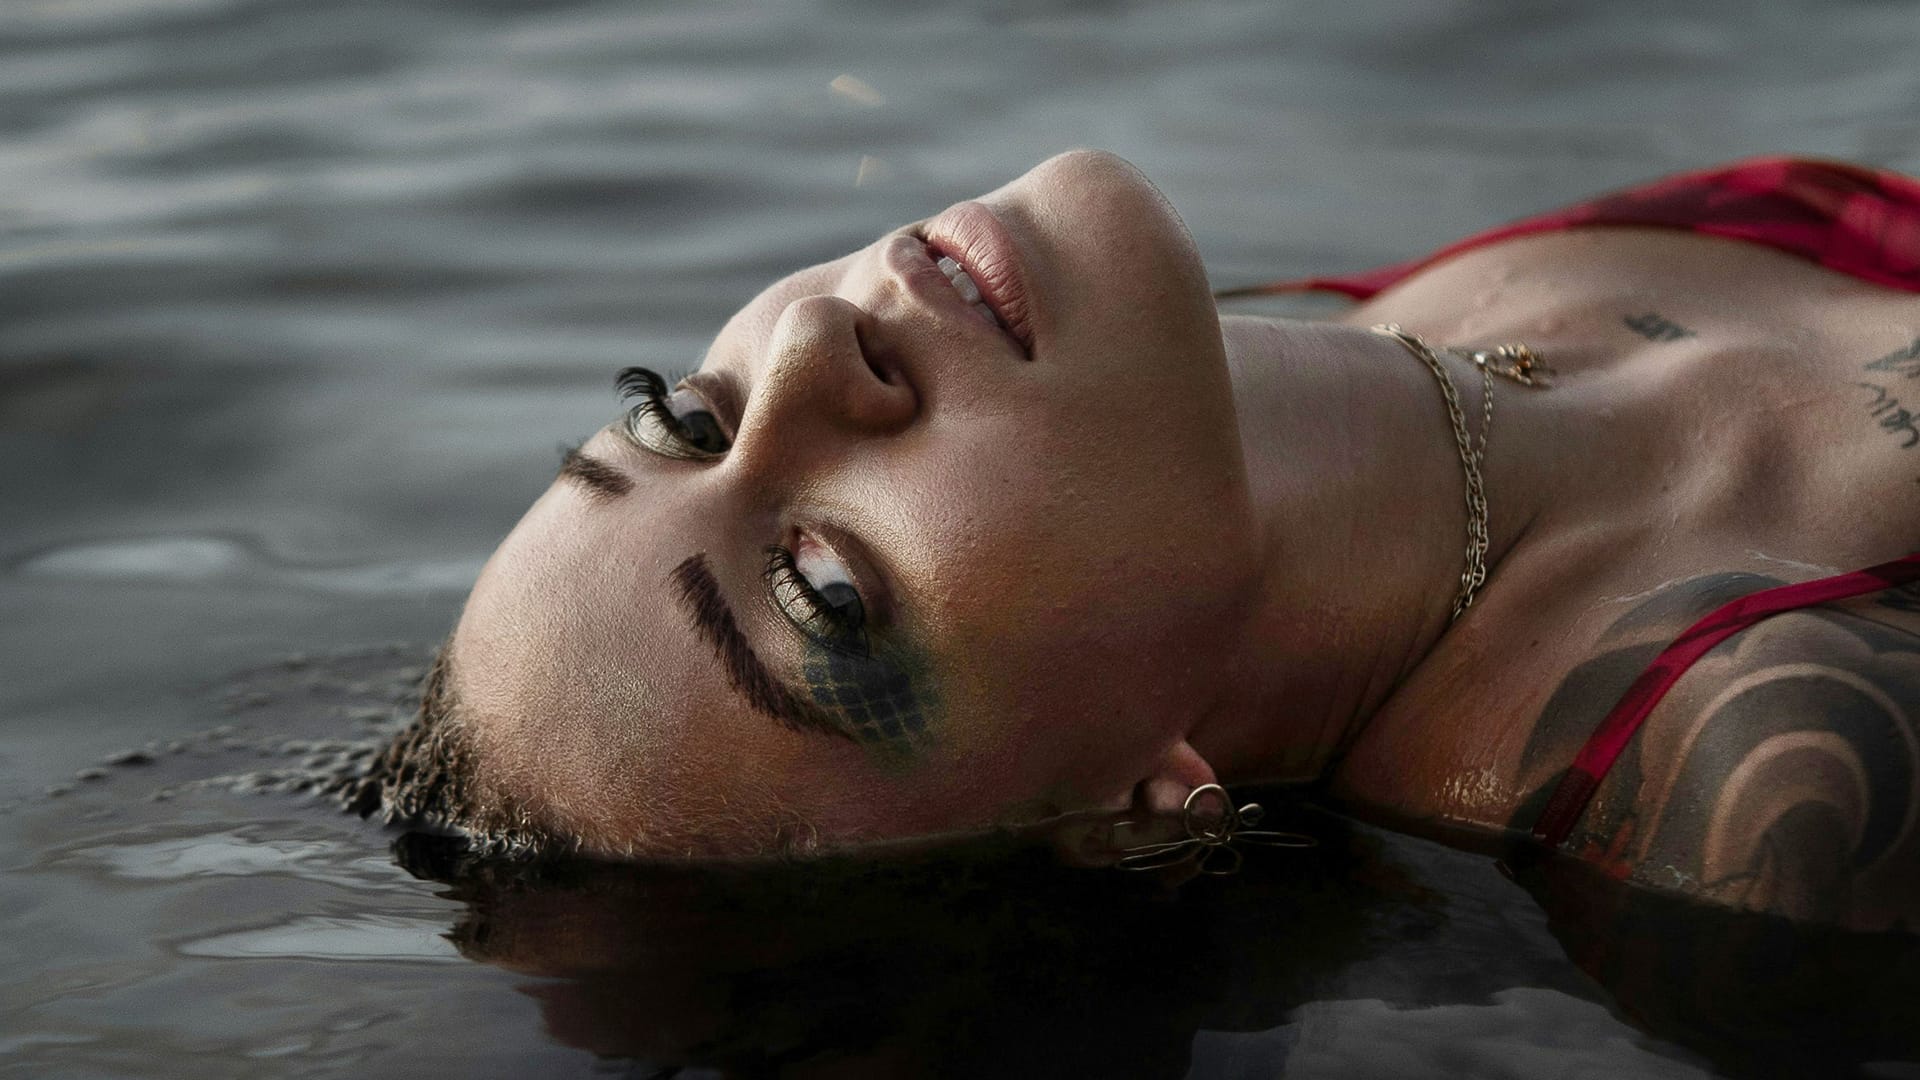
The technique works particularly well on images with strong highlights and shadows, such as portraits with natural lighting. By using soft light blend mode with high pass filters, you can enhance existing contrast without creating artificial-looking results.
Watch the Video
Practical Tips
Master this high pass dodge and burn technique with these essential workflow tips:
- Use higher radius values (15-20 pixels) in the high pass filter compared to sharpening, which typically uses 1-3 pixels
- Always group your high pass layers before applying the layer mask to control all effects simultaneously
- Start with a black layer mask and paint white only in highlight areas where you want the effect to show
- Focus on areas with existing contrast rather than trying to create contrast where none exists naturally
- Keep the effect subtle by adjusting layer opacity if the grouped layers appear too strong
Related Articles and Tutorials
Explore more dodge and burn techniques and photo enhancement methods with these tutorials:
How to Dodge and Burn in Photoshop
In this tutorial by Aaron Nace from Phlearn, you will learn essential techniques for dodging and burning in Photoshop. This process is vital for enhancing portrait images and ensuring graphic elements integrate seamlessly.
The tutorial covers the use of the Super Zoom feature, which allows you to upscale graphics without compromising their resolution. Another key aspect discussed is the application of Gradient Maps, which helps in achieving accurate color matching between your graphics and port
Apply Non-Destructive Burn/Dodge in Photoshop
For those who frequently retouch models, non-destructive burning and dodging in Photoshop is essential. This technique, clearly explained by Howard Pinsky, simplifies the retouching process and prevents the need to restart edits.
Applicable to many recent versions of Photoshop, including CS6, CS5, and CS4, this method ensures a more efficient and flexible workflow. Discover how to master this indispensable technique and enhance your retouching skills.
Watch tutorial
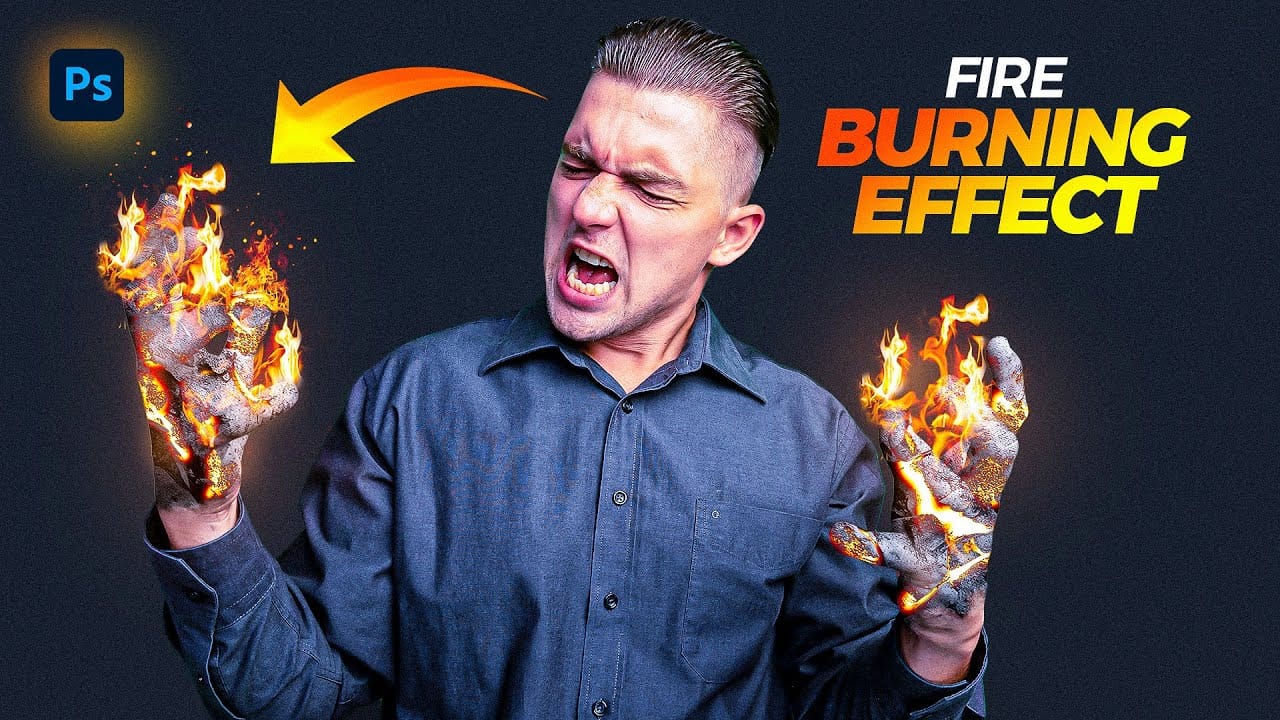
Create a Fire Burning Effect in Photoshop
Creating a fire-burning effect in Photoshop is a fascinating process that can enhance your images dramatically. Start by setting up a new file with dimensions of 1920 x 1080 pixels. Import the necessary images, which can be found in the provided link. Duplicate your main layer using Ctrl + J, then convert it to black and white through the Image Adjustments menu by selecting Hue/Saturation and removing all saturation.
Next, apply an inverted mask to the black and white layer. Use the brush tool
How to Remove Eye Bags Using Dodge and Burn in Photoshop
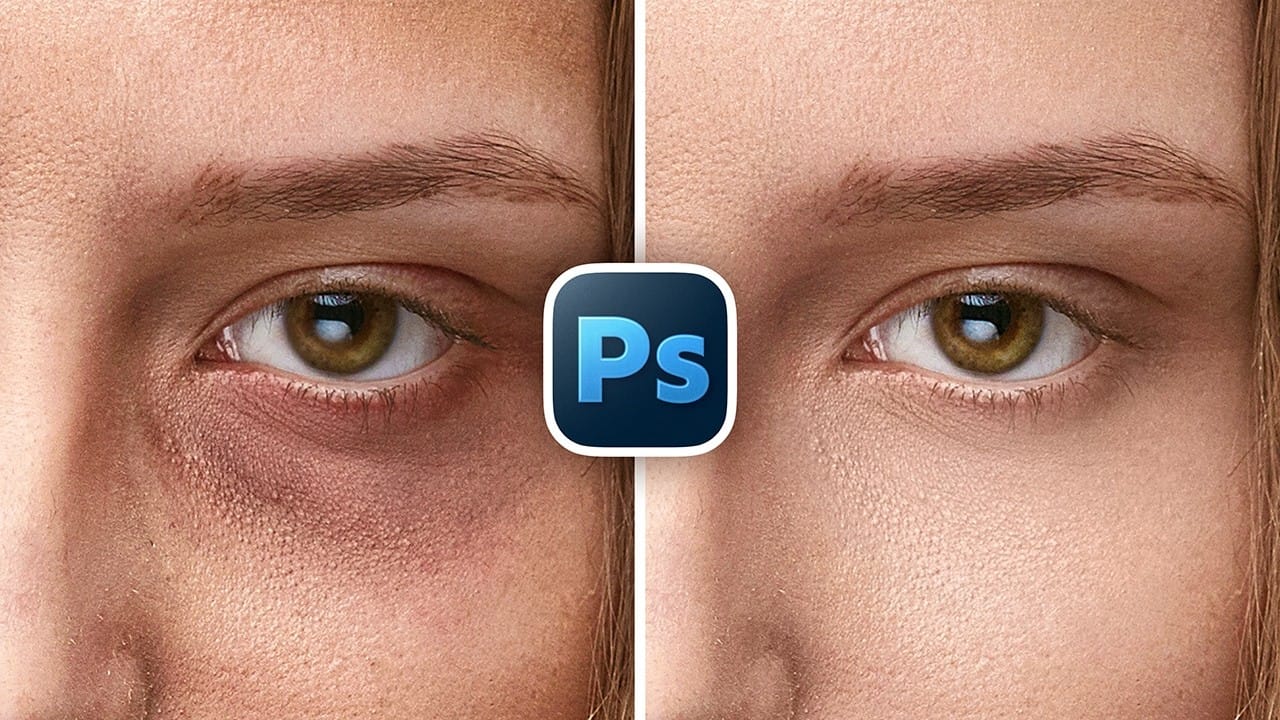
Eye bags can dramatically age a portrait, making subjects appear tired or unhealthy. Traditional removal methods often destroy skin texture or create unnatural results that look obviously retouched.
This professional dodge and burn technique removes even severe eye bags while preserving every detail of natural skin texture. The method uses selective lightening and darkening to reshape facial contours without any blurring or cloning.
Watch the Video
Practical Tips
Master this texture-preser
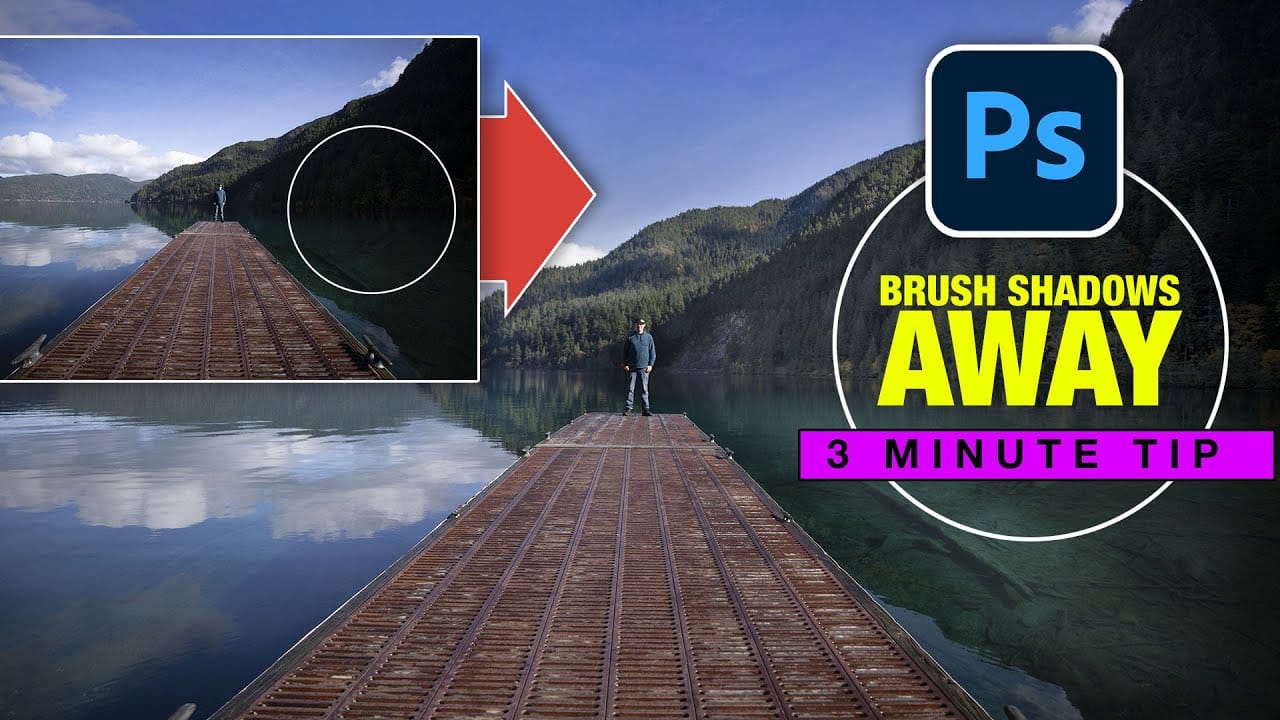
Instantly Recover details in photos with Photoshop
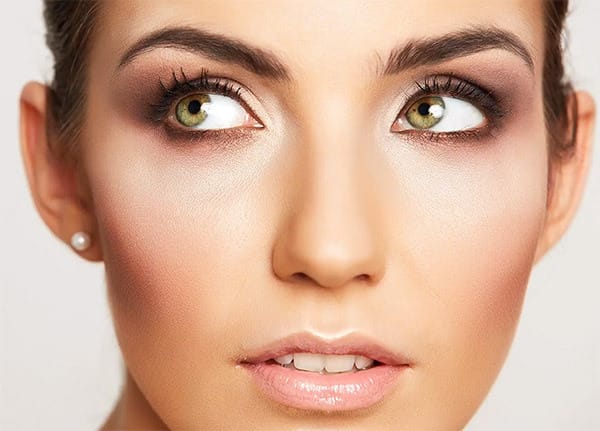
In this tutorial, Colin Smith reveals an effective technique for recovering hidden details in photos using Photoshop. The focus is on a method known as reverse dodge and burn, which allows you to selectively enhance shadow and highlight areas to bring out fine details.
Colin demonstrates how to paint over shadows and highlights in a realistic manner, blending the adjustments seamlessly into the image. This approach helps to restore lost details and improve the overall dynamic range of your phot
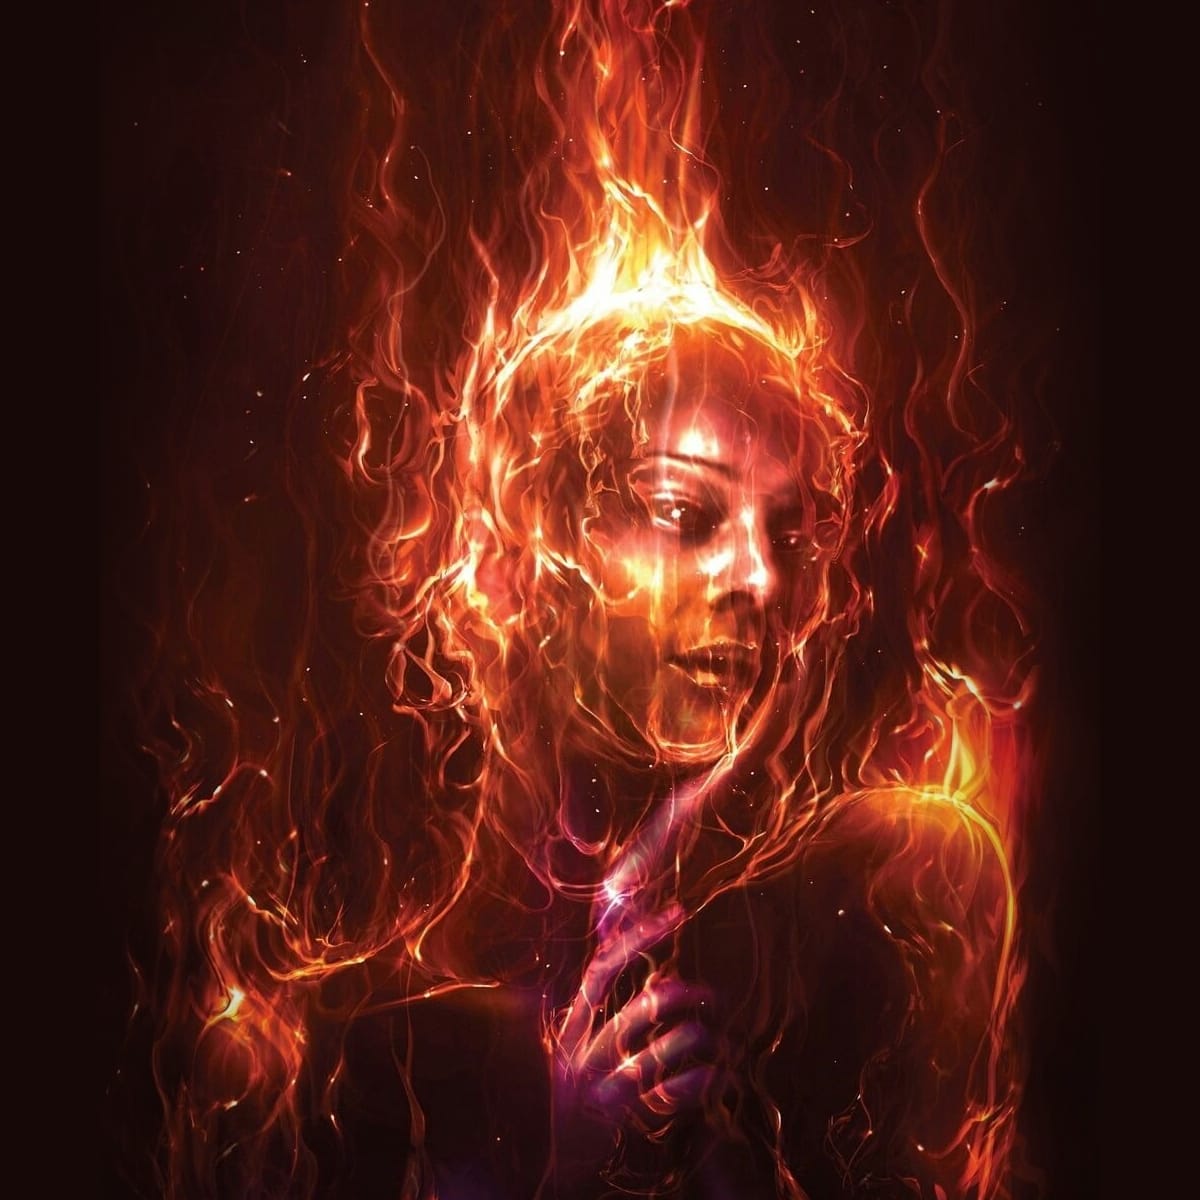
Apply a Burning Flames Effect to a Photo in Photoshop
In this tutorial by Neville D'Souza, you will learn how to take a simple model shot and transform it into a striking, dynamic piece of art that resembles a spitting, crackling beacon of fire. The tutorial guides you through the process using some of the most common tools available in Photoshop, showcasing techniques that allow you to create intricate and impressive effects.
The author meticulously explains each step, ensuring you can follow along without the need for third-party plug-ins. By th
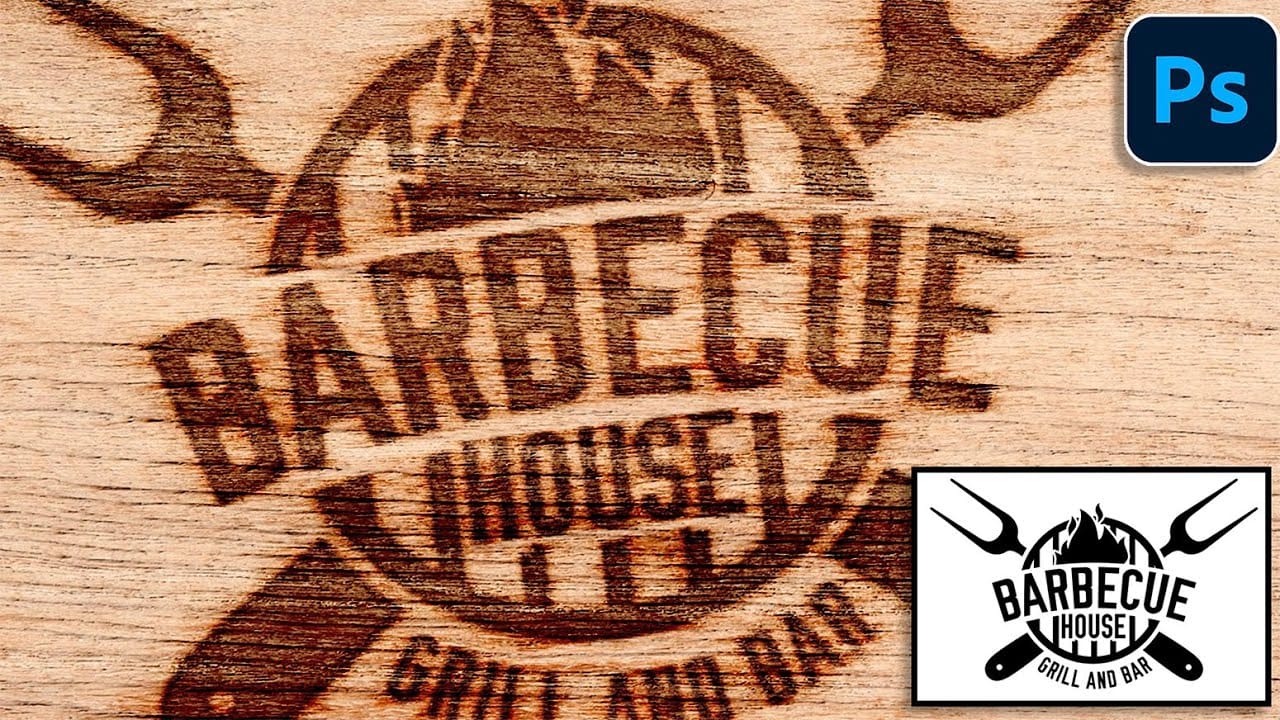
How to Create a Wood Burn Effect in Photoshop
Wood burning transforms simple text and graphics into rustic, branded designs that carry the authenticity of crafted woodwork. This timeless aesthetic connects digital art with traditional craftsmanship, creating visuals that feel both handmade and professional.
Photoshop's layering and blending capabilities make it possible to simulate the charred, weathered appearance of wood burning without needing actual pyrography tools. The technique combines texture work, strategic blending modes, and ca
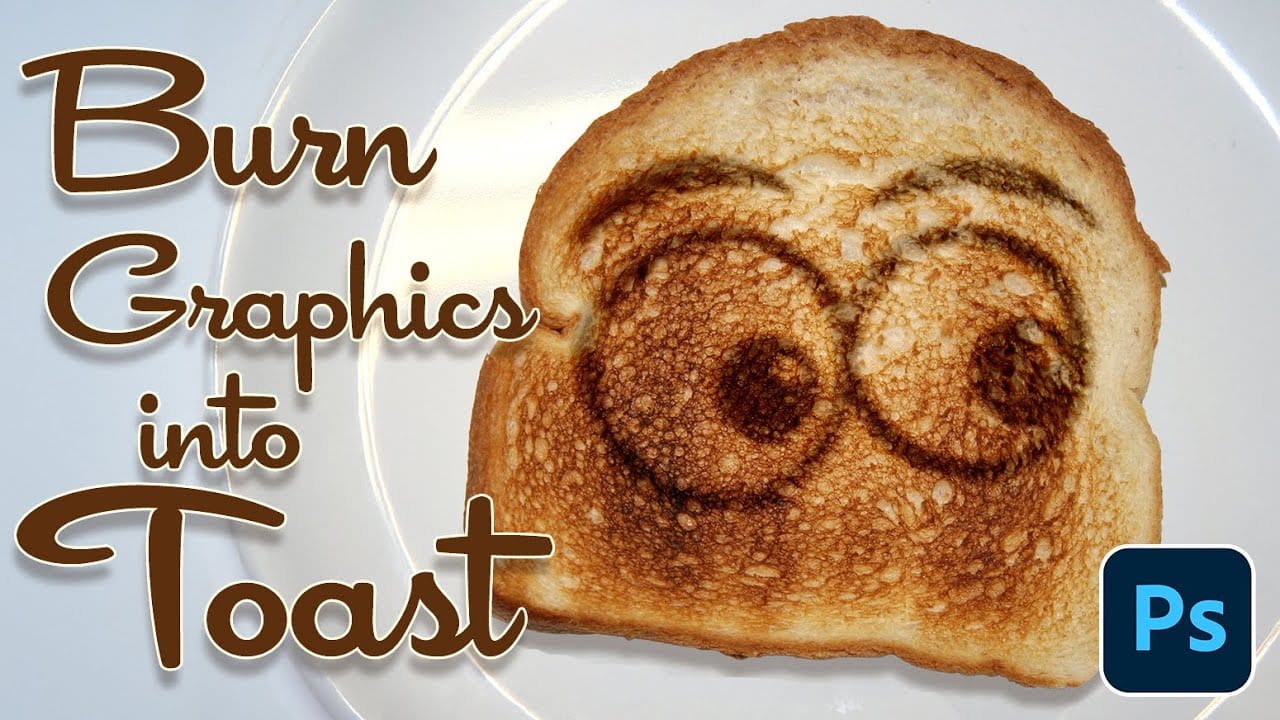
Burn Text and Graphics into a toast in Photoshop
Integrating digital elements onto textured surfaces realistically is a key challenge in graphic design. Photoshop provides powerful tools to simulate physical interactions, turning flat images into convincing 3D effects.
This tutorial shows how to create burnt graphics and text that blend seamlessly into a slice of toast. You'll learn essential techniques for applying textures and effects that mimic real-world interactions.
Watch the Tutorial
The Role of Displacement Maps in Realistic Textu
How to Add Color Depth Using Color Dodge Layers in Photoshop
Color depth transforms flat images into rich, dimensional works that hold the viewer's attention. The secret lies in selectively enhancing specific areas rather than applying blanket adjustments that can muddy your colors.
The color dodge technique offers precise control over where and how you add vibrancy. This method works particularly well for portrait enhancement, bringing life to eyes, lips, hair, and jewelry without creating an over-processed look.
Watch the Tutorial
Understanding Non


