Discover Hidden Photoshop AI Tools to Transform Your Photos

Discover Hidden Photoshop AI Tools to Transform Your Photos

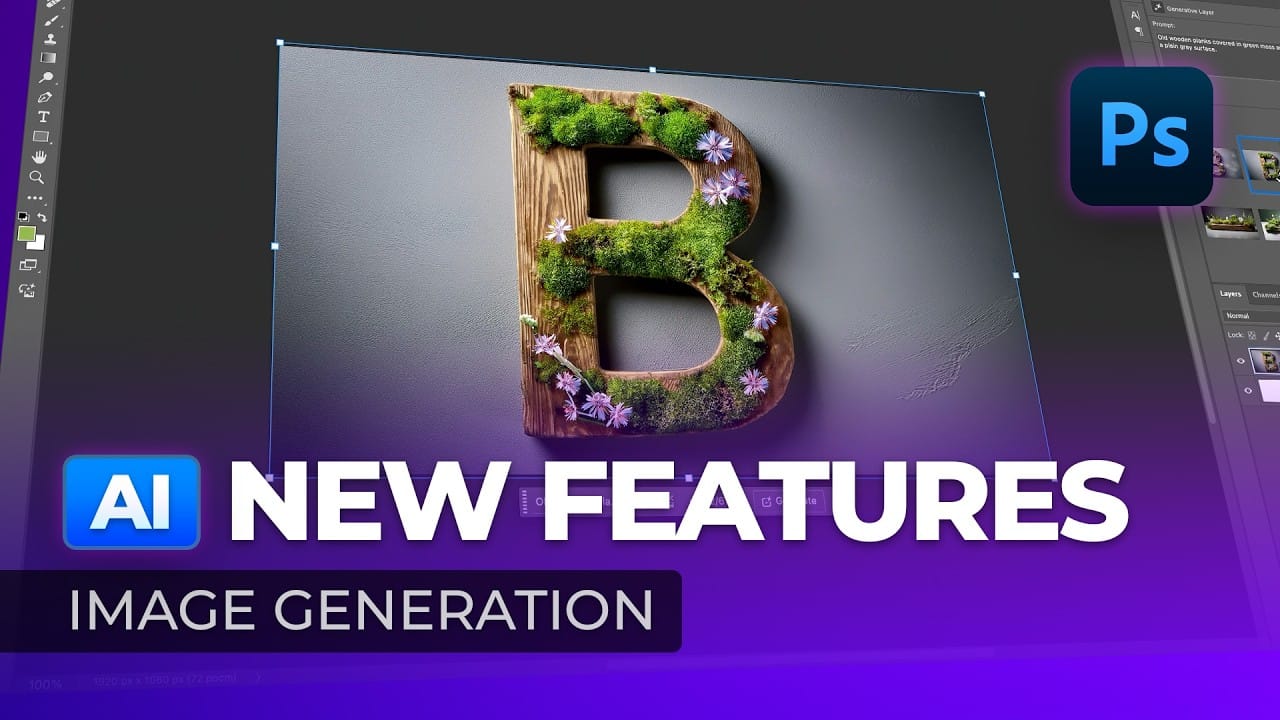
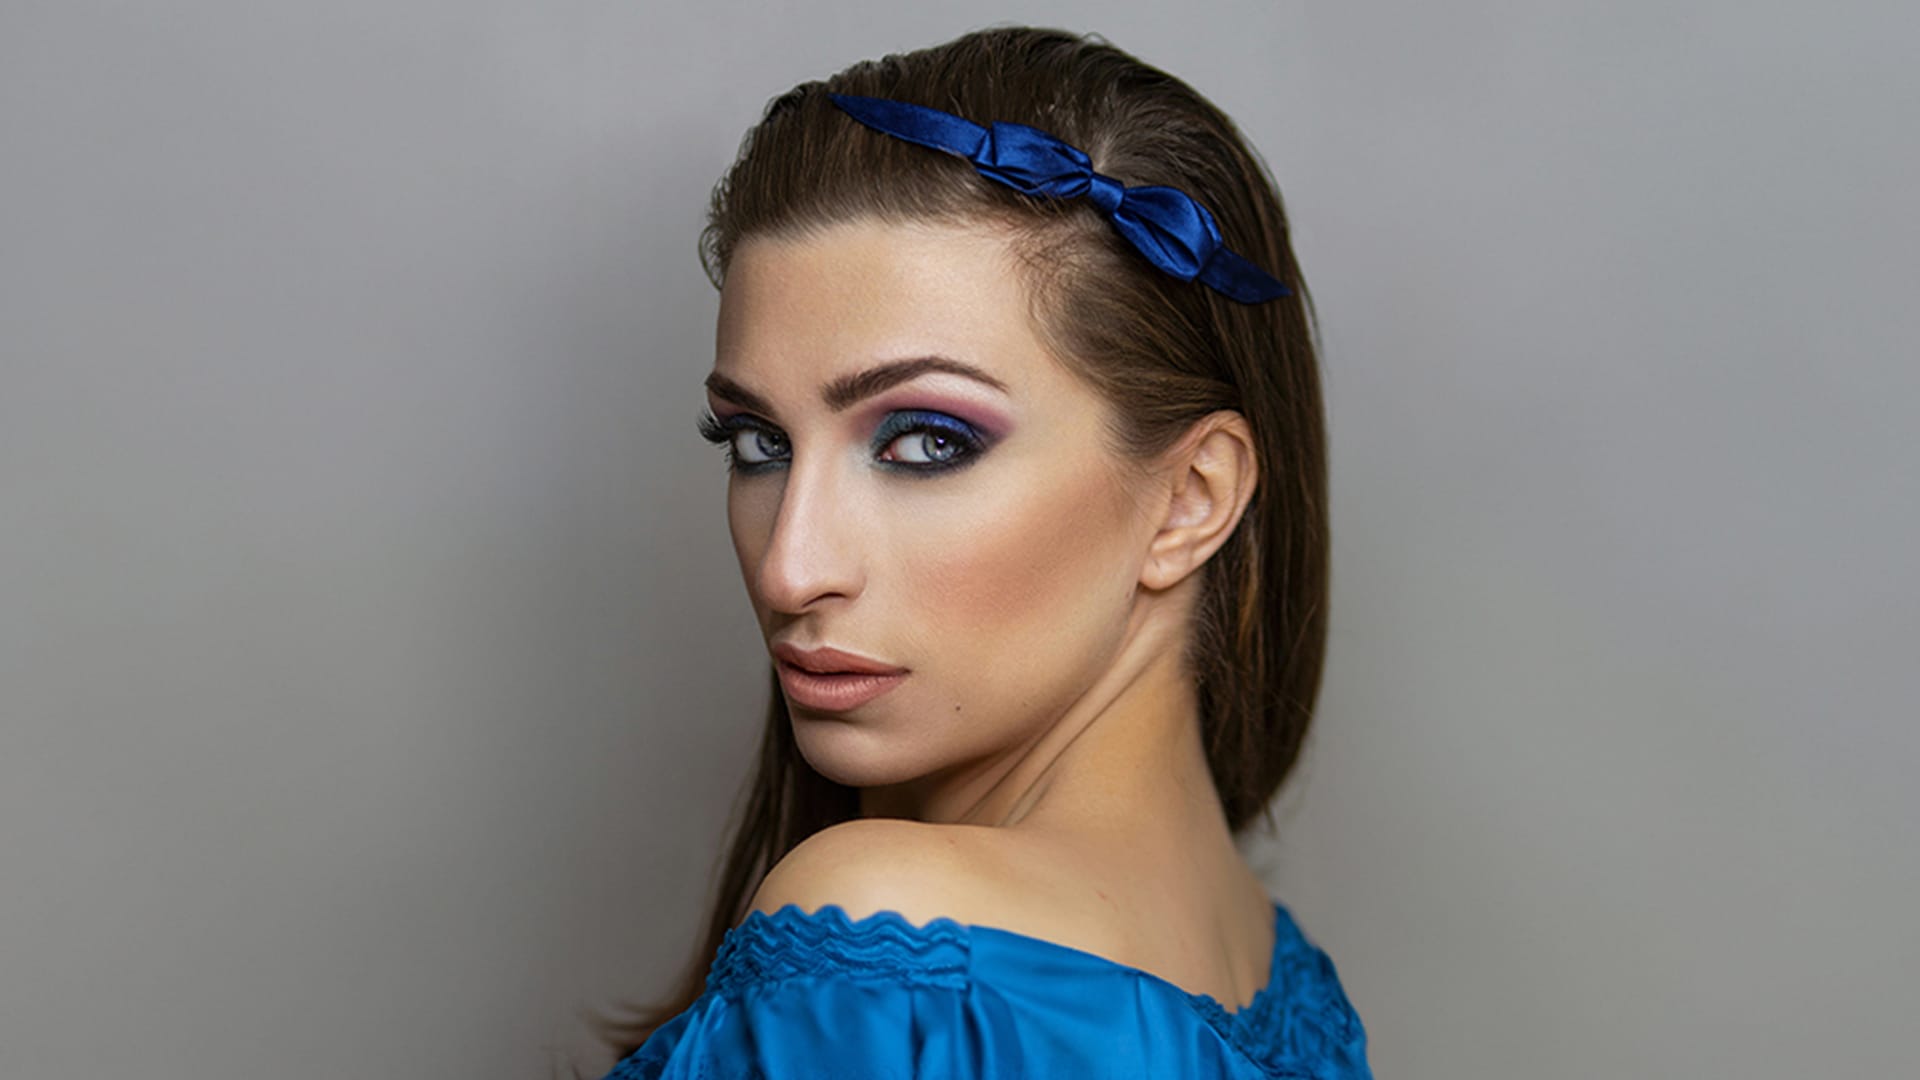
Transform ordinary photographs into captivating works of art using advanced Generative AI features in Photoshop. This guide reveals a powerful, often overlooked technique to unlock incredible artistic potential from your images.

Discover how to apply stunning styles, from delicate watercolors to bold Art Deco and futuristic visions, by mastering a subtle yet impactful control within Photoshop’s AI capabilities.

Watch the Video

Video by photoshopCAFE. Any links or downloads mentioned by the creator are available only on YouTube

Understanding Generative AI's Creative Control

Generative AI tools, like those integrated into Photoshop, interpret source material to create new outputs. A key aspect of their functionality involves how much influence the original image retains versus how much the AI’s generated content transforms it. This balance is crucial for achieving desired artistic effects, ranging from subtle enhancements to complete stylistic overhauls.

The underlying engine for Photoshop’s Generative Fill is Adobe Firefly. This connection allows users to leverage Firefly's rich library of stylistic prompts—including artistic movements, concepts, and moods—directly within Photoshop. By understanding how to manipulate the AI's "strength" or "density" of influence, creators can guide the transformation process with precision. This allows for diverse outcomes, whether aiming for:

  • A realistic interpretation with stylistic flair.
  • A radical reimagining based on an artistic movement.

This method offers a nuanced approach to AI art, moving beyond simple text prompts to a more interactive and controlled creative workflow.

Practical Tips for AI Art Generation in Photoshop

  • Use the Quick Mask mode (Q key) to define the selection area and its density before applying Generative Fill.
  • Adjust the Brightness percentage within the Quick Mask options (double-click the Quick Mask icon in the Tools panel) to control the transparency/density of your selection (e.g., a brightness of 60% equals 40% density).
  • Understand that a lower selection density (e.g., 7%) results in the AI staying closer to the original image, while a higher density (e.g., 50%) allows for more significant AI-driven transformations.
  • Fill the Quick Mask selection with the foreground color (Alt/Option + Backspace) to apply the chosen density to the entire canvas.
  • Experiment with Firefly-inspired style prompts from movements and concepts (e.g., "Art Deco," "Steampunk," "futuristic") directly in the Generative Fill prompt bar to achieve varied artistic outcomes.

Explore more advanced techniques to integrate AI into your Photoshop workflow and enhance your creative projects.
10 Ways AI Completely Transformed My Photoshop Techniques
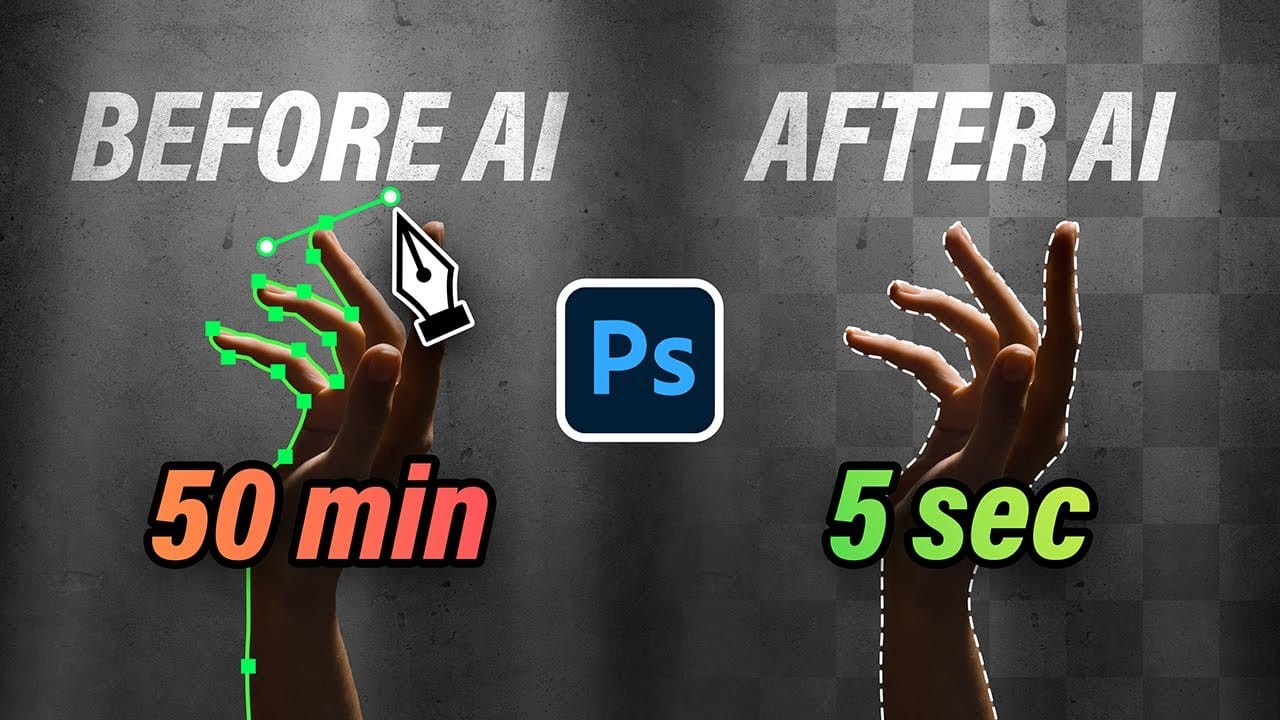
Repetitive tasks like making complex selections, removing unwanted objects, and cleaning up blemishes can consume hours of an editor's time. While traditional Photoshop methods offer precise control, they are often slow and require significant technical skill for what should be simple fixes. This guide demonstrates how to integrate modern AI features into your daily workflow. You will learn practical techniques for everything from one-click selections and generative fills to automated retouchin
Create AI Art inside Photoshop with Stable Diffusion
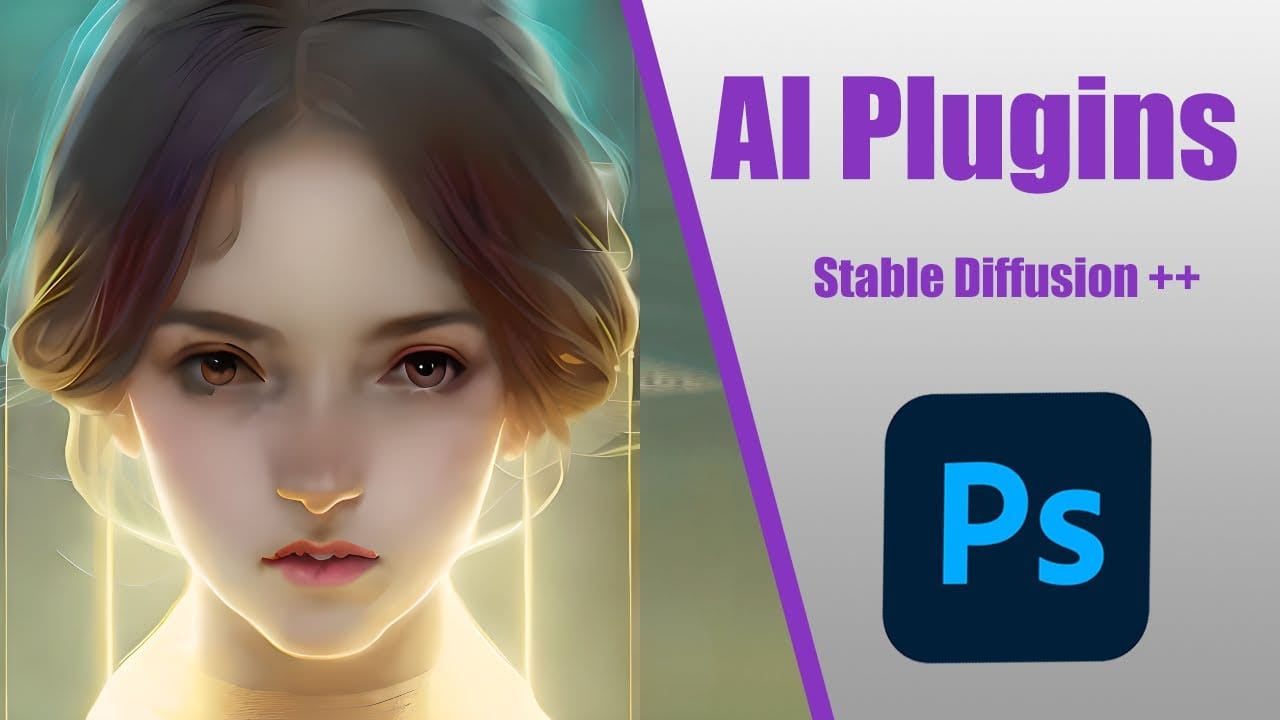
Introducing Stable Art – a novel plugin for Photoshop that lets you harness the power of your local Stable Diffusion setup within the software. This plugin is completely free and can be installed and utilized with utmost ease. Despite being fairly basic at the moment, it provides all the fundamental features needed to begin painting with Stable Diffusion models right inside Photoshop. F Follow along with this video as I demonstrate the installation process for this plugin on ANY version of Phot
New Photoshop AI Features – Smarter, Faster, and More Efficient Tools!
Editing detailed selections, adjusting colors, and removing backgrounds in Photoshop can be tedious, especially when working with complex edges like hair or challenging objects. Manual work often stalls creative flow and makes it tough to achieve clean, professional results on tight deadlines. This article introduces essential, time-saving features in the latest Photoshop update—including advanced AI-powered selection, color, and removal tools. Learn how these updates streamline everyday editin
How to Add Accessories Using AI in Photoshop
In this Photoshop tutorial, you will explore the process of blending graphics with portraiture for stunning visual results. The Super Zoom feature is highlighted, showing how to upscale graphics without losing resolution. This is crucial for maintaining quality when working with high-resolution images. You will also learn about applying Gradient Maps for effective color matching. This technique ensures that your graphics and portraits have a cohesive look. Additionally, the tutorial introduces

Get tutorials & freebies delivered to you.

Subscribe to the Photoshop Roadmap newsletter, a weekly roundup of new tutorials, insights and quality downloads, trusted by 6500+ readers.

You might also like

How to Use the Vectorscope in Camera Raw to Correct Skin Tones

Monitors vary, room lighting shifts, and your eyes adapt — none of which makes for reliable skin tone judgments. Camera Raw's vectorscope gives you a measurement-based alternative, displaying hue and saturation data visually so you can align skin tones to a scientifically accurate target line, regardless of your...

How to Fix the Photoshop Scratch Disk Full Error

The scratch disk full error stops Photoshop mid-edit and can even prevent it from opening at all. Understanding what a scratch disk actually is — and knowing where to look — makes the difference between a quick fix and repeated frustration. Watch the Video Practical Tips These steps address the most...

Using Photoshop's Light Adjustment Layer for Non-Destructive Tonal Control

Photoshop's Light adjustment layer brings Camera Raw's core tonal controls — exposure, contrast, highlights, shadows, whites, and blacks — directly into the layers panel as a fully non-destructive, maskable layer. This makes it possible to apply precise tonal corrections to specific areas of an image without ever...

How to Turn a Photo Into a Fine Art Painting in Photoshop

A photograph carries detail that a painting would simplify, and that gap is exactly where this technique operates. By working through a structured layer-based workflow in Photoshop, you can reduce photographic sharpness, introduce painterly texture, and guide the eye the way a traditional artist would — all without picking up...

You’ve successfully subscribed to Photoshop Roadmap
Welcome back! You’ve successfully signed in.
Great! You’ve successfully signed up.
Success! Your email is updated.
Your link has expired
Success! Check your email for magic link to sign-in.