Creating a Bitmap Diffusion Dither Effect in Photoshop

Creating a Bitmap Diffusion Dither Effect in Photoshop

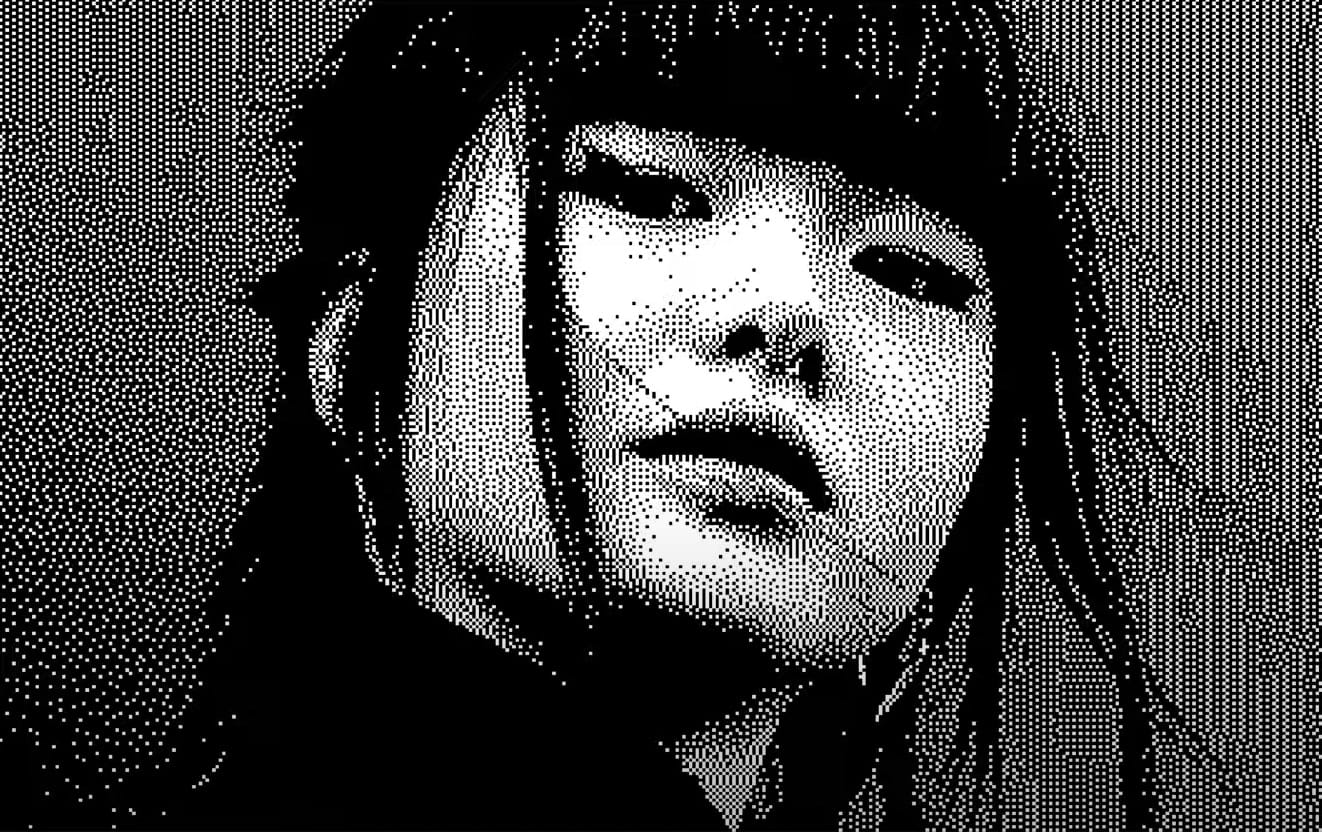
Bitmap dithering creates distinctive black and white patterns that transform photographs into stylized, high-contrast artwork. This technique produces scattered dot patterns that maintain visual detail while reducing images to pure monochrome values, offering a unique alternative to traditional bitmap conversion methods.

This tutorial demonstrates how to achieve professional bitmap diffusion effects using Photoshop's export settings and specific file format workflows. You'll learn to control dither intensity, adjust pixel scaling, and convert the results back into standard image formats for versatile creative applications.

Watch the Tutorial

Video by P A N T E R. Any links or downloads mentioned by the creator are available only on YouTube

Understanding Bitmap Dithering Techniques

Dithering algorithms simulate grayscale values by strategically placing black and white pixels in specific patterns. Traditional bitmap conversion typically uses threshold methods that create harsh transitions between light and dark areas. Diffusion dithering distributes pixel information across neighboring areas, creating smoother gradations and more organic-looking textures.

The WBMP format utilizes error diffusion algorithms that produce distinctive scattered patterns compared to standard GIF dithering. This format was originally designed for wireless devices with limited display capabilities, but its unique dithering characteristics make it valuable for creative bitmap effects. The process involves reducing color information while preserving essential visual details through calculated pixel placement.

Image resolution plays a crucial role in the final dithering quality. Smaller source images create larger, more visible dither patterns when scaled up, while higher resolution sources produce finer detail distribution. The scaling method used during enlargement determines whether the pixelated aesthetic is preserved or smoothed during the conversion process.

Practical Tips for Bitmap Dithering

  • Reduce image size to 800 pixels or smaller before applying dithering to ensure optimal pattern visibility and processing efficiency.
  • Experiment with dither percentages between 50-85% to balance detail retention with contrast levels in your final output.
  • Use Nearest Neighbor resampling when scaling up dithered images to maintain sharp, pixelated edges without smoothing.
  • Convert to grayscale mode after scaling to enable JPEG export and other standard file format options.
  • Test different starting resolutions and scale-down percentages to achieve varying dither pattern densities for different creative effects.

Explore more creative dispersion and pixelation techniques in Photoshop.
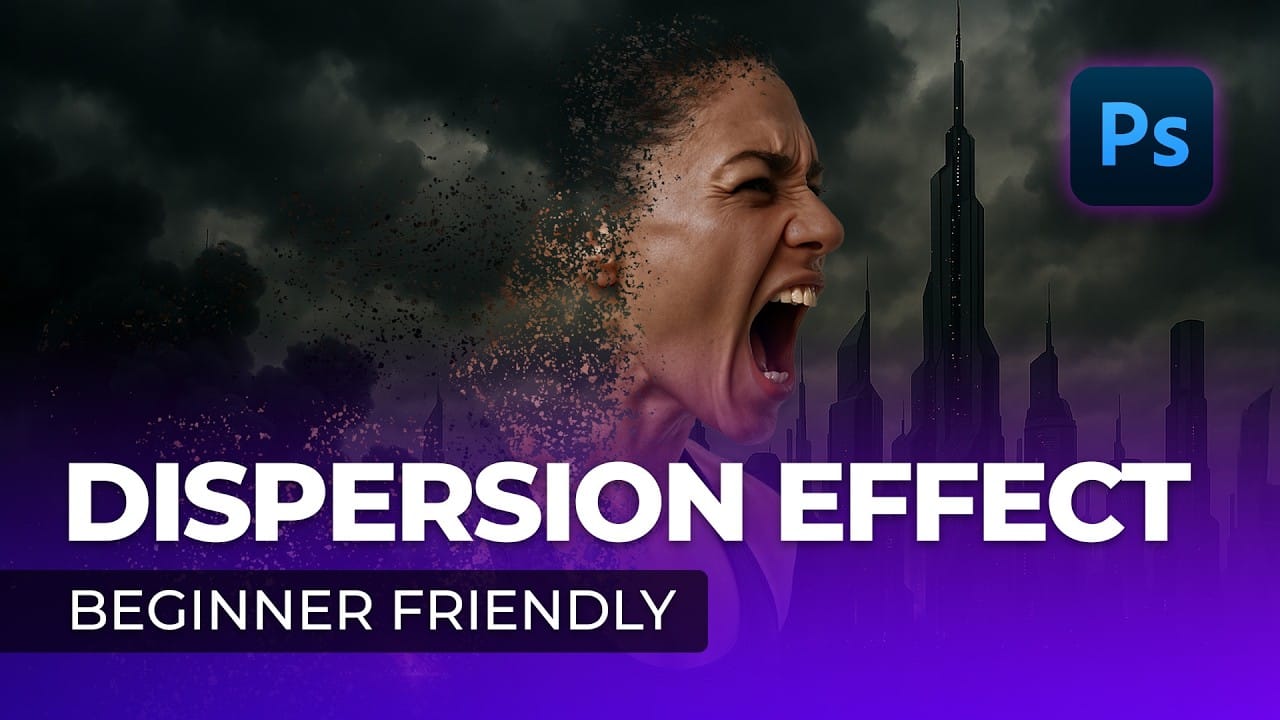
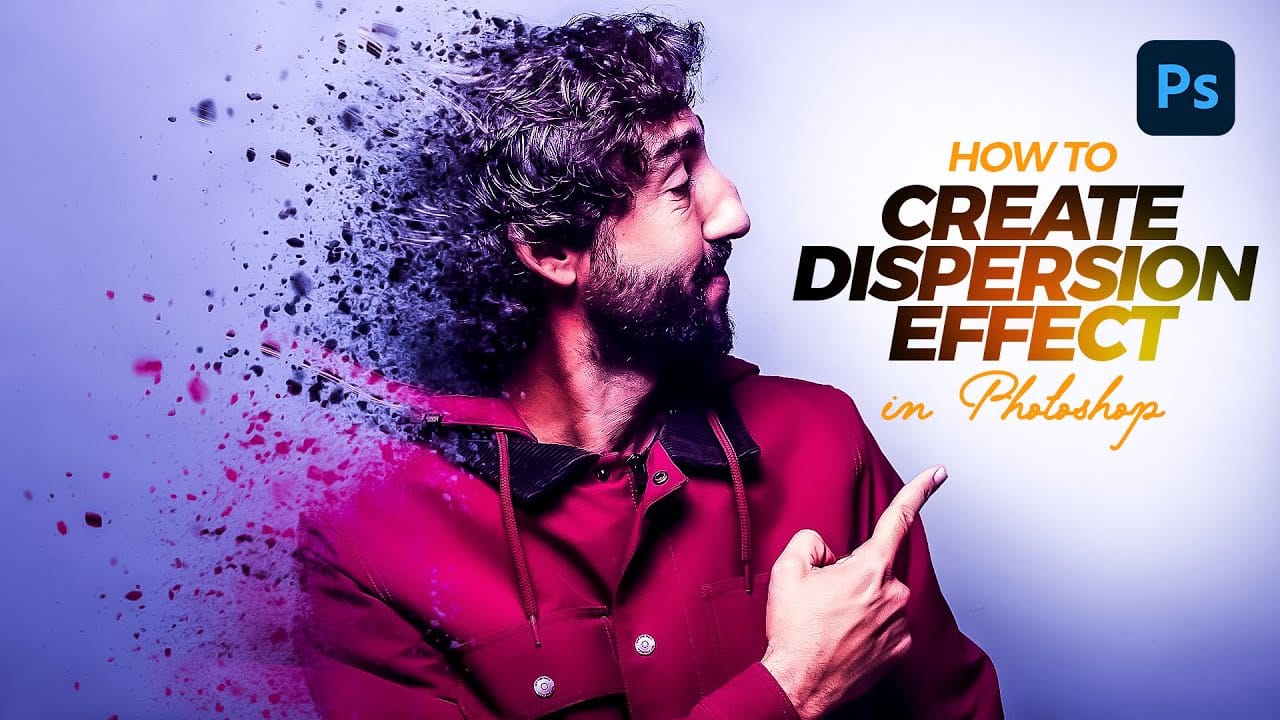
Creating a Dispersion Effect in Photoshop
The dispersion effect transforms ordinary portraits into dynamic artwork by creating the illusion that parts of the subject are breaking apart and scattering into particles. This popular technique adds movement and drama to static images, making them perfect for creative projects, album covers, or eye-catching social media content. This tutorial demonstrates a streamlined approach to creating professional dispersion effects using Photoshop's built-in tools. The process combines automated backgr
Create a Dispersion Effect in Photoshop
In this tutorial, you will learn how to create an eye-catching Dispersion Effect in Adobe Photoshop. This effect transforms your subject into numerous small pieces, giving the appearance that it is dissolving or breaking apart. It's a visually stunning technique that adds a dynamic element to your images. You will start by selecting the subject you want to manipulate before applying the necessary layers and masks. Step-by-step instructions guide you through adjusting the pieces' distribution an
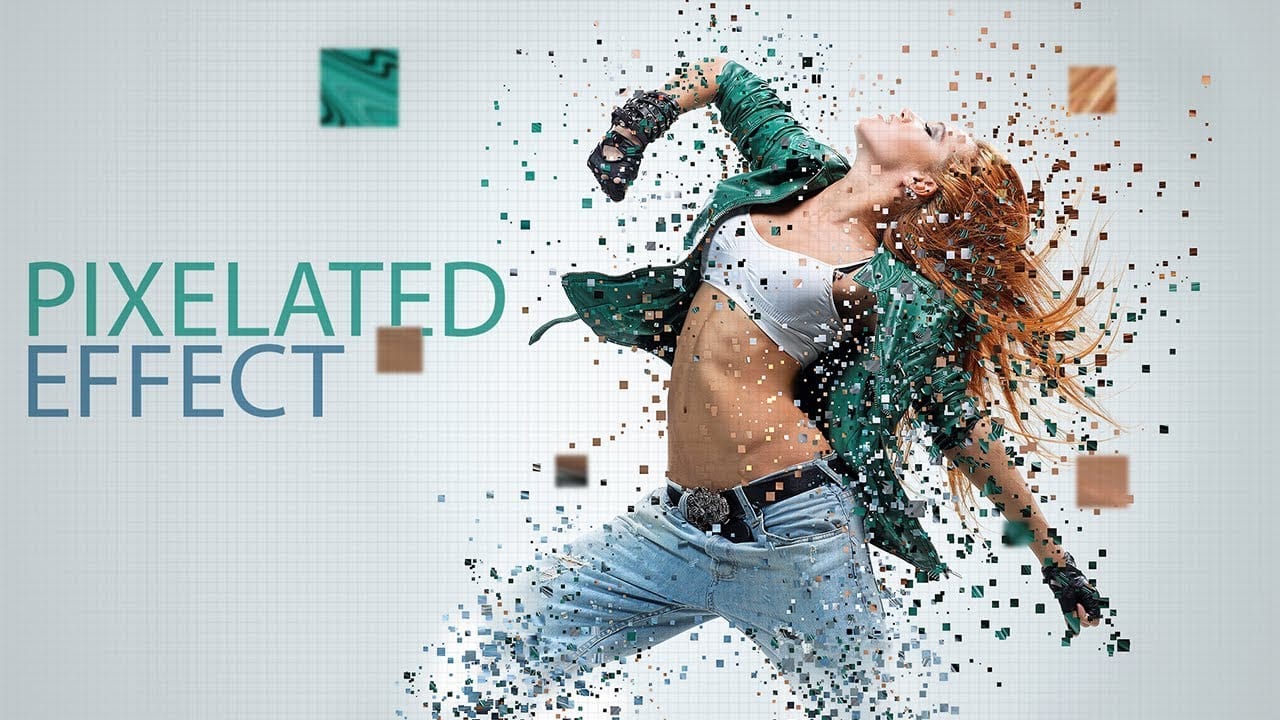
Create a pixelated dispersion effect in Photoshop
In this Photoshop tutorial, the author provides step-by-step instructions on how to create a captivating Pixelated dispersion effect. The tutorial utilizes a Pixel brush set, as well as various filters, to achieve the desired visual impact. The author guides the reader through the process, highlighting the key techniques and tools necessary to replicate the effect. By following the instructions, users can transform their images and add a unique, eye-catching element to their digital creations.
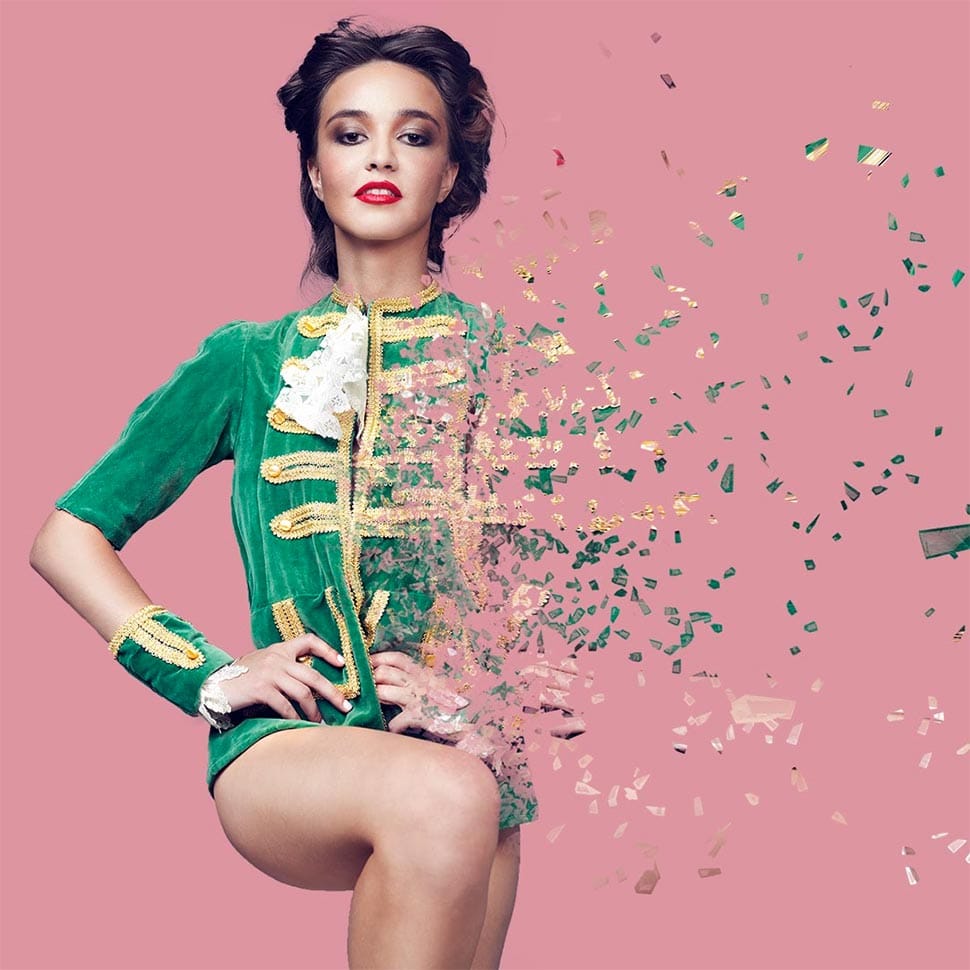
Create a amazing dispersion effect in Photoshop
This tutorial will show you how to make a photo of a model dissolving into flying particles. It's a simple process that only requires a few steps. First, the user will learn techniques to improve the colors of the image. They'll adjust the levels and curves to enhance the vibrancy and contrast of the photograph. This will help the dispersion effect stand out more prominently. Then, the user will apply the dispersion effect, making the model appear to break apart into small pieces that drift aw

Get tutorials & freebies delivered to you.

Subscribe to the Photoshop Roadmap newsletter, a weekly roundup of new tutorials, insights and quality downloads, trusted by 6500+ readers.

You might also like

How to Create Circle Cropped Photos with Transparent Backgrounds in Photoshop

Circular cropping transforms standard photographs into clean, professional profile images perfect for websites, social media, and presentations. The frame tool method creates non-destructive crops with transparent backgrounds that export seamlessly across different platforms. This streamlined workflow eliminates the need for complex selections or masks while maintaining full control over image...

How to Use Generative Upscale to Restore and Enhance Low-Resolution Images in Photoshop

Low-resolution images often limit your creative projects, especially when you need sharp prints or high-quality displays. Photoshop's Generative Upscale feature transforms small, pixelated photos into crisp, detailed images using AI-powered enhancement. This tool offers three distinct AI models, each designed for specific image types—from landscapes and portraits...

How to Use Harmonize to Automatically Match Lighting in Photoshop Composites

Creating seamless composites traditionally requires hours of manual color correction and lighting adjustments. The new Harmonize tool changes this by automatically analyzing your background and matching your subject's lighting, shadows, and color tones with a single click. This AI-powered feature eliminates the need for complex adjustment layers and...

How to Use Adobe Photoshop in ChatGPT for Photo Editing

Adobe Photoshop is now integrated directly into ChatGPT, allowing you to edit photos using simple text descriptions. This new feature lets you enhance images, apply creative effects, and make targeted adjustments without needing a Photoshop subscription. You can describe what you want to change and fine-tune adjustments using familiar Photoshop...

How to Fix Skin Tones in Photoshop - Complete Guide

Skin tones can make or break a portrait, yet color casts and uneven lighting often leave subjects looking unnatural or flat. Whether dealing with mixed lighting conditions, camera white balance issues, or post-processing mishaps, getting skin colors right requires a systematic approach that works consistently across different scenarios. This comprehensive...

You’ve successfully subscribed to Photoshop Roadmap
Welcome back! You’ve successfully signed in.
Great! You’ve successfully signed up.
Success! Your email is updated.
Your link has expired
Success! Check your email for magic link to sign-in.