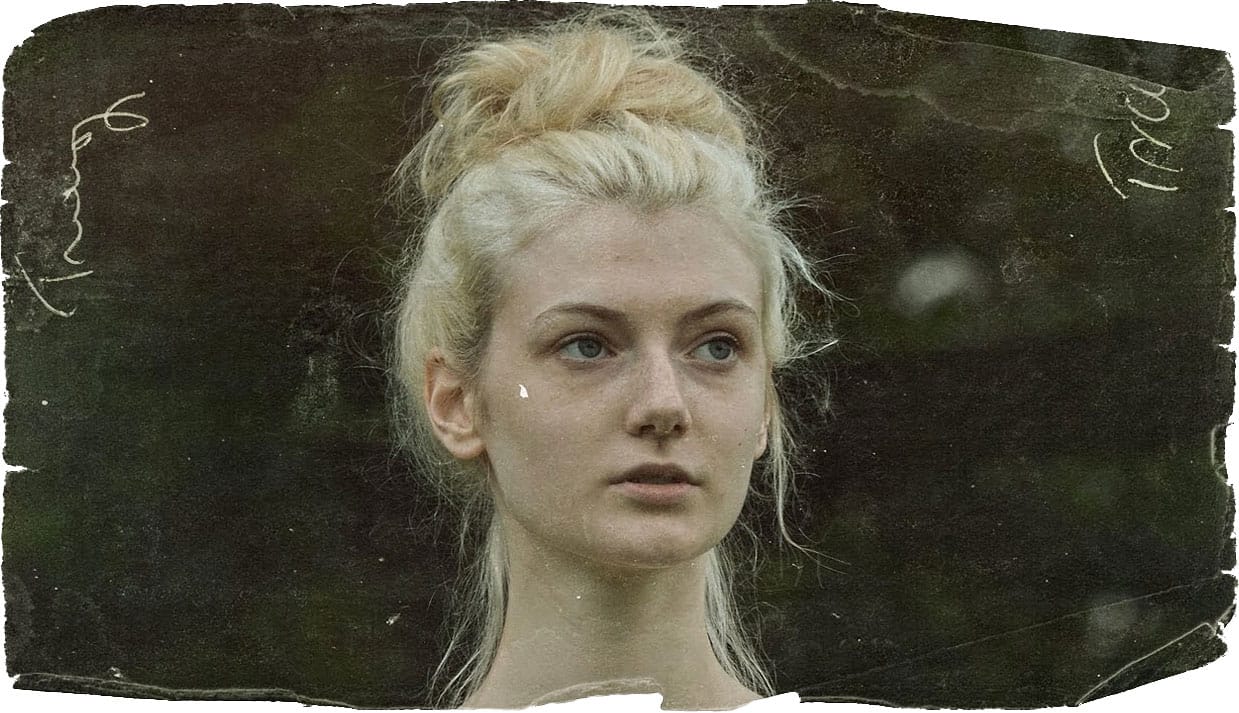
The warm, nostalgic look of vintage photography captures decades past with rich colors and aged textures. Modern digital photos can achieve this timeless aesthetic through careful color grading and texture application.
This tutorial demonstrates a simple approach using adjustment layers and blending modes to transform contemporary images into retro-styled photographs.
Watch the Tutorial
Essential Tips for Vintage Effects
These key techniques help create authentic retro styling with proper color balance and texture.
- Start with a dark green solid color adjustment layer set to Soft Light blending mode to establish the vintage base tone
- Apply an orange-to-light-orange gradient adjustment layer with Hard Light blending mode at 35-36% opacity for warm color shifts
- Add a second solid color layer in Soft Light mode to fine-tune the overall color balance and mood
- Include a paper texture overlay set to Soft Light blending mode for authentic aged surface quality
- Keep all adjustment layers non-destructive so colors can be modified at any time during the editing process
More Tutorials About Vintage Photo Effects
Explore additional techniques for creating aged and retro-styled photographs.
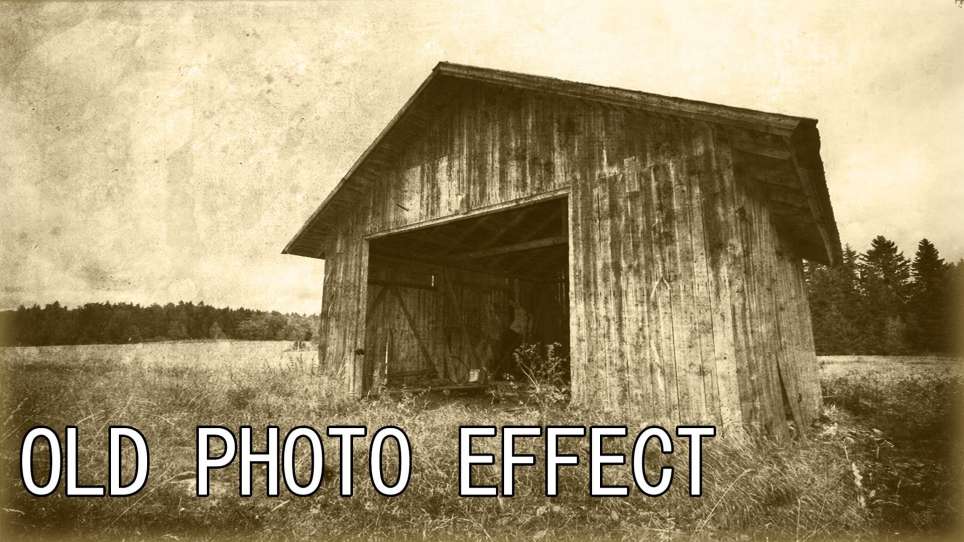
Create an Old Photo Effect in Photoshop
The author, Photoshop Pro Help, provides a tutorial on how to create an old photo effect in Photoshop. They explain that if you have ever admired the style of vintage photos and wanted to give your modern photos a similar look, this tutorial will show you how to apply an old photo style with a torn and damaged brown vintage effect. This can transform your photos to look as if they were taken straight from a history book.
The tutorial guides the user through the process of achieving this retro a
Photoshop Retro 3D Movie Effect Tutorial
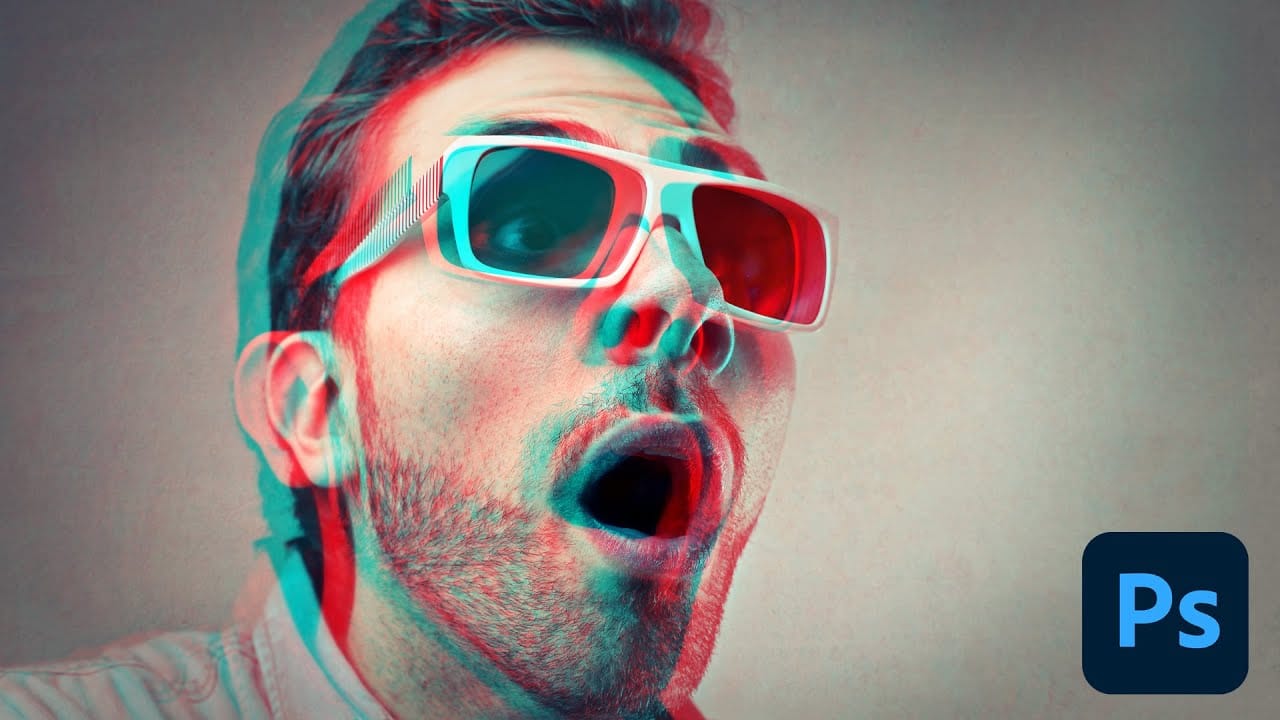
Put on your old red and blue 3D glasses to revisit the classic style of 1950s 3D cinema. This tutorial offers a simple, step-by-step guide to achieving that retro look using Photoshop.
In the 1950s, audiences were captivated by movie monsters that seemed to leap off the screen with their vibrant red and cyan effects. This tutorial walks you through recreating that iconic visual style. While Photoshop primarily works with flat 2D images, you can still mimic the feel of those classic films effect
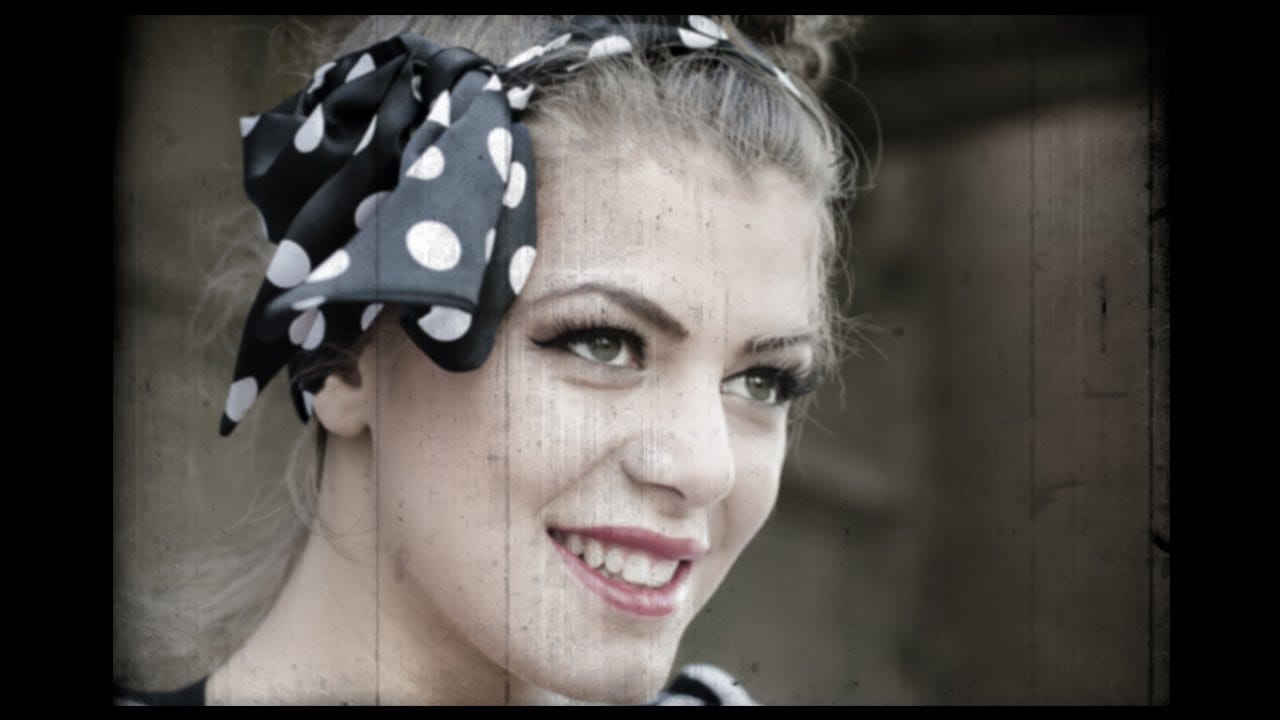
Create a vintage movie effect from a photo
Transforming modern digital photographs into nostalgic, vintage-style images is a popular creative pursuit in photo editing. This technique allows you to evoke the aesthetic of bygone eras, adding character and a unique artistic flair to your contemporary shots.
In this tutorial, you will learn how to apply the distinctive look of an 8mm movie still frame to any color photograph using Adobe Photoshop. The process involves subtle adjustments to color, blur, and the integration of a specialized t
How to Make a Photo look Vintage and Retro Using the Lomograph Effect
Digital photography offers incredible clarity and precision, but sometimes the charm of an older, analog look is exactly what a project needs. This tutorial explores how to transform a pristine digital image into a vintage-style photograph, complete with the imperfections and unique characteristics associated with old film and paper.
Viewers will learn a comprehensive workflow in Photoshop, covering techniques such as adjusting color channels for authentic shifts, adding light leaks, creating v
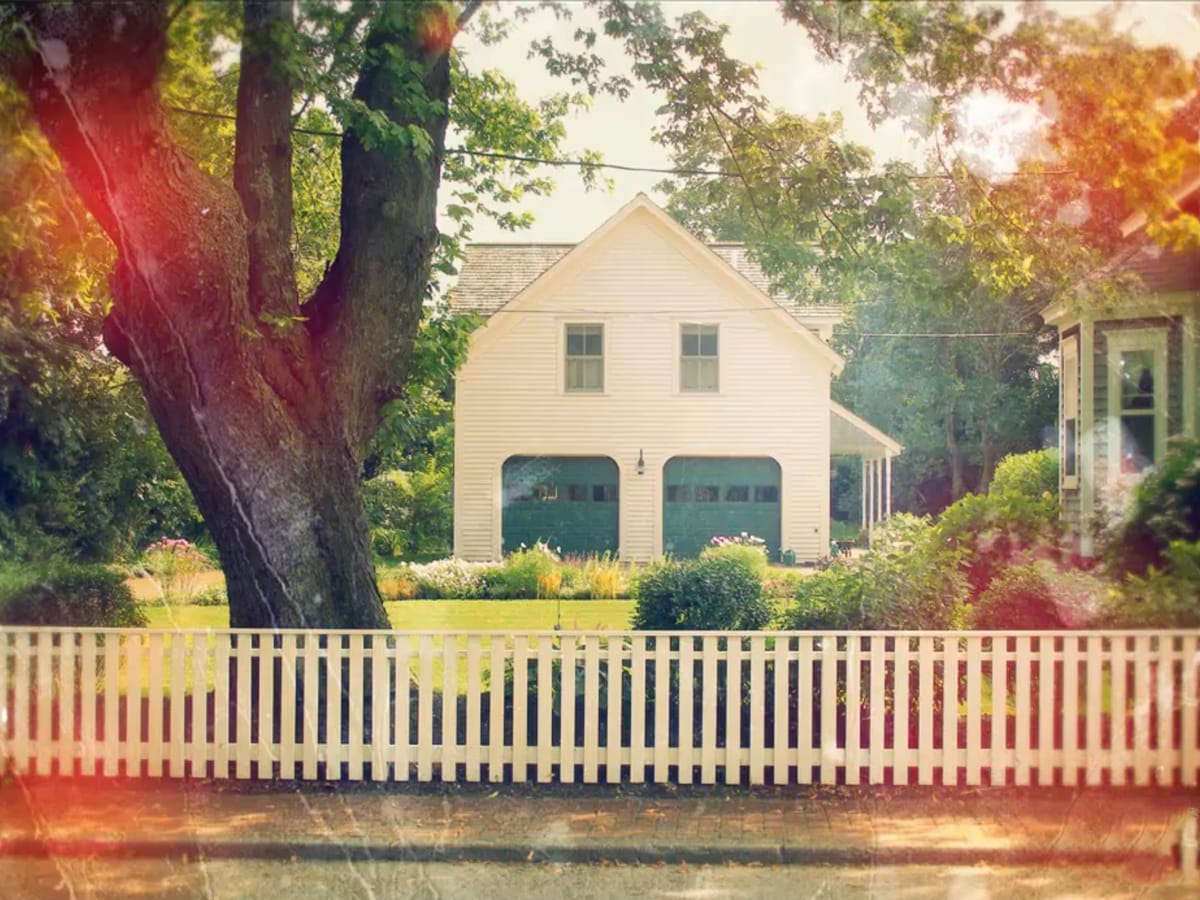
Apply a vintage and gritty old paper effect to your photos in Photoshop
In this tutorial by Jobe from DR Design Resources, readers will learn a quick and easy technique to transform their photos into a vintage-inspired look with an old paper effect in Adobe Photoshop.
The process involves using a texture of an old paper and applying it to the desired image. The author demonstrates how to apply this effect on two different images, one with a light background and one with a dark background.
This straightforward method allows users to easily achieve a gritty, aged ae