Create a vintage creased pulp fiction magazine cover in Photoshop

Create a vintage creased pulp fiction magazine cover in Photoshop

Vintage pulp fiction magazine covers evoke a distinct era of storytelling, characterized by their bold typography, dramatic imagery, and vibrant, often gritty, aesthetics. These covers were designed to grab attention on newsstands, promising thrilling tales of adventure, mystery, and crime.

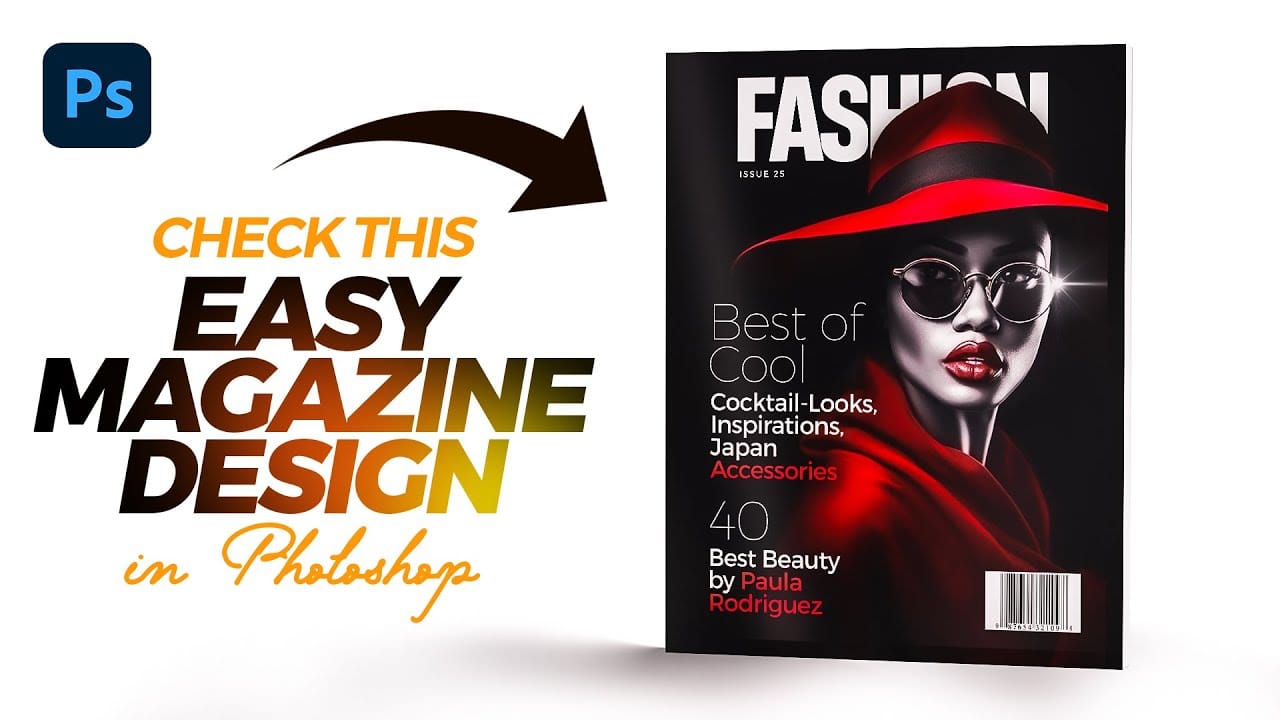
This tutorial demonstrates how to recreate the iconic look of a 1950s pulp fiction magazine cover using Adobe Photoshop. Viewers will learn practical techniques for crafting a compelling design, from establishing the foundational layout to applying authentic vintage effects.

Watch the Tutorial

Video by Blue Lightning. Any links or downloads mentioned by the creator are available only on YouTube

The Enduring Appeal of Pulp Fiction Aesthetics

Pulp fiction magazines, popular from the 1920s to the 1950s, were named for the cheap wood pulp paper they were printed on. Despite their humble origins, these publications fostered a unique visual language that continues to influence design today. Their covers often featured sensational illustrations and dynamic typography, reflecting the thrilling and often lurid stories within.

The distinctive visual style of pulp covers relied on several key elements:

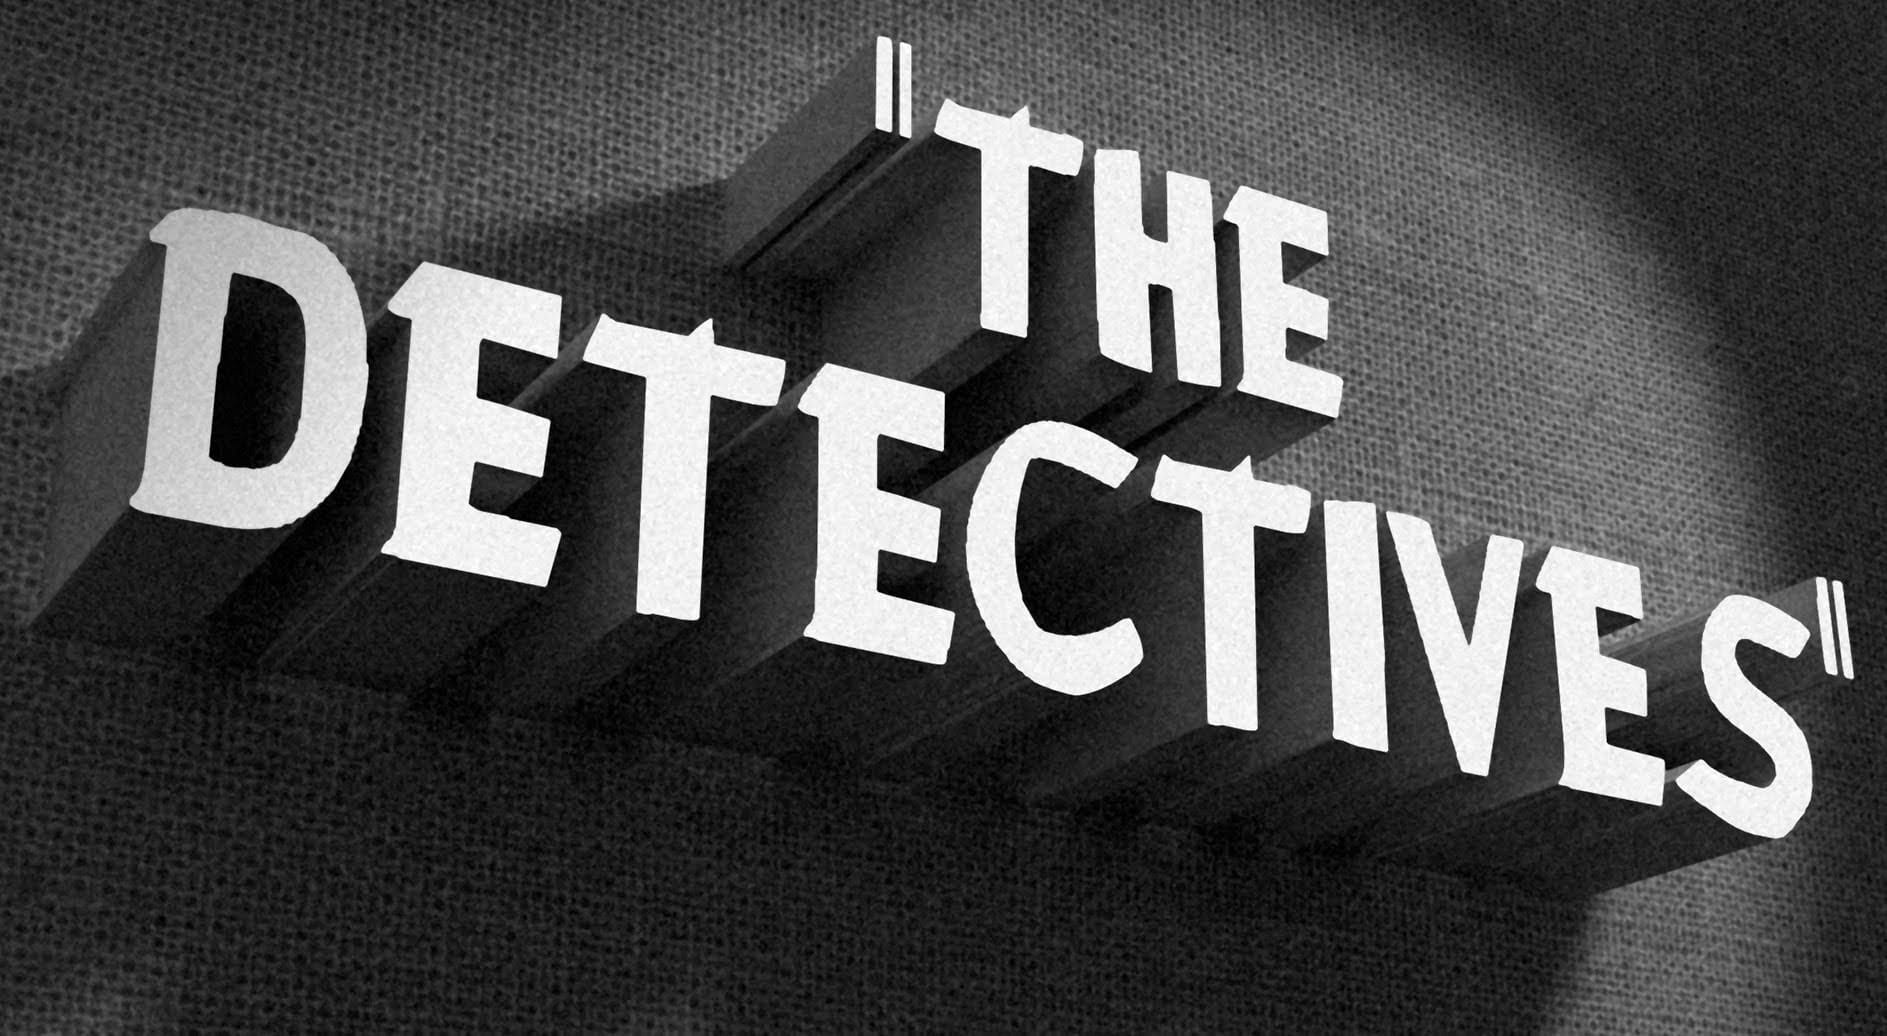
  • Bold, expressive typography: Titles were often large, angled, and layered, designed to be read quickly and convey excitement.
  • Dramatic, often exaggerated, imagery: Illustrations depicted action, suspense, or romance, frequently featuring heroes, villains, and damsels in distress.
  • Limited color palettes: Printing limitations often led to the use of strong, contrasting colors that popped off the page.

Recreating this aesthetic in modern digital design involves understanding these historical constraints and artistic choices. Designers can leverage Photoshop's tools to simulate the textures, printing imperfections, and stylistic flourishes that defined the original pulp art, bringing a nostalgic yet timeless quality to new projects.

Practical Tips for Vintage Magazine Cover Design

  • Utilize a template for foundational elements: Start with a pre-designed template to establish the basic layout, including the cover shape, textures, and publisher details.
  • Master text manipulation for impact: Adjust leading (space between lines) and kerning (space between characters) to create dynamic and visually appealing titles that mimic vintage typography.
  • Incorporate strokes and shadows for depth: Apply layer styles like Stroke and Drop Shadow to text and graphic elements to give them a classic, embossed, or layered appearance.
  • Employ the Transform Tool for authentic angles: Use Ctrl/Cmd + T and modifier keys (Ctrl/Cmd + Shift + Alt/Option) to angle and distort elements, replicating the often skewed and energetic layouts of pulp covers.
  • Apply color halftone filters for a retro print effect: Enlarge your image before applying the Color Halftone filter, then reduce it back to size, to achieve a pixelated, printed look reminiscent of old comic books or magazines.

Explore more tutorials and articles that delve into vintage design aesthetics and Photoshop techniques.

Designing a Magazine Cover in Photoshop
Magazine cover design combines typography, visual hierarchy, and image composition to create compelling editorial layouts that grab attention on crowded shelves. Modern magazine designs often feature bold typography that interacts dynamically with the cover subject, creating depth and visual interest through layering techniques. This tutorial demonstrates the complete process of designing a professional magazine cover in Photoshop, from initial setup to final details. You'll learn essential tec
How to Create a Vintage, Film Noir Movie Title in Photoshop
In this Photoshop tutorial by BlueLightning TV, you'll learn how to design and create a film noir movie opening title card, reminiscent of crime dramas from the 1940s and 1950s. The tutorial guides you through the process step-by-step, demonstrating techniques to achieve the classic film noir aesthetic using typography, textures, and atmospheric effects in Photoshop. Whether you're a fan of vintage cinema or looking to create a nostalgic title card for a project, this tutorial provides the ski
How to Make a 1920s, Jazz Age, Title Design from Scratch
In this Photoshop tutorial, Marty Geller from Blue Lightning TV walks you through the process of designing and creating a bold, 1920s-style Jazz Age title design. The tutorial covers everything from selecting the right fonts and colors to crafting a striking swirling marble background. By following along, you’ll learn how to capture the essence of the Jazz Age with vintage typography and elegant design elements, resulting in a visually captivating title design that evokes the glamour and sophis
Apply a vintage and gritty old paper effect to your photos in Photoshop
In this tutorial by Jobe from DR Design Resources, readers will learn a quick and easy technique to transform their photos into a vintage-inspired look with an old paper effect in Adobe Photoshop. The process involves using a texture of an old paper and applying it to the desired image. The author demonstrates how to apply this effect on two different images, one with a light background and one with a dark background. This straightforward method allows users to easily achieve a gritty, aged ae

Get tutorials & freebies delivered to you.

Subscribe to the Photoshop Roadmap newsletter, a weekly roundup of new tutorials, insights and quality downloads, trusted by 6500+ readers.

You might also like

How to Use AI Masking in Adobe Camera Raw for Professional Photo Editing

Adobe Camera Raw's AI masking tools automatically detect subjects, backgrounds, skies, and landscapes, letting you make precise adjustments to specific areas of your photos. These intelligent masks eliminate the need for manual selection work, while allowing you to combine and refine them for complete creative control. The technique...

How to Remove Objects from Photos Using AI Tools in Photoshop

Photoshop's AI-powered object removal tools can eliminate unwanted distractions from your photos with minimal effort. The Remove Tool and Generative Fill feature automated detection for common distractions like people and wires, plus manual painting options for custom removals. These tools work on separate layers, preserving your original image...

Speed Up Your Color Grading Workflow with Photoshop Actions

Color grading can transform your images, but manually adjusting curves and levels for every photo takes time. Photoshop actions offer a faster approach by applying professional color treatments with a single click. This workflow uses pre-built actions, tints, and LUTs to achieve various moods and styles instantly, letting you layer...

7 Essential Tips for Speed Painting in Digital Art

Speed painting isn't just about working faster—it's about eliminating friction from your creative process. These seven techniques help you get ideas onto canvas quickly without getting bogged down in unnecessary decisions or premature details. Whether you're exploring concepts for professional work or personal...

Professional Color Grading Techniques in Photoshop

Color grading transforms ordinary photos into compelling images with professional mood and atmosphere. These non-destructive techniques let you adjust tones, enhance specific colors, and create cinematic looks while preserving your original image data. Master these four essential color grading methods to develop a consistent editing workflow that elevates your photography....

How to Save Cut-Out Elements with Transparent Backgrounds in Photoshop

Creating seamless photo composites requires properly saving cut-out elements with transparent backgrounds. Whether you're extracting people, objects, or other elements for later use, the file format you choose determines how easily you can place these elements into new scenes. Two main approaches work best: saving as PSD files...

You’ve successfully subscribed to Photoshop Roadmap
Welcome back! You’ve successfully signed in.
Great! You’ve successfully signed up.
Success! Your email is updated.
Your link has expired
Success! Check your email for magic link to sign-in.