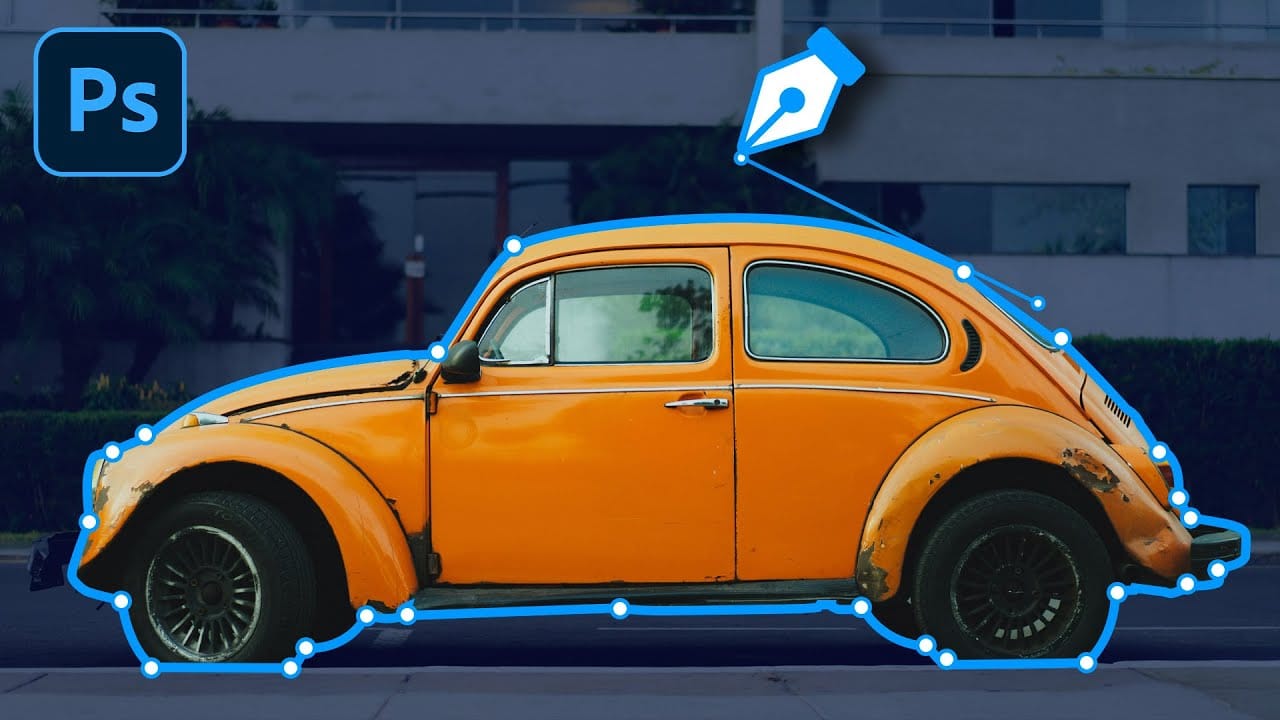
Vector-style illustrations capture the bold simplicity of poster art, transforming complex photographs into striking graphic statements. This technique creates clean, high-contrast images reminiscent of street art and propaganda posters.
This tutorial demonstrates how to achieve professional vector effects using Photoshop's built-in filters and adjustment layers, bypassing the traditional pen tool approach entirely.
Watch the Tutorial
Essential Tips for Vector-Style Effects
Master these key techniques to create clean, professional vector-style treatments:
- Use hard-edge masks without feathering to maintain sharp, vector-like boundaries throughout your image
- Apply the Hard Mix blend mode with solid color layers to automatically reduce your image to four distinct tonal values
- Layer multiple Oil Paint filters on smart objects to simplify details while preserving the image's natural contours
- Combine Black and White adjustment layers with Gradient Maps to precisely control color mapping at specific tonal values
- Use Shadows/Highlights adjustments before applying filters to reveal detail in dark areas and create a more illustrated appearance
Related Tutorials About Vector Graphics
Explore more techniques for creating professional vector-style artwork and precise selections.
Master Photoshop's Pen Tool in 5 Minutes
The Pen Tool in Photoshop intimidates many designers, yet it remains one of the most powerful selection and shape creation tools in the software. While other selection methods work well for simple shapes, complex objects with curves and precise edges demand the accuracy that only the Pen Tool can deliver.
This tutorial breaks down the essential Pen Tool techniques into digestible steps, covering anchor points, control arms, and path creation. By understanding these fundamentals, you'll gain the
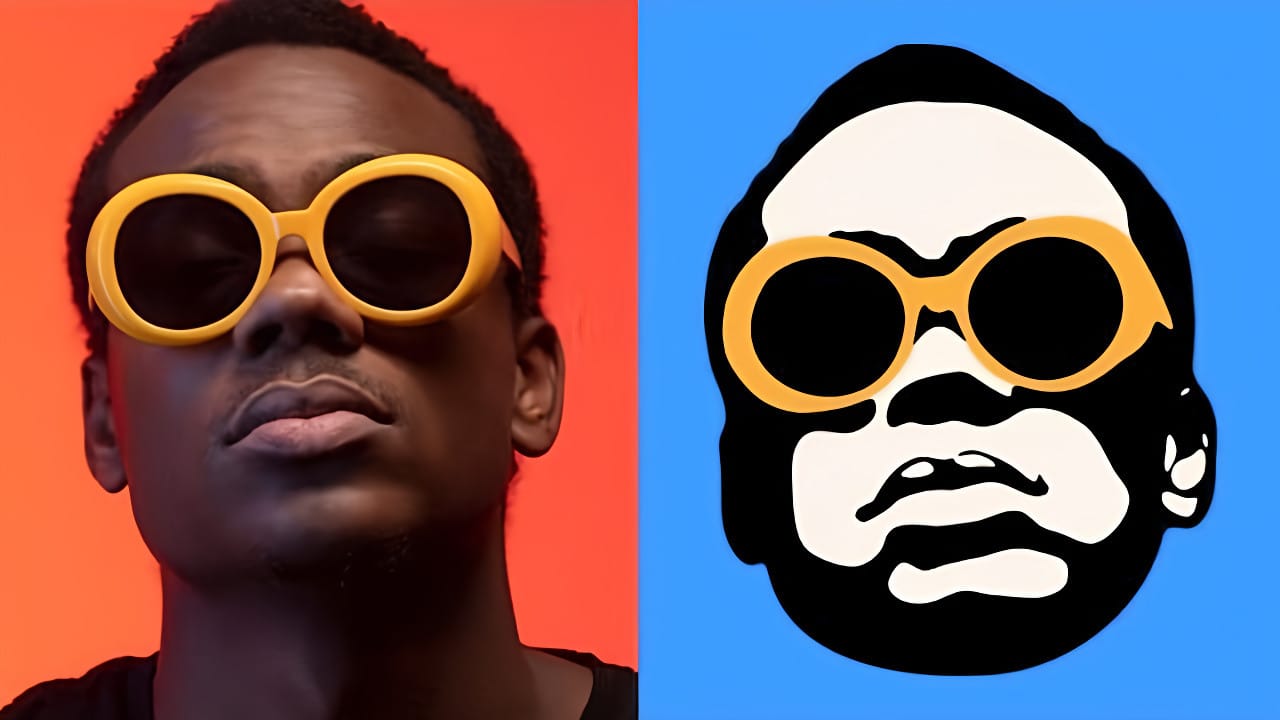
How to Create a Vector Stencil from a Portrait Using Photoshop and Illustrator
Stencil art transforms complex portraits into bold, graphic statements using just black and white shapes. This simplified aesthetic has defined everything from street art to commercial design, creating instantly recognizable images that work across any medium.
This tutorial demonstrates the complete workflow for converting a photograph into a clean vector stencil, combining Photoshop's image processing power with Illustrator's precision vector tools.
Watch the Tutorial
The Art of Stencil De
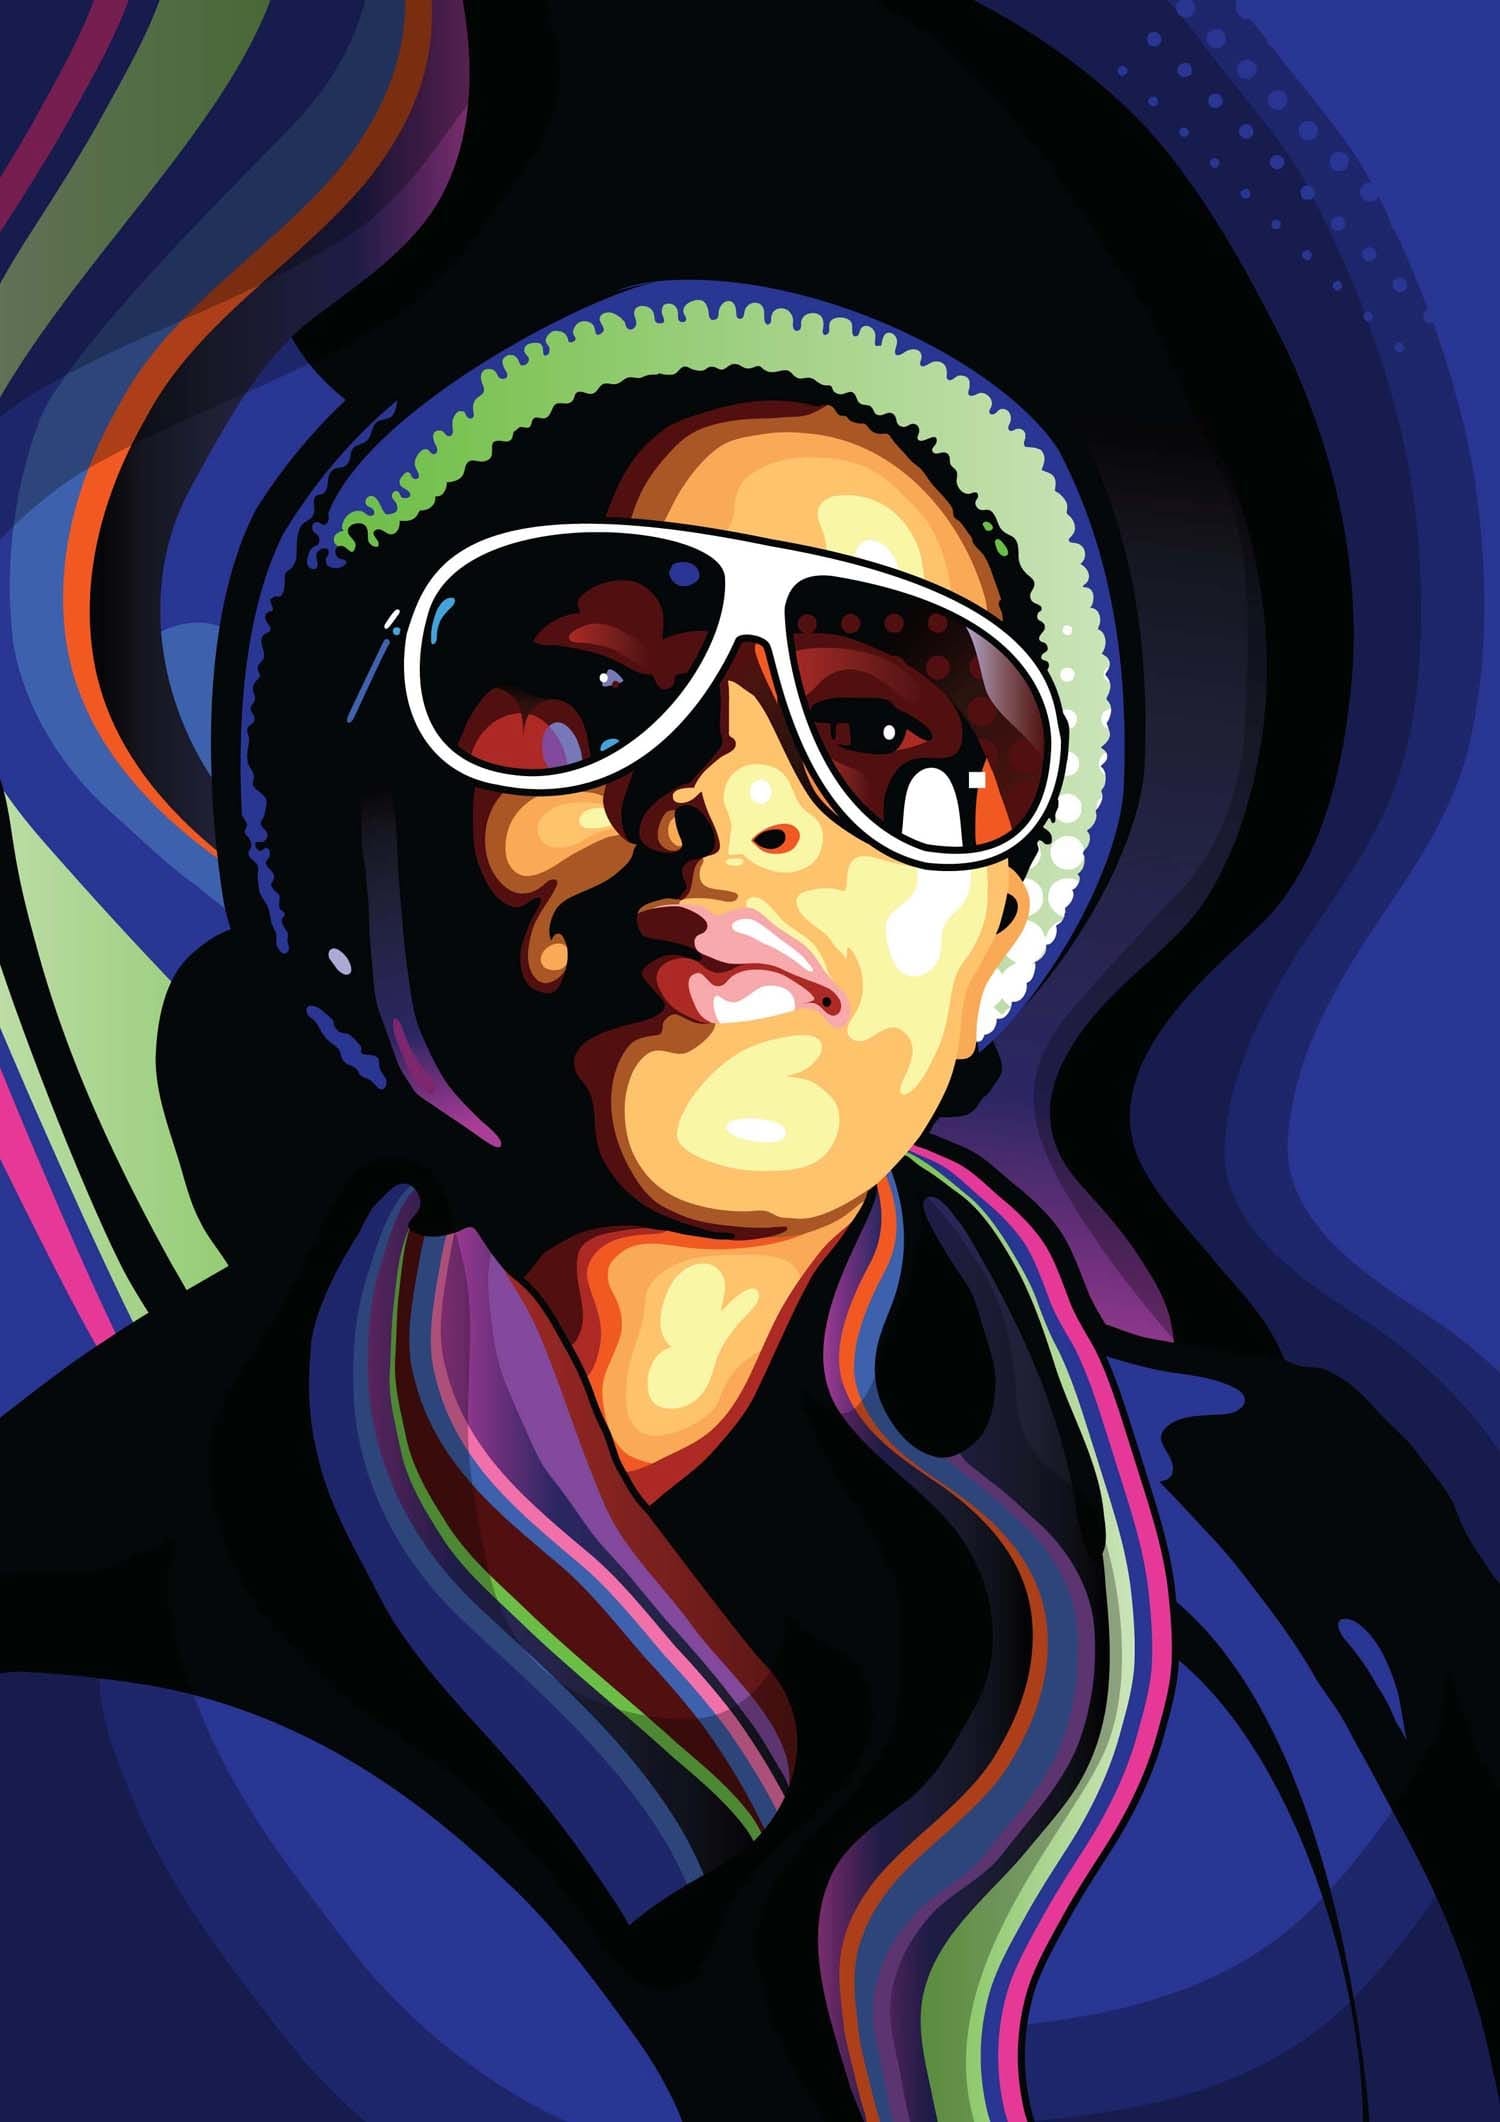
Create a stylish vector portrait in Illustrator and Photoshop
As you embark on your journey to transform a photo into a vibrant vector illustration, Eelco van den Berg guides you through the process step by step. In this tutorial, you'll learn how to make quick and easy Photoshop adjustments that lay the groundwork for converting your image into a stylized vector artwork.
Once you've prepared your artwork, you'll dive into Illustrator, where Eelco will show you how to use the essential tools to trace the basic shapes. By leveraging the power of layers, yo
5 Essential Pen Tool Tips for Better Photoshop Selections
Perfect selections separate amateur work from professional results in Photoshop. When quick selection tools fail on complex subjects with curves and intricate edges, the Pen Tool becomes your most precise option for creating flawless cutouts.
These five essential techniques transform the intimidating Pen Tool into a reliable selection method. Master these fundamentals to handle any subject, from smooth curves to sharp corners, with confidence and accuracy.
Watch the Tutorial
Understanding P