Transform plain text into a vibrant visual statement by integrating multiple photos with a unique splash effect. This tutorial guides you through combining images and text using advanced masking techniques to achieve a captivating design.
Watch the Video
Practical Tips for Photo Text Splash Effects
Achieve a seamless and dynamic photo text splash effect with these key Photoshop techniques:
- Create custom brushes from splash images to expand the visual impact of your text, adding unique texture.
- Use layer masks to blend multiple photos together, ensuring smooth transitions where images overlap.
- Employ a clipping mask to contain the merged photos within your chosen text, making them visible only through the letters.
- Rasterize the type layer after setting up the clipping mask to enable direct painting with custom splash brushes onto the text.
- Adjust the opacity of individual photo layers during placement to precisely align images with the text contours before merging.
Related Articles and Tutorials about Photo Effects
Discover more creative ways to enhance your images and text in Photoshop with these tutorials.
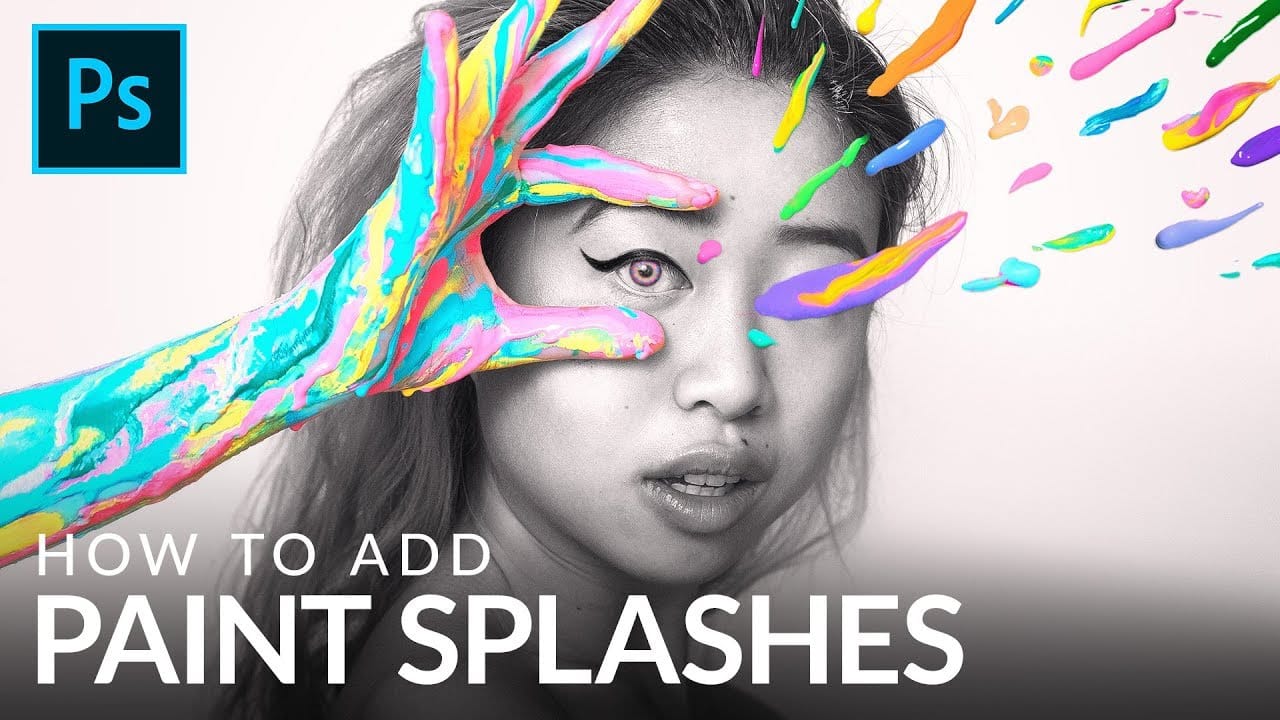
Create a Paint Splash Effect in Photoshop
In her visually striking conceptual portraits, Natalia Seth (@escapingyouth on Instagram) often incorporates a mesmerizing paint splash effect. In a recent tutorial, the talented artist shared her process, guiding viewers step-by-step through the creation of this captivating technique.
Natalia begins by capturing dynamic photos of paint splatters, carefully selecting the best moments to layer into her portrait compositions. Through strategic adjustments of color and light, she masterfully blend
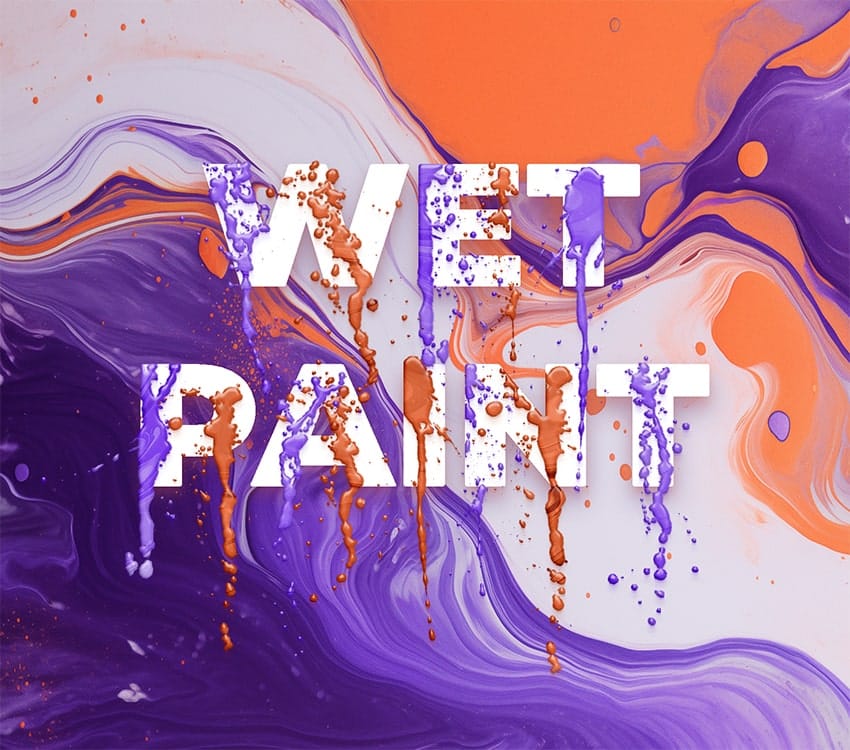
How to create a dripping paint text effect in Photoshop
In this tutorial, you will discover how to create a striking paint-dripping effect using Adobe Photoshop. This guide breaks down the process into clear, manageable steps, making it easy for you to follow along, regardless of your skill level.
First, you will start by preparing the base image, where you will add the paint element. Then, you’ll learn how to manipulate and position the paint to achieve the desired dripping effect. Each step includes helpful tips and tricks to enhance your work.
F
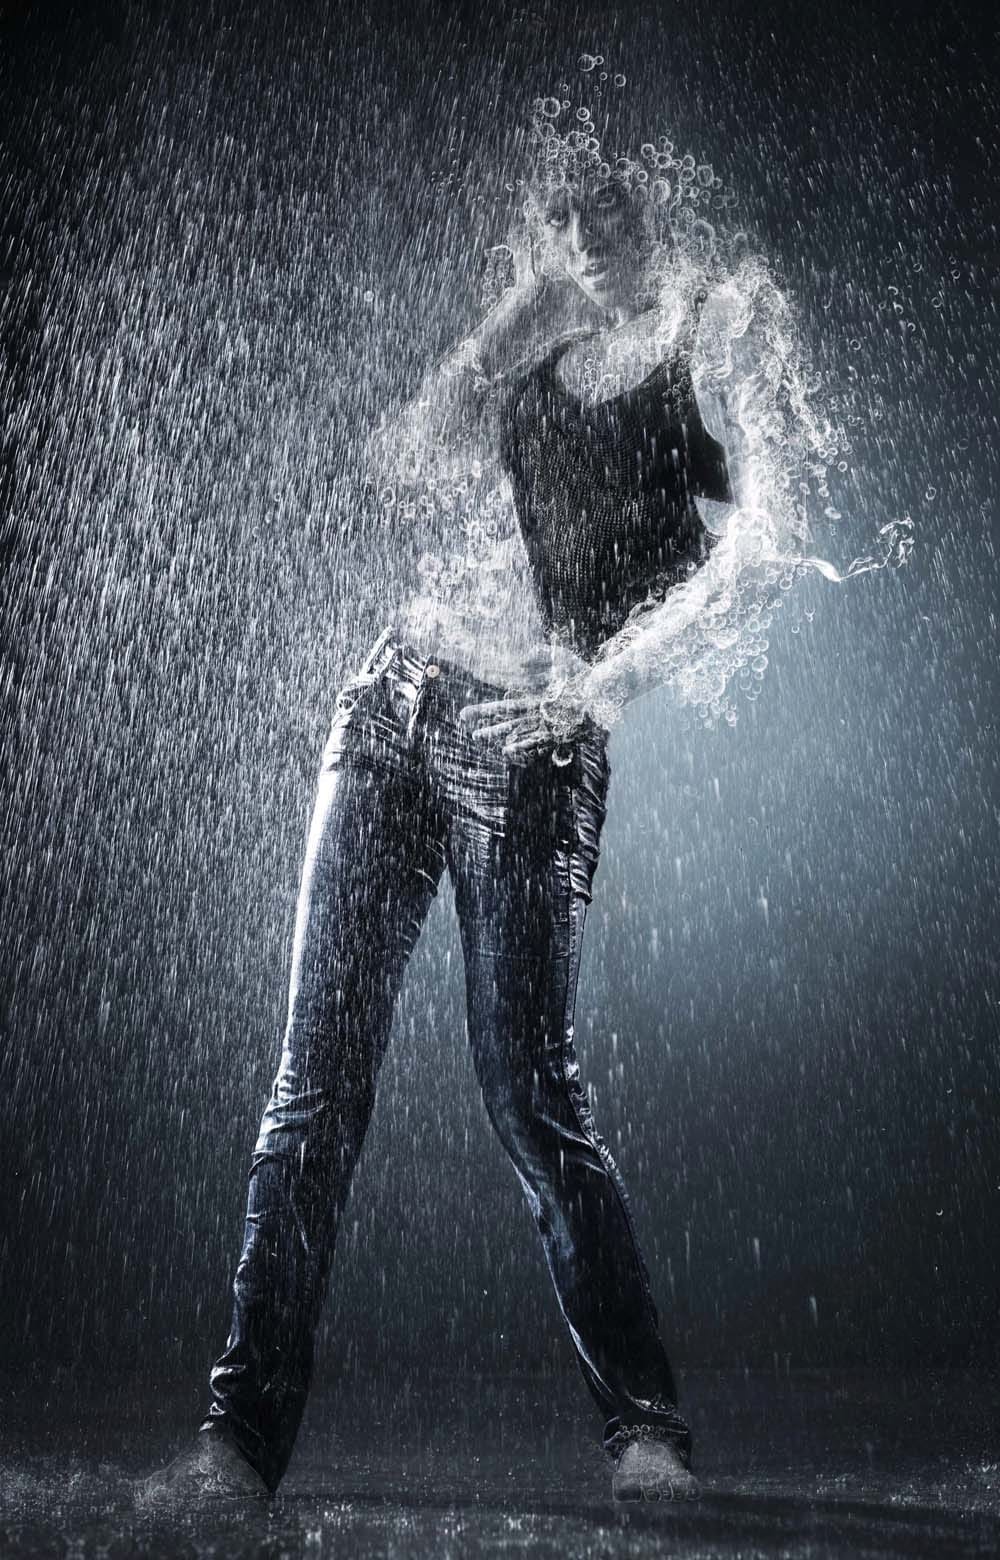
Paint Figures Using Splashing Water Effects in Photoshop
In this photo manipulation tutorial, Jennifer Cirpici introduces a method for creating a figure that appears to be made from water, using a stock photograph as the foundation. The process may seem complex, but Jennifer breaks it down into manageable steps, making it accessible to anyone interested.
Throughout the tutorial, you will learn various essential techniques, such as blending lighting and shadows effectively. She emphasizes the importance of establishing a focal point using gradients, w
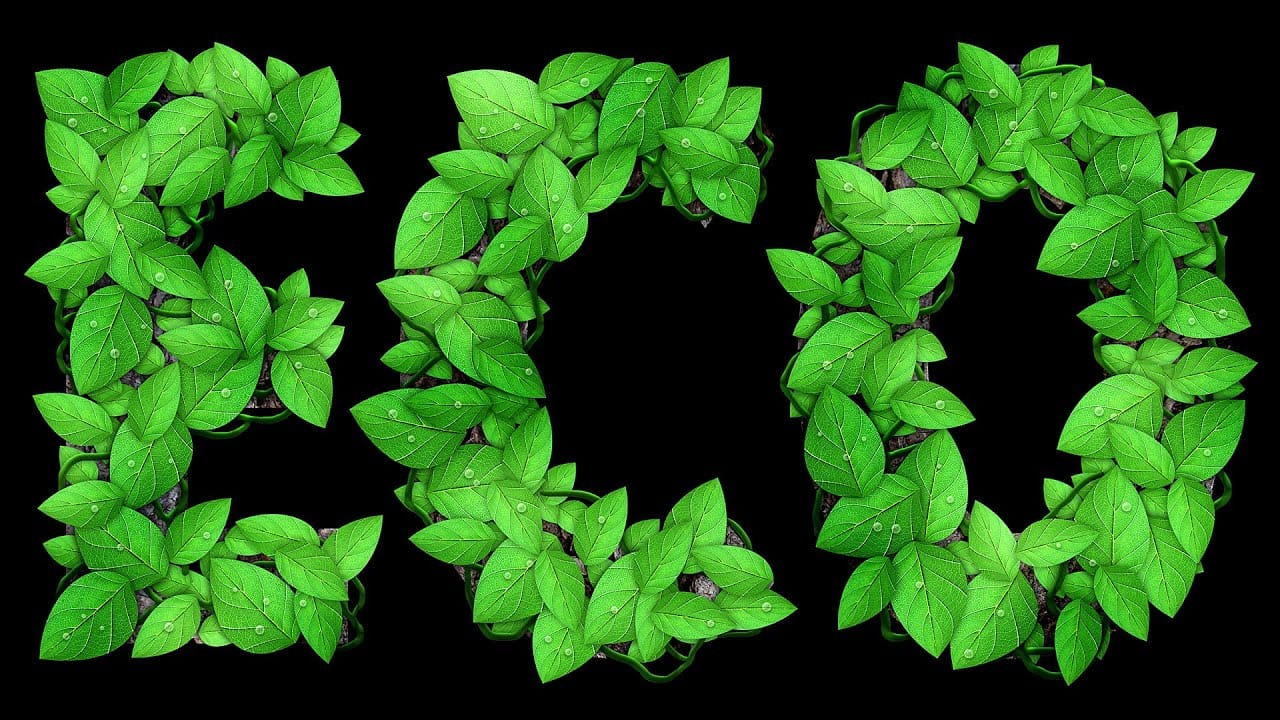
Leafy Text Effect Photoshop Tutorial
In this tutorial by Spoon Graphics, you'll learn how to create a text covered with leaves in Adobe Photoshop.
The tutorial guides you through the process of designing text made up of tiny leaves, vines, and water droplets. While the tools and techniques used are straightforward, the tutorial emphasizes the importance of patience in achieving a complex and detailed final result.
The outcome is a stunning and intricate piece of eco-themed artwork that showcases the beauty of nature.
Watch tutor