Creating convincing levitation effects requires careful planning during photography and skillful compositing in post-production. This technique combines multiple exposures of the same scene—one with your subject supported and another showing the clean background—then uses masking and blending to remove visible supports while maintaining realistic shadows and lighting.
The key to believable levitation lies in matching lighting conditions between shots and creating subtle shadows that ground the floating subject in the scene.
Watch the Video
Practical Tips
These essential techniques will help you create more convincing levitation effects:
- Take multiple reference shots with identical camera settings and lighting to ensure seamless compositing
- Use sturdy but easily removable supports like stools or ladders that can be cleanly masked out
- Match the lighting direction and intensity between your supported subject shot and clean background plate
- Create subtle drop shadows beneath floating subjects to maintain visual connection with the ground
- Keep layer masks organized and use multiple adjustment layers to fine-tune the final composite
Related Articles and Tutorials
Explore more advanced editing techniques and creative workflows.
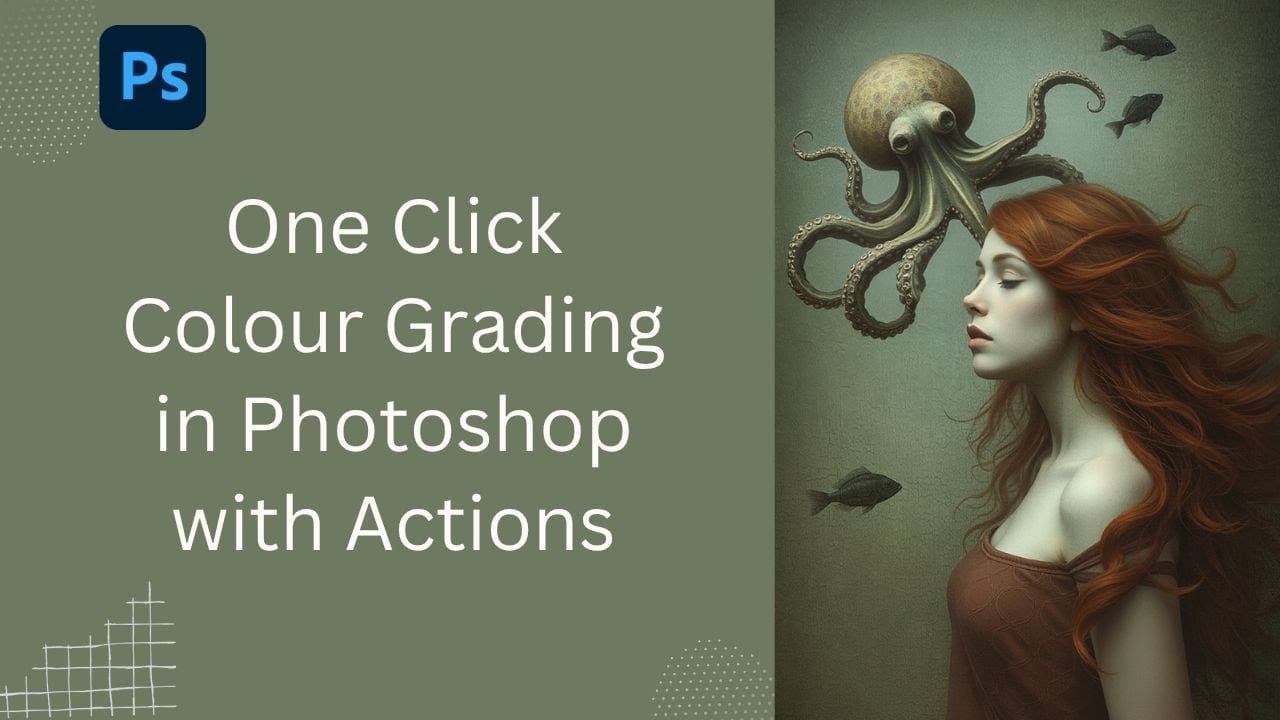
Speed Up Your Color Grading Workflow with Photoshop Actions
Color grading can transform your images, but manually adjusting curves and levels for every photo takes time. Photoshop actions offer a faster approach by applying professional color treatments with a single click.
This workflow uses pre-built actions, tints, and LUTs to achieve various moods and styles instantly, letting you layer multiple effects to build the exact look you want.
Watch the Tutorial
Practical Tips for One-Click Color Grading
* Set your Actions panel to button mode for fa
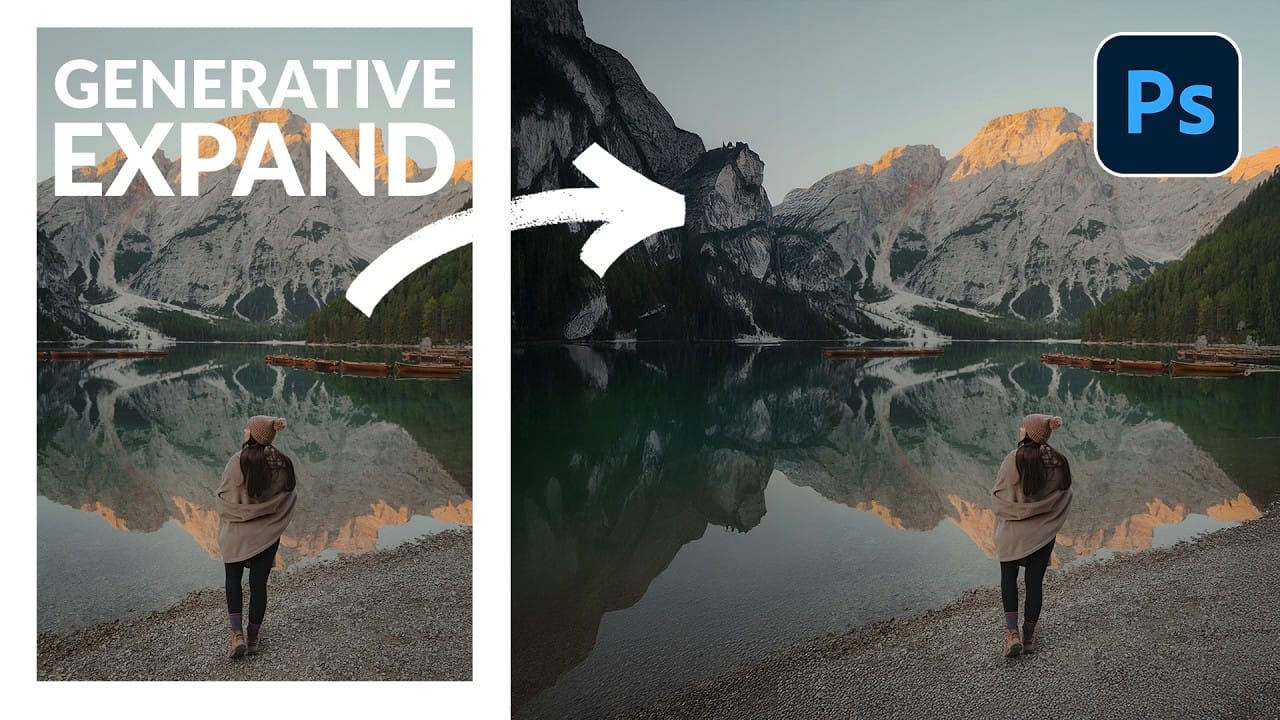
How to Expand Photos Beyond Their Edges Using AI Generative Expand in Photoshop
Sometimes your best photos need more breathing room or a different aspect ratio. Generative Expand in Photoshop lets you extend your canvas beyond the original image boundaries, using AI to intelligently fill in missing areas with content that matches your scene.
This technique works for changing portrait photos to landscape orientation, adding more space around subjects, or even changing the camera angle of existing photographs entirely.
Watch the Video
Practical Tips
These key techniques
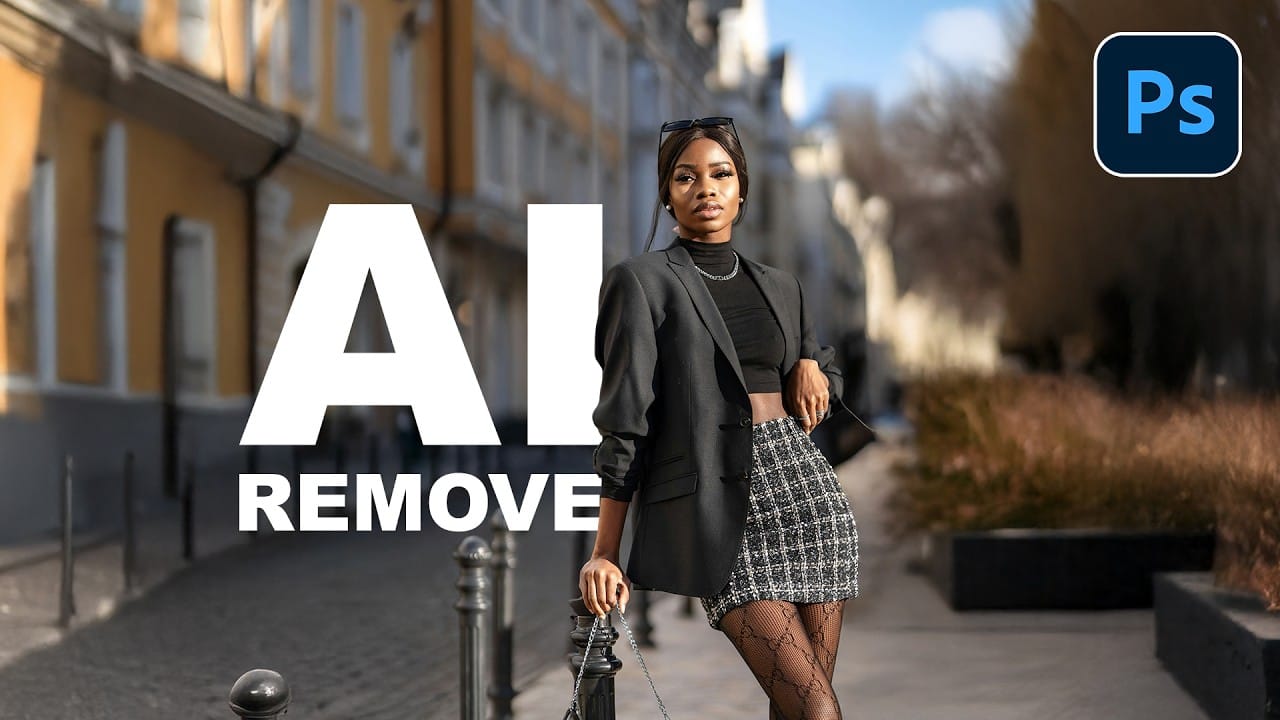
How to Remove Objects from Photos Using AI Tools in Photoshop
Photoshop's AI-powered object removal tools can eliminate unwanted distractions from your photos with minimal effort. The Remove Tool and Generative Fill feature automated detection for common distractions like people and wires, plus manual painting options for custom removals.
These tools work on separate layers, preserving your original image while giving you complete control over what gets removed and how the final result looks.
Watch the Video
Practical Tips
These key techniques will h
Artistic Photoshop Actions to Make Photography Fun
Photoshop actions are a simple way to speed up editing and give your photos a consistent look without spending hours on adjustments. From subtle color shifts to bold artistic transforms, actions can help you work faster and keep your style consistent across different projects.
They're useful for anyone who wants reliable one-click effects for portraits, landscapes, and creative photography.
Why Creative Fabrica?
You'll notice that all the actions in this roundup come from Creative Fabrica. T

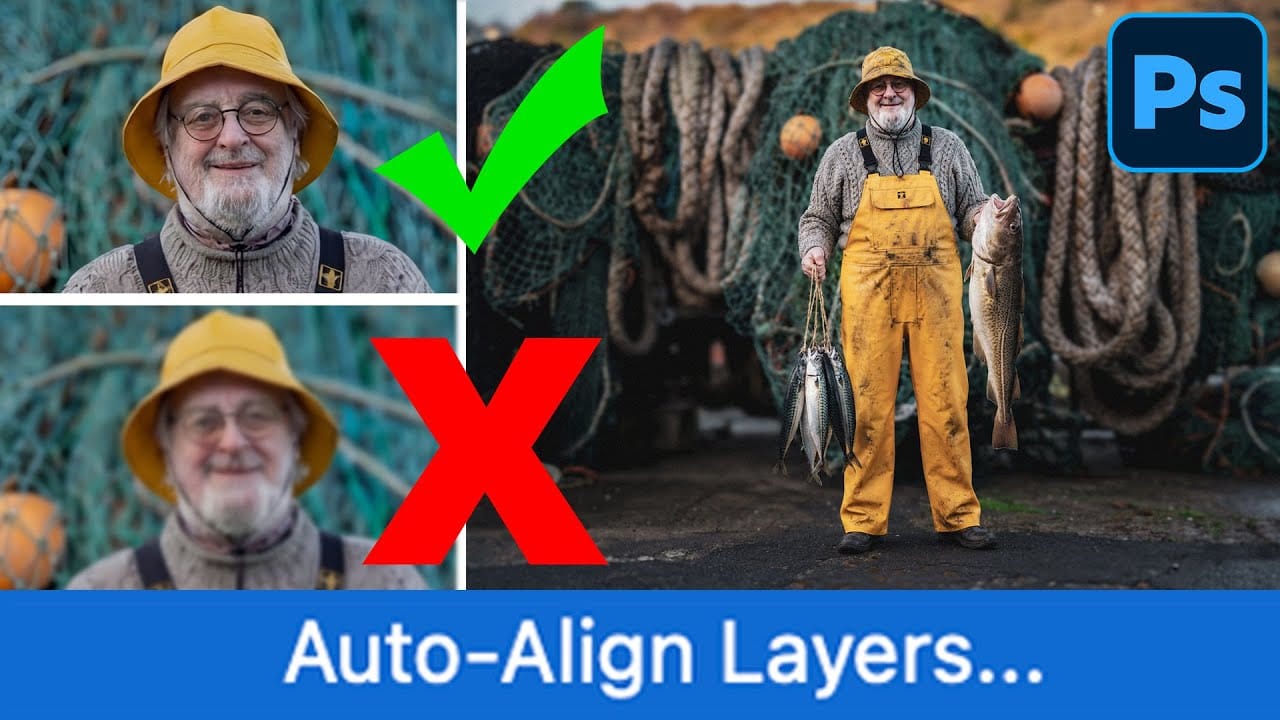
How to Use Auto Align Layers in Photoshop for Perfect Layer Alignment
When working with multiple layers that need perfect alignment, manual positioning often falls short. Slight camera movement, different crops, or rotated images can make precise alignment seem impossible through visual adjustment alone.
Auto Align Layers automatically handles rotation, scaling, and positioning to create perfect layer alignment, even when images have different dimensions or orientations.
Watch the Video
Practical Tips
These techniques will help you achieve perfect layer alig