Create Fake Rim Lights in Photoshop

Create Fake Rim Lights in Photoshop

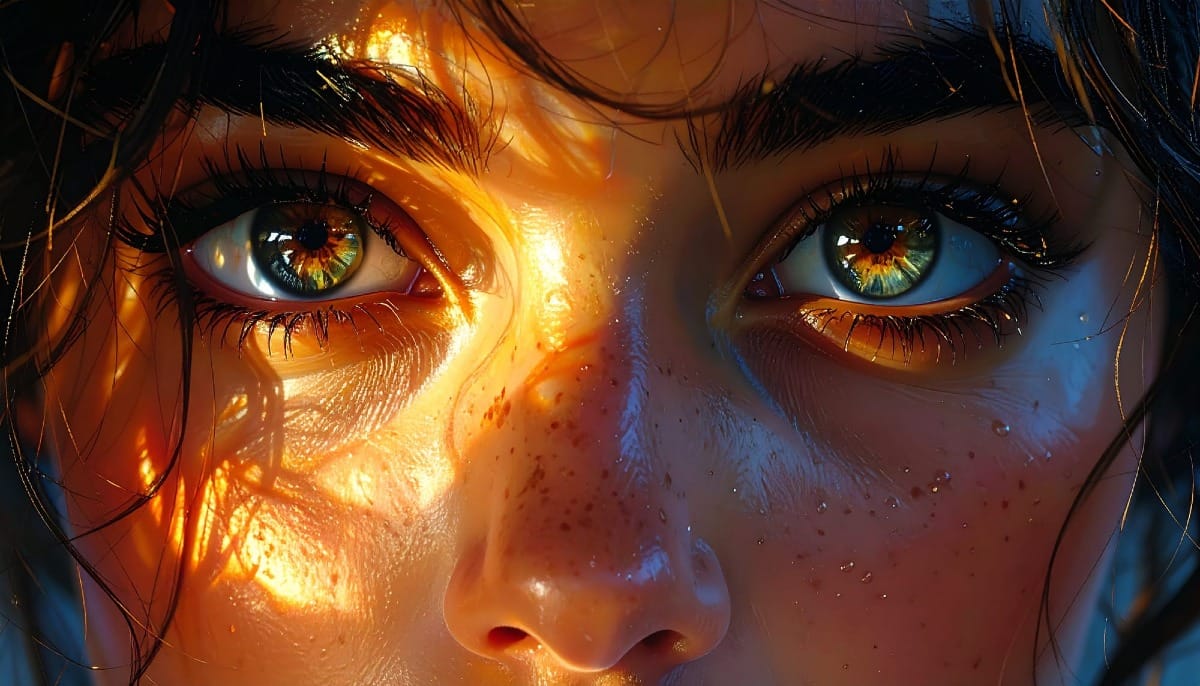
Rim lighting adds dramatic atmosphere to portraits by creating bright highlights around the edges of your subjects. This technique simulates light hitting the outer contours of people or objects, making them stand out from their background with realistic glowing effects.

Using Photoshop's Inner Glow layer style with the Color Dodge blend mode, you can create convincing rim lights that wrap naturally around your subjects, then fine-tune the placement with layer masks for professional results.

Watch the Video

Video by Glyn Dewis. Any links or downloads mentioned by the creator are available only on YouTube

Practical Tips

These key techniques will help you create more realistic rim lighting effects:

  • Use Color Dodge blend mode at 100% opacity for the strongest lighting effect that maintains natural color transitions
  • Keep the color picker slightly below maximum brightness to avoid overly harsh, unrealistic highlights
  • Convert layer styles to separate layers using "Create Layer" to add custom layer masks for precise control
  • Paint rim lights selectively with a soft brush to avoid overlapping highlights in areas like hands and arms
  • Create additional light source effects by painting straight lines with Color Dodge blend mode and duplicating layers

Explore more advanced lighting and compositing techniques for your photo editing workflow.

How to Use Nano Banana Pro in Adobe Firefly for Advanced AI Image Generation
Adobe Firefly now includes Gemini 3 with Nano Banana Pro, offering sharper 2K image generation with improved text clarity and precision blending. This advanced AI model works seamlessly within Firefly's generative workspace, enabling powerful workflows like multi-image composition and virtual try-on effects. The integration provides access to sophisticated presets and reference image capabilities that go beyond basic Photoshop workflows, making complex generative tasks simple and intuitive. W
How to Expand Photos Beyond Their Edges Using AI Generative Expand in Photoshop
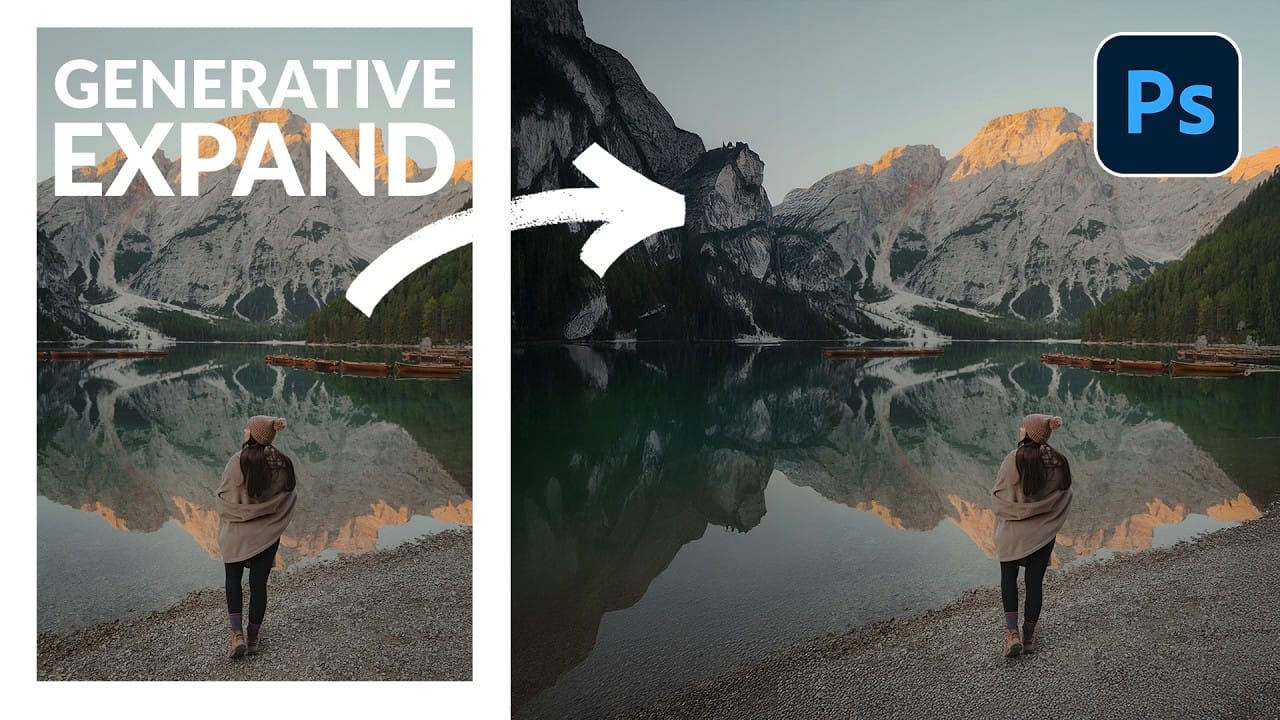
Sometimes your best photos need more breathing room or a different aspect ratio. Generative Expand in Photoshop lets you extend your canvas beyond the original image boundaries, using AI to intelligently fill in missing areas with content that matches your scene. This technique works for changing portrait photos to landscape orientation, adding more space around subjects, or even changing the camera angle of existing photographs entirely. Watch the Video Practical Tips These key techniques
How to Remove Objects from Photos Using AI Tools in Photoshop
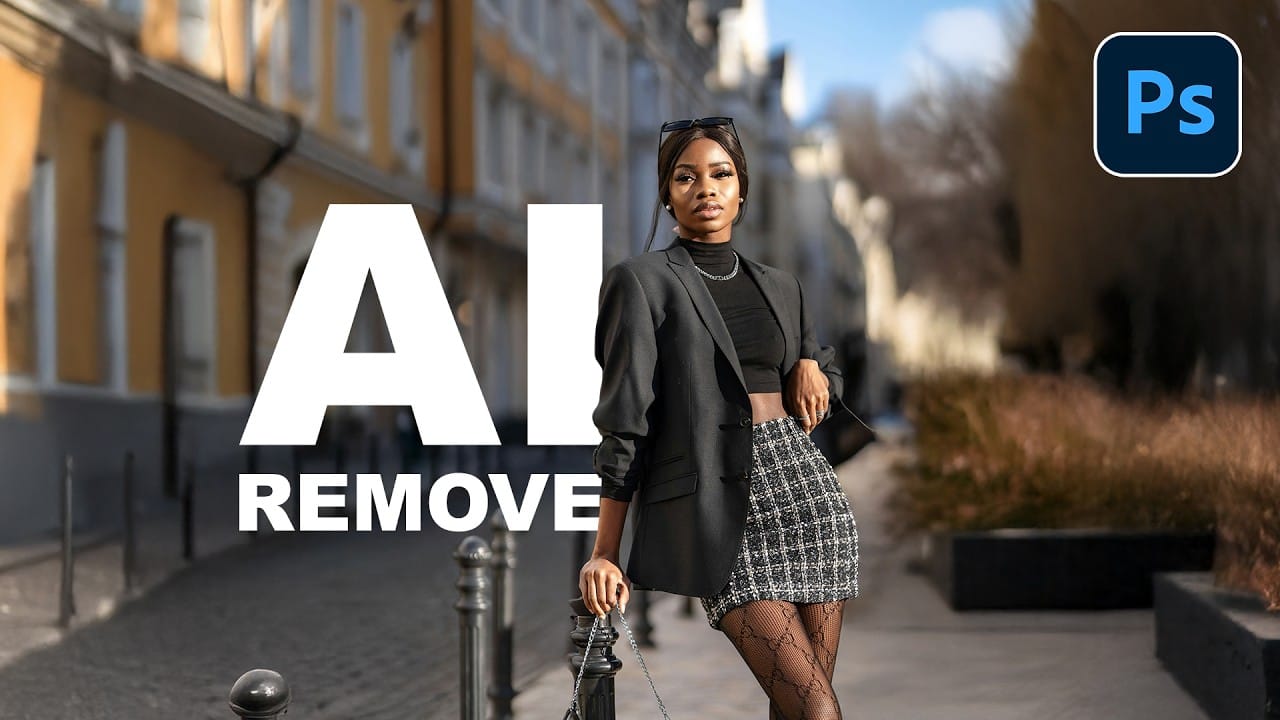
Photoshop's AI-powered object removal tools can eliminate unwanted distractions from your photos with minimal effort. The Remove Tool and Generative Fill feature automated detection for common distractions like people and wires, plus manual painting options for custom removals. These tools work on separate layers, preserving your original image while giving you complete control over what gets removed and how the final result looks. Watch the Video Practical Tips These key techniques will h
How to Create Typographic Portraits Using AI in Photoshop with Gemini 3
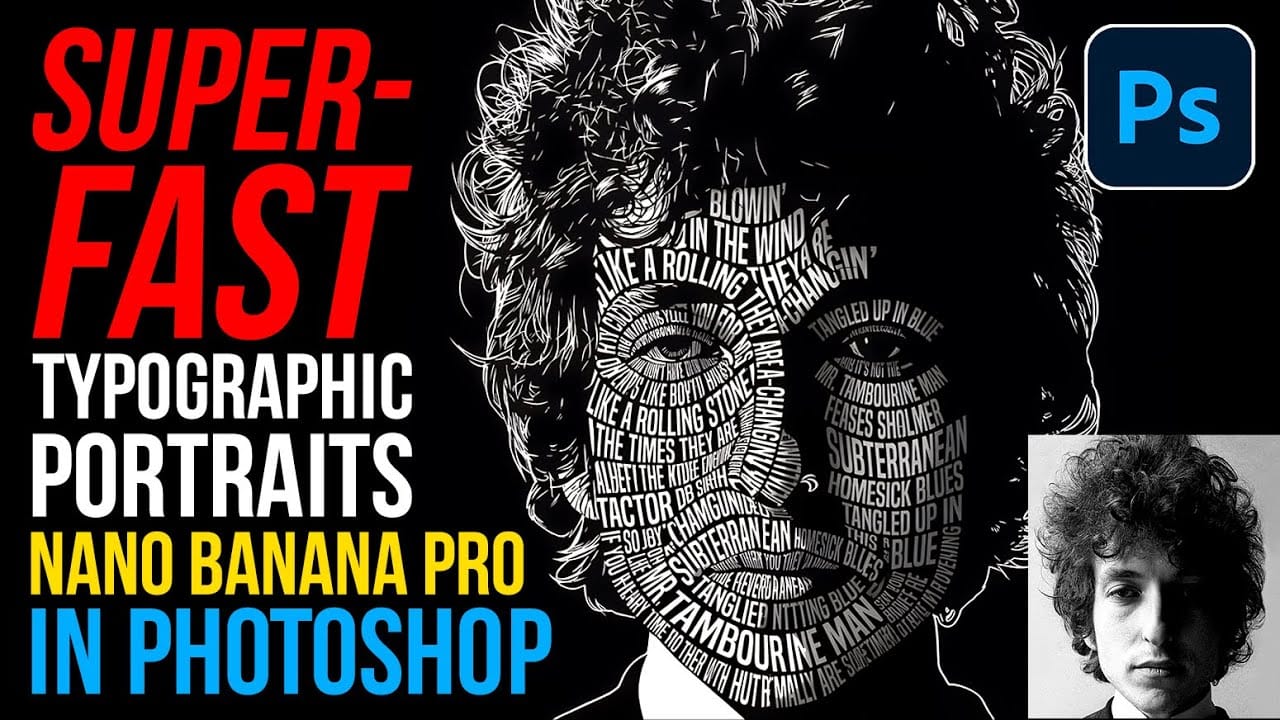
Typographic portraits transform ordinary photos into striking vector-style graphics where flowing text wraps naturally around facial contours and features. This AI-powered technique uses two strategic prompts to first create a high-contrast version of your portrait, then fills it with customizable text that follows the curves and shadows of the face. The process works with any portrait photo, whether color or black and white, and takes just minutes to complete using the advanced capabilities of
Artistic Photoshop Actions to Make Photography Fun
Photoshop actions are a simple way to speed up editing and give your photos a consistent look without spending hours on adjustments. From subtle color shifts to bold artistic transforms, actions can help you work faster and keep your style consistent across different projects. They're useful for anyone who wants reliable one-click effects for portraits, landscapes, and creative photography. Why Creative Fabrica? You'll notice that all the actions in this roundup come from Creative Fabrica. T

Get tutorials & freebies delivered to you.

Subscribe to the Photoshop Roadmap newsletter, a weekly roundup of new tutorials, insights and quality downloads, trusted by 6500+ readers.

You might also like

Painting Digital Art Backgrounds: Techniques and Workflow

A well-crafted background can anchor an entire digital painting, providing atmosphere, depth, and visual context for the subject. This video demonstrates practical approaches to building backgrounds from scratch using digital tools, covering brush selection, color layering, and compositional thinking. Watch the Video Practical Tips Keep these core principles in...

How to Use the Light Adjustment Layer in Photoshop

Photoshop's new Light adjustment layer brings Camera Raw controls — exposure, contrast, highlights, shadows, whites, and blacks — directly into the layers panel as a fully non-destructive, maskable layer. This means you can stack multiple light adjustments, target specific subjects, and combine them with Blend If and other adjustment...

How to Use Object Selection, Remove Background, and the Selection Brush in Photoshop

Selections determine the quality and flexibility of almost every edit you make in Photoshop. Three modern tools — the Object Selection tool, Remove Background with Harmonize, and the Selection Brush — handle the most common selection tasks with far less manual effort, while keeping your original image intact through non-destructive layers....

How to Paint a Digital Background and Composite Wildlife Into It

Building a painted digital background from scratch gives you full control over color, mood, and composition before a single wildlife photo is placed. This walkthrough covers the complete process: blocking in shadows on a black canvas, layering foliage with textured brushes, positioning bird subjects on hand-painted stones, and using...

How to Sharpen Skin Texture Using Frequency Separation in Photoshop

Retouched skin can look great up close but lose all its natural texture the moment you zoom out. Rather than relying on standard sharpening filters, you can recover that texture by duplicating the high-frequency layer inside a frequency separation setup — a method that works whether or not you'...

You’ve successfully subscribed to Photoshop Roadmap
Welcome back! You’ve successfully signed in.
Great! You’ve successfully signed up.
Success! Your email is updated.
Your link has expired
Success! Check your email for magic link to sign-in.