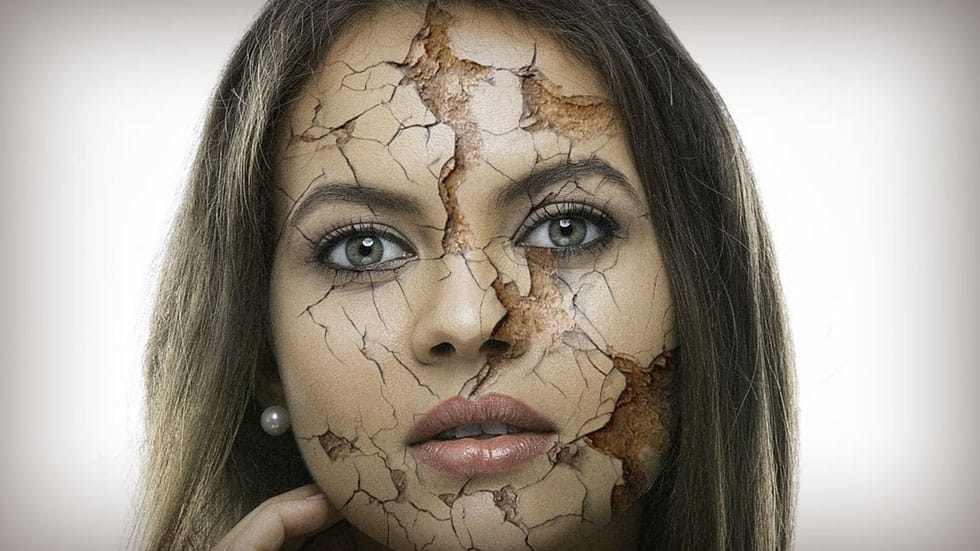
Dramatic skin effects transform ordinary portraits into striking visual narratives. The cracked skin technique combines texture photography with advanced blending methods to create the illusion of deteriorating or peeling facial features.
This tutorial demonstrates how to blend crack textures with portrait photography using warping tools, layer masks, and strategic blending modes to achieve realistic results.
Watch the Tutorial Part I and II
Video by PHLEARN. Any links or downloads mentioned by the creator are available only on YouTube
Video by PHLEARN. Any links or downloads mentioned by the creator are available only on YouTube
Practical Tips for Cracked Skin Effects
Success with texture blending depends on careful preparation and strategic tool usage.
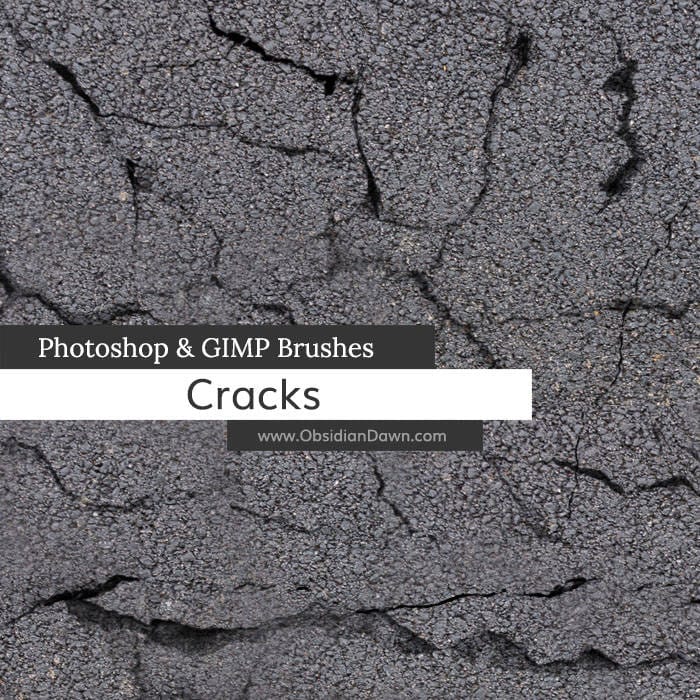
- Choose crack textures that match the scale and lighting direction of your portrait subject
- Use the Warp tool first to roughly conform the texture to facial contours before applying Liquify
- Apply freeze masks in Liquify around key facial features like eyes and nose to create realistic edge interactions
- Use multiply blending mode to eliminate white areas while preserving dark crack details
- Adjust texture colors with clipped Hue/Saturation layers to match skin tones naturally
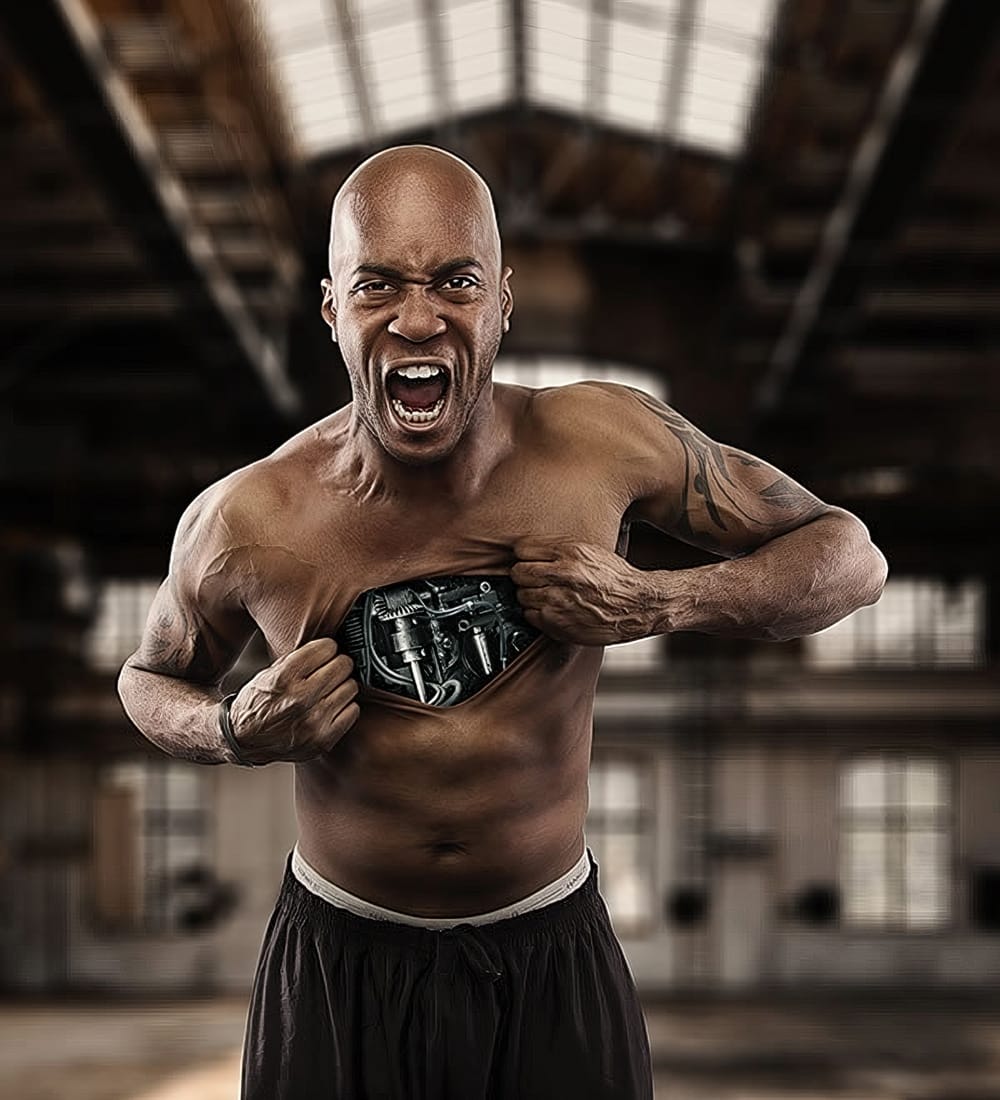
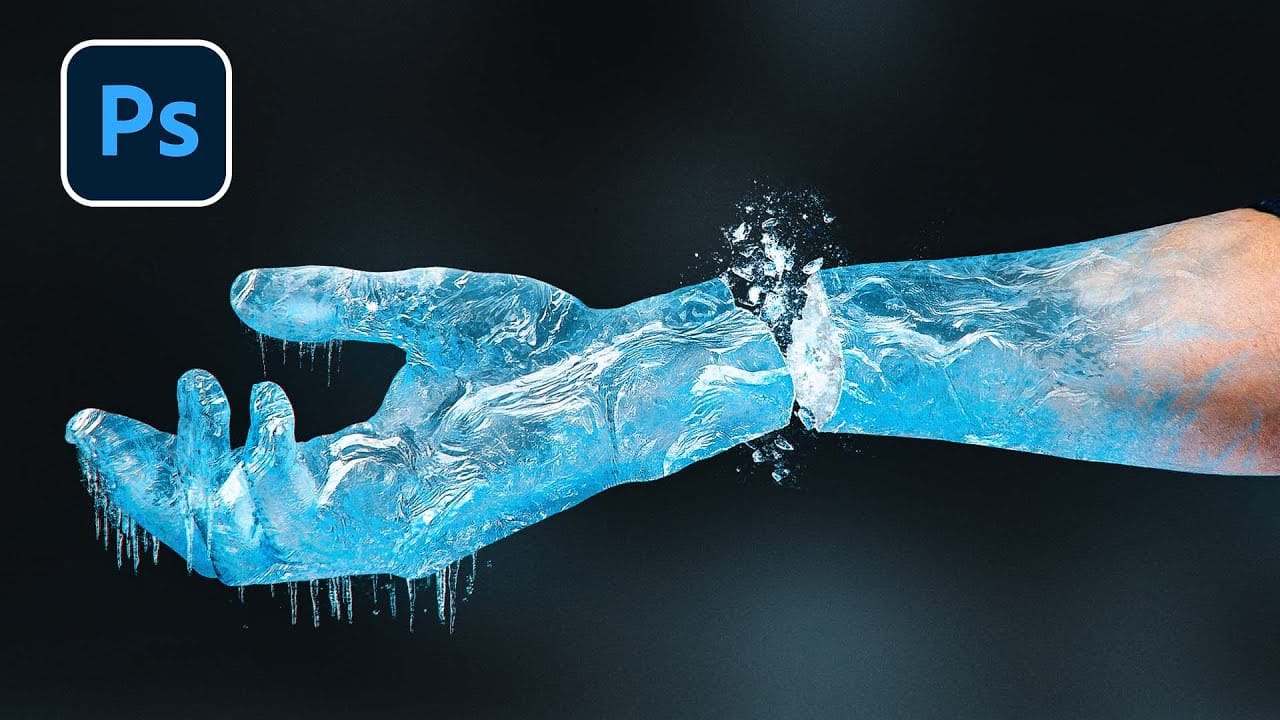
Related Articles and Tutorials about Photoshop Skin Effects
Explore more advanced techniques for creating dramatic portrait transformations.