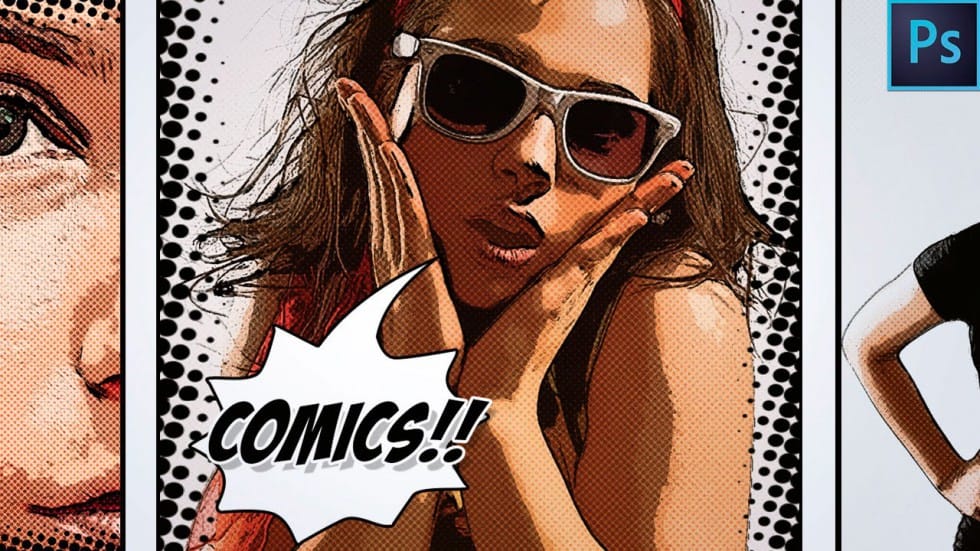
This video demonstrates how to create a custom cartoon pop art poster in Adobe Photoshop from start to finish. It covers essential techniques for achieving a vibrant, comic-book aesthetic, including document setup, dynamic background design, color palette application, and text stylization to produce a striking visual composition.
Watch the Full Tutorial
Video by Blue Lightning. Any links or downloads mentioned by the creator are available only on YouTube
Practical Tips for Pop Art Poster Design
- Establish document settings with appropriate resolution (e.g., 150 pixels/inch) and color mode (RGB at 8 bits) for vibrant digital display and potential print quality.
- Utilize Photoshop's Custom Shape and Polygon tools to create intricate background patterns and starburst effects, varying fill colors and indent percentages for visual depth.
- Precisely align multiple shape layers using the Move Tool's horizontal and vertical center alignment options to ensure a balanced composition.
- Apply Layer Styles like Stroke and Drop Shadow to text for enhanced readability and a comic-book-inspired graphic punch, adjusting parameters for visual impact.
- Convert text layers to a
Smart Objectbefore applying certain filters or layer styles, allowing for non-destructive edits and consistent application across elements.
More Tutorials about Pop Art and Poster Design
Explore additional resources to deepen your understanding of graphic design principles and techniques for creating impactful visual art.
Crafting a Typographic Poster in Adobe Photoshop
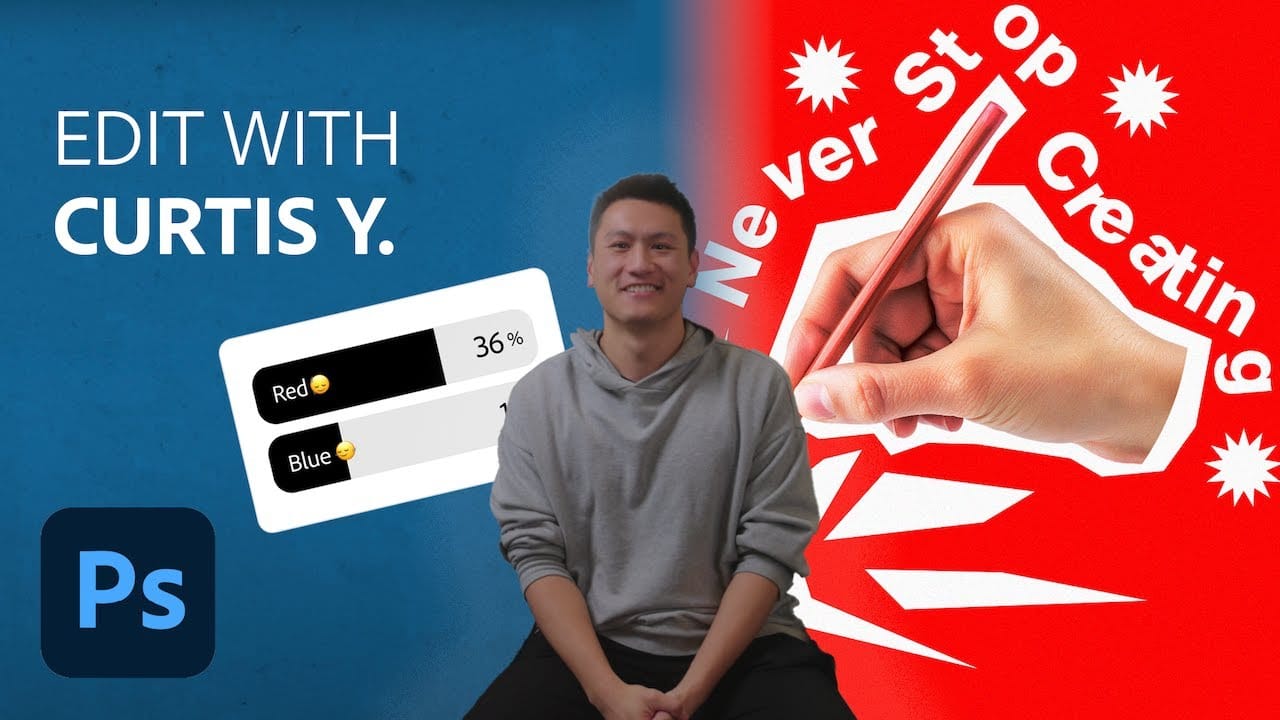
Join Adobe’s UX Growth Designer, Curtis Ying, as he transforms a Swiss Typographic poster through an engaging design process. With the input from the Instagram community, this presentation showcases how he carefully selects a bold red background that sets the tone for the entire piece.
Throughout the process, Curtis shares his techniques for integrating organic shapes and text that harmoniously flow within the design. Utilizing various Photoshop tools, he guides you step-by-step, making it easy
Learn how to make a Pop Art portrait from a photo in Photoshop
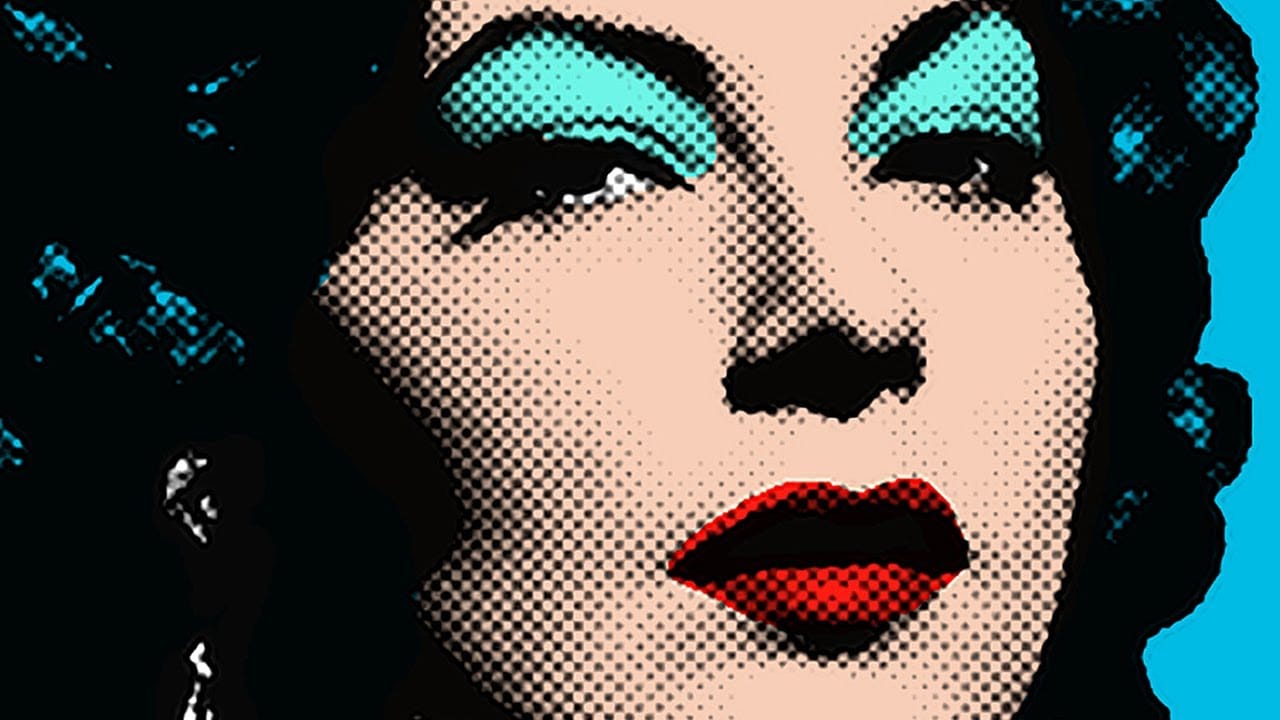
This video tutorial by Marty from Blue Lightning TV focuses on creating a pop art portrait from a photo using Adobe Photoshop. It provides an easier and faster method to achieve this artistic effect. T
he key takeaways include using the selection and paint bucket tools to separate the subject from the background, applying halftone and sharpen filters, and employing different blend modes and colors to create the pop art style.
Overall, this technique allows users to produce creative pop art por
How to Create a Pin-Up Poster in Photoshop
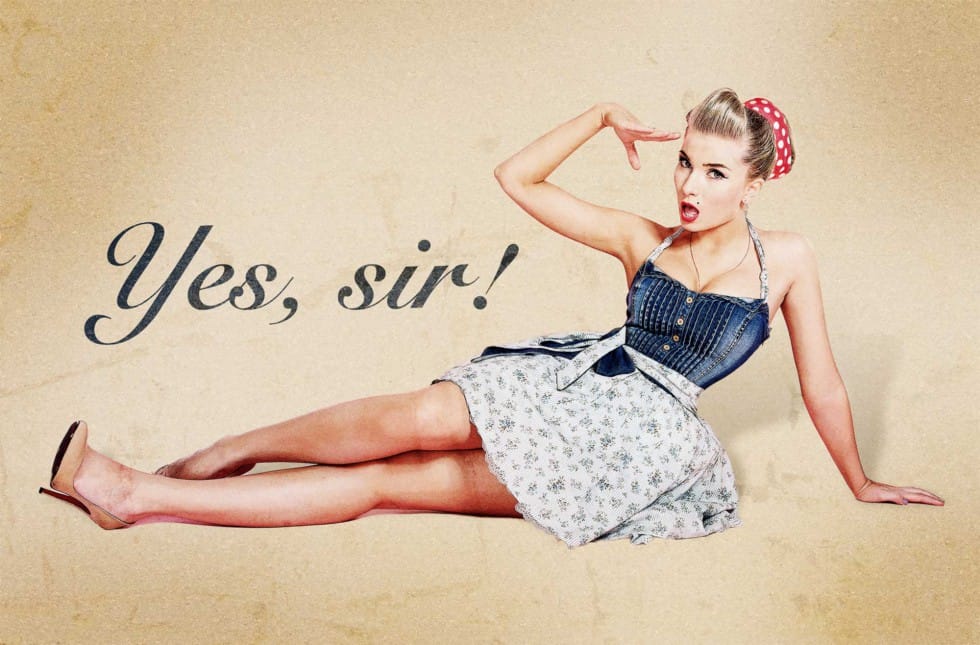
In this Photoshop tutorial, the author, Howard Pinsky, guides readers through the process of creating an old-fashioned pin-up poster. The tutorial emphasizes the use of various Photoshop tools, including filters, adjustment layers, selection methods, and textures, to achieve the desired vintage aesthetic.
The author begins by explaining the importance of selecting the right image as the foundation for the poster. He then walks the reader through the steps of applying filters and adjustment laye
How to Make a Comic Book Cartoon Effect From a Photo in Photoshop
The author provides a step-by-step guide on how to transform a regular photo into a comic book-style cartoon effect using Adobe Photoshop. They explain the process of applying various filters and techniques to achieve the desired look.
The tutorial starts by discussing the importance of selecting the right photo for the comic book effect. The author suggests choosing an image with a clear subject and good contrast. They then guide the reader through the process of applying filters and adjustmen