Create a Car Illustration Effect From a Photo in Photoshop

Create a Car Illustration Effect From a Photo in Photoshop

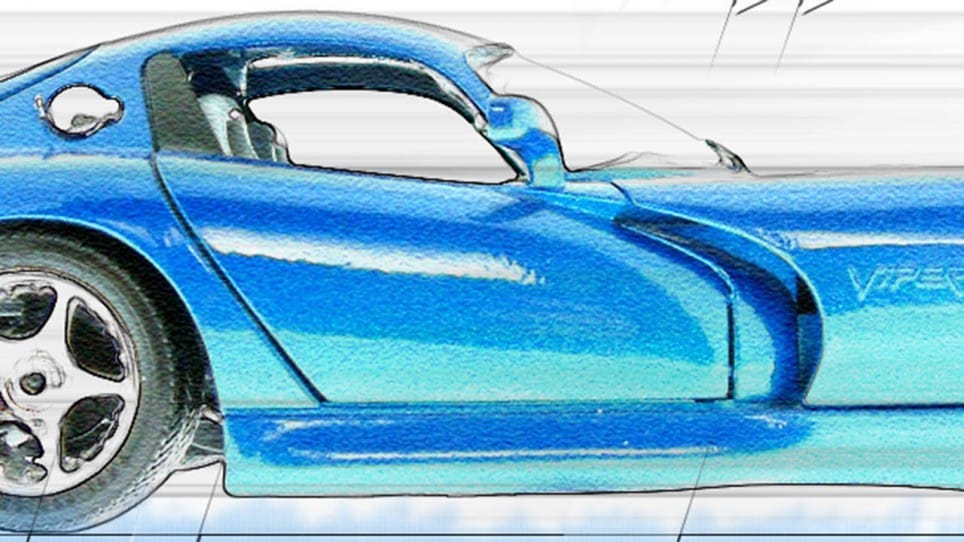
The Glowing Edges filter transforms car photography into line art with surprising precision. Marty from Blue Lightning TV demonstrates how this often-overlooked Photoshop filter creates clean pencil-like outlines when combined with specific edge width and smoothness settings. Instead of relying on complex selection methods or manual tracing, the technique leverages filter combinations and strategic layer blending to achieve professional illustration results.

This approach combines traditional automotive poster aesthetics with modern digital watercolor effects. The tutorial covers everything from initial photo preparation through final watercolor brush application, showing how motion blur creates dynamic speed lines and how custom typography complements the overall design. The method works particularly well for side-view car photography, offering a complete workflow for automotive illustration projects.

Watch the Tutorial

Video by Blue Lightning. Any links or downloads mentioned by the creator are available only on YouTube

Understanding Filter-Based Illustration Techniques

Traditional automotive illustration requires extensive drawing skills and significant time investment. Digital filter techniques democratize this process by automating the most challenging aspects: edge detection and line creation. The Glowing Edges filter analyzes contrast boundaries within images, extracting clean line work that mimics hand-drawn illustrations.

The key lies in understanding how different filters interact with photographic content. Texturizer filters add surface quality that accepts watercolor effects naturally, while Motion Blur creates directional energy that suggests movement and speed. These filters work best when applied in sequence, with each layer serving a specific visual purpose in the final composition.

Modern automotive poster design often combines precise technical illustration with expressive artistic elements. This hybrid approach allows designers to maintain photographic accuracy while adding creative flair through typography, color schemes, and textural effects that capture the emotional appeal of automotive subjects.

Practical Tips for Car Photo Illustrations

  • Set document resolution to 150 pixels per inch for optimal filter performance and print quality
  • Use Threshold adjustments around 215 to maintain recognizable car details while simplifying line work
  • Apply Motion Blur between 900-950 pixels at 0 degrees angle for effective speed line effects
  • Experiment with Glowing Edges settings (Edge Width: 1, Brightness: 6, Smoothness: 7) based on your source photo contrast
  • Choose watercolor brushes from the Wet Media Brushes set at 300+ pixels for authentic paint texture

Explore more comprehensive watercolor techniques and photo manipulation methods.
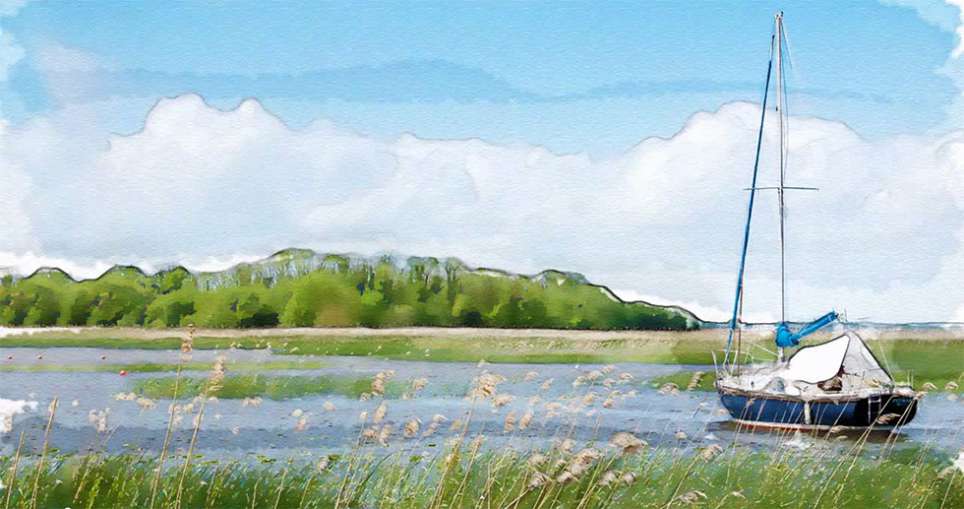
Learn How to Create a Watercolor Photo Effect in Photoshop
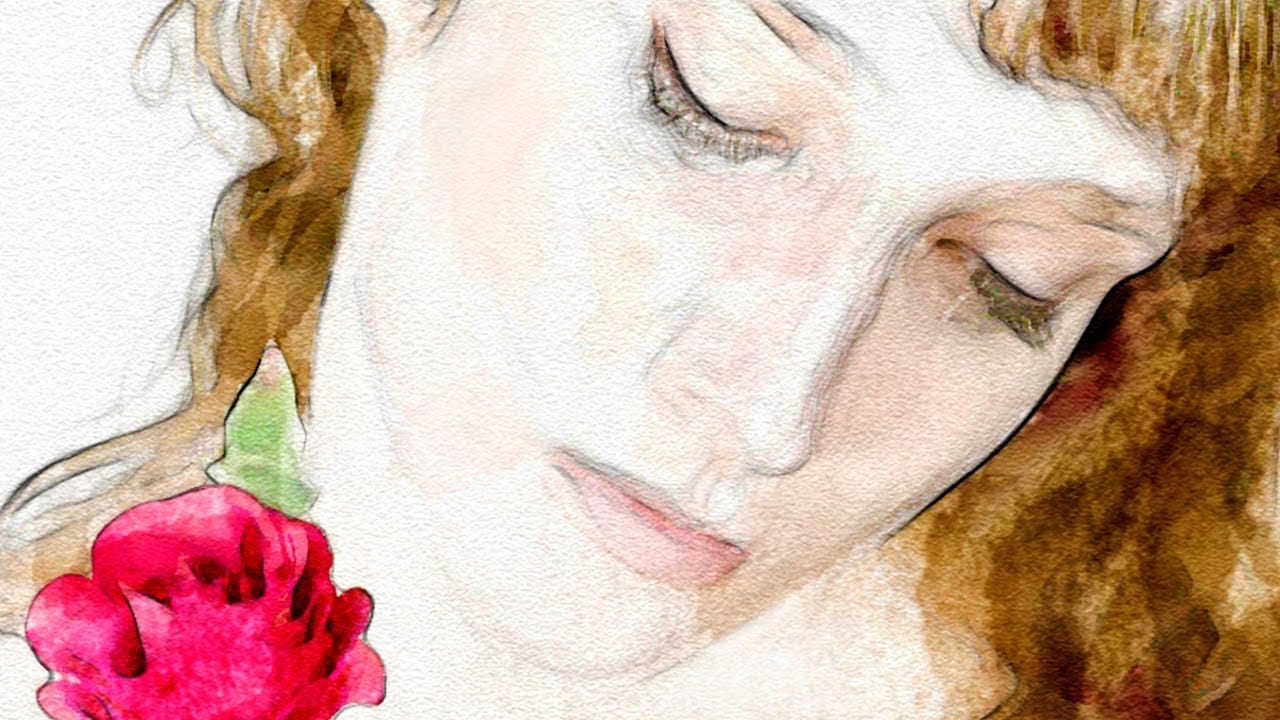
In this tutorial by Blue Lightning TV, Marty demonstrates how to transform an ordinary photograph into a stunning hand-painted watercolor painting using Photoshop. This method surpasses the built-in watercolor filter in Photoshop by allowing users to hand paint the image, offering greater nuance and control. The process begins with setting up the document at 1280 by 720 pixels with a resolution of 72 pixels per inch, then renaming the initial layer to "base" and creating a copy named "smart blur
Add a beautiful watercolor effect to your photos in Photoshop
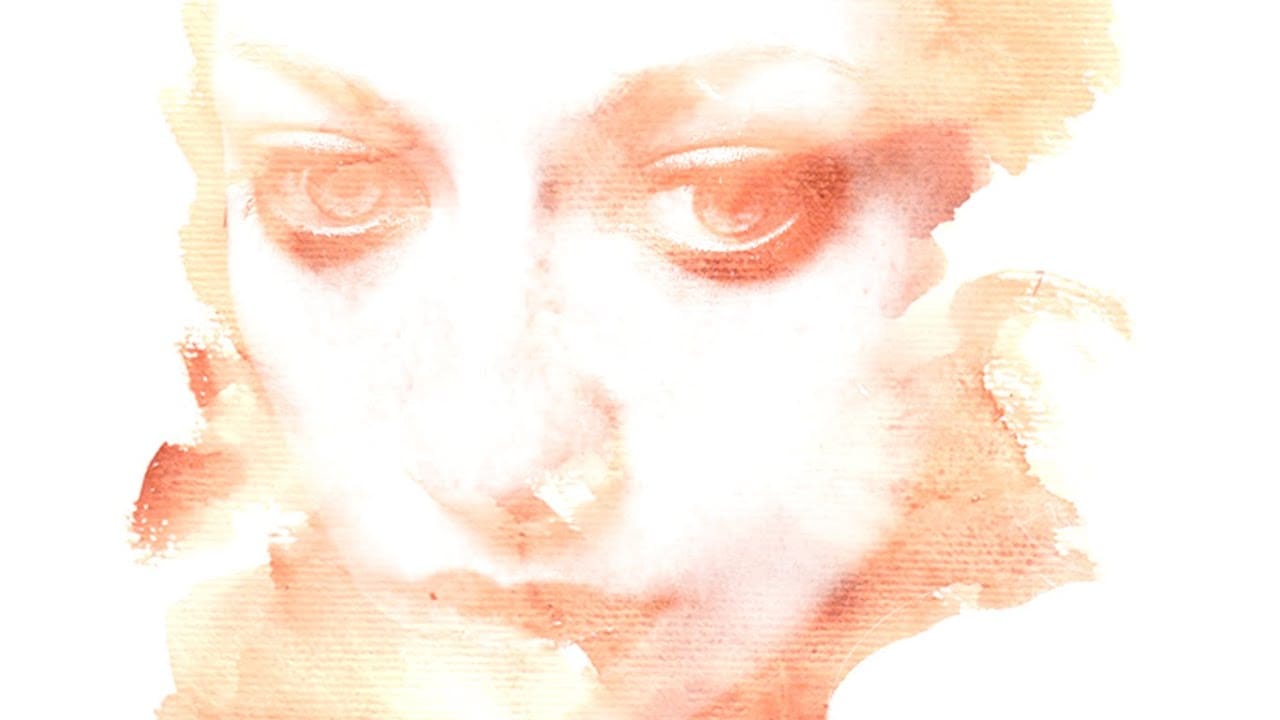
In this Photoshop tutorial by Marty Geller from Blue Lightning TV you will learn how to create a beautiful, nuanced, watercolor portrait of someone from a photograph. Forget about Photoshop default ugly watercolor filters. Unlike other watercolor effects, the methods shown here allow you to create unique, personal touches because you brush in your own strokes. Watch tutorial
Photoshop Watercolor Photo Effect Tutorial
In this comprehensive tutorial by Arunz Creations, you'll discover how to transform a portrait into a beautiful watercolor painting using Photoshop. The process begins by organizing your layers into a group and temporarily hiding it. Next, you'll select specific colors from the portrait using the Color Range tool to create a precise selection. After applying the selection as a mask on the group and inverting it, you'll create a new empty layer beneath the group and fill it with white to serve a
How To Make a Watercolor Photo Manipulation In Photoshop
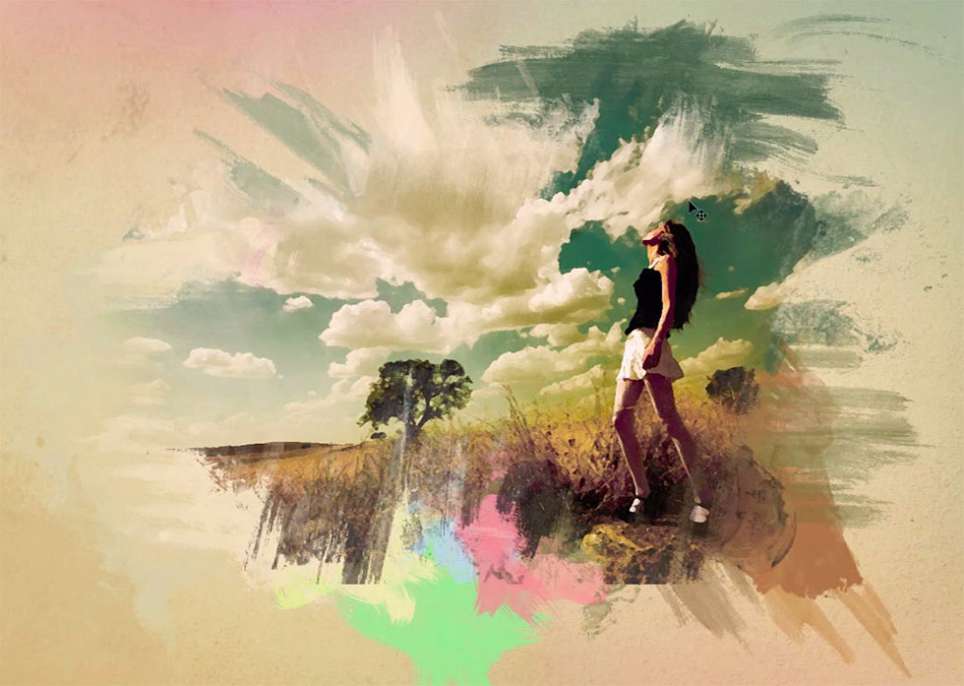
This tutorial by Maarten Rietdijk provides a step-by-step guide on how to combine watercolor brushstrokes and photos in Photoshop. The author explains the process in a clear and concise manner, making it accessible to both beginners and experienced Photoshop users. The tutorial begins by teaching the reader how to create a set of custom watercolor brushes. These brushes are then used to add a unique, artistic touch to the photograph. The author emphasizes the importance of experimenting with di
Beautiful watercolor portrait effect in Photoshop
This video explores the artistic technique of adding watercolor textures to photographs. Learn how to seamlessly overlay a watercolor texture onto your image

Get tutorials & freebies delivered to you.

Subscribe to the Photoshop Roadmap newsletter, a weekly roundup of new tutorials, insights and quality downloads, trusted by 6500+ readers.

You might also like

How to Create Custom Keyboard Shortcuts in Photoshop

Many essential Photoshop functions surprisingly lack default keyboard shortcuts, forcing you to navigate through menus repeatedly for common tasks like creating smart objects or layer masks. Learning to create custom shortcuts transforms your workflow by giving you instant access to the tools you use most. This comprehensive guide walks you...

How to Convert a Portrait Photo into a Black and White Logo Design

Portrait photos can be transformed into bold, graphic logos with the right combination of filters and adjustments. This technique uses Gaussian blur and threshold adjustments to convert photographs into high-contrast black and white designs suitable for branding, badges, or stamps. The process involves subject isolation, smart filtering, and precise path...

How to Create Sharp Halftone Effects in Photoshop

Traditional halftone effects in print media created depth through visible dot patterns that gave images character and texture. While Photoshop's built-in Filter Gallery offers a quick halftone option, it produces blurry results that lack the crisp definition of professional halftone work. This technique uses the Color Halftone filter...

Create a Sci-Fi Hologram Effect in Photoshop

Transform ordinary portraits into futuristic holographic projections with this sci-fi effect technique. The process combines motion blur, gradient mapping, and scan line patterns to create the distinctive translucent appearance of holographic displays. This method keeps your subject vibrant and colorful while converting the background to black and white, emphasizing the...

How to Use Reference Images with Generative Fill in Photoshop

Generative Fill transforms when you replace text prompts with actual images. Instead of describing what you want, you show the AI exactly what to create using reference photos. This feature works for adding objects like toys and electronics, or swapping clothing items with precise visual control. The AI automatically matches...

Photoshop's Generative Fill Gets Major Upgrade: New Model Comparison and Quality Test

Adobe's latest Generative Fill update brings the new Firefly Fill and Expand model with double the resolution and dramatically improved quality for generating people, hands, and complex objects. The upgrade moves from 1024x1024 to 2048x2048 pixel output, allowing for larger selections without quality loss. This comprehensive comparison tests...

You’ve successfully subscribed to Photoshop Roadmap
Welcome back! You’ve successfully signed in.
Great! You’ve successfully signed up.
Success! Your email is updated.
Your link has expired
Success! Check your email for magic link to sign-in.