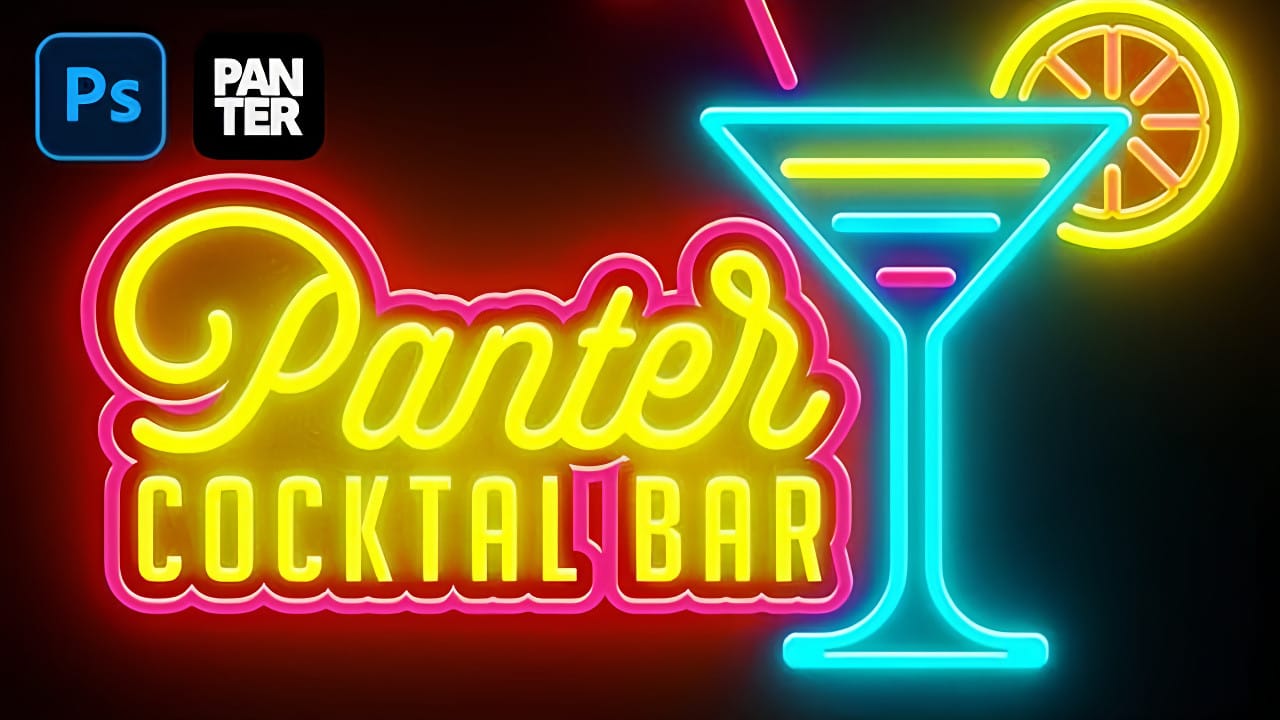
Neon signs offer a charming aesthetic that enhances visual elements. This video explores multiple methods for creating realistic neon light text effects in Photoshop, from detailed scratch builds to efficient shortcuts. Learn to transform text into stylish, fun neon signs.
Watch the Tutorial: Create Neon Text in Photoshop
Practical Tips for Neon Text Effects
Achieve a convincing neon light effect with these essential steps:
- Utilize Smart Objects: Expedite your workflow using pre-made templates with Smart Objects for quick, non-destructive text edits.
- Rasterize and Separate Text Layers: Convert text to a raster layer and separate horizontal and vertical segments to apply distinct effects.
- Organize Layers with Folders: Group related layers into folders to maintain a clean and manageable project structure, especially when applying multiple styles.
- Copy and Customize Layer Styles: Copy complex layer styles between similar elements, then adjust specific settings like bevel and emboss angles for vertical components.
- Enhance with Background Lighting: Add a new layer with a soft brush and Linear Light blend mode to create ambient glow behind the neon text.
Related Articles and Tutorials about Neon Text Effects
Explore further techniques and inspiration for crafting vibrant neon effects and other unique designs in Photoshop with these additional resources.
Create a Realistic Neon Light Text Effect in Photoshop
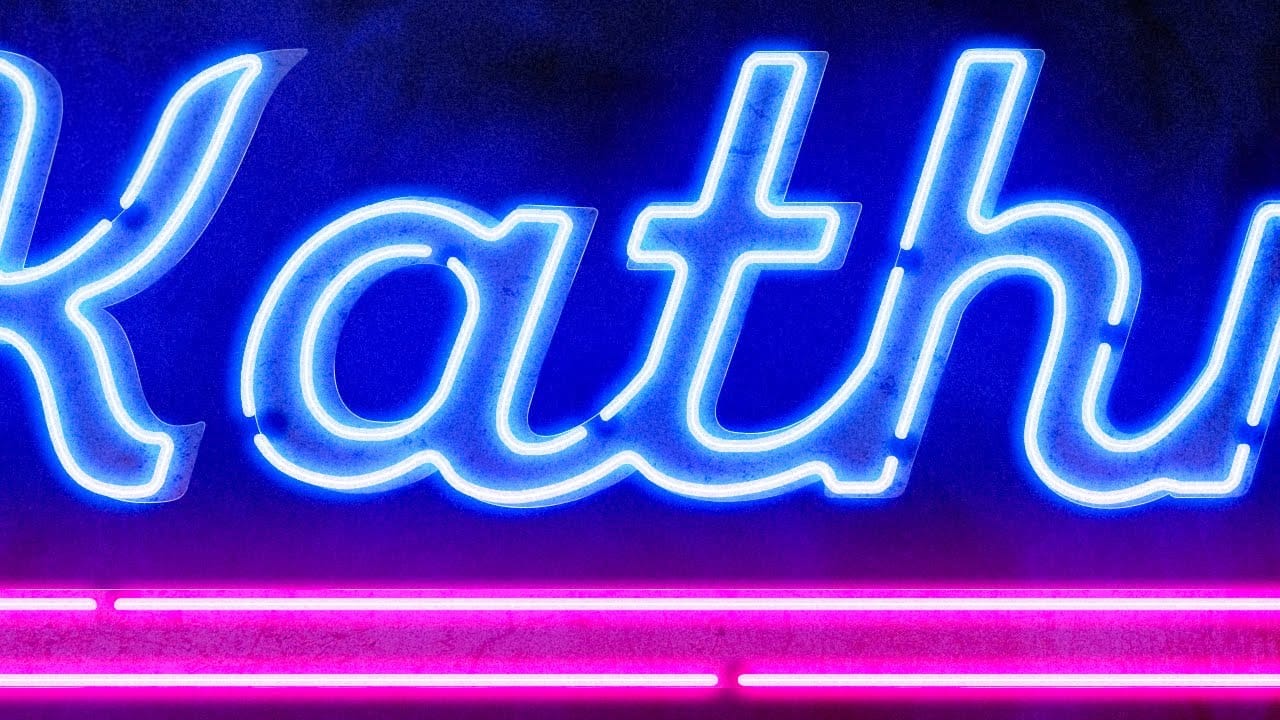
In this tutorial, TextureLabs demonstrates how to create a realistic neon sign text effect using Adobe Photoshop.
You'll learn to combine glowing neon colors with a convincing metal base to produce a striking and authentic sign. The tutorial covers various techniques, including layer styles and blending modes, to achieve the luminous neon effect. Additionally, free texture links and more resources are provided to enhance your design.
Whether you're a beginner or an advanced user, this tutorial
Create a Realistic Neon Sign Text Effect in Photoshop
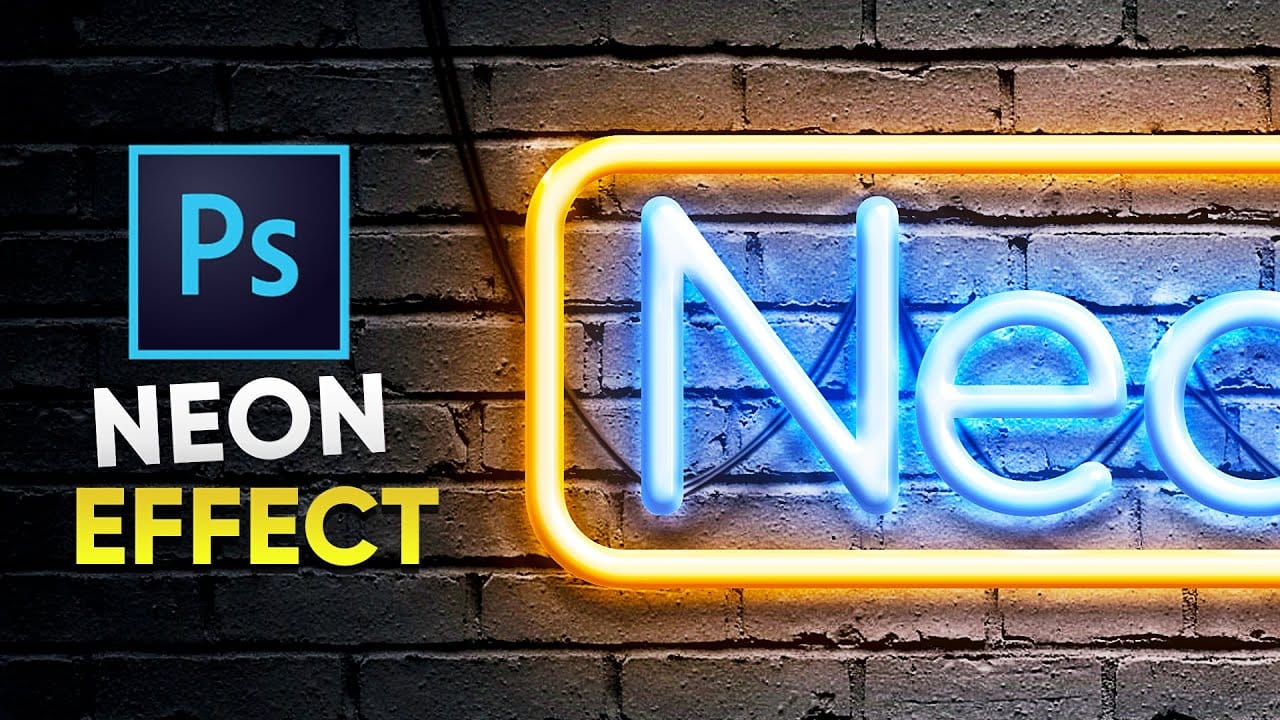
In this Photoshop tutorial by Pixivu, you'll learn how to create a realistic neon text effect, complete with a neon sign and light hanging on a weathered brick wall using only Smart Objects.
By the end of the tutorial, you'll be able to create a vibrant and lifelike neon text effect mockup that can be reused and re-applied with a single click. This tutorial offers a practical and efficient method for achieving stunning neon designs.
Watch tutorial
Futuristic Neon Text Effect in Photoshop
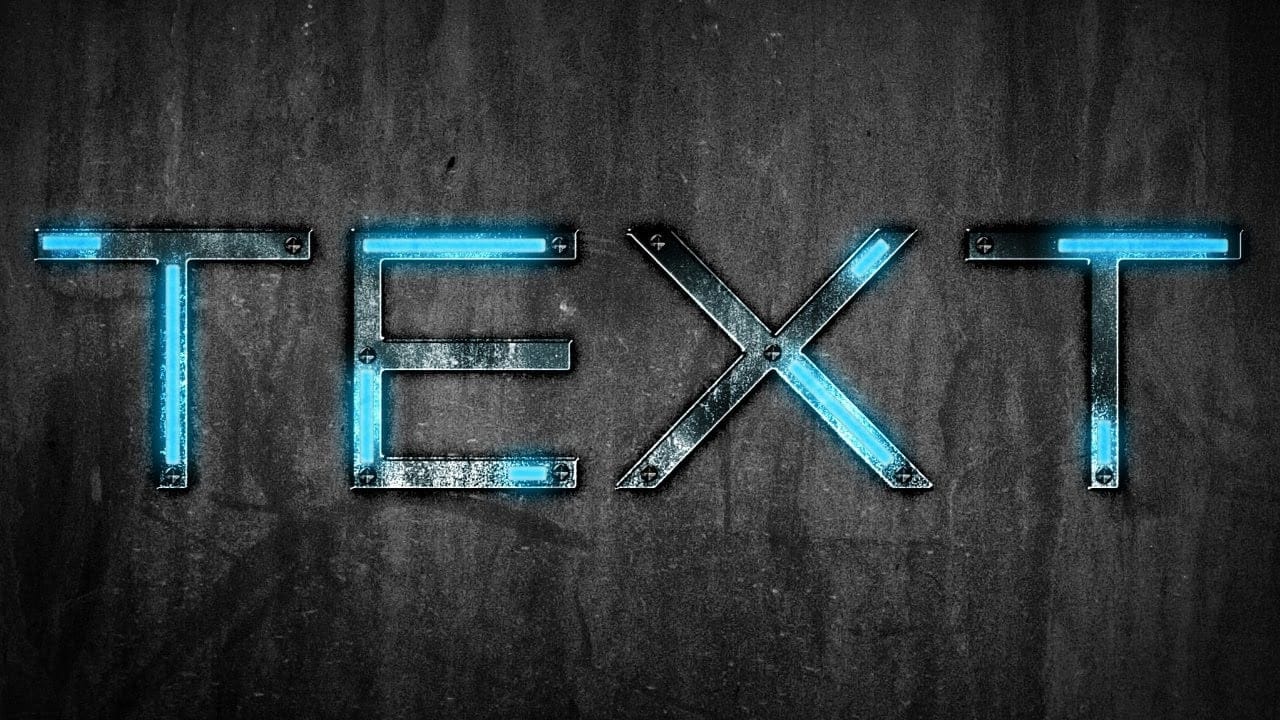
In this tutorial, Brandon Bias from Ch-Ch-Check It shows you how to create a stunning futuristic, grungy neon text effect on metallic letters using Adobe Photoshop.
This effect combines multiple blend modes, textures, and layer styles to achieve a unique and eye-catching design. The tutorial begins with creating a new document and adding a grungy background, then moves on to customizing text with specific fonts and character settings. Through detailed steps, you'll learn how to apply various ef
Create a Neon Text Effect in Photoshop with Blur and Layer Styles
Neon signs bring instant energy to any design with their electric glow and vibrant colors. The luminous quality that makes real neon so captivating can transform ordinary text into something that feels alive and pulsing with light.
This video demonstrates how to recreate that distinctive neon look using Photoshop's blur filters and layer effects. The technique builds multiple glowing layers to achieve an authentic electric sign appearance.
Watch the Tutorial
Building Authentic Neon Glow Eff