

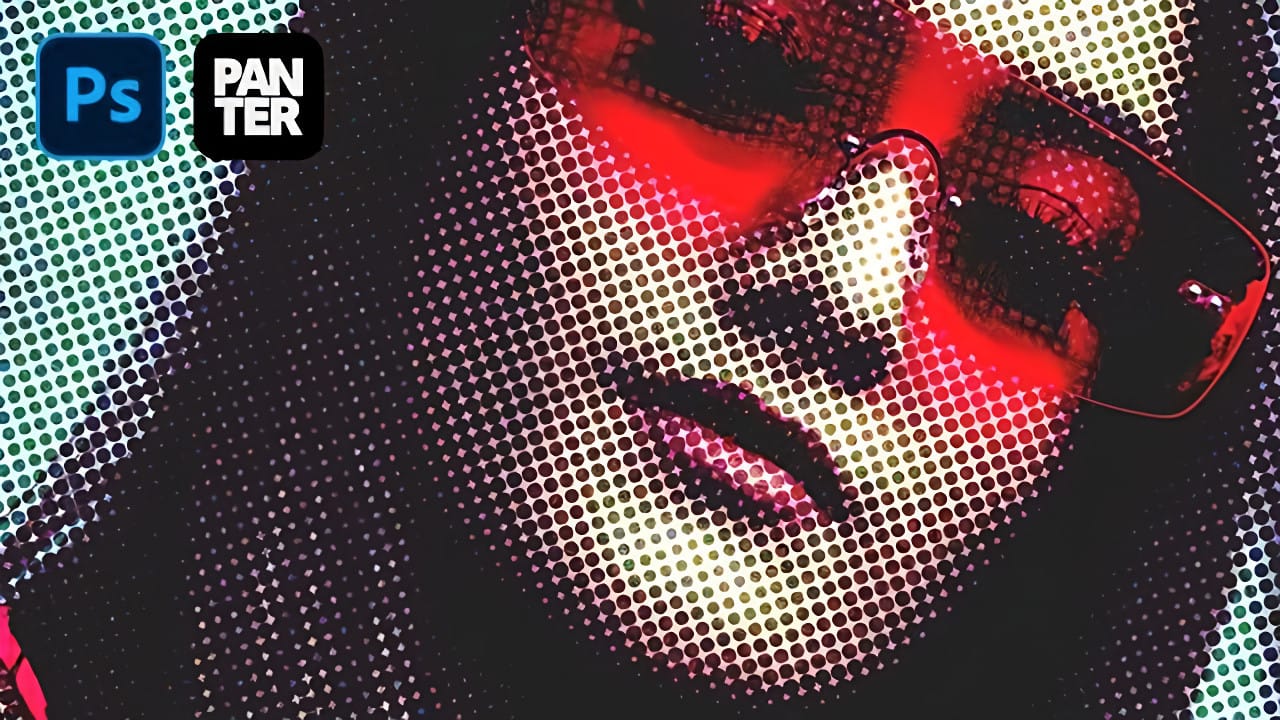
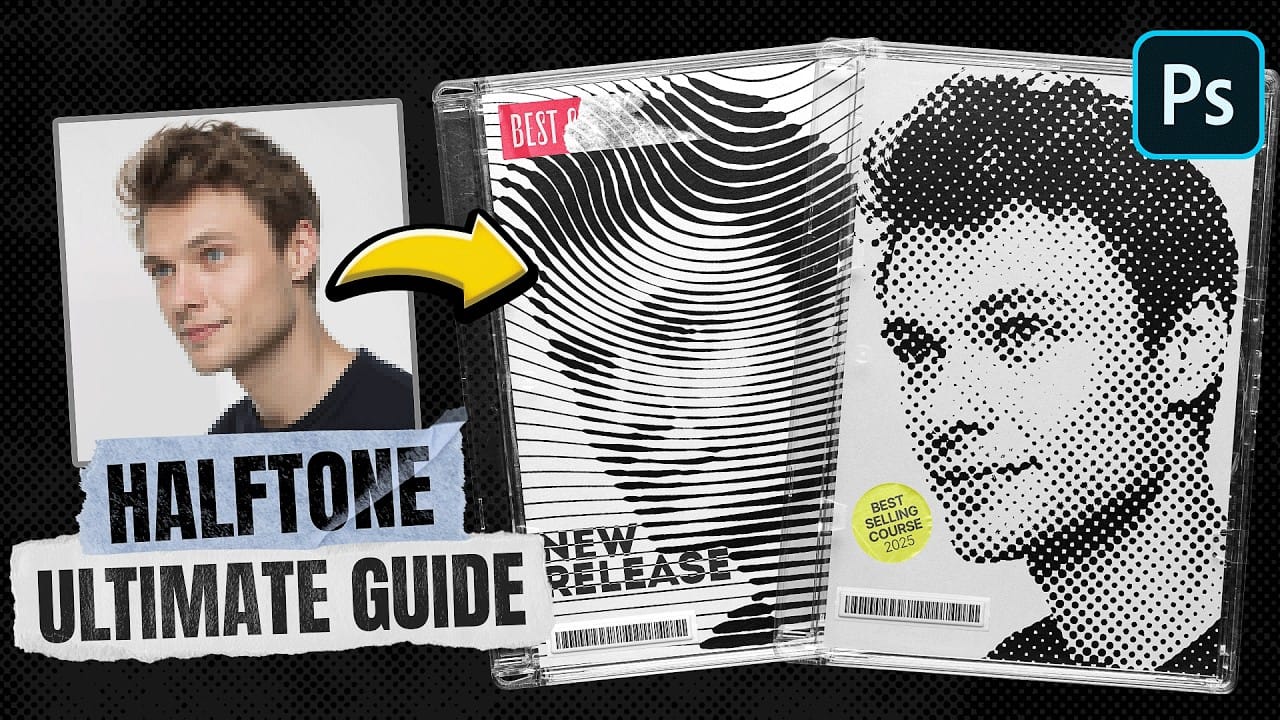
Photoshop's built-in halftone filters lack flexibility and create rigid results that are difficult to customize. This five-layer system creates a live halftone effect that functions like an adjustment layer, offering complete control over dot size, color, and texture.
The setup uses seamless patterns and blend modes to create authentic vintage halftone effects that can be applied to any document size and remain fully editable throughout your design process.
Watch the Video
Video by Texturelabs. Any links or downloads mentioned by the creator are available only on YouTube
Practical Tips
Key techniques for building flexible halftone effects that maintain professional quality and performance:
- Delete layer masks from pattern and adjustment layers to keep the setup clean and portable across different documents
- Set the halftone dots pattern to Hard Mix blend mode with 90% fill to create smooth black-to-white transitions while maintaining dot structure
- Group all five layers into a folder that functions as a reusable halftone adjustment layer for any project
- Use gradient maps with organized presets for single colors, overprint effects, or full color themes to speed up color variations
- Apply slight rotation and offset to gradient map layers using Transform to create authentic print misregistration effects
Related Articles and Tutorials
Explore more advanced halftone techniques and vintage print effects.
Create Grungy Retro Halftone Effect in Photoshop
Vintage poster art captured attention through bold contrasts, visible printing dots, and rough textures that gave images character. The halftone effect recreates this aesthetic by breaking up continuous tones into distinct dots, mimicking old-school printing techniques.
This technique transforms clean digital photos into gritty, retro-style artwork. The method combines Photoshop's built-in filters with layering techniques to create authentic-looking vintage effects with adjustable intensity.
Create awesome retro halftone effects in Photoshop
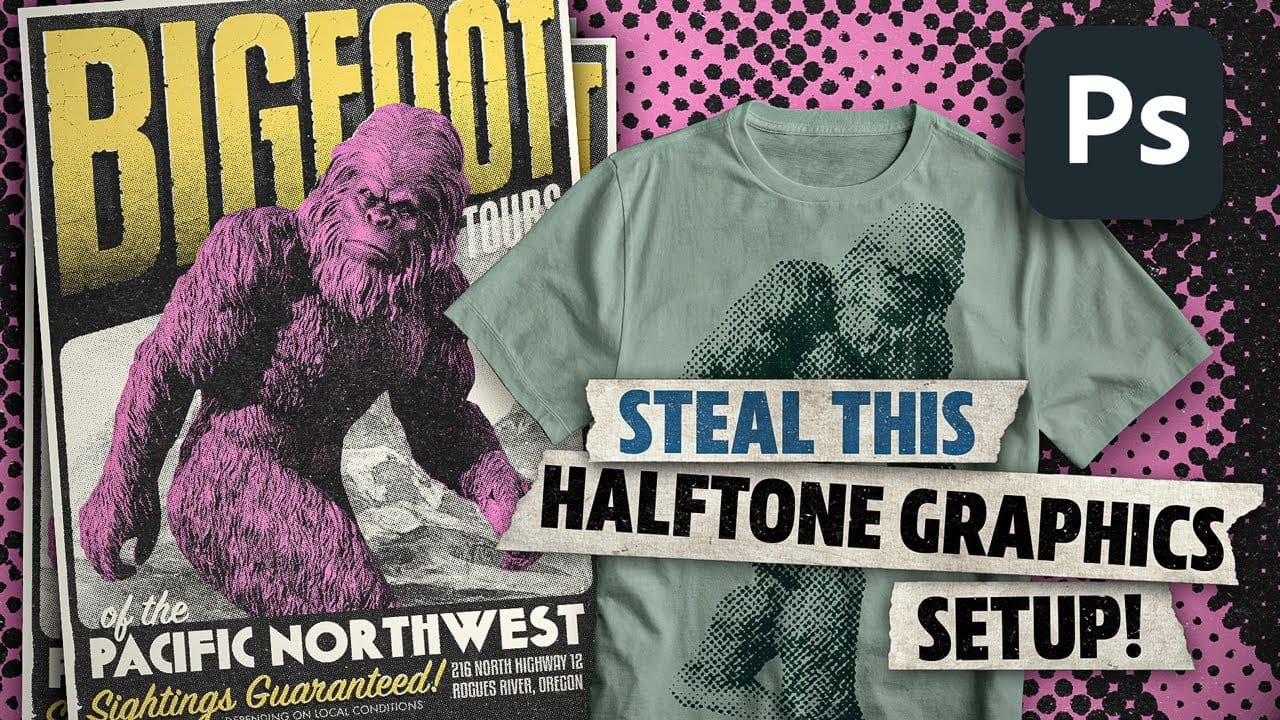
Photoshop includes built-in halftone filters, but they often lack flexibility and can feel rigid for creative projects. Many designers struggle with creating authentic vintage halftone effects that remain editable and can be applied to different image sizes and compositions without starting over.
This tutorial demonstrates a five-layer halftone setup that functions like a live adjustment layer, offering full control over dot size, color, and distressing effects. The system uses seamless pattern
Create an old-school halftone photo effect in Photoshop
Creating authentic vintage halftone effects can be challenging when working with modern digital photography. Many designers struggle to achieve that classic print aesthetic without the result looking artificial or overdone.
This tutorial demonstrates a multi-layer approach to building realistic halftone vintage effects using threshold adjustments, pattern overlays, and selective masking. The technique creates depth and authenticity by working with multiple halftone variations rather than a sing

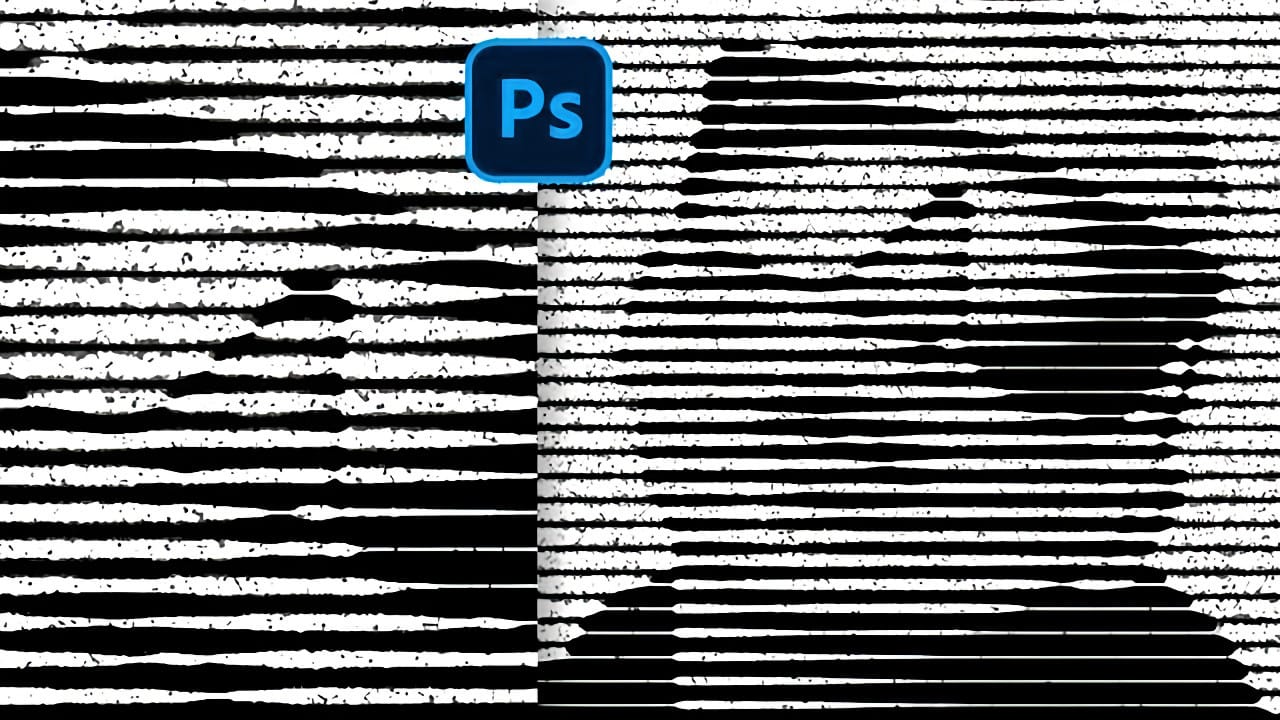
Create Grungy Halftone Line Effects in Photoshop
Grungy halftone effects bring vintage print aesthetics and urban edge to digital designs. This technique combines traditional halftone patterns with noise textures to create compelling visual depth.
The method uses smart objects and blend modes to build a flexible, non-destructive workflow that works across different projects.
Watch the Tutorial
Practical Tips for Halftone Line Effects
* Convert layers to smart objects before applying filters to maintain flexibility and allow easy adjustm
Create a Retro Pop Art Effect with Color Halftone in Photoshop
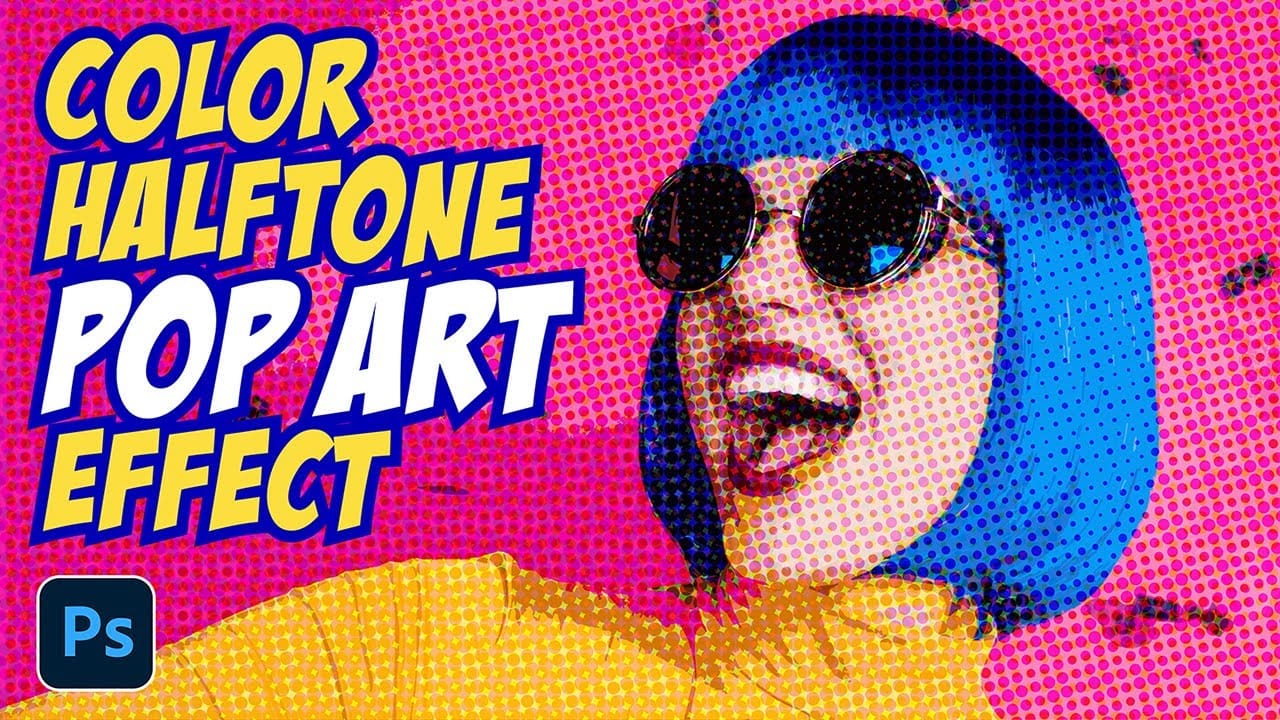
Pop art transformed ordinary subjects into bold, graphic statements through vibrant colors and distinctive printing techniques. The movement's signature look came from commercial printing methods, especially the visible halftone dots that created depth and texture in mass-produced images.
This video demonstrates how to recreate that iconic aesthetic digitally, combining artistic filters with halftone patterns to achieve the striking visual impact of 1960s pop art posters and comic book illustra
Ultimate Halftone Effect in Photoshop
Halftone effects can transform ordinary photos into striking graphic designs, but many designers struggle with creating patterns that blend naturally with their images. The traditional approach often results in rigid, uniform dots that don't adapt to the underlying image tones and details.
This tutorial demonstrates how to create flexible halftone effects using multiple pattern types and blending techniques. You'll learn to build reusable workflows that can be applied to any image instantly, pl
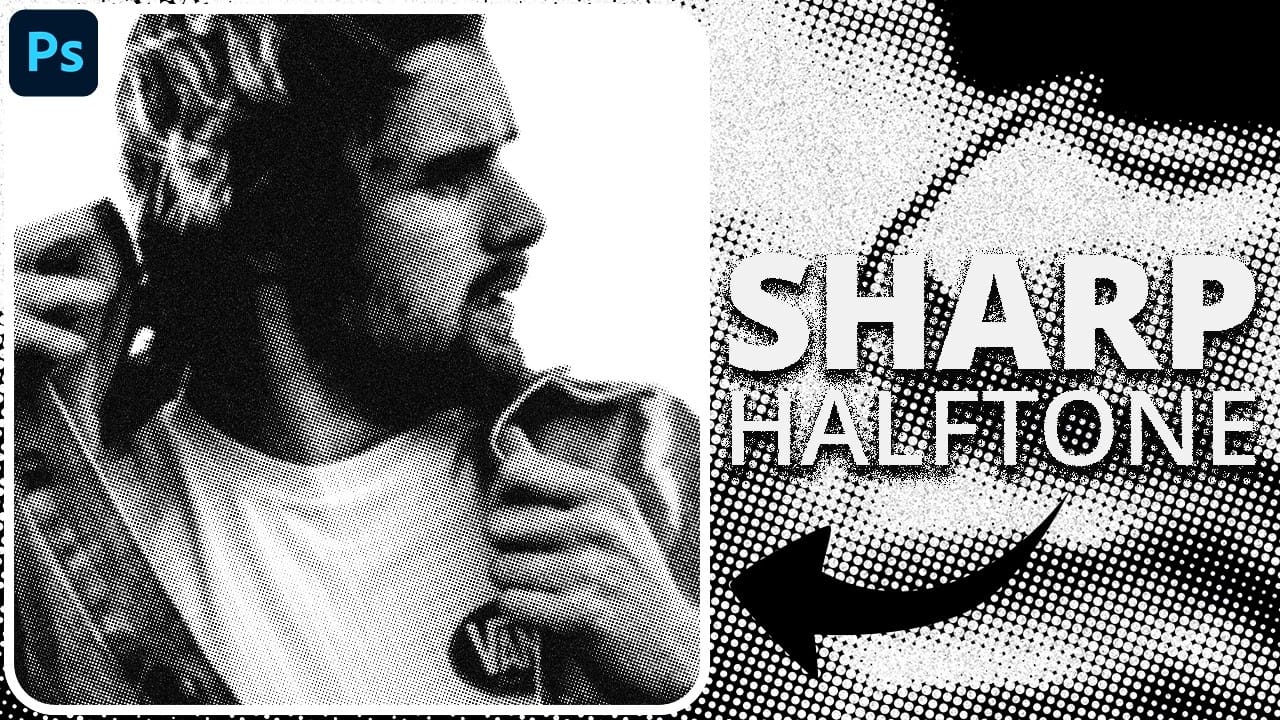
How to Create Sharp Halftone Effects in Photoshop
Traditional halftone effects in print media created depth through visible dot patterns that gave images character and texture. While Photoshop's built-in Filter Gallery offers a quick halftone option, it produces blurry results that lack the crisp definition of professional halftone work.
This technique uses the Color Halftone filter combined with smart objects and noise textures to create sharp, adjustable halftone effects. The method allows for complete control over dot size and contrast whil
Create Grungy Halftone Line Effects in Photoshop
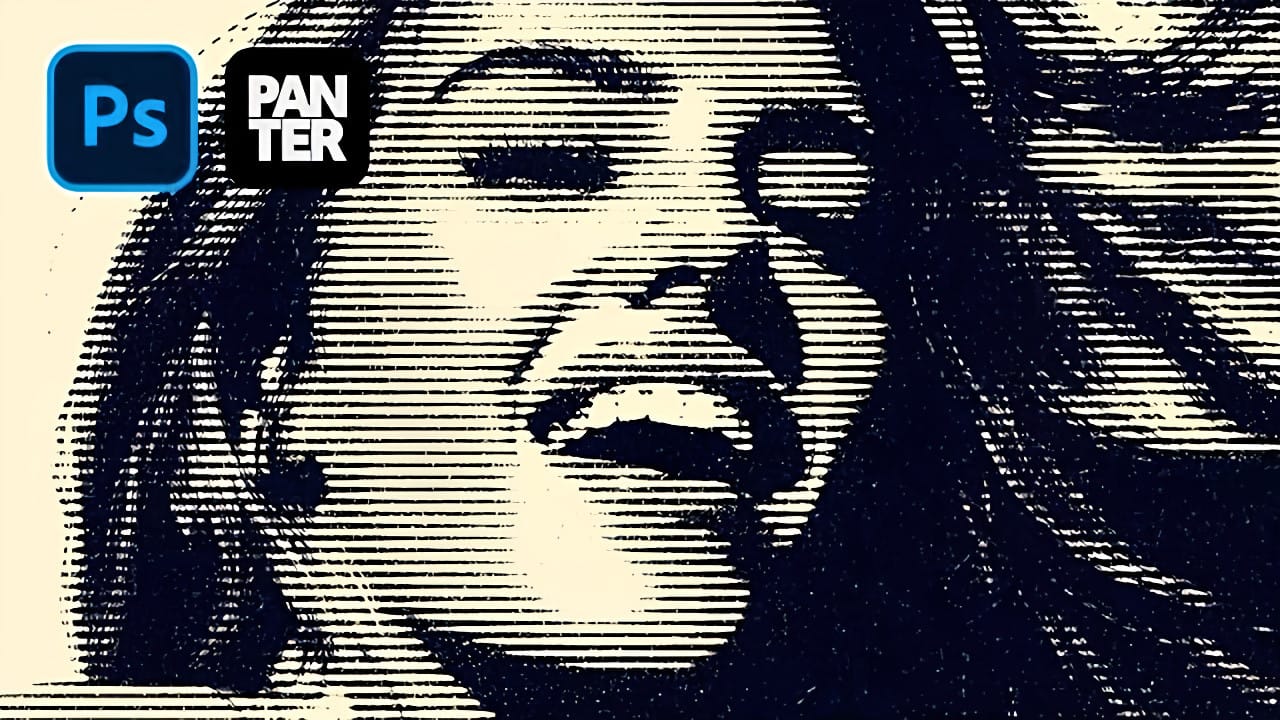
Classic halftone line patterns evoke the raw aesthetic of vintage print media, from underground zines to punk rock posters. These gritty textures transform clean digital photos into pieces that feel authentically analog, complete with the imperfections that make print work compelling.
This technique combines Photoshop's halftone filters with noise and blur effects to create convincing photocopy-style line patterns. The method builds multiple adjustment layers that work together to produce both
How to Create a Blurry Halftone Text Effect in Photoshop
Comic book aesthetics and vintage print textures give modern digital typography distinctive visual impact. Halftone dot patterns from traditional printing create instant nostalgia and graphic punch when paired with strategic blur techniques, transforming simple text into dynamic elements that capture classic print media's essence while retaining digital design flexibility.
Watch the Tutorial
Practical Tips for Halftone Text Effects
* Convert layers to Smart Objects before applying filters

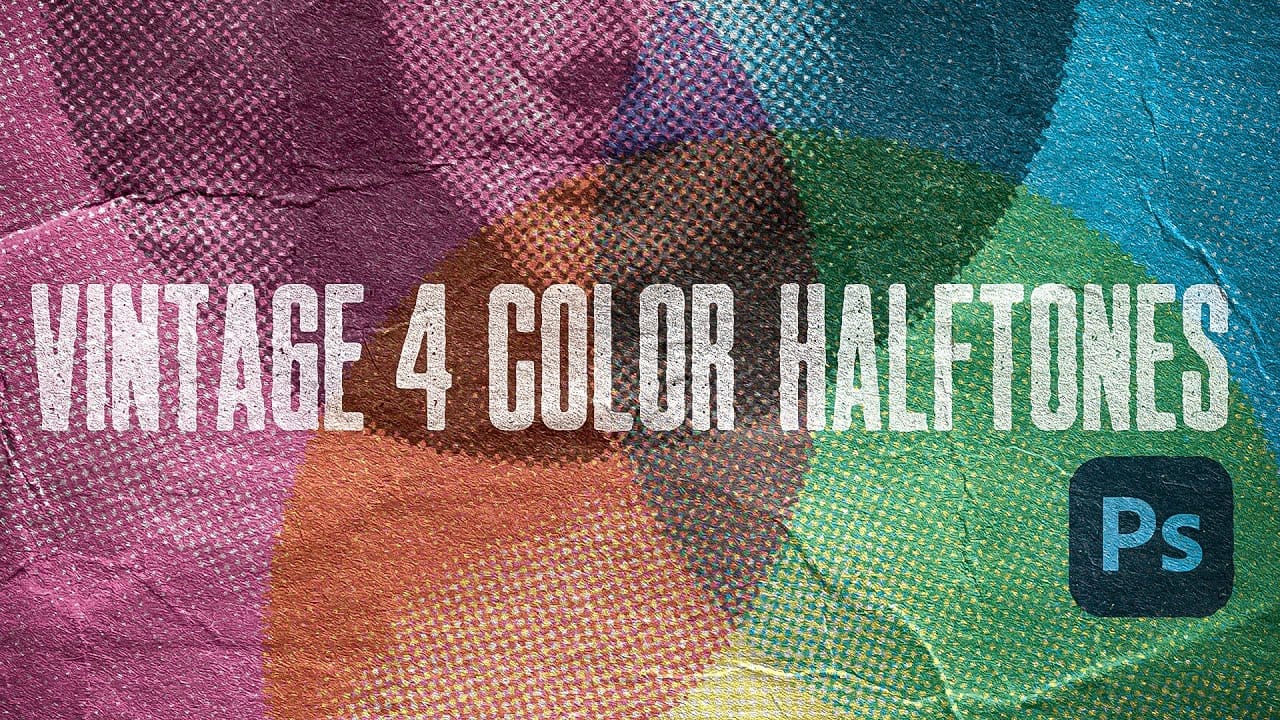
Create Authentic Vintage Halftone Effects with Custom Patterns in Photoshop
Photoshop's built-in Color Halftone filter creates rigid, geometric results that lack the authentic character of vintage print work. The filter also fails to produce true CMYK separations in RGB documents, missing the black channel entirely and creating an unconvincing simulation of traditional printing methods.
This technique uses custom patterns and blend modes to create realistic, grungy CMYK halftones that work as live effects. Unlike the standard filter, this approach produces authentic-lo
a


