Ink and smoke effects transform ordinary portraits into striking artistic compositions. This technique blends human features with flowing ink textures to create dramatic, ethereal imagery.
The tutorial demonstrates how to seamlessly merge portrait elements with ink stock images using masking, blending modes, and highlight techniques for a professional result.
Watch the Tutorial
Key Techniques for Ink Portrait Effects
Master these essential steps to achieve smooth blending between portrait and ink elements:
- Use Color Range selection to isolate ink from white backgrounds with fuzziness around 124 for clean edges
- Create layer masks on both model and ink layers to control which parts remain visible
- Paint with soft brushes at 50% opacity on masks for gradual, natural blending transitions
- Apply Color Dodge blending mode with pink highlights at 15% opacity for ethereal glow effects
- Use Reduce Noise filter to soften skin texture and create a more cohesive final result
More Tutorials About Smoke and Ink Effects
Explore additional techniques for creating atmospheric portrait effects:
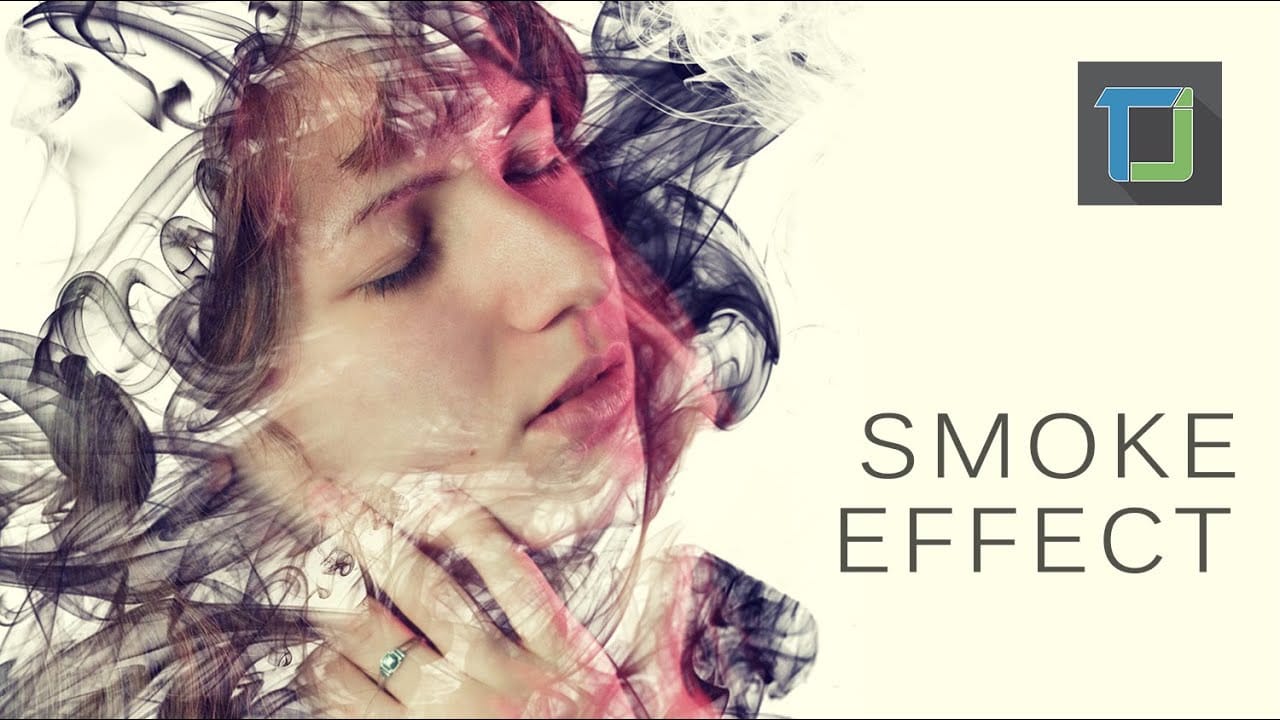
Making a smoke dispersion effect in photoshop
The author provides a straightforward tutorial on creating a smoke dispersion effect in Photoshop. The user is guided through the process of generating a face that appears to be made from smoke and enhancing it with vibrant colors to achieve a more professional-looking result. This tutorial is suitable for beginners, making it accessible to a wide range of Photoshop users.
The author suggests that the tutorial is quite basic, indicating that even novice users will find it helpful. By following
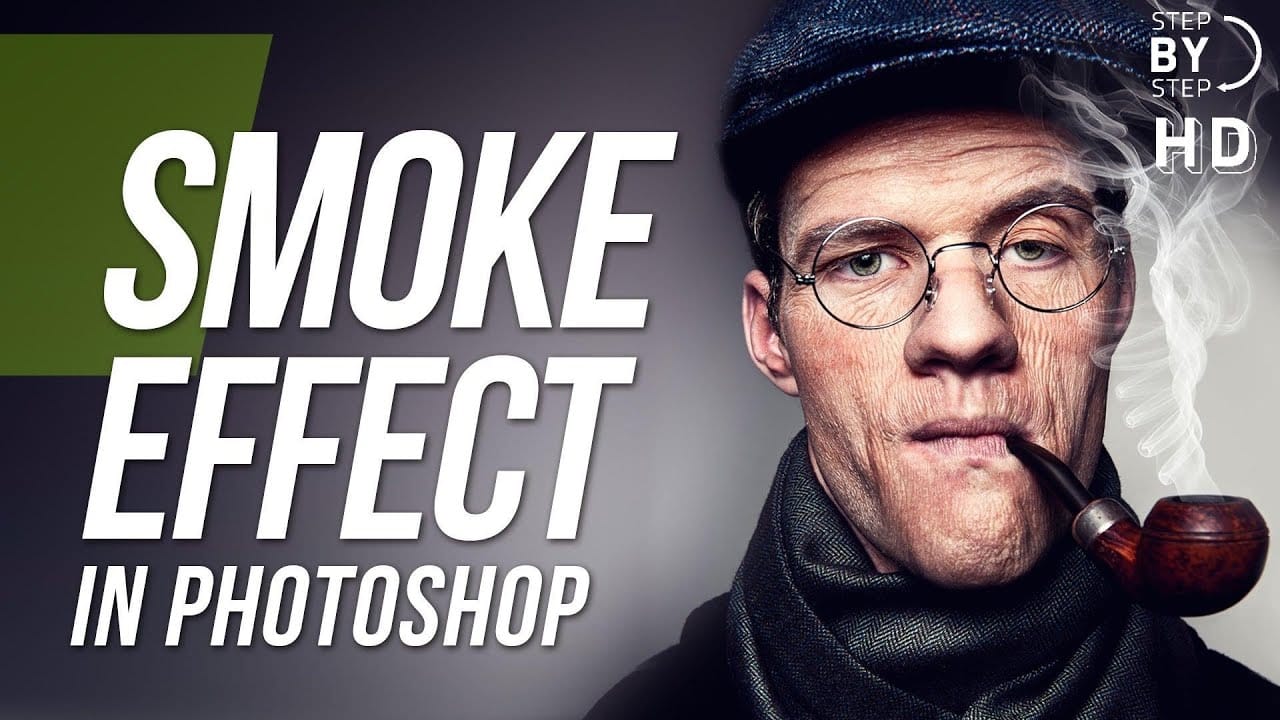
Create a smoke effect in Photoshop
This step-by-step tutorial by RetutPro shows you how to produce a realistic plume of smoke emerging from a pipe.
The tutorial walks you through the entire process, from setting up the initial layers to adding the finishing touches. You'll learn useful techniques like using brushes to shape the smoke, adjusting the opacity and blending modes, and incorporating lighting effects.
By following along, you'll be able to create a visually striking smoke effect that can be used in a variety of design
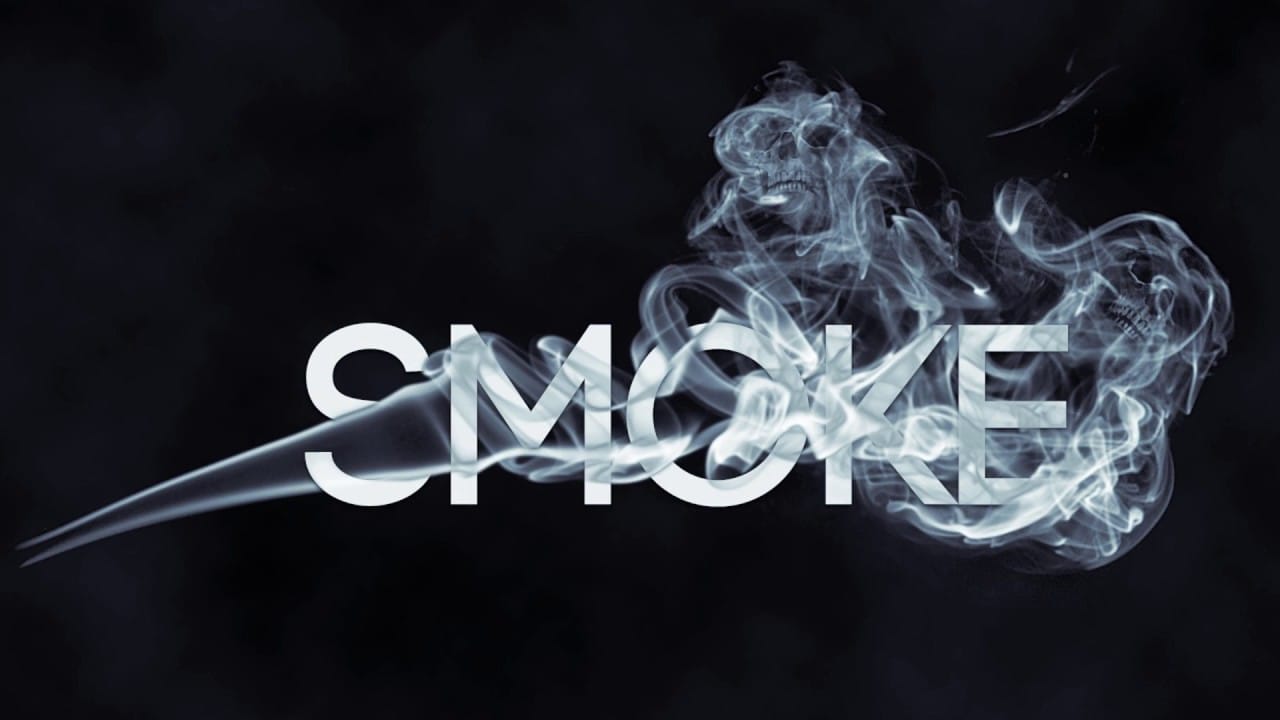
Smoke text effect with skulls in Photoshop
In this Photoshop tutorial, you'll learn how to create a smoke text effect where smoke appears to be released over the letters.
Using free brushes and other resources, the tutorial guides you through the steps to achieve this dynamic and ethereal effect. Additionally, the author includes a hidden or disguised skull within the design, subtly making a statement about the dangers of smoking.
This tutorial not only teaches you how to create visually striking smoke effects but also incorporates a m
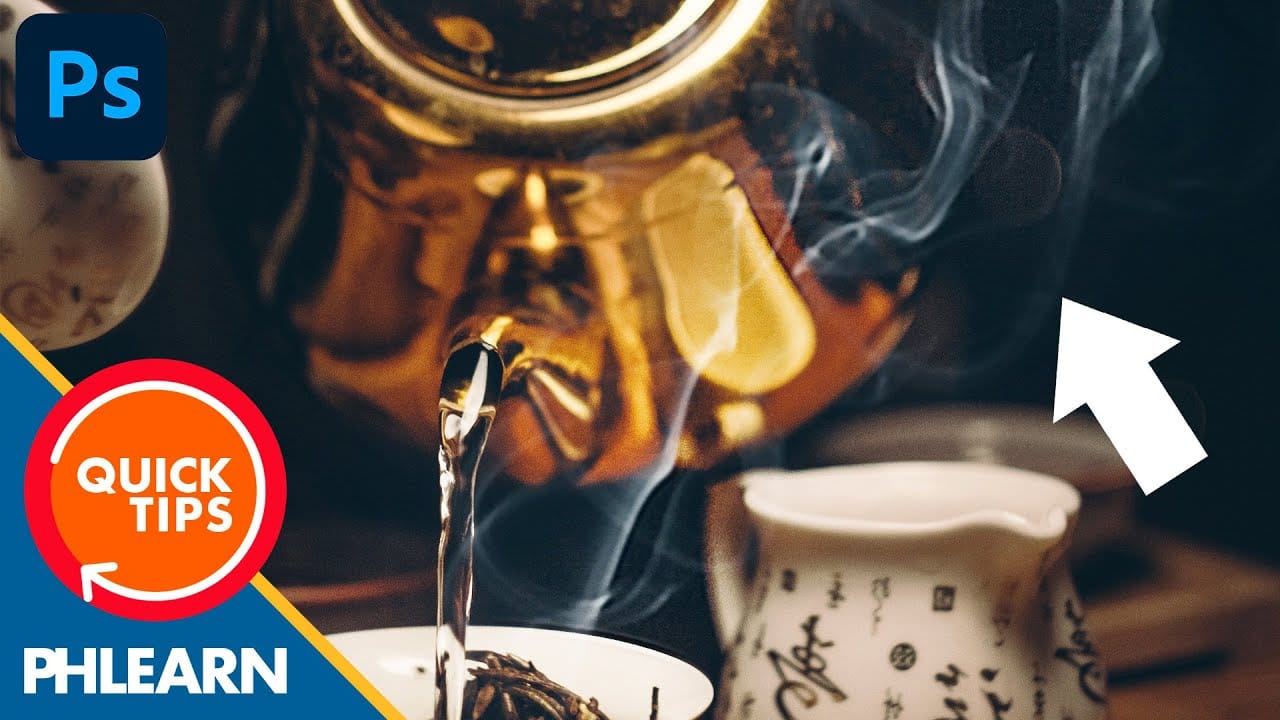
How to Add Steam or Smoke in Photoshop
In this engaging tutorial by Aaron Nace from Phlearn, you'll discover how to introduce realistic steam or smoke effects into your images. This technique is perfect for adding atmospheric elements that can enhance the mood and mystery of any scene. Nace walks you through the process in a few simple steps, ensuring that even beginners can follow along and achieve professional results.
The tutorial covers essential methods for creating and blending steam or smoke effects seamlessly into your photo