Create a stunning Film Noir photo effect in Photoshop

Create a stunning Film Noir photo effect in Photoshop

The classic film noir aesthetic, popularized by movies like Sin City, offers a dramatic and stylized visual experience. This unique style relies heavily on specific lighting and contrast techniques to evoke a sense of mystery and tension.

This video tutorial guides you through the process of transforming your images into a low-key black and white scene reminiscent of these iconic films. You will discover practical methods for enhancing contrast, creating dramatic lighting, and establishing a dark, cinematic atmosphere in Photoshop.

Watch the Film Noir Effect Tutorial

Video by Spoon Graphics. Any links or downloads mentioned by the creator are available only on YouTube

The Cinematic Impact of Neo-Noir Aesthetics

Film noir, originating in the 1940s and 50s, is characterized by its stark visual style, often featuring high contrast, deep shadows, and dramatic lighting. This aesthetic amplifies themes of moral ambiguity and psychological tension, drawing viewers into a world of suspense.

The modern evolution, neo-noir, reinterprets these elements with contemporary narratives and advanced visual effects, as seen in the striking look of the Sin City films. These movies masterfully blend traditional black and white with selective color to enhance mood and focus attention, creating a distinct visual signature.

Key visual components of this style include:

  • Strong chiaroscuro lighting
  • Silhouettes and deep shadows
  • Exaggerated perspectives

This visual language is crucial for setting the tone and immersing the audience in the story's dark, atmospheric world.

Practical Tips for Achieving a Film Noir Effect

  • Convert images to a low-key black and white format to establish the foundational dramatic look.
  • Employ techniques to significantly boost image contrast, enhancing the starkness characteristic of the genre.
  • Introduce faux lighting effects to create dramatic highlights and shadows, effectively guiding the viewer's eye.
  • Cultivate a dark and atmospheric mood to evoke the tension and mystery of a movie freeze frame.

Explore additional techniques for photo manipulation and cinematic visual styles with these related guides.
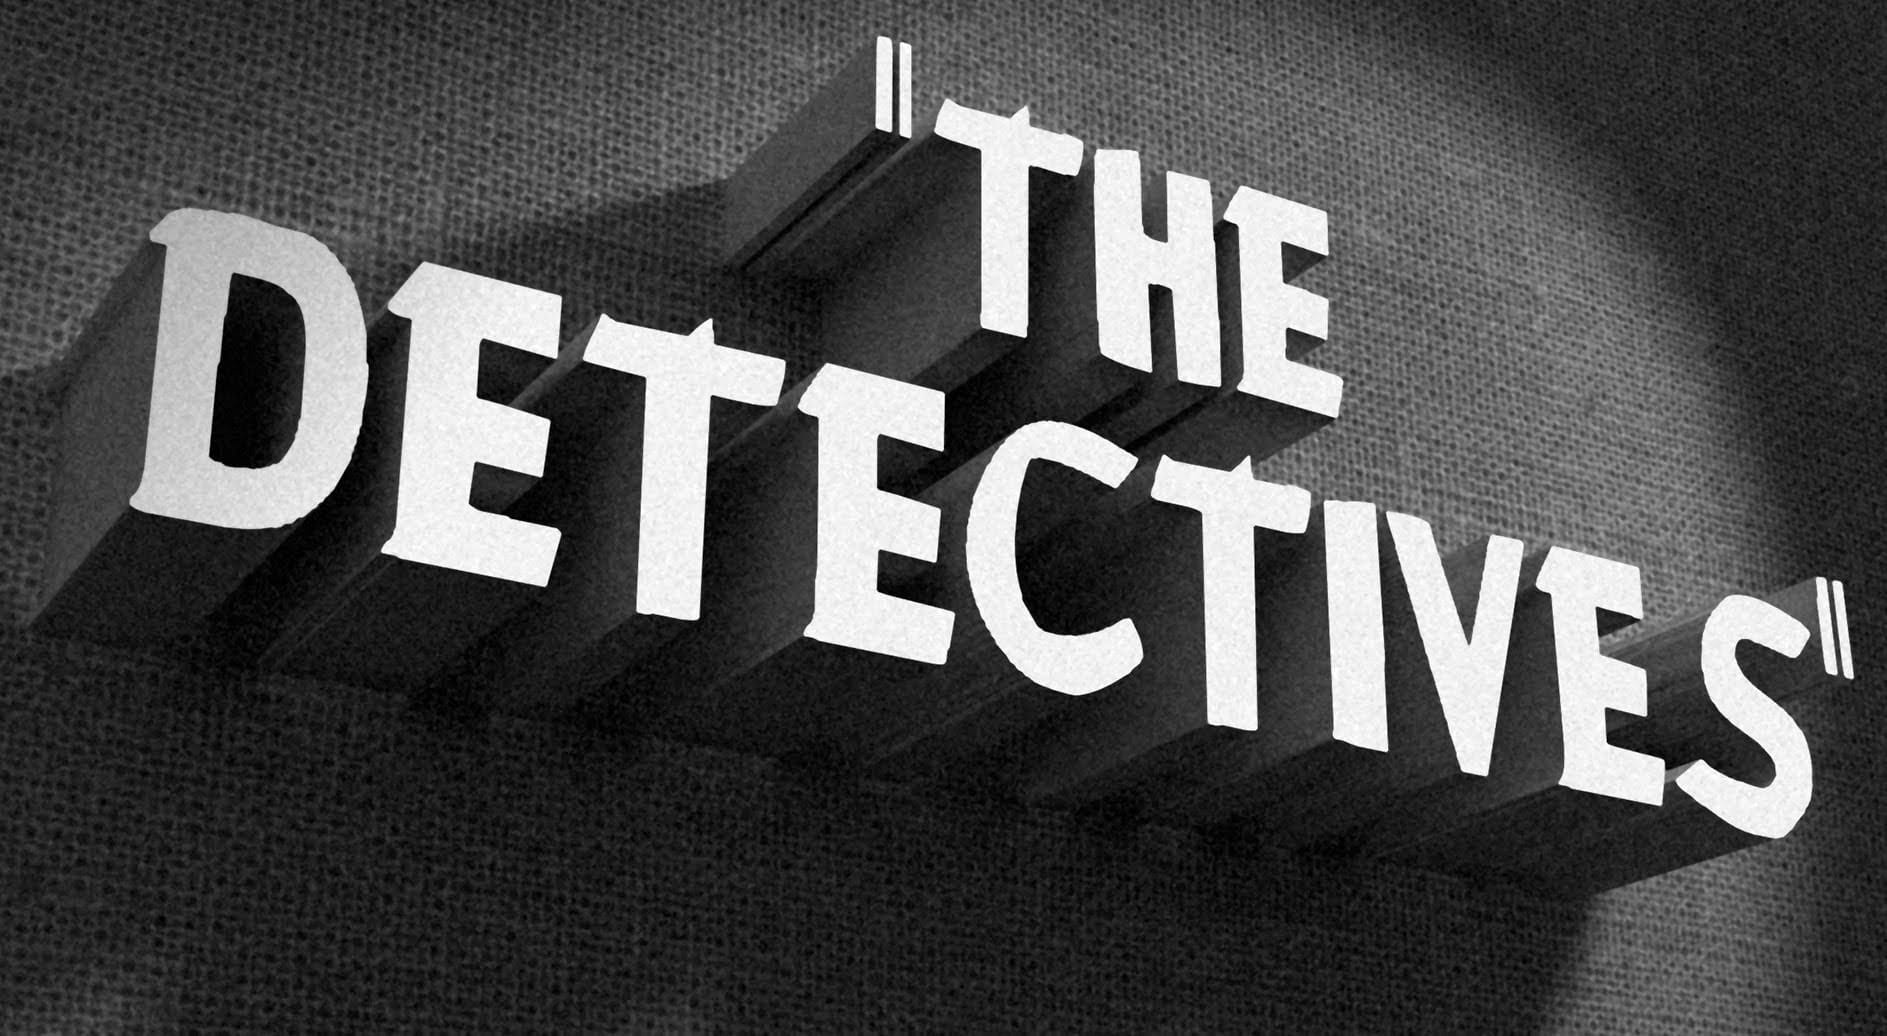
How to Create a Vintage, Film Noir Movie Title in Photoshop
In this Photoshop tutorial by BlueLightning TV, you'll learn how to design and create a film noir movie opening title card, reminiscent of crime dramas from the 1940s and 1950s. The tutorial guides you through the process step-by-step, demonstrating techniques to achieve the classic film noir aesthetic using typography, textures, and atmospheric effects in Photoshop. Whether you're a fan of vintage cinema or looking to create a nostalgic title card for a project, this tutorial provides the ski
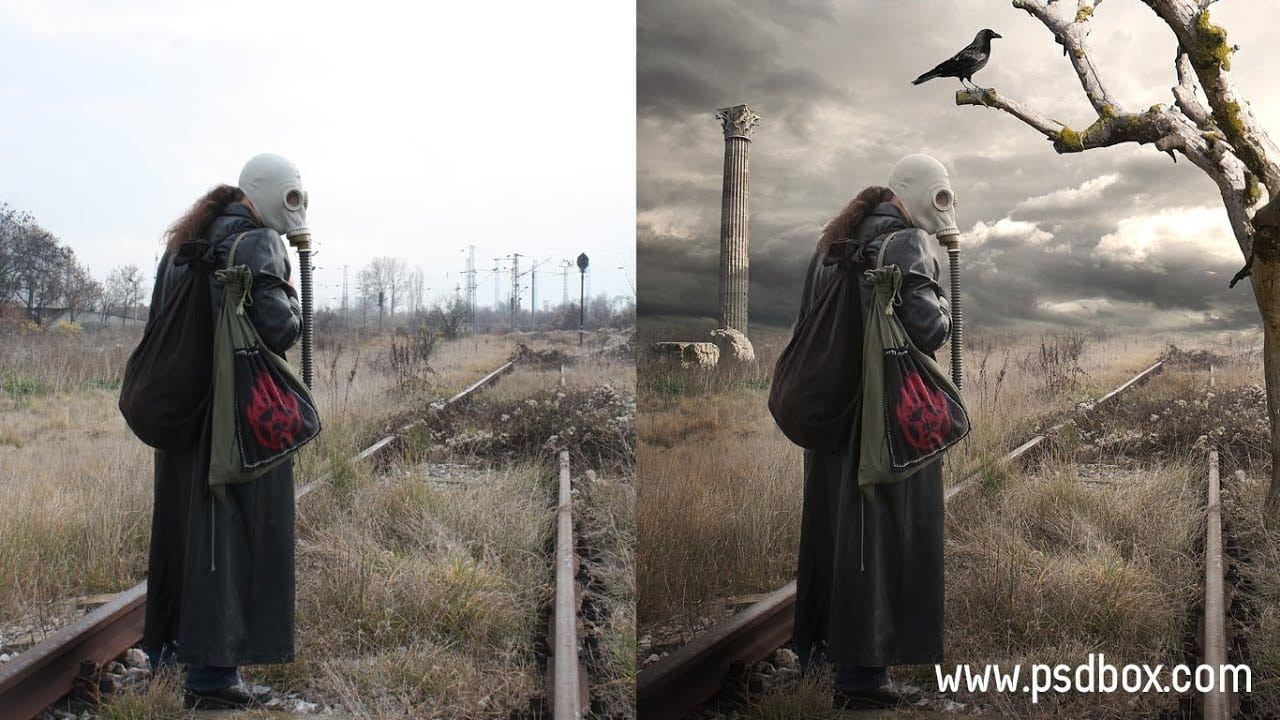
Post Apocalyptic Photo Effect Tutorial in Photoshop
In this tutorial, you will learn how to create a striking post-apocalyptic photo effect using Photoshop. By following straightforward manipulation techniques, you will see how to transform stock images to create an atmospheric scene that captures the essence of a world after calamity. The tutorial focuses not only on the manipulation of images but also on changing the lighting to enhance the overall mood. A unique tip for masking pixel edges will also be shared, using the Contract Selection com
Blend Photos Like A Hollywood Movie Poster With Photoshop
In this Photo Effects tutorial, you will discover how to mix two photos seamlessly, just like in professional movie posters. The techniques covered will guide you through the process step by step, ensuring that even beginners can achieve stunning results. You’ll start by selecting the right images to work with, focusing on how their elements will complement each other. From there, you will learn about layering and using various tools to adjust the images for a flawless integration. By the end o
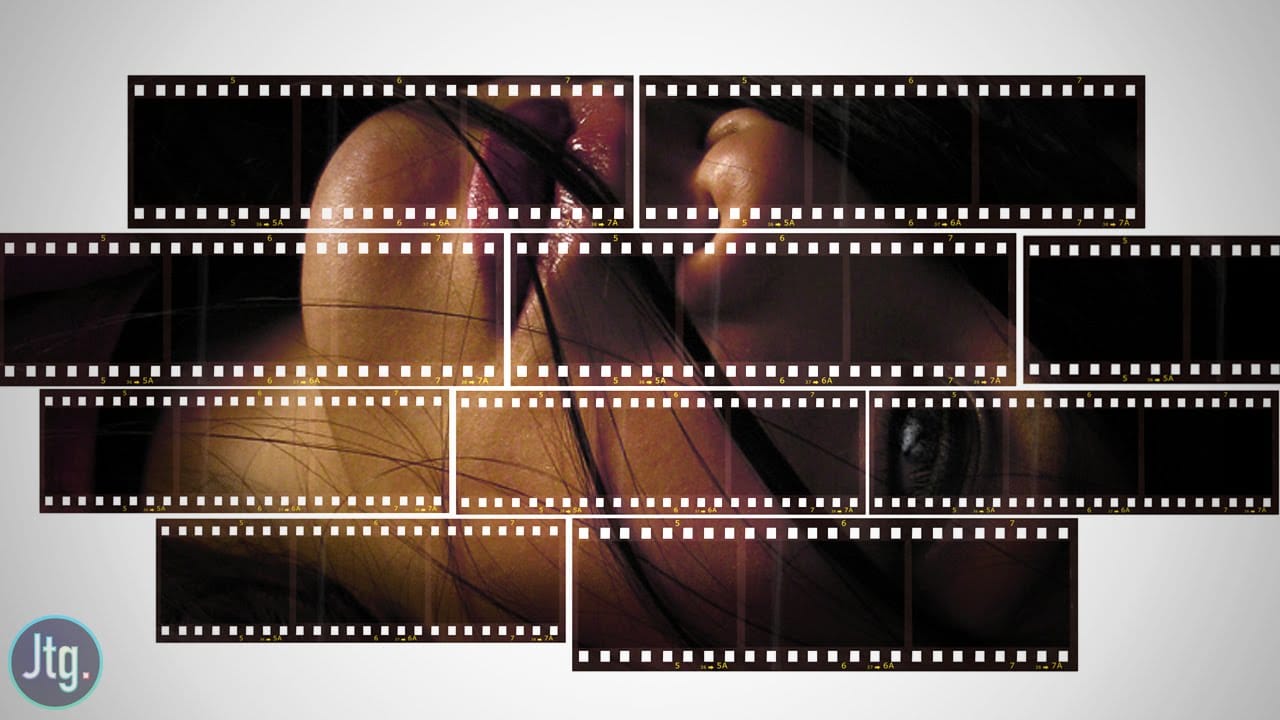
Create a Film Strip Photo Collage Portrait effect in Photoshop
The film strip effect is a popular technique that allows you to frame your images in a unique, retro-inspired way. According to author Justin Odisho, this effect can be achieved in a few simple steps using Adobe Photoshop. The process involves creating a collage-style layout with multiple images arranged in a filmstrip-like fashion. This approach not only adds a nostalgic touch to your photographs but also enables you to showcase several related or complementary images in a visually appealing m

Get tutorials & freebies delivered to you.

Subscribe to the Photoshop Roadmap newsletter, a weekly roundup of new tutorials, insights and quality downloads, trusted by 6500+ readers.

You might also like

How to Remove Skin Blemishes and Fix Skin Tones in Camera Raw

Two recent additions to Camera Raw make skin retouching significantly faster: an automatic blemish removal tool with separate controls for moles and freckles, and a vectorscope-based skin tone indicator for correcting off-color skin. Both features work non-destructively inside a smart object workflow, so no pixel data is...

Portrait Retouching in Photoshop: Smooth Skin While Keeping Natural Texture

Smooth skin and natural texture are not opposites — achieving both at once is the mark of a professional retouch. This workflow covers blemish removal, flyaway hair cleanup, dark under-eye correction, and eye brightening, all while keeping the skin looking like skin. Watch the Video Practical Tips These key points...

How to Use Camera Raw's Blemish Removal Tool in Photoshop

Camera Raw 18.5 introduced an automatic blemish removal tool that does something previous solutions rarely managed: it removes skin imperfections while preserving the underlying skin texture. It also distinguishes between temporary marks and permanent ones like moles, giving you separate controls for each. Watch the Video Practical Tips These...

Portrait Slice Effect in Photoshop Using Step and Repeat

The portrait slice effect splits a single image into offset vertical bars, creating the illusion of a displaced or fragmented face. The entire technique relies on layer masks and a lesser-known Photoshop shortcut called step and repeat — no filters, no AI, no destructive edits required. Watch the Video Practical...

How to Remove Blemishes in Photoshop: Camera Raw vs. Generative AI

Photoshop now offers two distinct approaches to removing skin blemishes automatically. The Camera Raw Filter includes a dedicated Blemishes option that analyzes and cleans skin with a single checkbox, while Generative AI fills a face selection with clean, texture-consistent results using a simple text prompt. Each method has clear...

Common Photoshop Compositing Mistakes and How to Fix Them

Most compositing errors come down to a handful of repeatable problems: mismatched lighting direction, inconsistent white points, misaligned perspective, and atmosphere applied in the wrong layer order. Catching these issues early — ideally before you shoot — saves significant time in post. Watch the Video Practical Tips These corrections apply to nearly...

You’ve successfully subscribed to Photoshop Roadmap
Welcome back! You’ve successfully signed in.
Great! You’ve successfully signed up.
Success! Your email is updated.
Your link has expired
Success! Check your email for magic link to sign-in.