ADVERTISING
Transform Objects inside iClone.
Sometimes objects in iClone may need to be further adjusted for size and orientation.
To do this first select the object that is in need of resizing and switch to the ‘Scale’ tool (Press ‘R’ Key). Then, drag inside the working area so that the object is scaled to the desired size.
Original size.
Repeat this step until all objects are re-scaled.
Now we will do the same with the rotate tool (Press ‘E’ Key) by activating the tool and rotating the necessary objects. Remember to select the object first.

We will select the object, activate the rotate tool and drag in the working area to rotate.

You will notice how easily and quickly you can rotate objects in iClone as its native 3D environment provides a lot more control than Photoshop.
Apply Materials to 3D Objects.
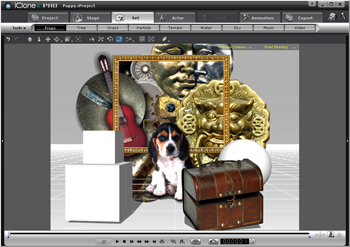
Usually simple props do not have the correct material or texture that we need. Here, we will learn how to apply different materials onto different objects.
Drag and drop a prepared image with the right mouse button. You may drag it from your Windows Explorer folder and drop it directly onto your 3D target’s surface.
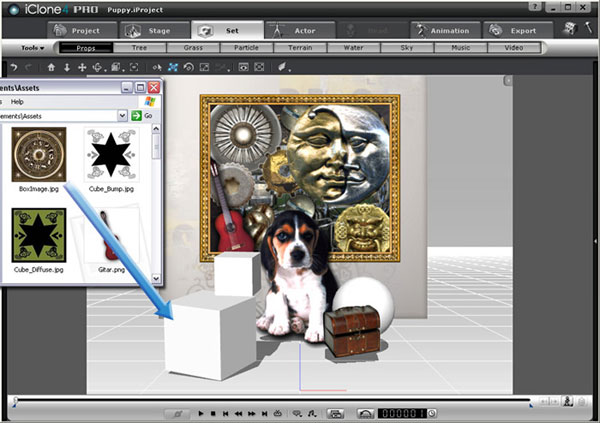
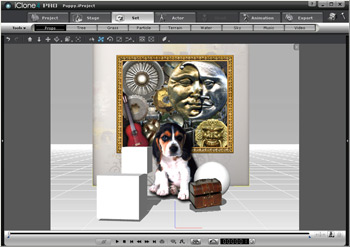
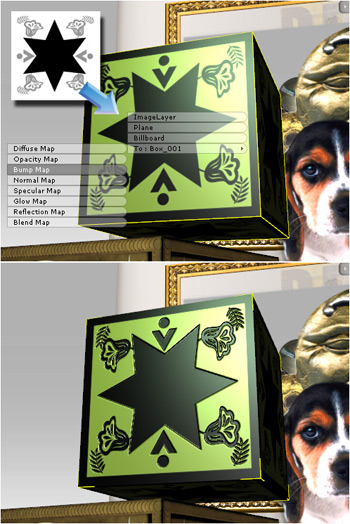
Then choose the last option at the bottom of the pop-up menu and pick the ‘Diffuse Map’ in the sub menu.
The image will then be mapped onto the diffuse channel of the selected 3D object.
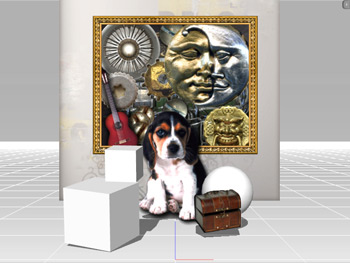
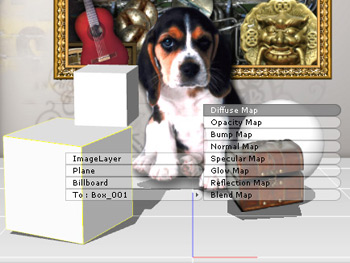
You may use the same method to apply images to different mapping channels in order to create different effects. The section below shows the result when an image is applied to the “Bump Map” channel.
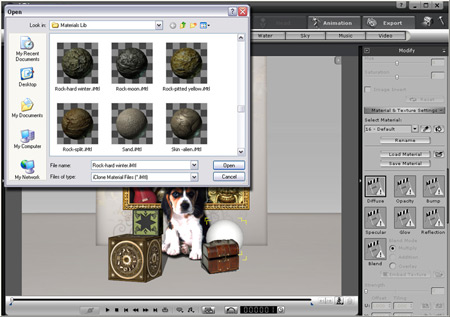
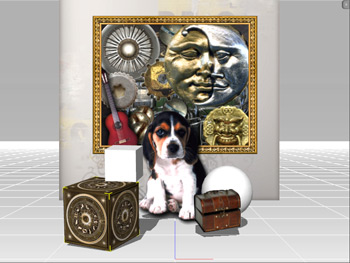
Select another 3D object and in the ‘Modify’ panel at the right, click the ‘Load Material’ button.
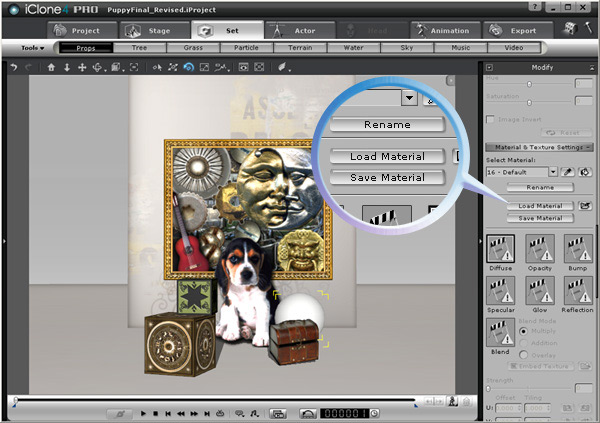
You may then select any material template, from the free iClone material library, to apply to the selected 3D object. You may also bring in your own materials and just drop them in.