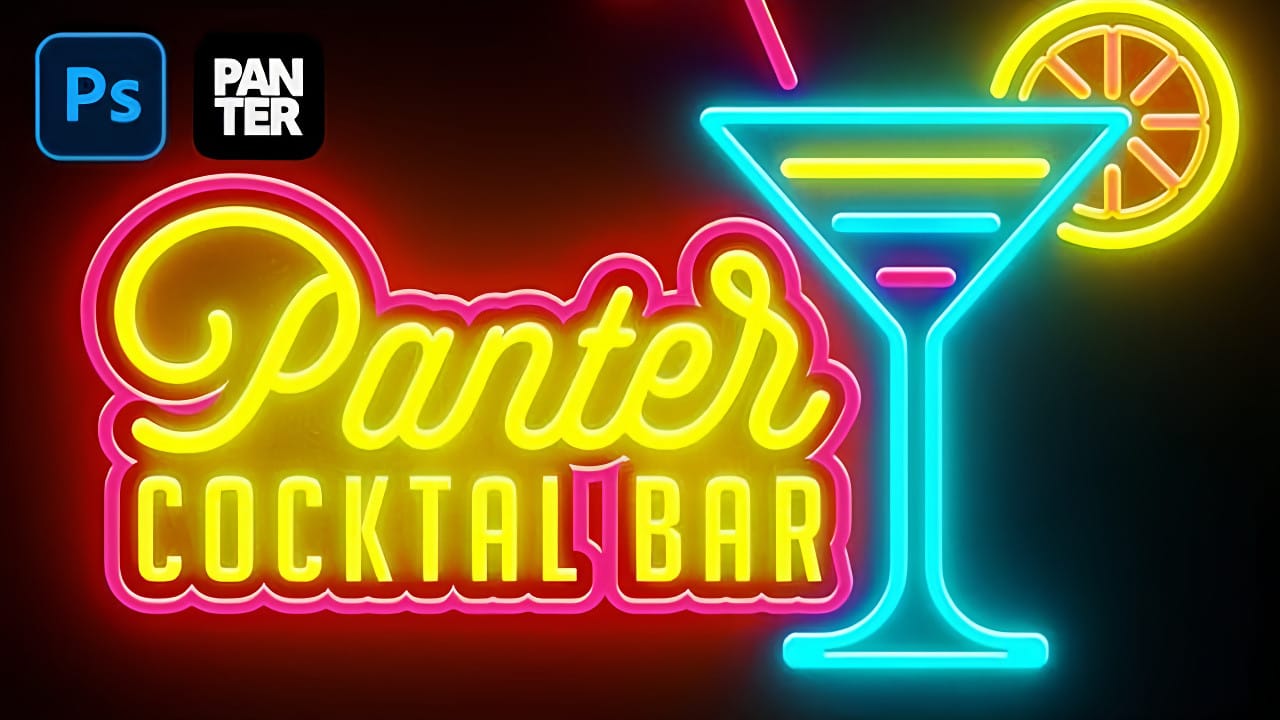
Captivate your audience with luminous designs. Learn to transform flat shapes and text into a realistic 3D neon effect in Photoshop. This tutorial shows you how to achieve stunning, editable results with ease.
Watch the Tutorial
Practical Tips for Creating Neon Effects
Achieving a realistic neon effect involves layering various styles and adjustments.
- Begin by duplicating your Main layer nine times, renaming them Base 1-3, Glass 1-3, and Light 1-3. Group these layers under a "Neon" folder for organization.
- Apply specific layer styles to each Base and Glass layer, such as Inner Shadow (white, 50% opacity) and Drop Shadow (black, 45% opacity). Set the Fill value to 0% in Blending Options to reveal only the layer styles.
- Build the glow effect by duplicating the Main layer five times and grouping them as "Glow". Apply a Gaussian Blur filter with varying radii (e.g., 20, 120, 300, 450 pixels), different Blend Modes (Color, Screen, Lighten, Divide, Vivid Light), and adjust Opacity to create a vibrant halo.
- Refine the overall appearance with adjustment layers, including Levels (20 and 235), Brightness/Contrast (100 brightness, 60 contrast), and Vibrance (+15 vibrance, +35 saturation). Group these as "Adjustments".
- Utilize the initial "Main" layer as a Smart Object. All linked layers will update automatically when you modify content within this Smart Object, enabling quick, single-click design changes for text and shapes.
Related Articles and Tutorials about Neon Effects
Explore additional resources to deepen your understanding of creating diverse neon styles in Photoshop.
Create a Realistic Neon Light Text Effect in Photoshop
In this tutorial, TextureLabs demonstrates how to create a realistic neon sign text effect using Adobe Photoshop.
You'll learn to combine glowing neon colors with a convincing metal base to produce a striking and authentic sign. The tutorial covers various techniques, including layer styles and blending modes, to achieve the luminous neon effect. Additionally, free texture links and more resources are provided to enhance your design.
Whether you're a beginner or an advanced user, this tutorial
How to create a bright realistic neon text effect in Photoshop
Love neon signs? Ever wanted to create your own? With the magic software, we can easily experiment with and create a neon light text effect, no electricity necessary! In fact, whether you’re a software expert or a complete beginner, doing so can be a breeze.
In this video, we’ll check out a couple of different ways to create neon light text effects—from using convenient Smart Objects, to creating text effects from scratch in Adobe Photoshop, to even quick and easy ways to experiment with text e
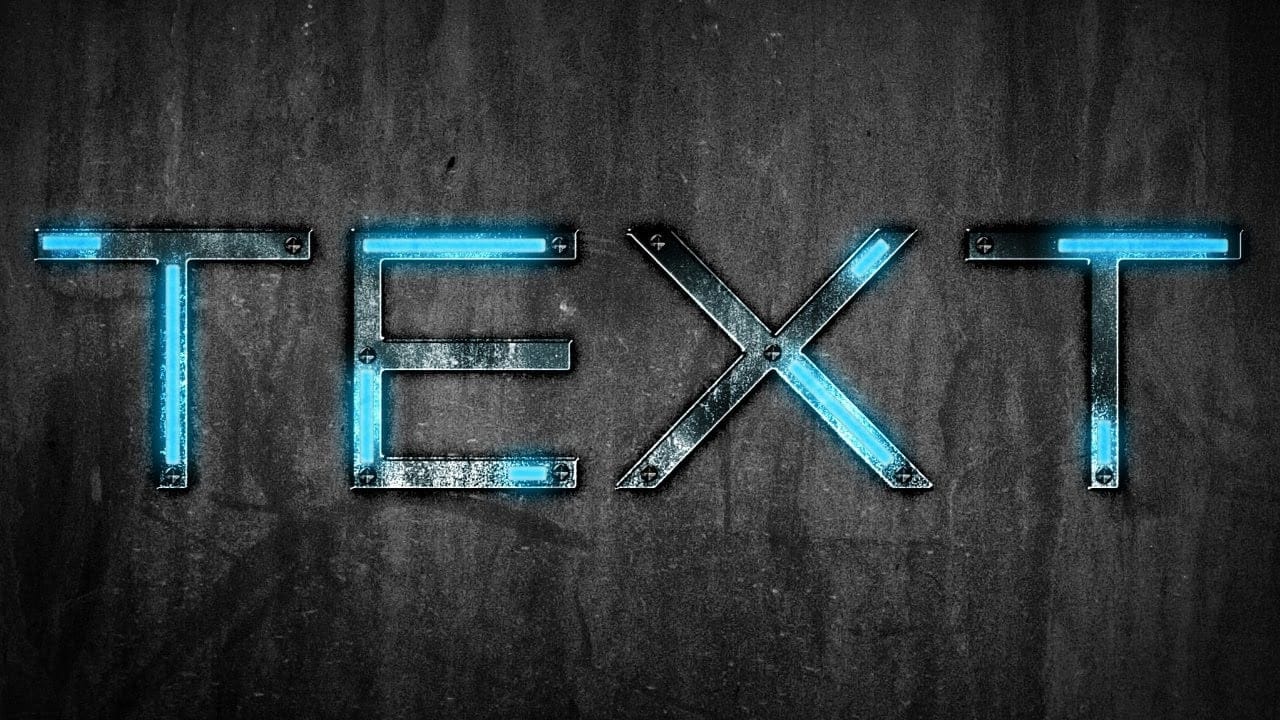
Futuristic Neon Text Effect in Photoshop
In this tutorial, Brandon Bias from Ch-Ch-Check It shows you how to create a stunning futuristic, grungy neon text effect on metallic letters using Adobe Photoshop.
This effect combines multiple blend modes, textures, and layer styles to achieve a unique and eye-catching design. The tutorial begins with creating a new document and adding a grungy background, then moves on to customizing text with specific fonts and character settings. Through detailed steps, you'll learn how to apply various ef
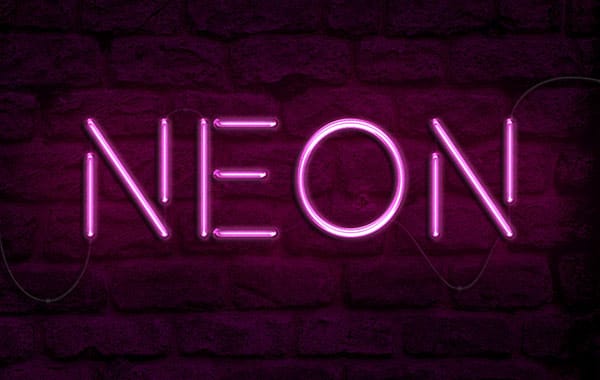
Create a Neon Text Effect in Photoshop with Blur and Layer Styles
Neon signs bring instant energy to any design with their electric glow and vibrant colors. The luminous quality that makes real neon so captivating can transform ordinary text into something that feels alive and pulsing with light.
This video demonstrates how to recreate that distinctive neon look using Photoshop's blur filters and layer effects. The technique builds multiple glowing layers to achieve an authentic electric sign appearance.
Watch the Tutorial
Building Authentic Neon Glow Eff