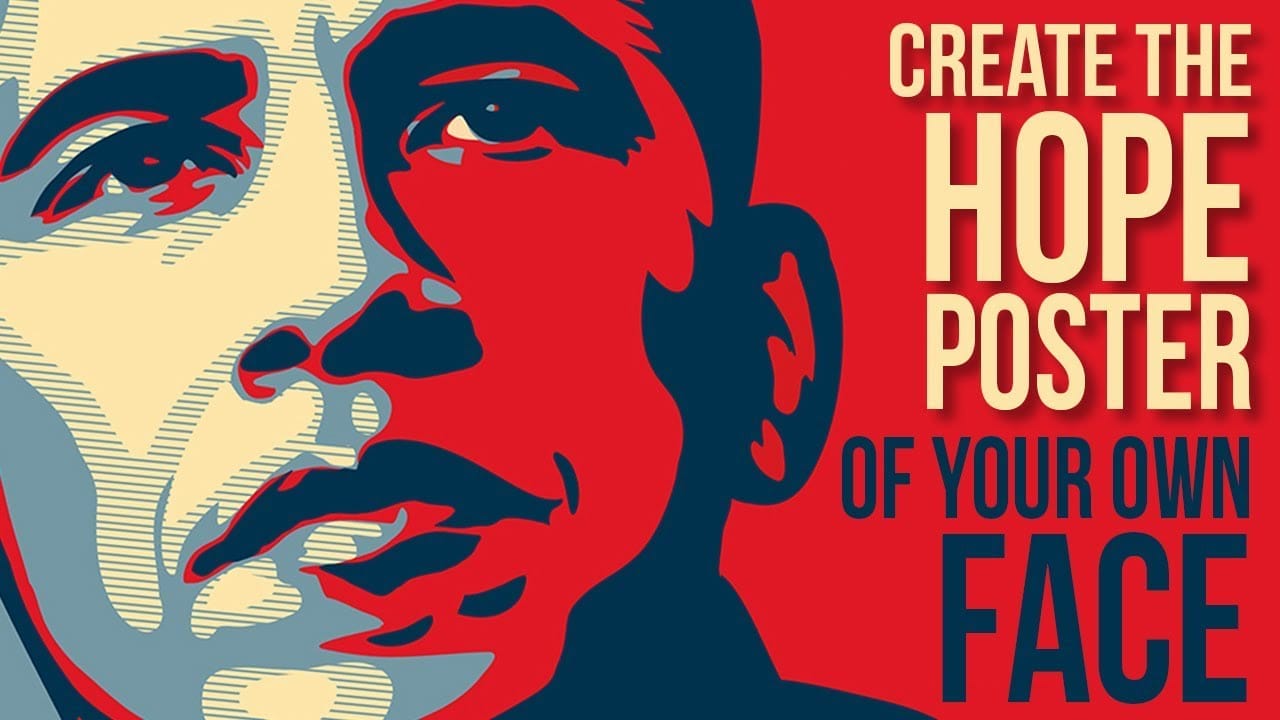
In today’s tutorial, Marty will show you how to create and personalize your own version of Barack Obama’s iconic “HOPE” poster design using Photoshop. This tutorial is perfect for both beginners and advanced users who want to learn how to recreate this timeless piece of graphic design history. To make it easier for you to follow along, Marty has provided a downloadable Photoshop file in the video’s description, which includes all the necessary layers and elements.
The tutorial begins with setting up the base of your poster by importing your chosen photo and making precise selections to isolate your subject. Marty guides you through the process of converting layers into Smart Objects, adjusting levels, and applying various filters to achieve the distinct, posterized look of the original “HOPE” design. You’ll learn how to use the Pen Tool for accurate selections, apply surface and cutout blurs, and work with adjustment layers to fine-tune the tonal range of your image.
As you continue, Marty demonstrates how to add and customize the text in the style of the “HOPE” poster, including how to position and color it to match the original design. You’ll also learn how to use displacement maps to blend your text with the background seamlessly and create a cohesive, professional look. By the end of the tutorial, you’ll have a personalized “HOPE” poster that captures the essence of Shepard Fairey’s iconic design. So, download the provided files, open Photoshop, and let’s get started on crafting your unique piece of art with Blue Lightning TV!


