One surprising technique in creating a text portrait poster involves generating a specific displacement map. The process requires saving a composite snapshot of the subject's head and shoulders as a separate file, then intentionally darkening its levels between 110 and 120.
This approach allows for the dynamic integration of lyrics, prose, or poetry, transforming a simple portrait into a visually rich and thematic artwork.
Watch the Full Tutorial
Video by Blue Lightning. Any links or downloads mentioned by the creator are available only on YouTube
Practical Tips for Text Portrait Design
- Desaturate the original photo by pressing Control + Shift + U (PC) or Command + Shift + U (Mac) to ensure a proper grayscale image for the displacement map.
- Create a composite snapshot for the displacement map by activating the head layer and pressing Control + Shift + Alt + E (PC) or Command + Shift + Option + E (Mac).
- Adjust the levels of your saved displacement map file by pressing Control + L (PC) or Command + L (Mac), setting the output levels between 110 and 120 for optimal text wrapping.
- Ensure your text block is completely filled and free of empty spaces by using the backspace key to consolidate text, which prevents gaps after displacement.
- Change the text layer's blend mode to Overlay and duplicate the layer (Control + J or Command + J) to enhance brightness and visual impact.
Related Articles and Tutorials about Text Portrait Posters
Explore more resources to deepen your understanding of integrating typography and imagery in poster design.
Create a Creative Text Portrait Poster in Photoshop
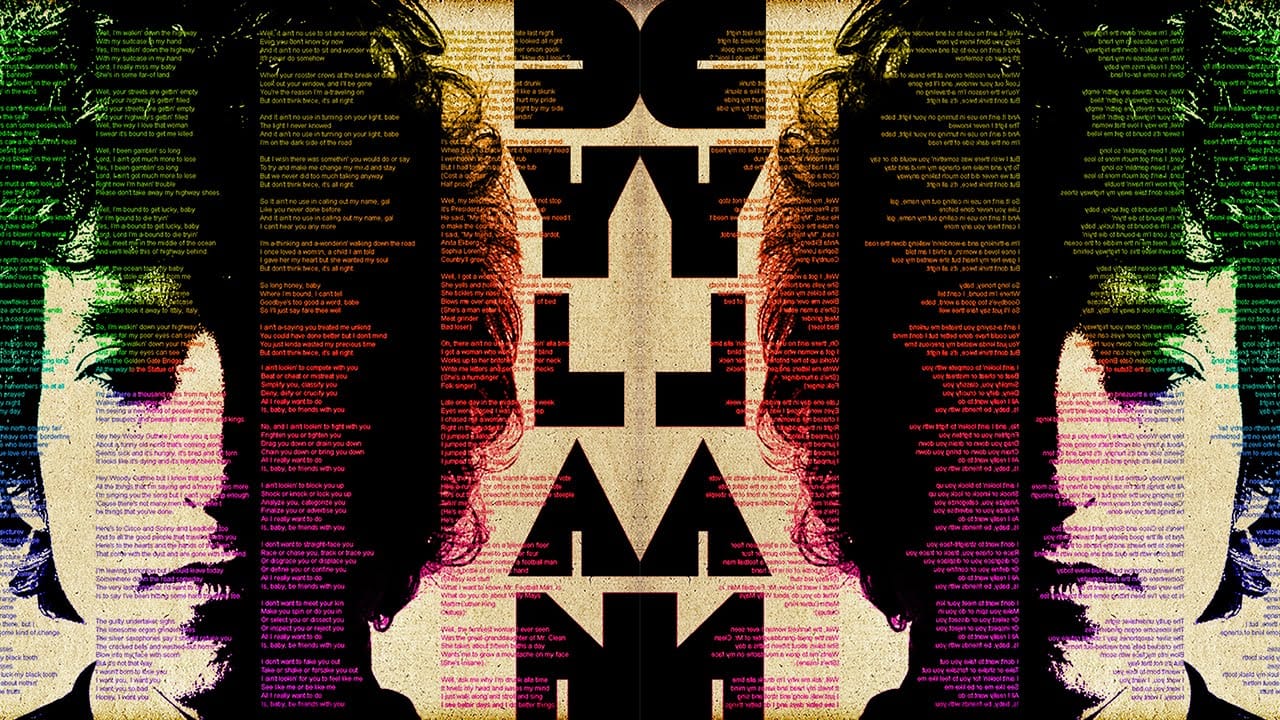
The author, Marty Geller from Blue Lightning TV, provides a tutorial on how to create a creative text portrait poster in Photoshop. This project allows you to design a powerful, custom text portrait poster of a musician, songwriter, poet, or author, featuring their lyrics, poems, or prose.
The process involves using Photoshop to arrange the text elements in a visually striking way, highlighting the subject's creative work. By following the step-by-step instructions, you can craft a unique and p
Create a Striking Text Portrait Poster in Photoshop
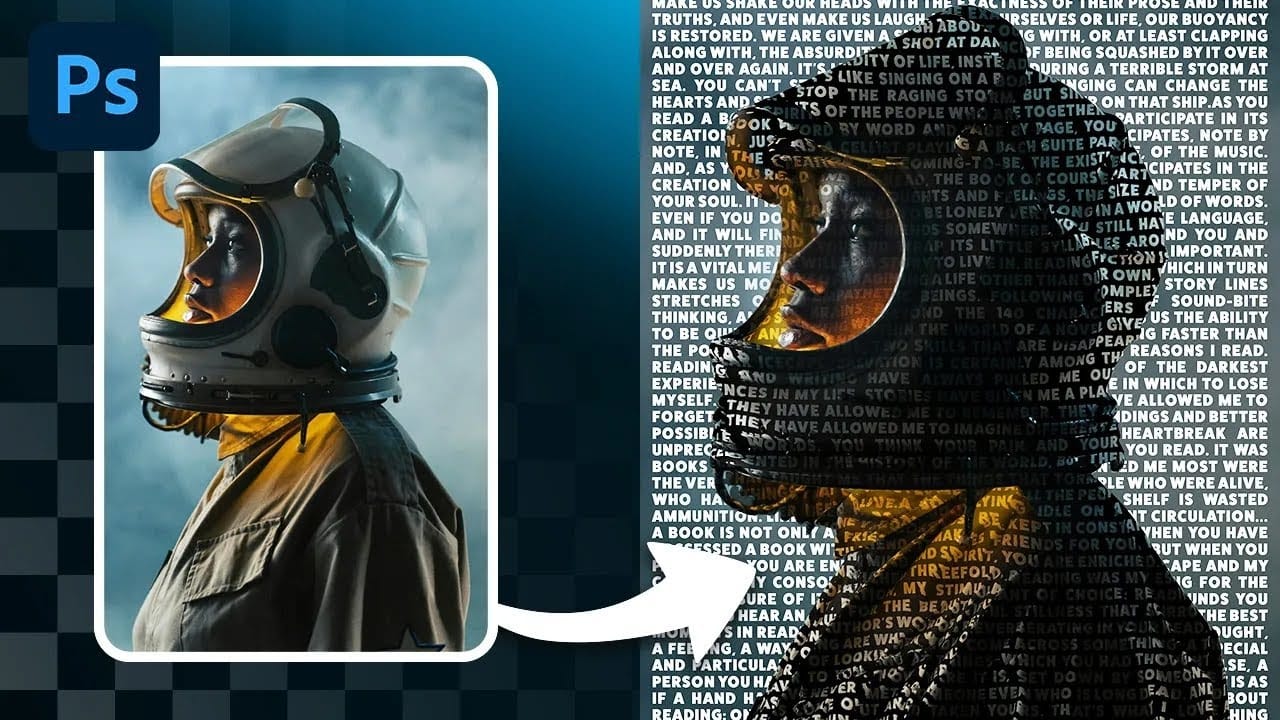
Transforming an ordinary portrait into a captivating text-based artwork presents a unique creative challenge in Photoshop. Often, the frustration lies in making text appear to organically wrap around a subject’s contours rather than just sitting flat over the image. Achieving this seamless integration, especially when dealing with complex shapes, can feel like navigating an intricate technical puzzle.
This tutorial offers a clear pathway to mastering text portrait effects using advanced masking
Crafting a Typographic Poster in Adobe Photoshop
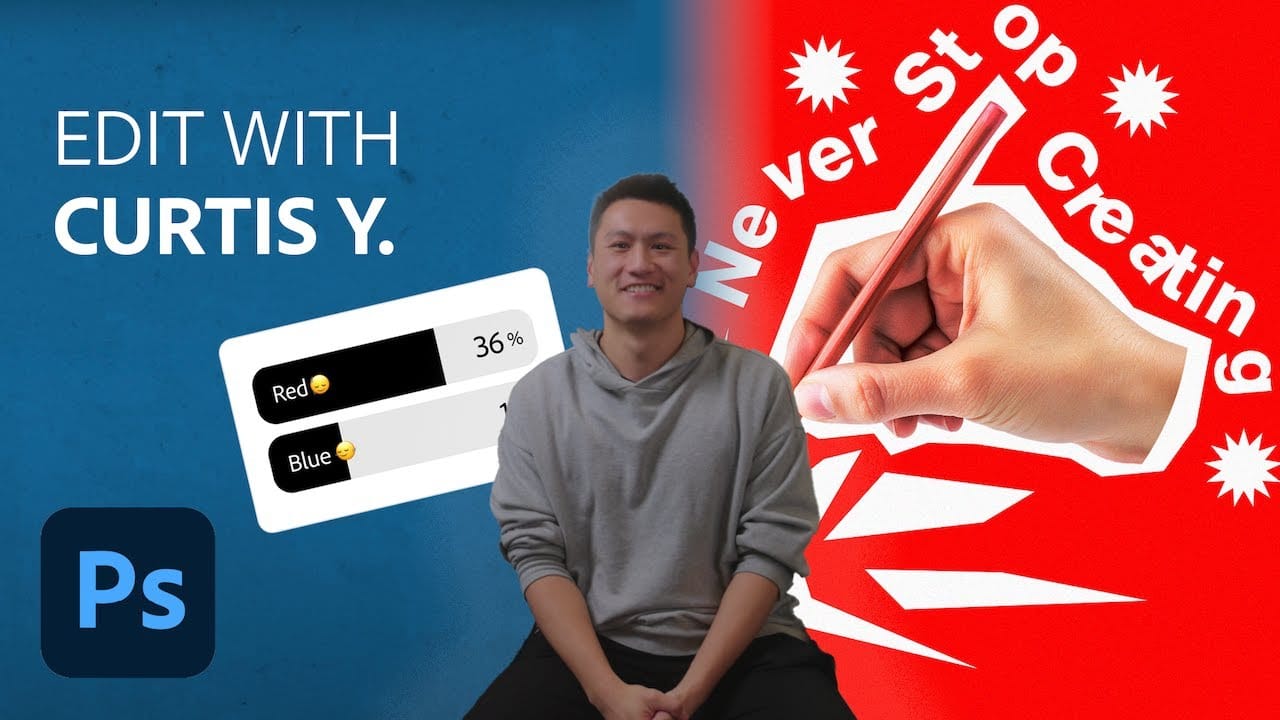
Join Adobe’s UX Growth Designer, Curtis Ying, as he transforms a Swiss Typographic poster through an engaging design process. With the input from the Instagram community, this presentation showcases how he carefully selects a bold red background that sets the tone for the entire piece.
Throughout the process, Curtis shares his techniques for integrating organic shapes and text that harmoniously flow within the design. Utilizing various Photoshop tools, he guides you step-by-step, making it easy
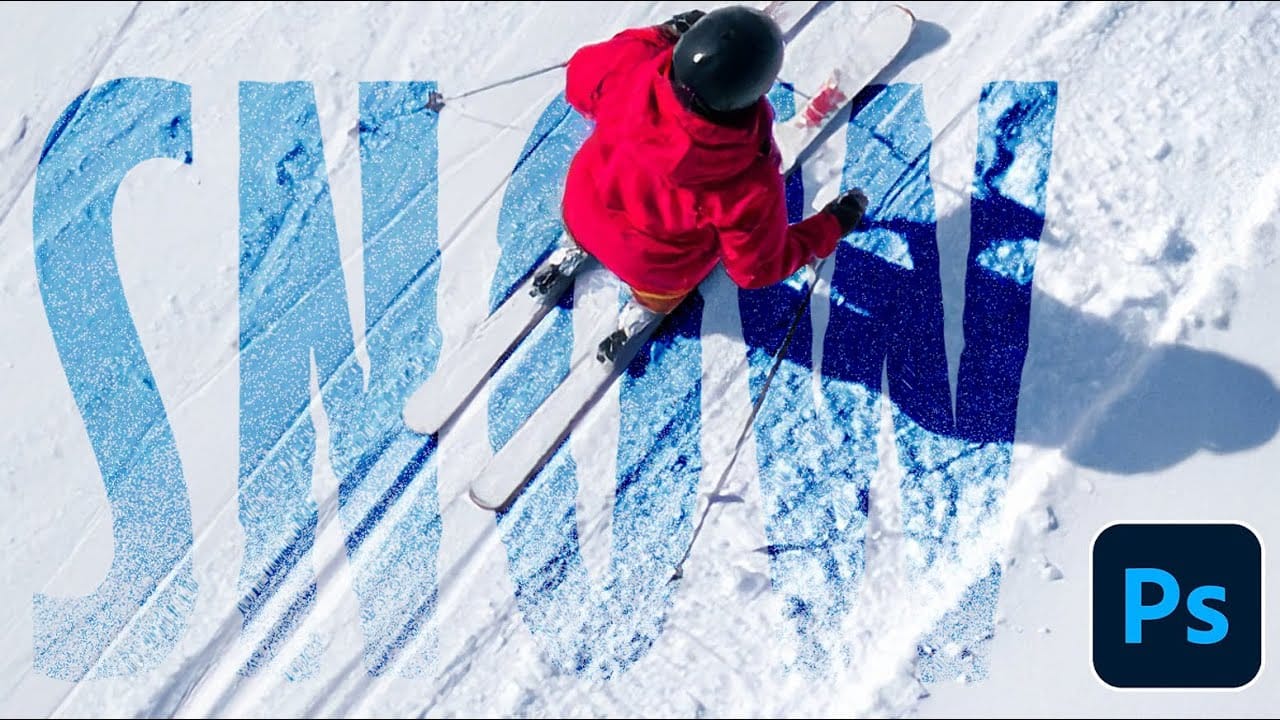
How to Create a Text and Photo Poster with Displacement Effects in Photoshop
Integrating typography with photography in poster design presents unique creative opportunities, especially when text appears to naturally wrap around the contours and textures of photographic elements. This effect transforms flat text into a dimensional element that feels organically connected to the underlying image, creating visual depth and sophisticated composition.
This tutorial demonstrates how to blend text with a ski photograph using displacement mapping techniques, subject isolation,