Colorful Painted 3D Text Effect Tutorial in Photoshop

Colorful Painted 3D Text Effect Tutorial in Photoshop

Creating eye-catching text effects can transform any design, making it dynamic and engaging. This tutorial offers a unique approach to developing impactful 3D text directly within Photoshop, focusing on a hand-drawn, artistic style.

Learn to build a compelling visual experience using creative Photoshop techniques, including layering, shading, and intricate detailing. This method gives typography a vibrant, three-dimensional appearance without relying on traditional 3D software.

Learn to Create 3D Text Effects in Photoshop

Video by Anko Design. Any links or downloads mentioned by the creator are available only on YouTube

Exploring Artistic Depth in Photoshop Text

This tutorial demonstrates a distinctive method for achieving a 3D text effect in Photoshop, moving beyond the traditional 3D workspace. It emphasizes an artistic, hand-drawn approach, where the initial text shapes are crafted using the mixer brush tool. This technique allows for organic textures and nuanced forms, setting the foundation for a stylized three-dimensional appearance.

The process heavily relies on strategic use of layers and clipping masks, enabling meticulous control over shadows, highlights, and intricate details. By building the effect step-by-step, designers gain significant artistic freedom to define depth and realism. This approach highlights the versatility of Photoshop's 2D tools in creating convincing faux-3D typography.

  • Using the Mixer Brush for foundational text shapes.
  • Effective layer management for complex visual effects.
  • Applying clipping masks for precise shading and coloring.
  • Utilizing the pen tool for intricate details and selections.
  • Achieving a non-destructive workflow through smart layering.

Practical Tips for Crafting 3D Text Effects

  • Create a new layer for each letter to simplify the application of shadows, highlights, and details.
  • Load the *mixer brush* with color by holding Option (Mac) or Alt (Windows) and clicking a vibrant spot on your source image.
  • Employ *clipping masks* on each text layer for non-destructive shadow and highlight work, keeping your original text intact.
  • Define precise shadow and highlight areas using *pen tool* selections before filling with a brush for clean edges.
  • Experiment with *layer duplication* and careful erasing to create realistic shadows cast by intricate lines and details.

Discover more creative approaches to designing stunning text effects and typography in Photoshop with these additional resources.

Epic 3D Text Effects in Photoshop
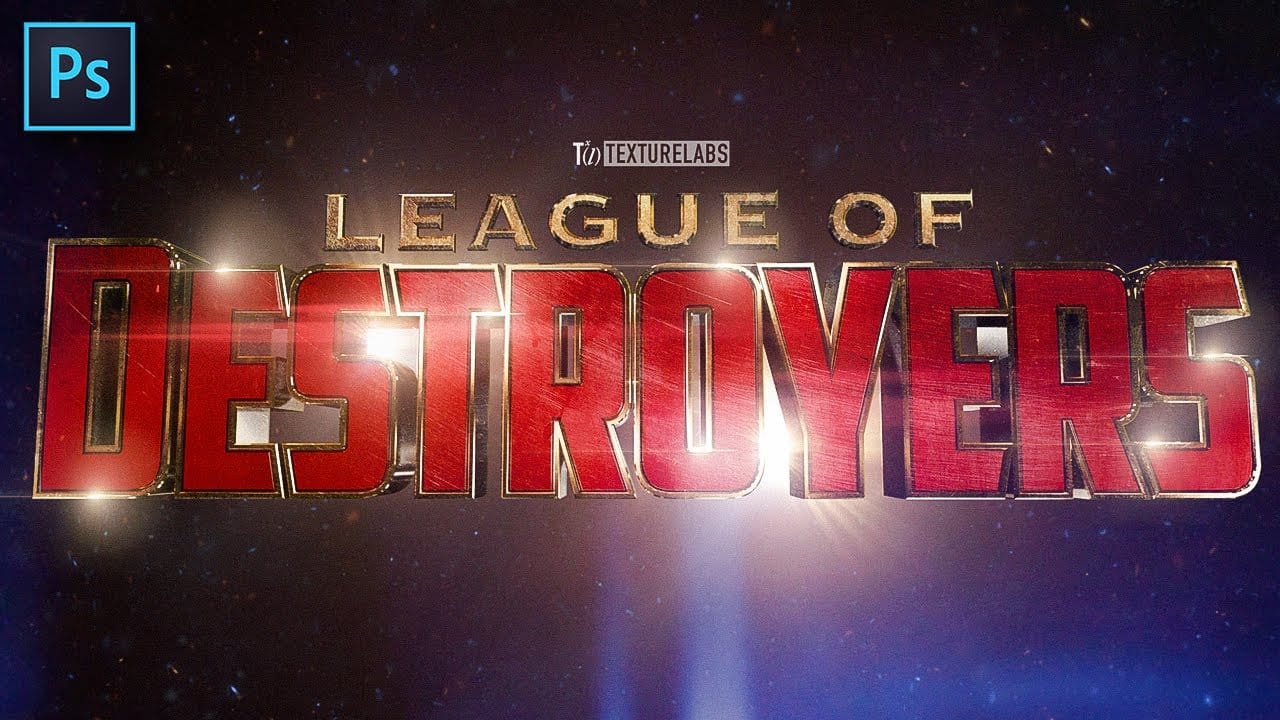
In this tutorial from TextureLabs, you'll explore creating epic, superhero-style typography using the Photoshop 3D workspace. The tutorial covers basic modeling, texturing, lighting, and compositing techniques, providing a step-by-step workflow to achieve impressive intergalactic designs. Note that due to Photoshop phasing out the 3D workspace, this technique has become unstable. As a response, TextureLabs has introduced the Texturelabs 3D Machine Plugin as an alternative for achieving similar
Download Awesome Editable Text Effects PSD Files
In this collection, you’ll find 10 impressive editable text effects in PSD format. Each file offers a unique design that can be modified to suit your specific needs. With these text effects, you have the power to change the text and typography while keeping the stunning visual features intact. These files are perfect for a wide range of projects, from social media graphics to marketing materials. The editable nature of the PSD files allows you to personalize each effect, ensuring it fits seamle
Cartoon 3D Text Effect in Photoshop
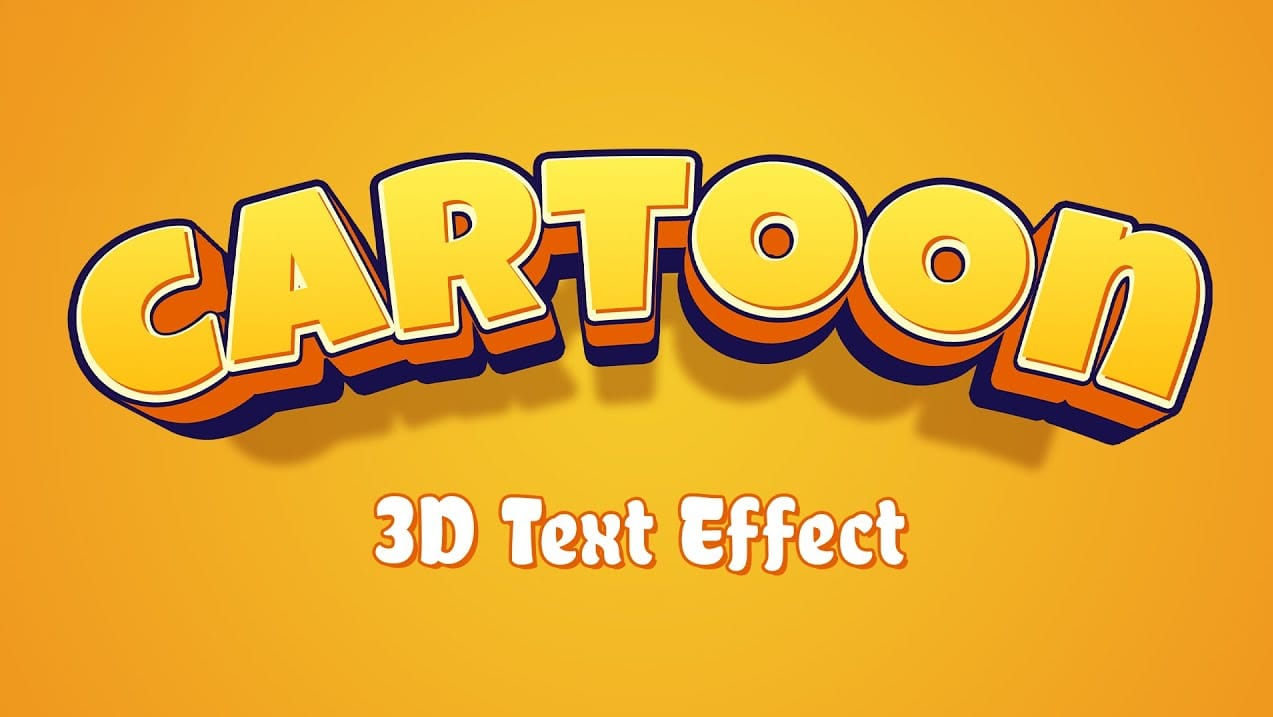
In this tutorial from PhoTuts, you'll discover how to create a colorful and playful cartoon-style 3D text effect in Photoshop, using basic techniques. The tutorial not only guides you through the steps to design vibrant and fun text that stands out, but also includes the font used in the tutorial available for download. This ensures you can easily follow along and replicate the dynamic, eye-catching effects, making it ideal for injecting a sense of whimsy and creativity into your designs. Wat
Colorful Glossy and Shiny 3D Text Effect in Photoshop
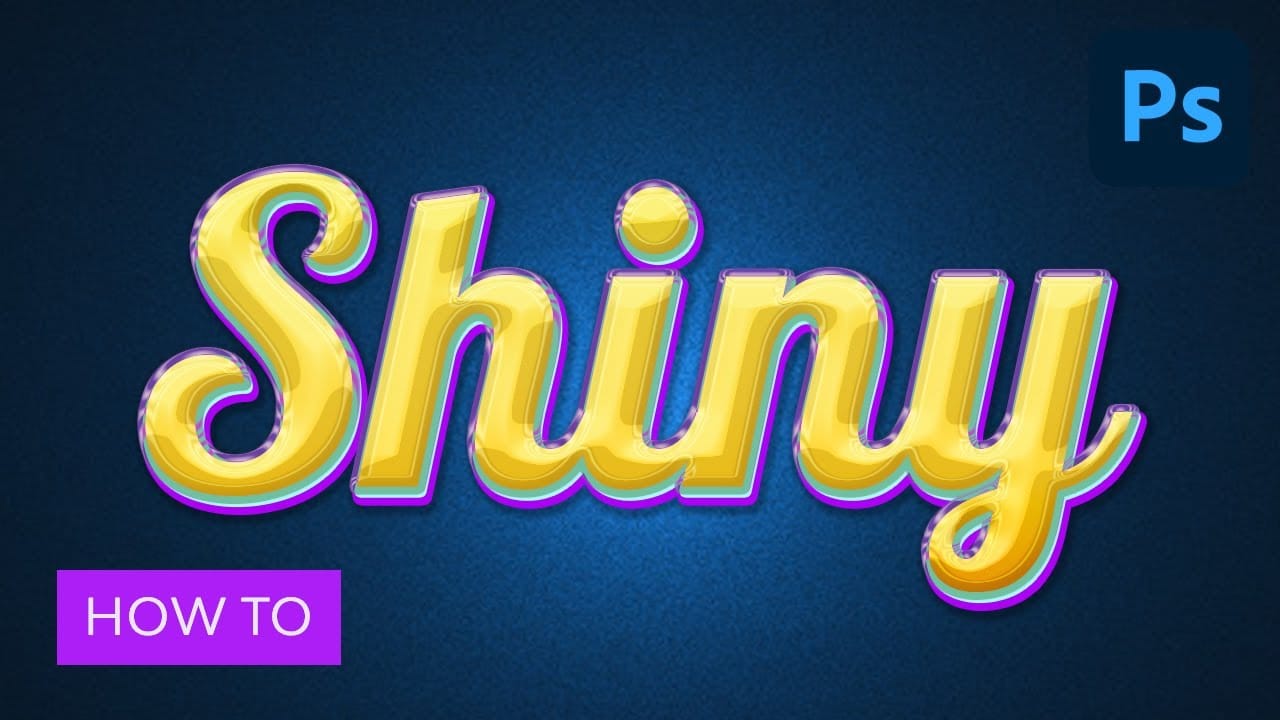
In this Envato Tuts+ tutorial, Monikazza Grubena demonstrates how to create a glossy text effect in Photoshop using the layer style panel. The tutorial is straightforward and efficient, ideal for both beginners and experienced users. Monikazza explains the process clearly, making it easy to follow along and replicate the effect on your own projects. The tutorial also highlights the value of Envato Elements, which offers a wide range of professional shiny and glossy text effects, along with othe

Get tutorials & freebies delivered to you.

Subscribe to the Photoshop Roadmap newsletter, a weekly roundup of new tutorials, insights and quality downloads, trusted by 6500+ readers.

You might also like

How to Remove Skin Blemishes and Fix Skin Tones in Camera Raw

Two recent additions to Camera Raw make skin retouching significantly faster: an automatic blemish removal tool with separate controls for moles and freckles, and a vectorscope-based skin tone indicator for correcting off-color skin. Both features work non-destructively inside a smart object workflow, so no pixel data is...

Portrait Retouching in Photoshop: Smooth Skin While Keeping Natural Texture

Smooth skin and natural texture are not opposites — achieving both at once is the mark of a professional retouch. This workflow covers blemish removal, flyaway hair cleanup, dark under-eye correction, and eye brightening, all while keeping the skin looking like skin. Watch the Video Practical Tips These key points...

How to Use Camera Raw's Blemish Removal Tool in Photoshop

Camera Raw 18.5 introduced an automatic blemish removal tool that does something previous solutions rarely managed: it removes skin imperfections while preserving the underlying skin texture. It also distinguishes between temporary marks and permanent ones like moles, giving you separate controls for each. Watch the Video Practical Tips These...

Portrait Slice Effect in Photoshop Using Step and Repeat

The portrait slice effect splits a single image into offset vertical bars, creating the illusion of a displaced or fragmented face. The entire technique relies on layer masks and a lesser-known Photoshop shortcut called step and repeat — no filters, no AI, no destructive edits required. Watch the Video Practical...

How to Remove Blemishes in Photoshop: Camera Raw vs. Generative AI

Photoshop now offers two distinct approaches to removing skin blemishes automatically. The Camera Raw Filter includes a dedicated Blemishes option that analyzes and cleans skin with a single checkbox, while Generative AI fills a face selection with clean, texture-consistent results using a simple text prompt. Each method has clear...

Common Photoshop Compositing Mistakes and How to Fix Them

Most compositing errors come down to a handful of repeatable problems: mismatched lighting direction, inconsistent white points, misaligned perspective, and atmosphere applied in the wrong layer order. Catching these issues early — ideally before you shoot — saves significant time in post. Watch the Video Practical Tips These corrections apply to nearly...

You’ve successfully subscribed to Photoshop Roadmap
Welcome back! You’ve successfully signed in.
Great! You’ve successfully signed up.
Success! Your email is updated.
Your link has expired
Success! Check your email for magic link to sign-in.