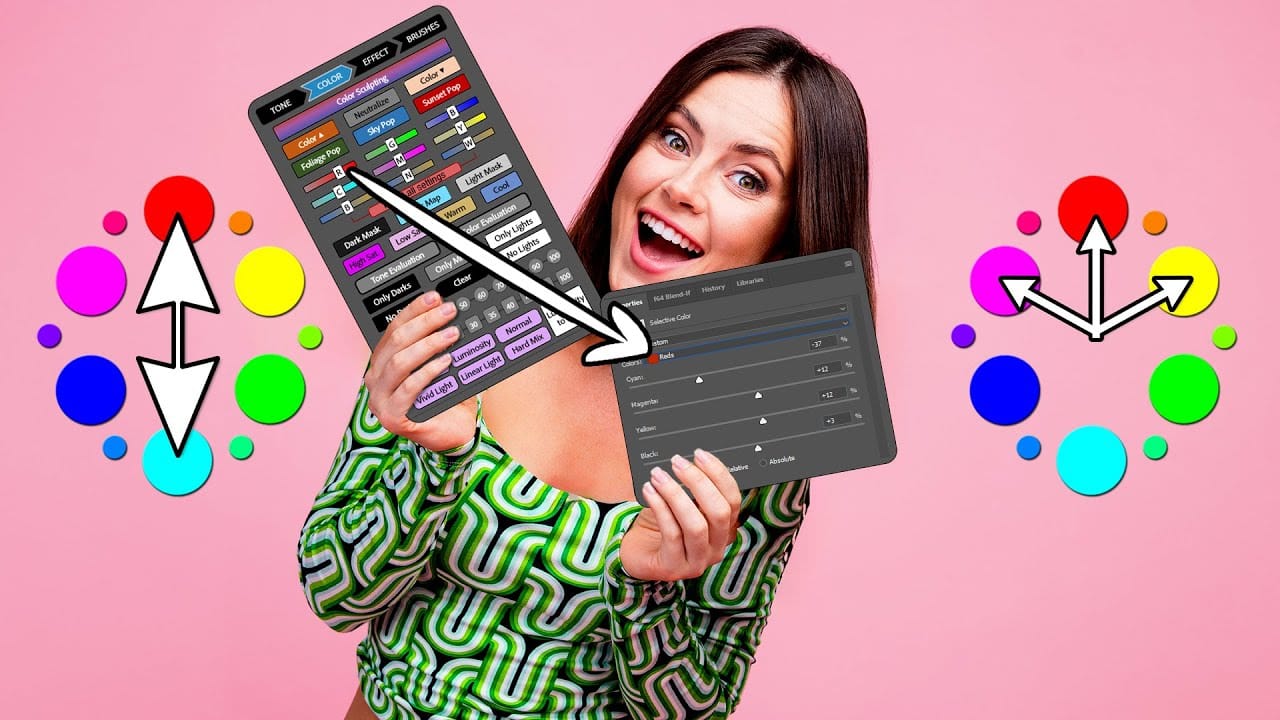
Most color adjustments in RGB mode quickly look unnatural because the red, green, and blue channels control both color and brightness simultaneously. LAB color mode separates lightness from color information, letting you make dramatic color changes while preserving the original tonal range and depth of your image.
This approach gives you far more flexibility when pushing colors to creative extremes without the flat, oversaturated look that often results from aggressive RGB adjustments.
Watch the Video
Practical Tips
These techniques will help you master LAB color mode for professional color grading:
- Convert to LAB mode by going to Image > Mode > LAB Color after duplicating your background layer to a new document
- Use the Lightness channel to control brightness without affecting colors, and A/B channels for pure color adjustments
- Try the hand tool with up/down arrows in Curves to click and drag specific areas of your image for targeted color changes
- Create contrast in the A and B channels by pulling opposite ends of the curve to add complementary color combinations
- Merge your LAB edits with Shift+Option+Command+E, then drag the result back to your original RGB document
Related Articles and Tutorials
Explore more advanced color techniques and editing methods to enhance your workflow:
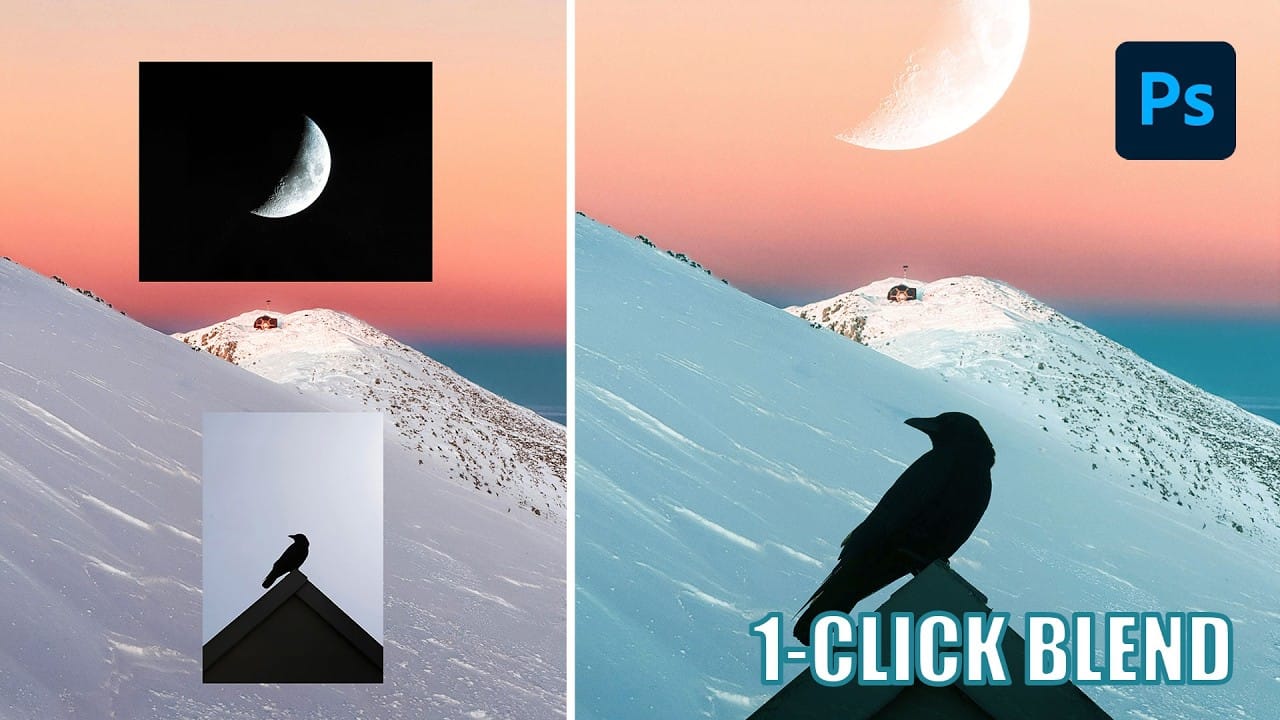
Understanding Photoshop Blending Modes: A Complete Guide to Layer Blending
Blending modes transform how layers interact in Photoshop, letting you seamlessly combine images without complex masking. This technique reveals only light areas, dark areas, or specific colors from each layer.
Master these essential blending groups to create professional composites and artistic effects with just a few clicks.
Watch the Tutorial
Essential Blending Mode Tips
* Use Screen or Lighten modes to make dark backgrounds disappear while keeping bright elements visible
* Apply Mult
The Science of All 27 Blend Modes in Photoshop
Blend modes are a core feature in Photoshop, essential for manipulating how layers interact and visually combine. They unlock a vast range of creative possibilities, from subtle image enhancements to dramatic composite effects. Understanding each mode allows for precise control over your image adjustments and creative vision.
This comprehensive guide demystifies all 27 main blend modes, detailing their unique properties and practical applications. It serves as an invaluable reference, helping y

Creative Uses of Photoshop's Difference Blending Mode
The Difference blending mode often gets overlooked in Photoshop, dismissed as too unpredictable or harsh for creative work. Most designers know it as a utility tool for layer alignment, but this powerful mode can create striking effects when used thoughtfully.
From grungy texture overlays to vintage solarized looks, Difference mode offers unique creative possibilities that other blending modes simply can't achieve. The key lies in understanding how it interacts with different tonal values and u
New Photoshop Feature for Changing Colors
Working on the color palette of an image is a fundamental task in photo editing, enabling designers and photographers to evoke different moods, correct imbalances, or simply reimagine visual elements. While Photoshop has long offered robust tools for color manipulation, achieving precise and natural-looking changes often required a multi-step workflow and a deep understanding of complex adjustments.
This video introduces a groundbreaking new feature in Photoshop's beta version, designed to stre

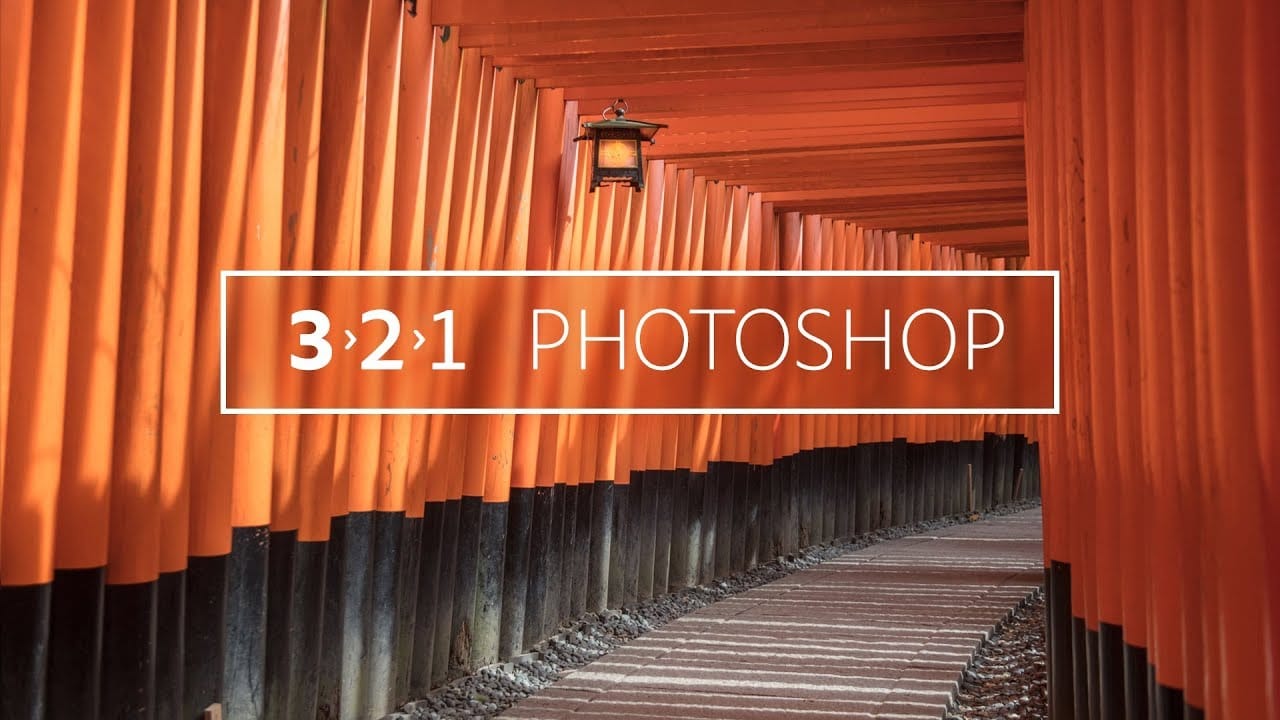
Six easy ways to select colors in Photoshop
In this episode of "3, 2, 1… Photoshop!", longtime Adobe evangelist Julieanne Kost shares essential tips and tricks for selecting colors in Photoshop. Julieanne introduces six easy methods to choose colors effectively, whether you're working on a detailed project or just need a quick color pick.
You'll learn how to use the eyedropper tool for precise color selection, manipulate foreground and background colors, and utilize the heads-up-display (HUD) color picker for a more interactive experienc
Advanced Black and White Photo Editing with Selective Masking in Photoshop
Most black and white conversions fall flat because they rely on simple global adjustments that treat the entire image uniformly. Professional-level dramatic black and white photos require selective contrast adjustments that target specific areas like skies, foregrounds, and tonal ranges independently.
This approach transforms ordinary monochrome images into compelling, high-contrast photographs with depth and visual impact.
Watch the Full Tutorial
Essential Tips for Advanced Black and White

The Single Best Color Tool in Photoshop
In this tutorial, you will uncover the often-overlooked capabilities of Photoshop's Selective Color Adjustment Layer.
This powerful tool allows you to perform both subtle and dramatic color grading, giving your images a polished look similar to fine art. You'll learn techniques to intensify colors, separate various hues for added depth, and achieve better overall color balance in your work. This ensures that your images maintain their vibrancy without the risk of over-saturation.
The tutorial
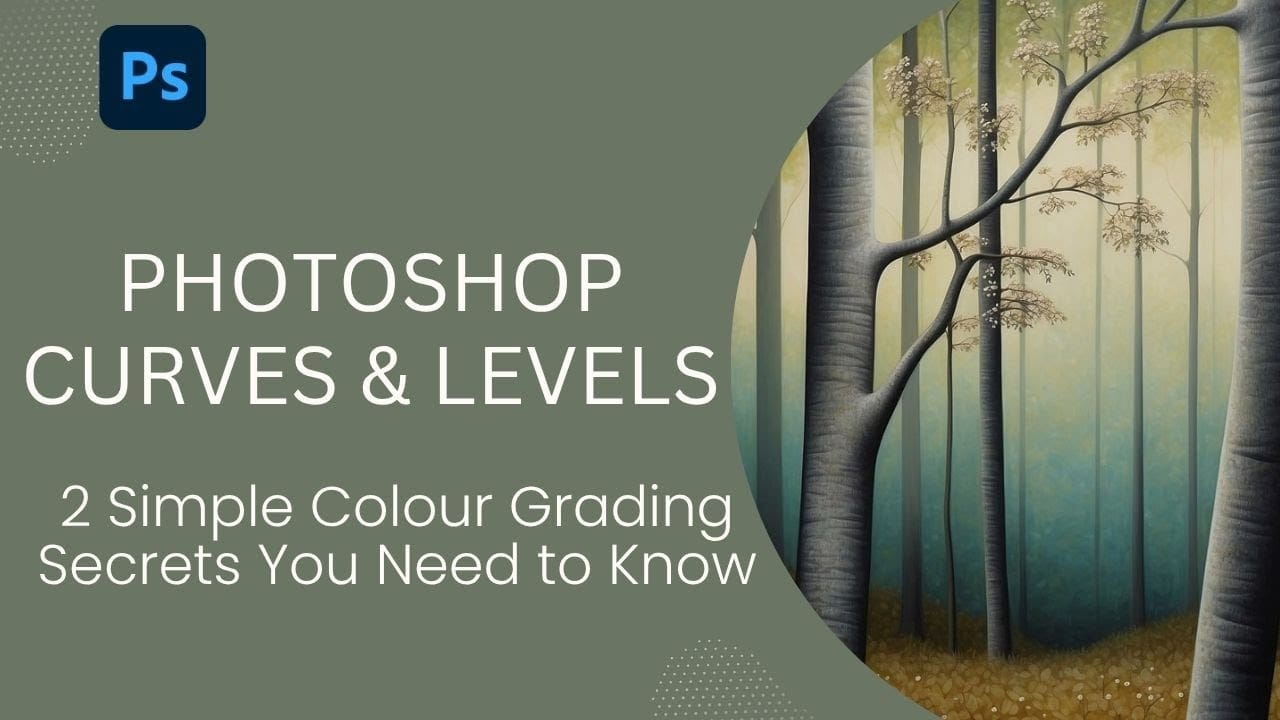
Two Simple Color Grading Techniques Using Photoshop Curves and Levels
Color grading transforms flat images into vibrant, cinematic visuals that capture attention and convey mood. The difference between an ordinary photo and one with professional depth often comes down to how well shadows, midtones, and highlights work together to create visual interest.
These two Photoshop techniques using Curves and Levels offer a quick path to achieving that coveted "pop of color" without complex workflows or advanced skills.
Watch the Tutorial
Understanding Auto Color Opti
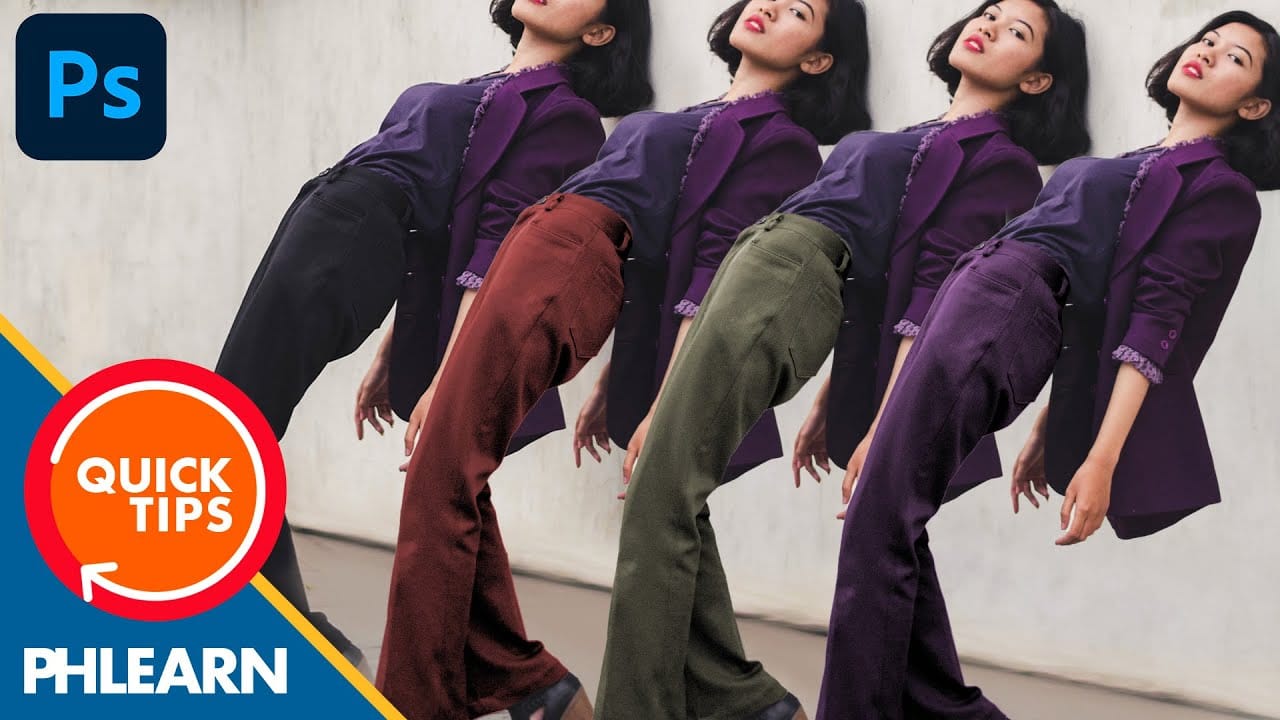
How to Change Black into Any Color in Photoshop
In this tutorial, Aaron Nace demonstrates how to transform black elements in your images into any color using Photoshop. This technique involves utilizing Levels and Hue/Saturation Adjustment Layers to achieve the desired color changes.
Aaron guides you through the process of adjusting these settings to effectively modify black areas in your photos. This method is particularly useful for fashion and product photo retouching, allowing you to customize colors for creative or branding purposes.
T