Best unknown trick for retouching in Photoshop

Best unknown trick for retouching in Photoshop

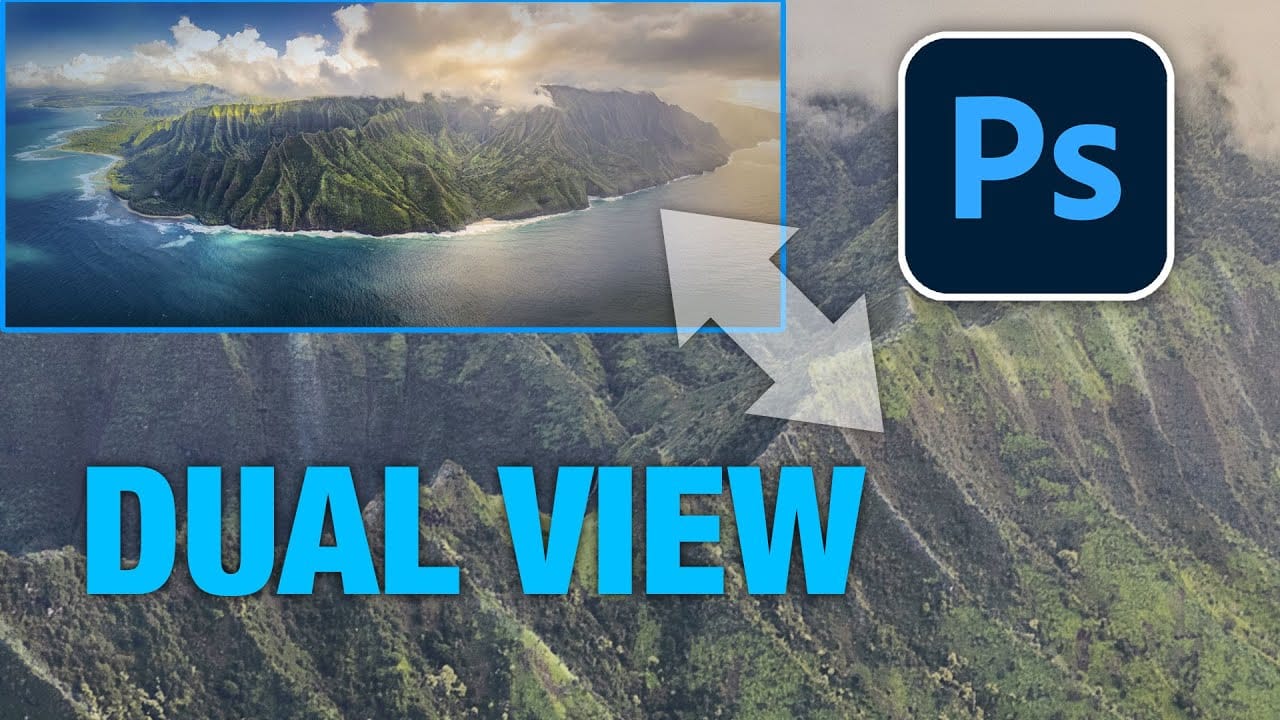
In this insightful Photoshop tutorial, Colin Smith uncovers a valuable but often overlooked trick to enhance your retouching process. The tutorial introduces a method to simultaneously display your image at two different sizes—one for detailed editing and the other for a broader overview. This dual-view setup allows you to efficiently monitor and adjust both fine details and overall composition without constantly switching between zoom levels.

Colin explains how this technique helps in identifying and correcting imperfections with greater accuracy. It’s particularly beneficial for tasks such as retouching skin, adjusting colors, or refining intricate details while maintaining an understanding of the image’s overall look. By incorporating this trick into your workflow, you can significantly improve your efficiency and precision in Photoshop, making it easier to achieve professional-quality results.

Get tutorials & freebies delivered to you.

Subscribe to the Photoshop Roadmap newsletter, a weekly roundup of new tutorials, insights and quality downloads, trusted by 6500+ readers.

You might also like

How to Change Object Colors in Photoshop Using Hue/Saturation

Changing the color of specific objects in your photos requires precision and the right technique. The key is creating an accurate selection and using a targeted adjustment layer that affects only your chosen subject while preserving the rest of the image. This method combines the Object Selection tool with Hue/...

Create a Distorted Wave Glitch Effect in Photoshop

Digital distortion effects transform ordinary portraits into striking visual art by warping reality through deliberate technical manipulation. This technique uses multiple wave filters layered together to create increasingly complex distortions, while selective masking preserves important facial features from becoming completely unrecognizable. Watch the Video Practical Tips Master the wave distortion...

How to Create Glow Motion Effects with Gradient Maps in Photoshop

Motion blur combined with colorful gradients creates striking visual effects that transform ordinary photos into dynamic, cinematic images. This technique uses gradient maps to automatically color light and dark values, producing flowing color transitions that follow the movement of your subject. The process involves subject isolation, strategic gradient placement, path...

How to Use Reference Images with Generative Fill in Photoshop

Reference images revolutionize how Generative Fill works, letting you guide AI with actual photos instead of text prompts. This feature enables precise clothing swaps, object replacements, and realistic additions by showing the AI exactly what you want rather than describing it. The technique works with everything from custom t-shirts and...

How to Remove Eye Bags Using Dodge and Burn in Photoshop

Eye bags can dramatically age a portrait, making subjects appear tired or unhealthy. Traditional removal methods often destroy skin texture or create unnatural results that look obviously retouched. This professional dodge and burn technique removes even severe eye bags while preserving every detail of natural skin texture. The method uses...

You’ve successfully subscribed to Photoshop Roadmap
Welcome back! You’ve successfully signed in.
Great! You’ve successfully signed up.
Success! Your email is updated.
Your link has expired
Success! Check your email for magic link to sign-in.