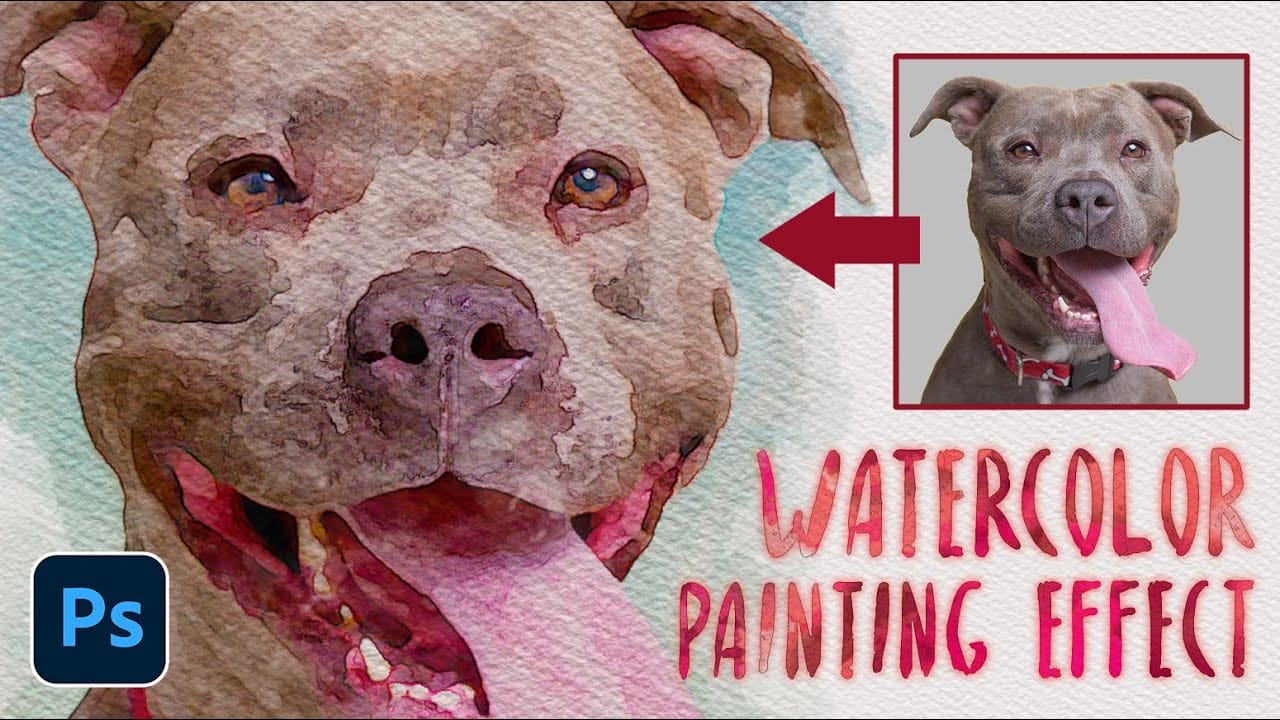
Watercolor portraits blend the precision of photography with the organic beauty of hand-painted art. This technique transforms ordinary photos into flowing, artistic renderings that capture the spontaneous texture and luminous quality of traditional watercolor paintings.
The process combines multiple Photoshop filters with custom brush techniques to build depth and authentic watercolor characteristics.
Watch the Tutorial
Essential Tips for Watercolor Effects
These techniques help create convincing watercolor textures and maintain the hand-painted aesthetic:
- Apply curves adjustments with input values of 15 for shadows and 200 for highlights to establish proper tonal contrast
- Use the Filter Gallery's Watercolor effect with brush detail at 5, shadow intensity at 0, and texture at 1 for optimal base texture
- Combine duplicate watercolor textures using vertical flip and Screen blending mode to create natural paper grain
- Apply Oil Paint filter with stylization and cleanliness both set to 6.0 for painterly smoothness without losing detail
- Use High Pass sharpening at radius 8 with Overlay blending to restore fine details after filter applications
More Watercolor Effect Tutorials
Explore different approaches to creating watercolor effects in Photoshop.
Photoshop Watercolor Photo Effect Tutorial
In this comprehensive tutorial by Arunz Creations, you'll discover how to transform a portrait into a beautiful watercolor painting using Photoshop.
The process begins by organizing your layers into a group and temporarily hiding it. Next, you'll select specific colors from the portrait using the Color Range tool to create a precise selection. After applying the selection as a mask on the group and inverting it, you'll create a new empty layer beneath the group and fill it with white to serve a
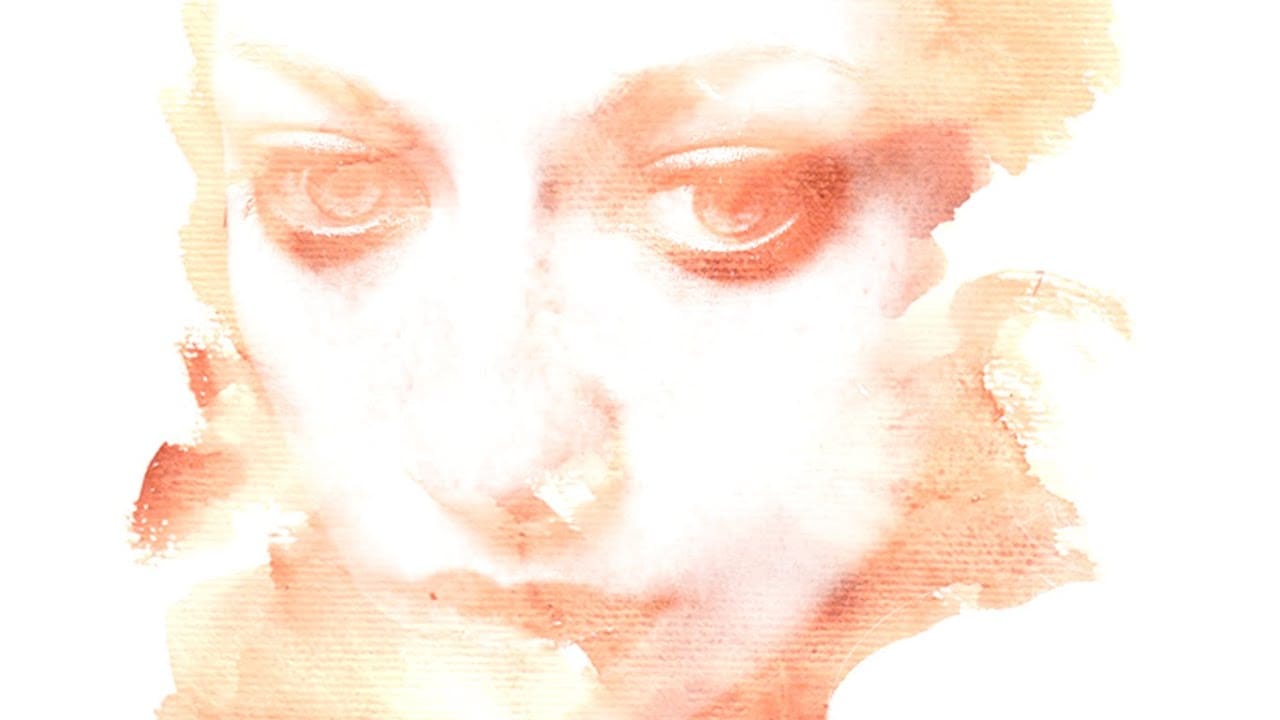
Add a beautiful watercolor effect to your photos in Photoshop
Digital art offers versatile ways to reinterpret photography. One popular technique involves transforming ordinary photographs into painterly artworks, such as watercolor portraits.
This tutorial demonstrates a method for achieving a beautiful watercolor effect in Photoshop, emphasizing the use of custom brush strokes to introduce unique artistic nuances. Viewers will learn how to prepare images, apply specific filters, and utilize various brushes to mimic the fluidity and texture of traditiona
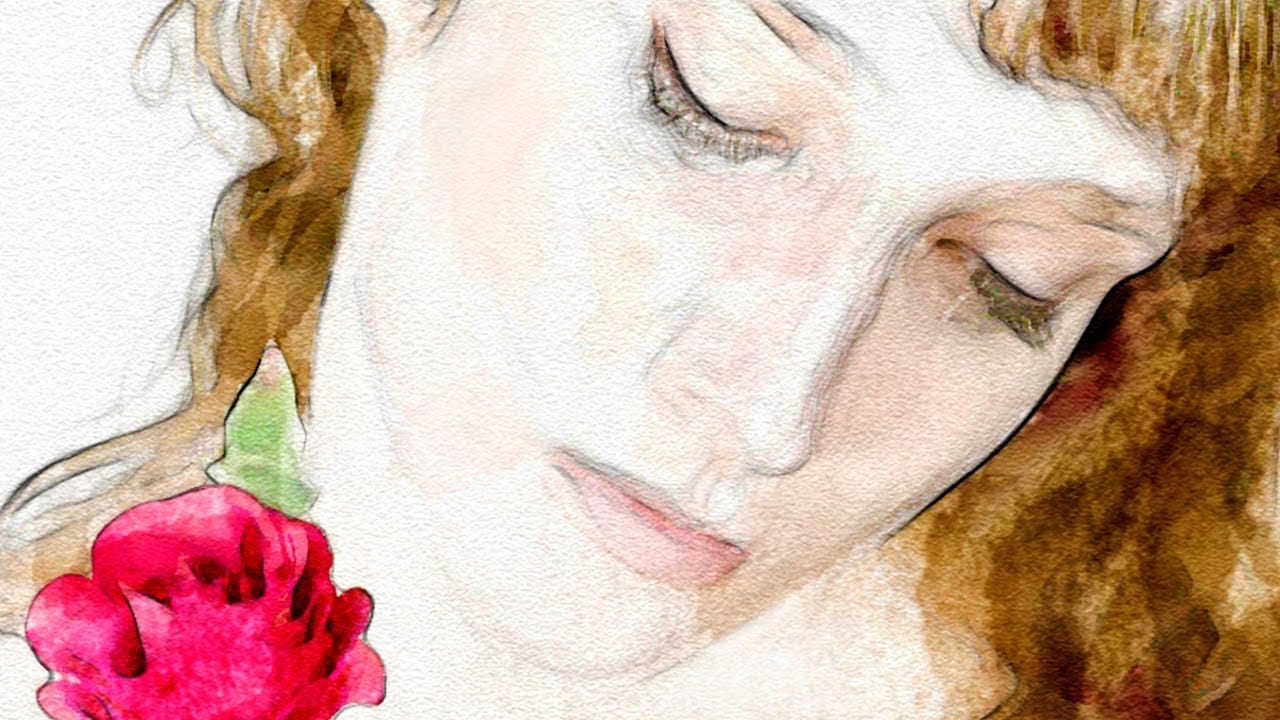
Learn How to Create a Watercolor Photo Effect in Photoshop
Transforming a photograph into a convincing watercolor painting opens up a world of creative possibilities. This artistic effect adds depth and emotion, turning ordinary images into unique pieces of art. The result captures the delicate washes and textures of traditional watercolor, bringing a hand-painted feel to your digital art.
This tutorial guides you through creating a hand-painted effect in Photoshop, going beyond basic filters. By using a combination of smart blurs, glowing edges, and c
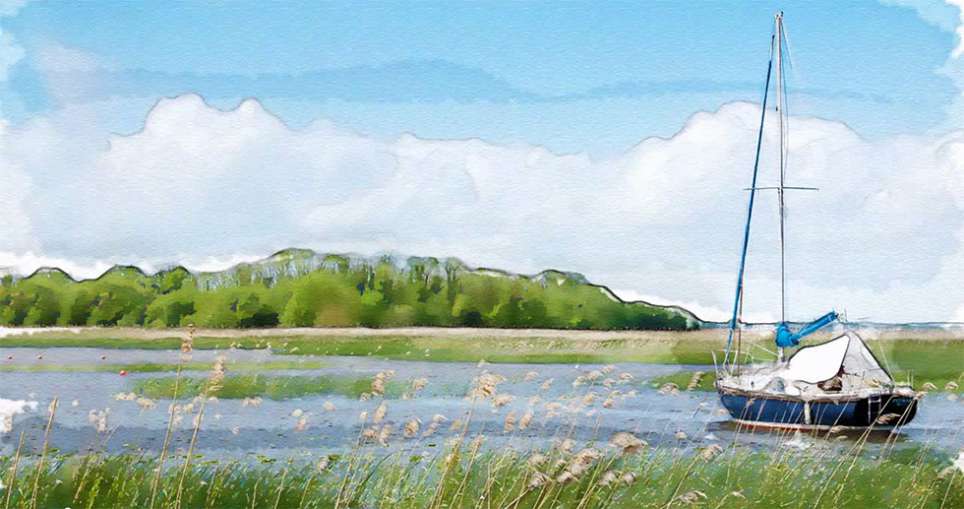
How to Transform Photos into Watercolor Paintings in Photoshop
Watercolor paintings capture light and emotion in ways that photography alone cannot achieve. The flowing pigments, soft edges, and organic textures create an artistic interpretation that transforms mundane subjects into compelling visual stories.
This tutorial demonstrates how to recreate these traditional watercolor qualities digitally, combining Photoshop filters with custom brushwork to achieve authentic-looking results that maintain the spontaneous, hand-painted feel of real watercolor art