

Transform modern photos into weathered vintage masterpieces with this classic old paper texture technique. The effect works by combining paper textures with strategic blend modes to create authentic aging that suits both light and dark images.
This versatile method requires only a paper texture and your original image, plus some simple adjustments to achieve that coveted antique look photographers and designers love.
Watch the Video
Practical Tips
Master the vintage paper effect with these essential techniques that ensure realistic aging results.
- Use Multiply blend mode for light images and Screen blend mode for dark images to achieve proper contrast
- Desaturate your paper texture first (Ctrl+Shift+U) to avoid unwanted color casts from the original texture
- Save texture selections before applying layer masks so you can reuse the same paper shape multiple times
- Brighten texture midtones with Levels adjustment (Ctrl+L) to create more realistic paper aging variations
- Add yellowish hue/saturation adjustment at 30-50% opacity to complete the vintage color grading
Related Articles and Tutorials
Explore more paper texture techniques and vintage effects to expand your creative toolkit.
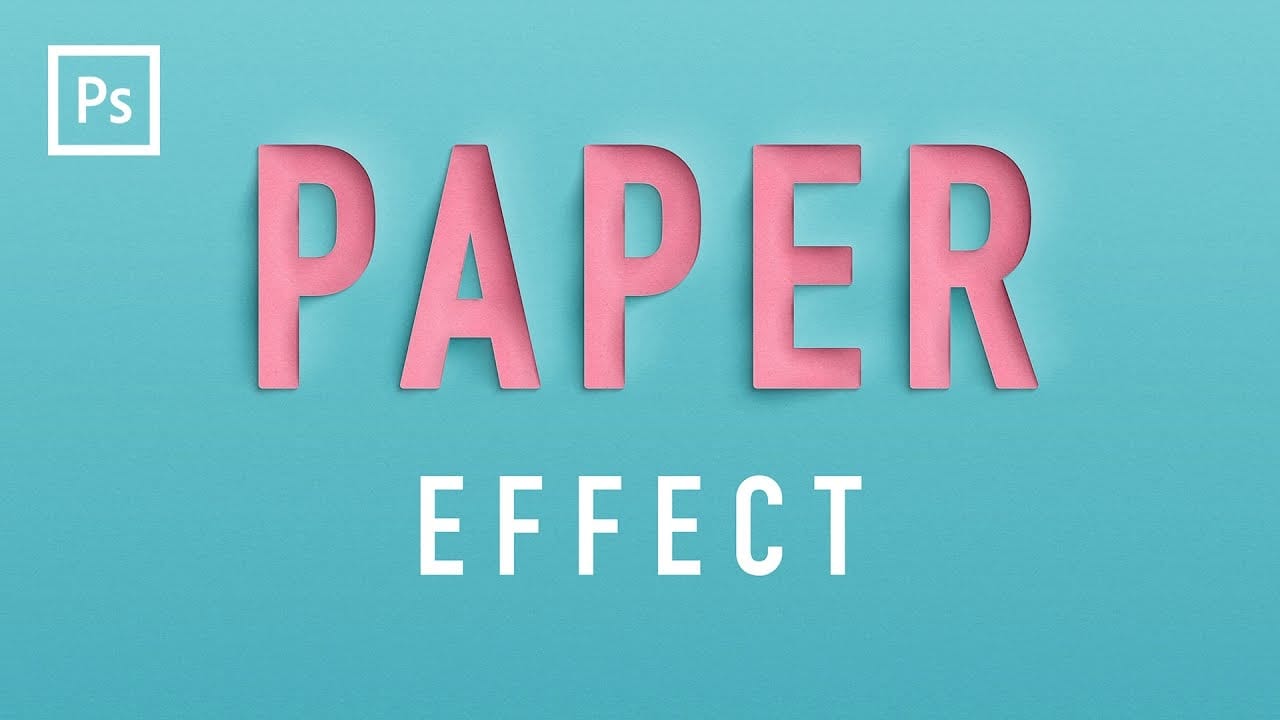
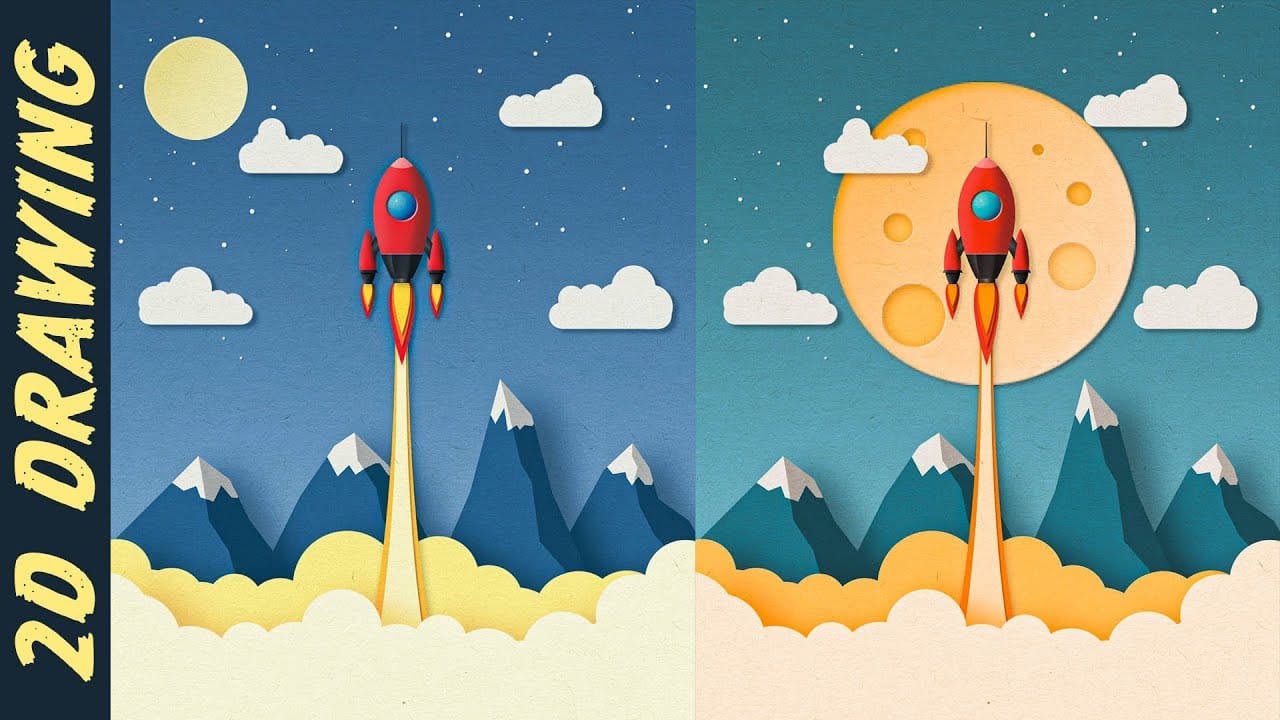
Create a Realistic Paper Cutout Text Effect in Photoshop
Elevate your typography with a realistic paper cutout effect. This Photoshop tutorial provides a step-by-step guide to adding depth and dimension to your custom lettering designs.
Learn how to craft intricate shadows and highlights, transforming flat text into a stunning, layered paper artwork.
Watch the Video
Practical Tips for Paper Cutout Effects
Master the subtle nuances of light and shadow to achieve a convincing paper cutout look in Photoshop.
* Create a new Photoshop document at 3
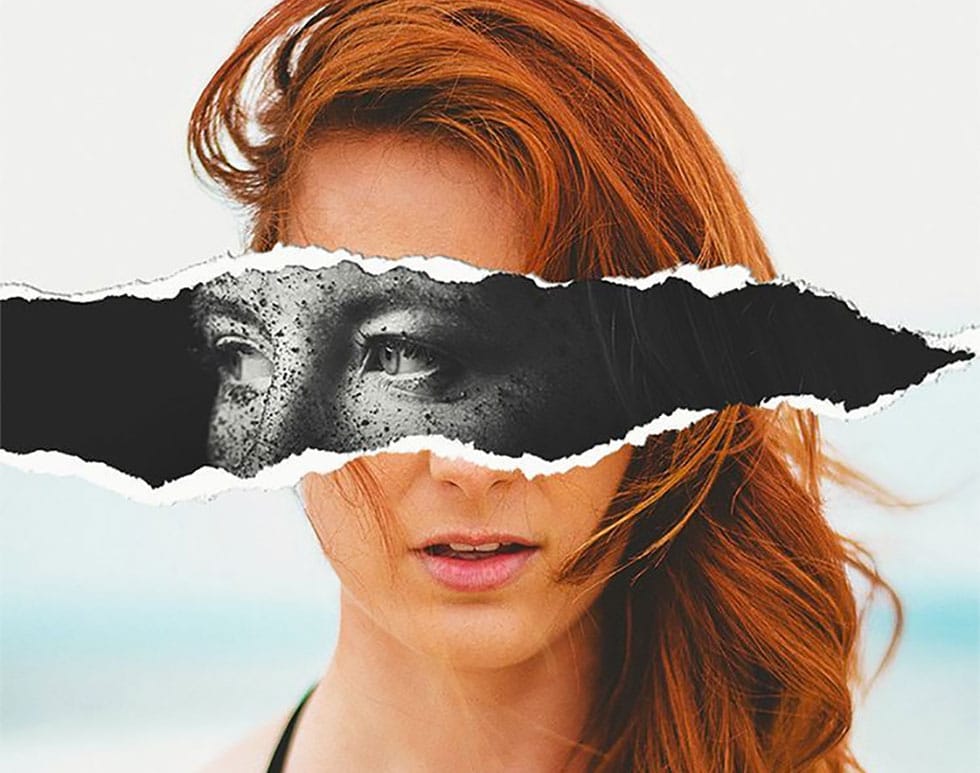
Create an impressive torn paper effect in Photoshop
In this photoshop photo effect tutorial from Tutorials Junction you will learn how to create this somewhat popular torn paper effect. The effect is actually very simple to create, compared to how good it looks. All you have to do is apply some layers masks and use good quality torn paper brushes.
You will need two portrait photos with slightly different poses to get the best effect. The author uses one black and white photo and another one in color to give more impact to the final image.
Watch
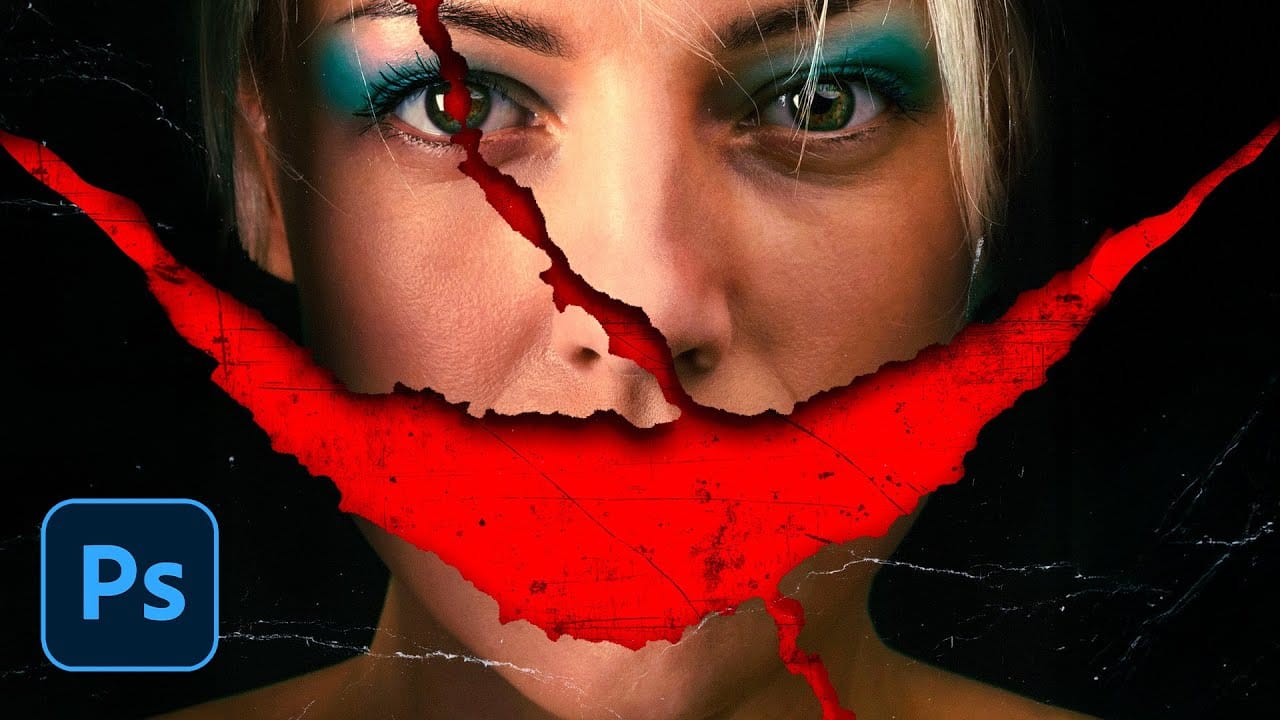
How to Create a Realistic Paper Tear in Photoshop
Movie posters with torn paper effects create a sense of mystery and depth that draws viewers in. The technique reveals contrasting elements beneath the surface — perhaps a gritty red background behind a clean portrait, or weathered textures that suggest hidden stories.
This approach transforms simple portraits into dramatic compositions that feel both vintage and contemporary. The key lies in creating realistic paper edges, strategic shadows, and layered textures that make the tear look authent
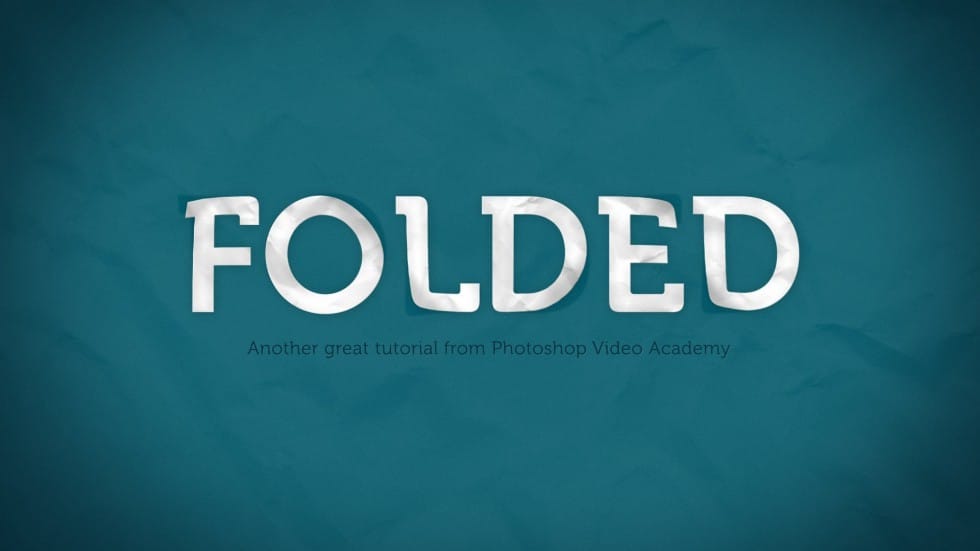
How to Create a Folded Paper Text Effect in Photoshop
Want to give your text a unique, handcrafted feel? This tutorial shows how to create a compelling folded paper text effect in Photoshop.
Learn to make letters appear as if they are peeling up from the page, adding depth and visual interest to your designs.
Watch the Video
Practical Tips for Creating Folded Paper Text Effects
Achieving a convincing folded paper effect involves careful manipulation of text, shadows, and textures. Here are some key tips from the tutorial to help you master th
Create a Paper Cut Out Illustration Effect in Photoshop
In this engaging tutorial, Nemanja Sekulic guides you through the process of creating striking paper cut-out illustrations from scratch in Photoshop. The video demonstrates a straightforward approach to achieving this effect, starting with basic techniques and building up to a detailed and dynamic result.
Nemanja breaks down the process into easy-to-follow steps, covering everything from initial setup to final adjustments. You'll learn how to manipulate layers, use clipping masks, and apply tex
Creating Paper Folds and Creases in Photoshop
It is very common to find tutorials about making page curls. Many of those tutorials are great, but the final effect is very unrealistic, not because of the quality of the tutorial, but due to the 3d nature of the effect.
Creases and folds are more subtle, instead. They can be created only with clever shading and little or no retouching at all. At first glance they may look intimidating, but as soon as you realize how to create basic creases, you will be able to move on to more complex projects
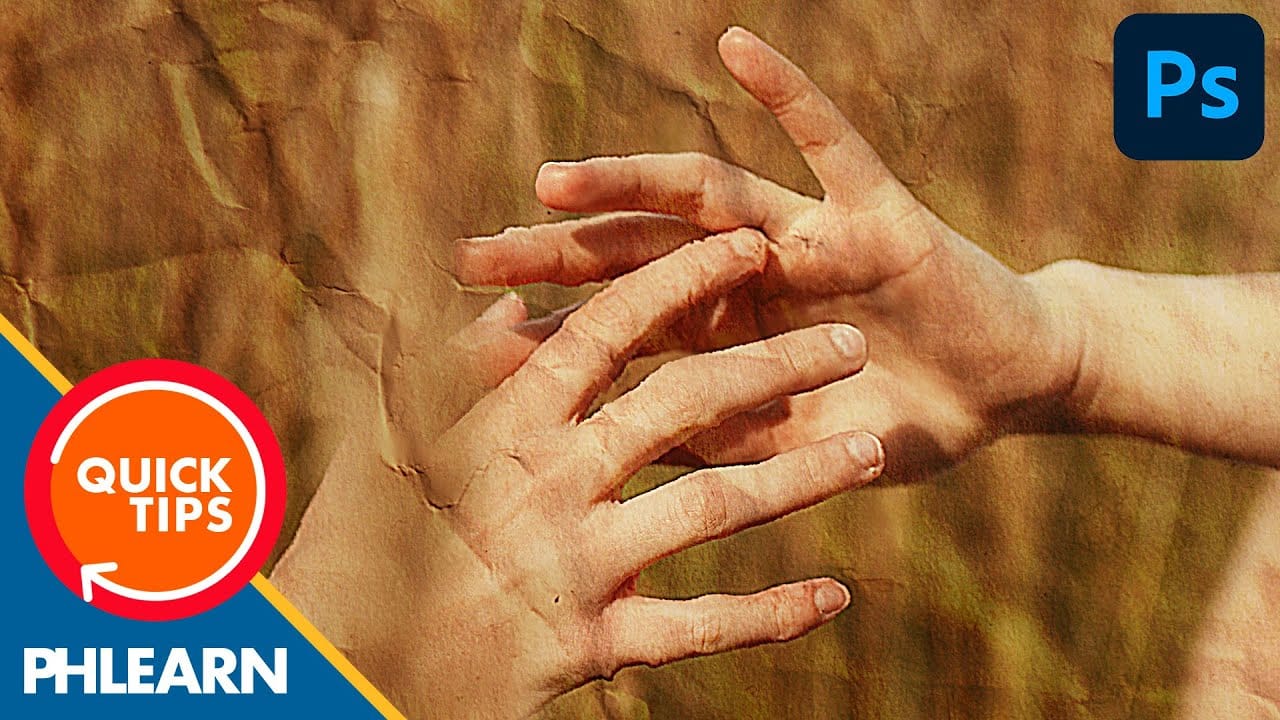
Create a Crumpled Paper Effect in Photoshop
In this detailed tutorial, Aaron Nace walks you through the process of creating a realistic crumpled paper effect in Photoshop. This technique is perfect for adding texture and visual interest to your photos and poster designs.
Aaron begins by demonstrating how to select and prepare your base image, which is crucial for achieving a convincing crumpled look. He then moves on to applying various distortions and adjustments that simulate the appearance of crumpled paper. Throughout the tutorial, A
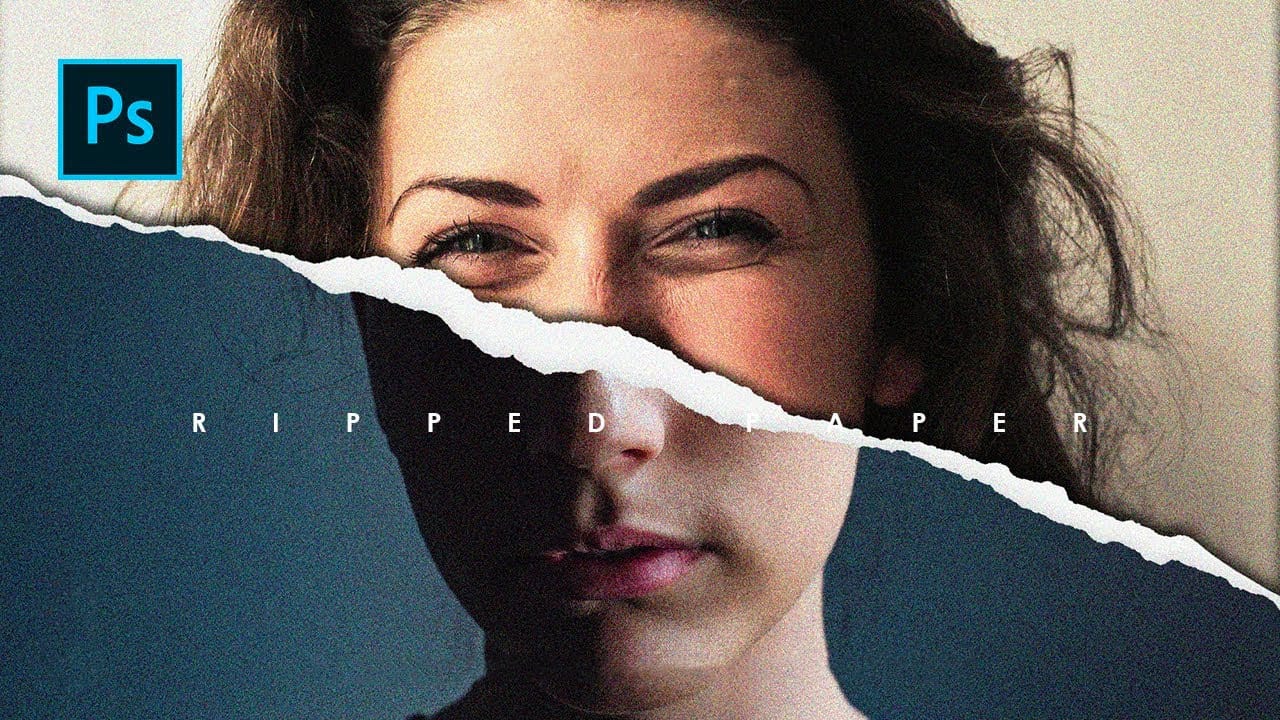
Create ripped paper portrait effect in Photoshop
This video will show you how to create a captivating ripped paper photo manipulation effect. Learn how to create a realistic tear that reveals a hidden image beneath, effectively layering two portraits into one unique composition.
The video will guide you through using layer masks and selection tools to achieve a seamless tear effect, while also exploring techniques for adding texture and depth to the "paper" for a believable final outcome.
Watch tutorial
How to Create a Torn Paper Portrait Effect in Photoshop
Torn paper portraits create dramatic visual storytelling by revealing layers of meaning beneath the surface. This artistic technique transforms ordinary portraits into compelling compositions that suggest hidden depths, contrasts, or dual perspectives.
The effect works particularly well when combining different treatments of the same subject—such as color and black-and-white versions—or when creating symbolic narratives about identity, memory, or transformation.
Watch the Video
Understandin


