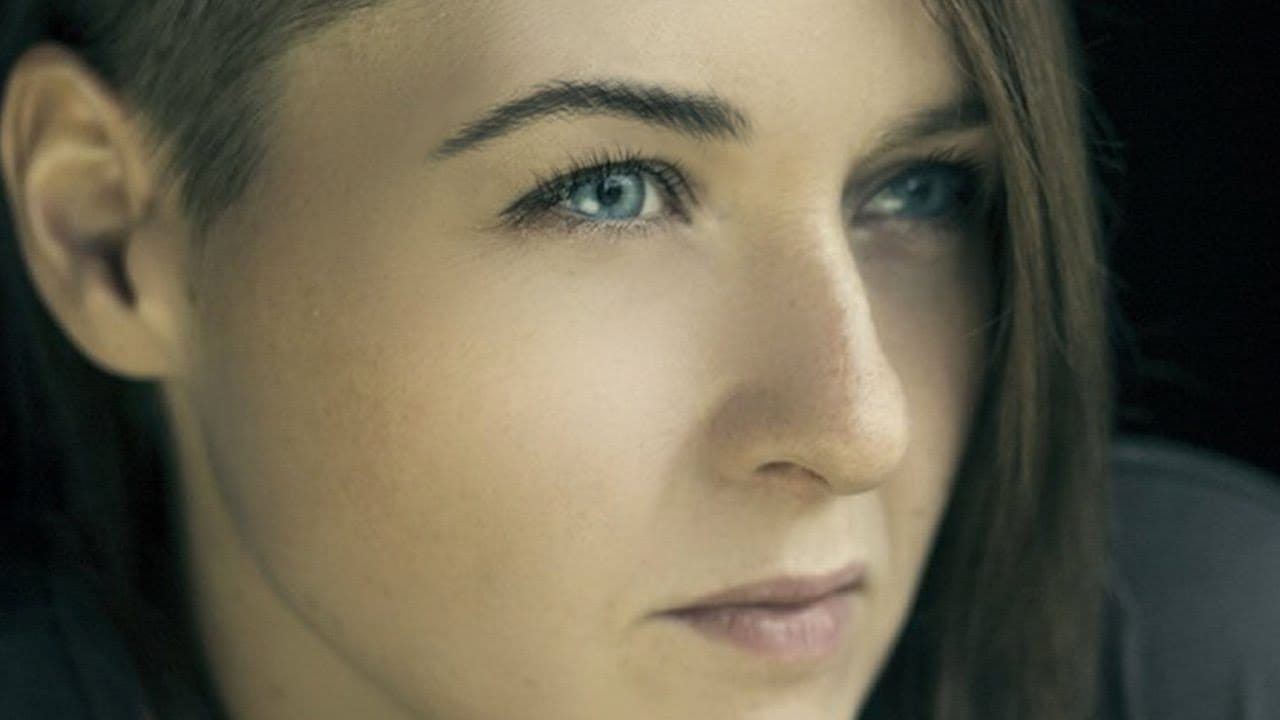
Adding realistic freckles to portraits can enhance natural beauty and restore texture that might have been lost during skin retouching. This technique uses an unexpected source material—granite texture—to create an organic, natural-looking freckle pattern that avoids the artificial appearance of standard brushes.
The method transforms granite's random speckled pattern into a custom brush, complete with natural variation and realistic spacing that mimics how freckles naturally appear on skin.
Watch the Video
Practical Tips
Follow these essential techniques to create convincing freckles that blend naturally with skin:
- Use Color Range selection to isolate dark speckles from granite texture, then fill with black on white background for brush creation
- Paint white edges around your brush pattern to eliminate hard cutoff lines that reveal digital manipulation
- Enable Size Jitter and Angle Jitter in brush settings, plus flip X and Y axis for maximum pattern variation
- Apply Soft Light blending mode and add slight Gaussian blur to match the image's natural softness
- Build freckles across multiple layers with layer masks to control density and avoid sensitive areas like eyes
Related Articles and Tutorials
Explore more custom brush techniques and portrait enhancement methods:
How to create a sun glow effect in Photoshop
In this tutorial, Aaron Nace shows how to add a vibrant sun glow effect to your photos with ease. The process involves a few straightforward steps to simulate the warm, radiant look of sunlight. Aaron explains how to use blending modes, gradients, and layer adjustments to achieve a natural and eye-catching glow.
The tutorial includes a free Sun Glow Gradient, which you can download and use immediately to enhance your images. This effect is perfect for adding a dreamy, sunlit atmosphere to your
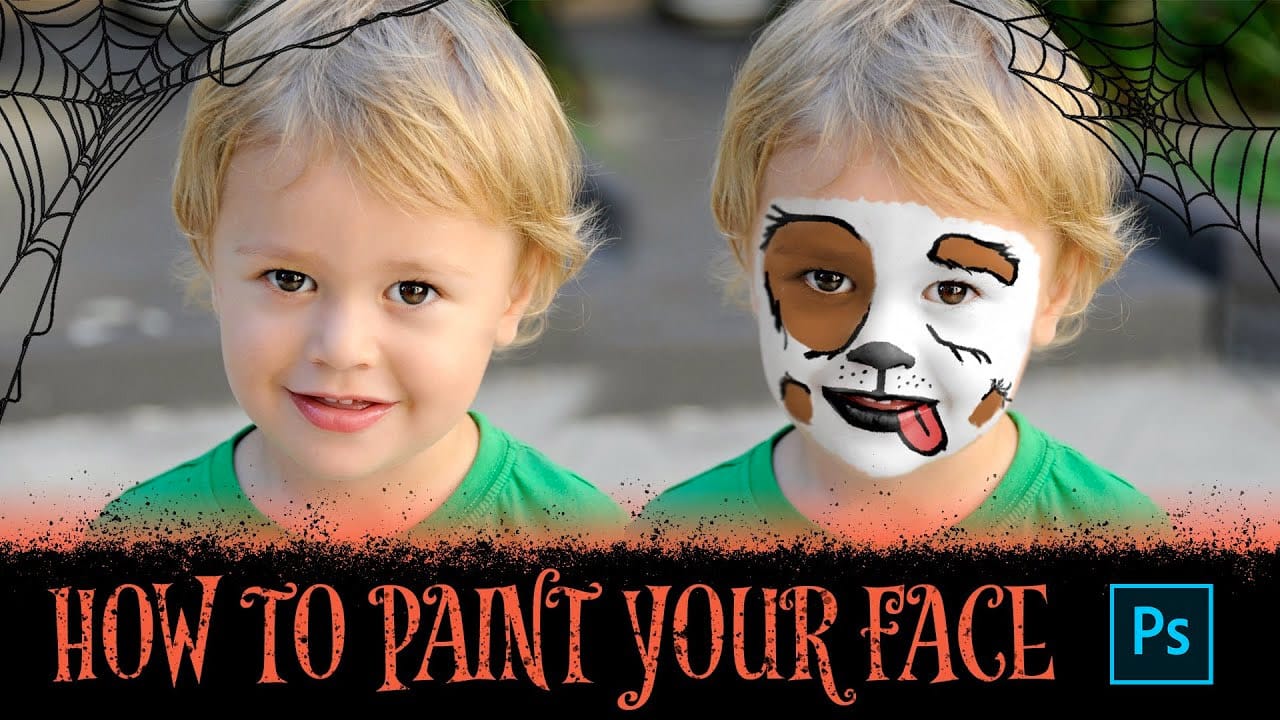
How to Paint Your Face in Photoshop
This exciting tutorial by PHLEARN dives into the world of digital face paint. Learn how to utilize a custom face paint brush (potentially included in the video) and Adjustment Layers to create vibrant and realistic designs, perfect for both adorable Halloween looks or spooky transformations.
The video will guide you through the process, allowing you to unleash your creativity and design unique face paint effects for any project.
Watch tutorial
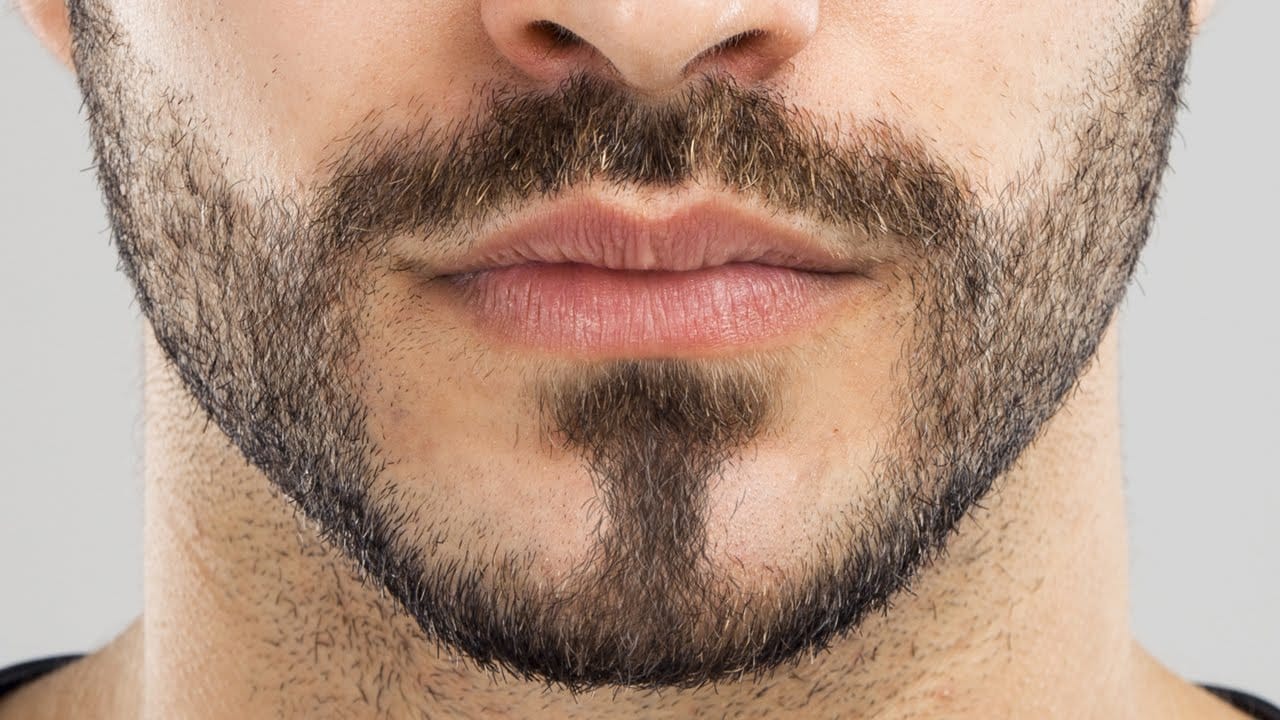
How to Create Facial Hair in Photoshop
Men's facial hair rarely grows evenly, leaving patchy spots that stand out in portraits. From sparse beard areas to missing mustache sections, these gaps can detract from an otherwise polished look.
This tutorial demonstrates how to create custom brushes that paint realistic facial hair, complete with natural color variation and highlights that match existing growth patterns.
Watch the Tutorial
Essential Tips for Creating Facial Hair
Master these key techniques to paint convincing facial h
Create and Shape Eyebrows in Photoshop
In this tutorial by Aaron Nace from Phlearn, you'll learn how to create and shape eyebrows in Photoshop using custom brushes.
Emphasizing the transformative power of eyebrows in portraits, Aaron demonstrates how to use the Pen Tool to create a path resembling individual hairs. This path is then stroked with the Brush Tool to simulate natural hair texture, with settings adjusted to mimic varying pressure. Additionally, Aaron provides custom eyebrow brushes for download, simplifying the process f
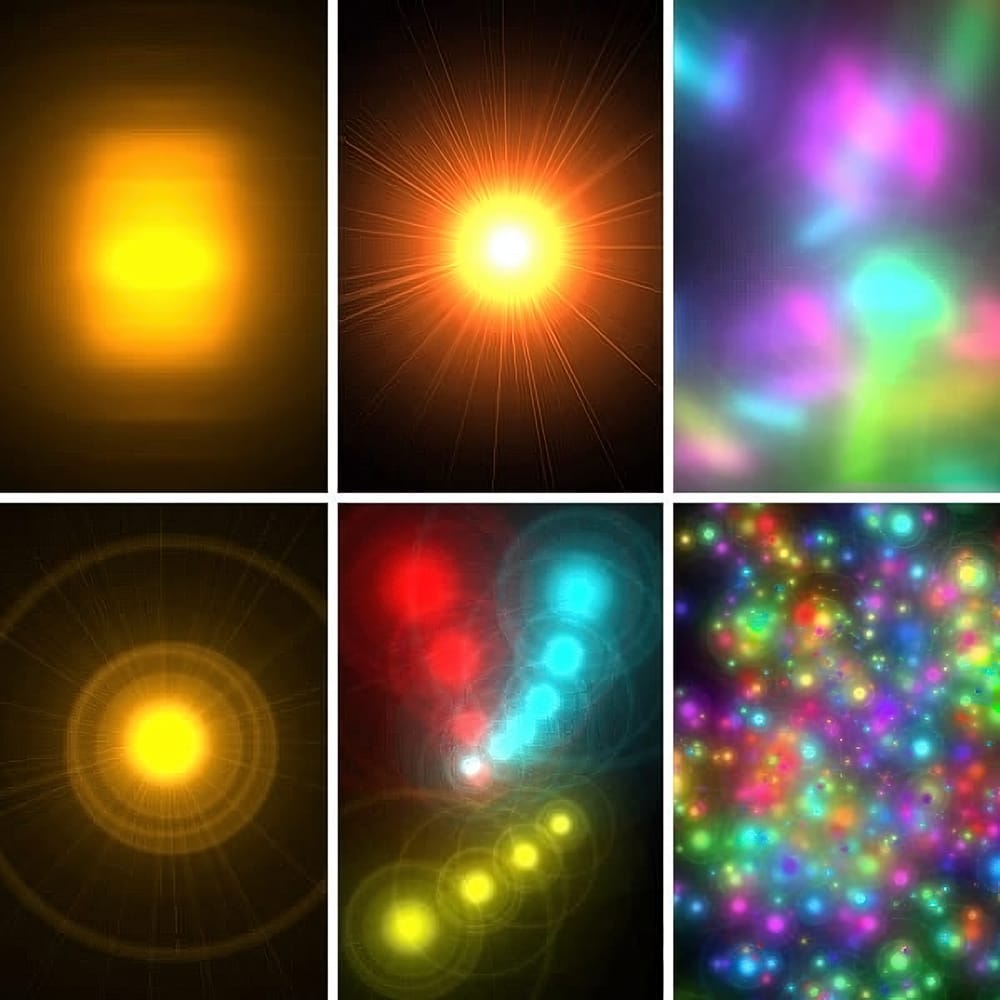
Quick and Easy way to create Glowing Lights Photoshop Brushes
This time, I'll commit myself to tech you a nice illustration technique in a few steps, rather than my usual detailed explanations. This tutorial explains how to create glowing lights brushes using the Lens Flare filter included in the default installation of Adobe Photoshop.
This technique is amazingly simple, but the resulting brushes are so cool that you might find yourself spending your Saturday nights experimenting with brush dynamics and blending settings instead of hanging out with a bun
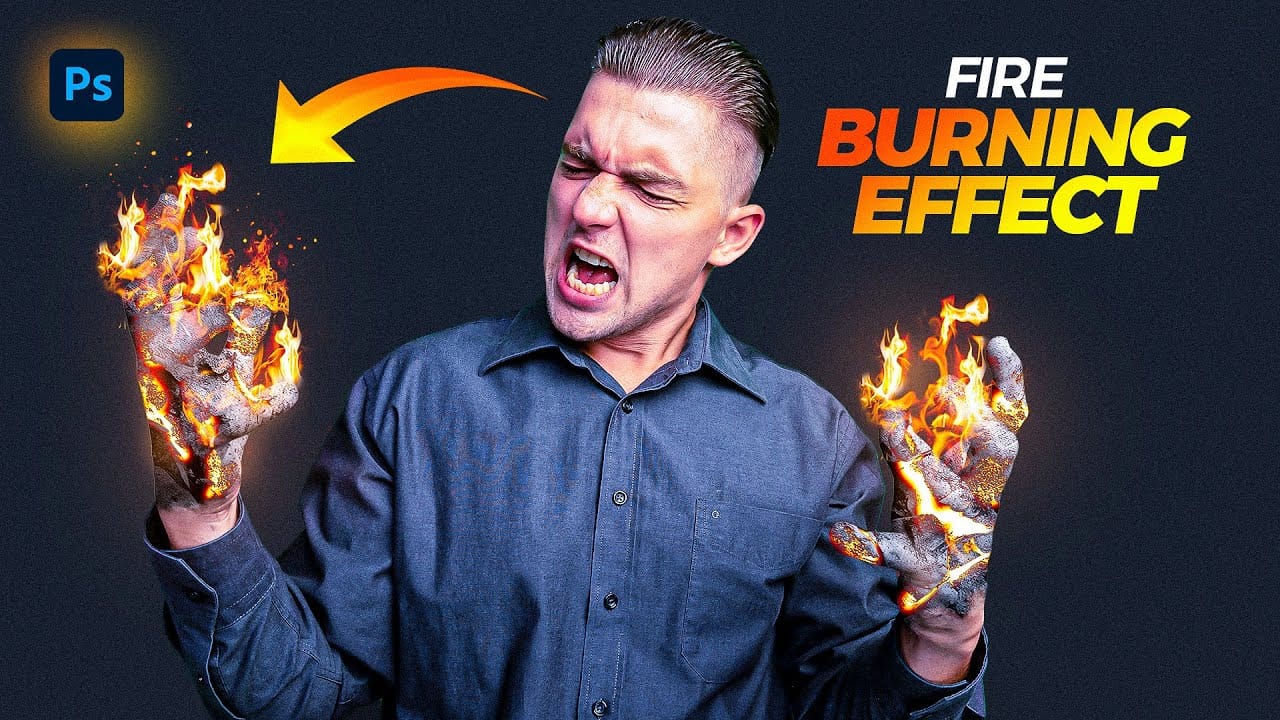
Create a Fire Burning Effect in Photoshop
Creating a fire-burning effect in Photoshop is a fascinating process that can enhance your images dramatically. Start by setting up a new file with dimensions of 1920 x 1080 pixels. Import the necessary images, which can be found in the provided link. Duplicate your main layer using Ctrl + J, then convert it to black and white through the Image Adjustments menu by selecting Hue/Saturation and removing all saturation.
Next, apply an inverted mask to the black and white layer. Use the brush tool
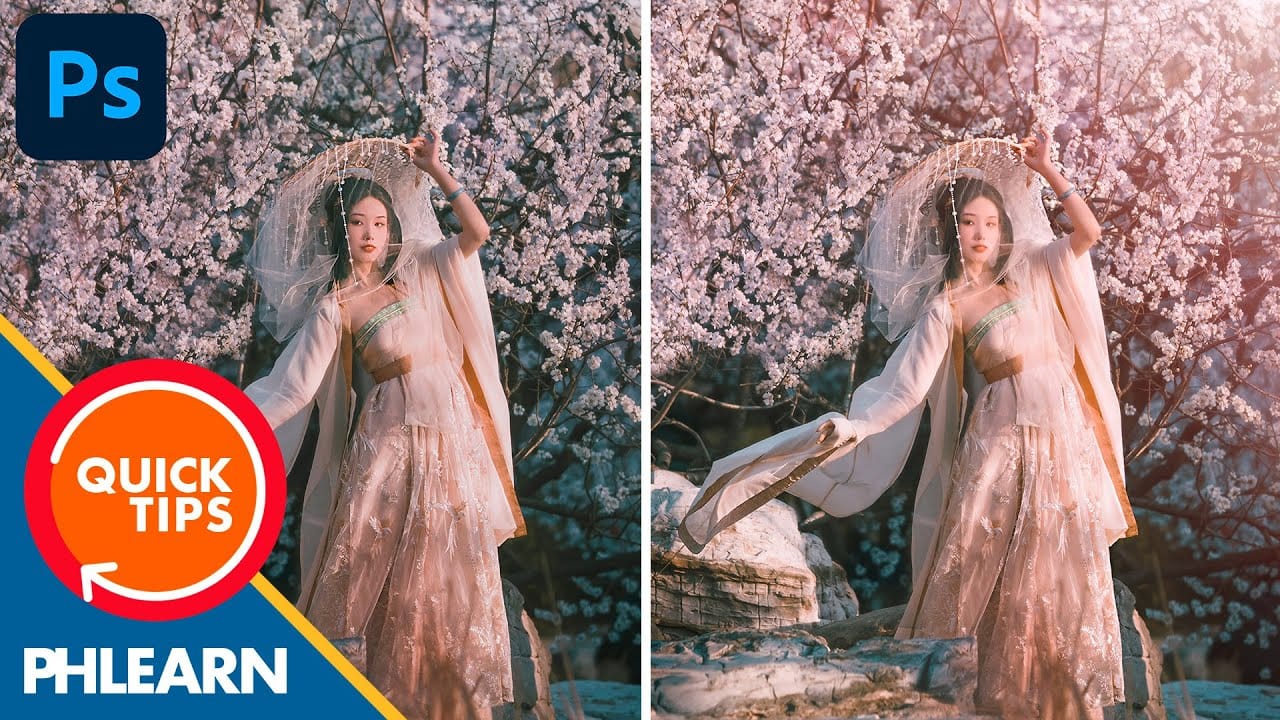
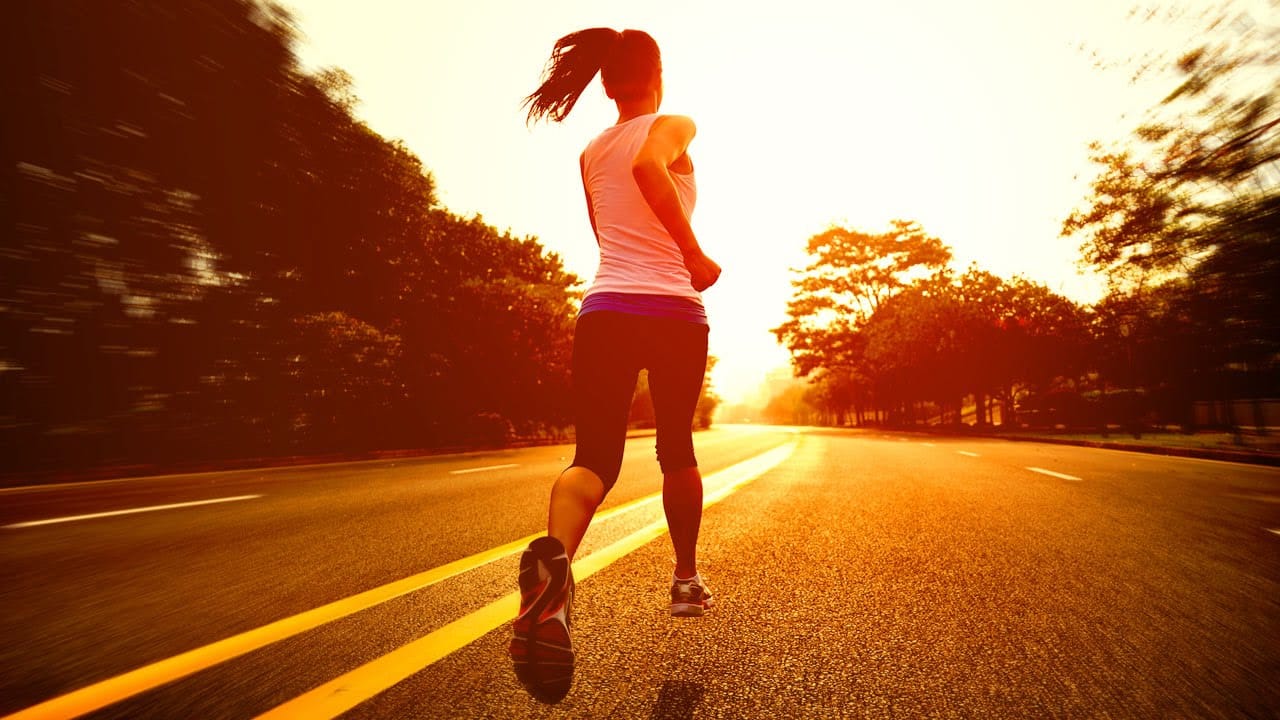
Create a Sunset in Photoshop
This tutorial by Phlearn teaches how to add a warm "sunset style" to your images using Photoshop.
The key is selecting a photo shot later in the day with visible light sources, ideally backlit or side-lit. The process involves using Levels and the Gradient Tool to darken details and add red to shadows, then warming up the highlights. The Gradient Tool centers the effect over the light source.
Additionally, to add a sense of motion, the Radial Blur filter is used, set to "Zoom" to create moveme
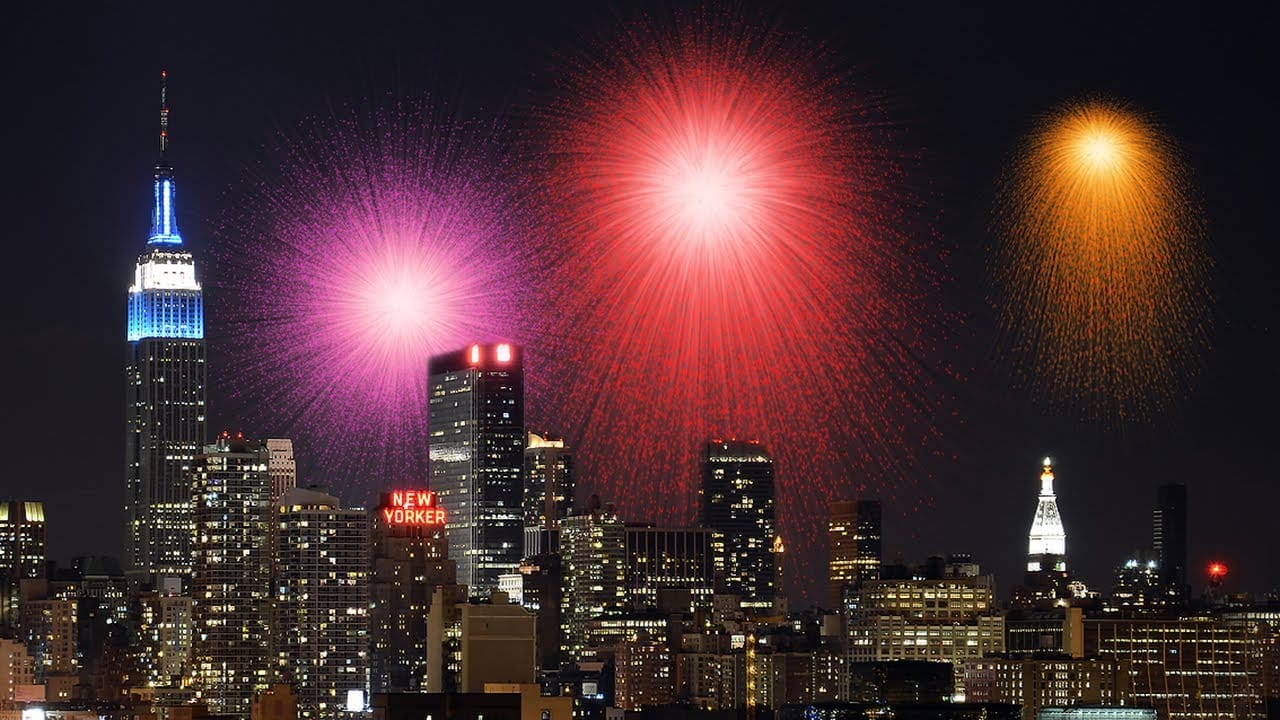
Create awesome fireworks in Photoshop
Achieving the distinct, scattered spark effect of fireworks in Photoshop might seem like a complex task. This tutorial reveals a clever technique, starting with a simple white dot and the often-overlooked "Dissolve" blend mode. This initial step lays the groundwork for realistic bursts by generating a unique scattered pixel pattern, a foundation far more organic than traditional brush strokes.
From this surprising starting point, the process unfolds to incorporate dynamic transformations, vibra
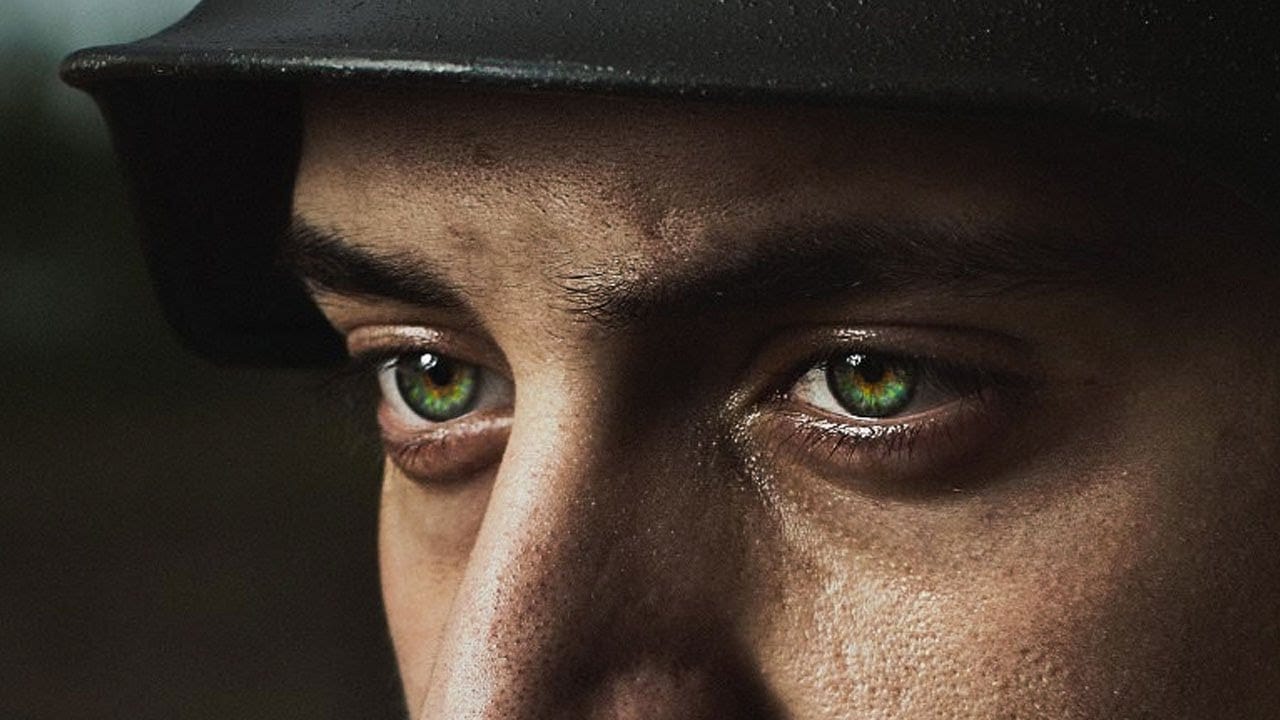
How to Color, Brighten and Sharpen Eyes in Photoshop
In this tutorial by Aaron Nace from Phlearn, learn how to enhance eyes in Photoshop to make them captivating and sharp.
Techniques include coloring the eyes by sampling natural hues and adjusting lightness and saturation, using blending modes like "Soft Light" or "Overlay" for a natural look, and softening edges with Gaussian Blur. Dodge and Burn techniques are used to enhance depth and light in the pupils, while selective sharpening draws attention to the eyes, making them stand out in portrai