How to add a rainbow to a Photo

How to add a rainbow to a Photo

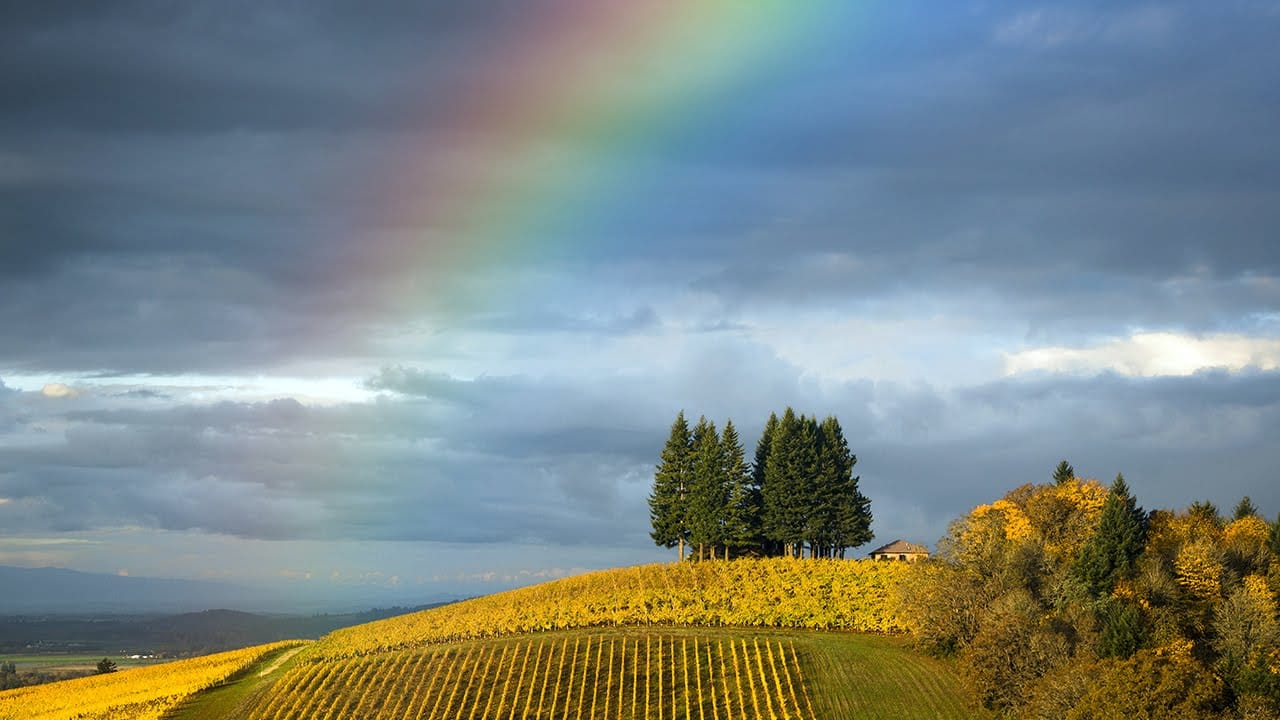
This video explores a simple yet effective method for integrating a vibrant rainbow into your outdoor photographs using Adobe Photoshop. It demonstrates how to leverage a lesser-known built-in feature to achieve a natural-looking atmospheric effect.

Viewers will learn to access Photoshop's hidden "Russell's Rainbow" preset, apply it with proper blending modes, and refine its appearance for a natural, seamless look within their images.

Watch the Tutorial

Video by Blue Lightning. Any links or downloads mentioned by the creator are available only on YouTube

Integrating Natural Phenomena into Digital Imagery

The ability to add natural phenomena like rainbows to photographs in post-processing offers significant creative control, transforming ordinary scenes into visually captivating narratives. While rainbows are fleeting in reality, digital tools allow photographers to either enhance existing faint arcs or introduce them entirely, enriching the image's mood and storytelling potential.

Photoshop provides various features that streamline the integration of such effects. Its gradient tools, particularly those with specialized presets like "Russell's Rainbow," simplify the complex task of recreating the spectral arc. This approach balances artistic intent with technical precision, ensuring the added element appears as organic as possible.

Effective integration often involves subtle adjustments that mimic real-world optical properties. Techniques such as blending modes, opacity control, and selective fading are crucial for making the artificial element feel cohesive with the original photograph, thereby enhancing the overall visual impact without appearing artificial.

Practical Tips for Adding Rainbows

  • Create a new, empty layer for the rainbow to maintain non-destructive editing and flexibility.
  • Locate "Russell's Rainbow" within the Gradient Tool's "Special Effects" presets for quick access to the specific color spectrum.
  • Apply a Radial Gradient to form the rainbow's natural arc, adjusting its size and position across the sky.
  • Blend the rainbow into the scene by changing its blend mode to Screen and reducing its opacity between 50-70% for a subtle effect.
  • Use a Layer Mask with a Linear Gradient to subtly fade the rainbow's base, mimicking its natural disappearance towards the ground.

Explore more techniques to enhance your images and master creative effects in Photoshop with these insightful articles and tutorials.

Add creative lights and colors to your image in Photoshop
You're about to learn how to transform your images with creative lights and colors in Photoshop. This tutorial will guide you through the process of adding vibrant hues and eye-catching effects to your photographs. First, you'll explore the use of gradients and brushes to enhance your image. These tools will allow you to layer different colors and luminous accents, creating a visually striking result. With a few simple steps, you'll be able to turn your ordinary image into an impressive work of
3 must-try techniques to enhance colors in Photoshop
When you’re editing a photo in Photoshop, making your colors pop is likely on the top of your to-do list. There are a variety of great tools to use in Photoshop, but with these three techniques, you will be able to get more rich colors in your edits, while also having more control over how they appear. With the help of layer masks, blend if, and camera raw, you’ll be surprised by how these lesser-known Photoshop tricks can improve the look of your edits. Watch tutorial
Add a beautiful watercolor effect to your photos in Photoshop
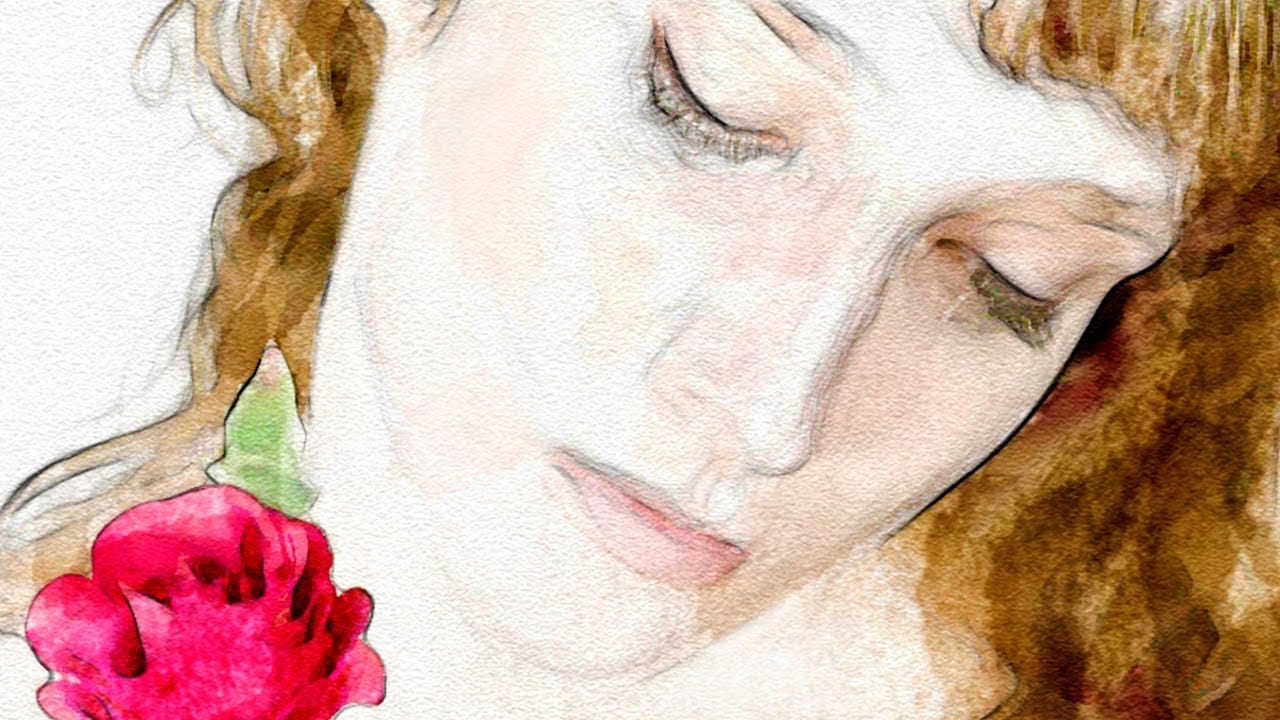
In this Photoshop tutorial by Marty Geller from Blue Lightning TV you will learn how to create a beautiful, nuanced, watercolor portrait of someone from a photograph. Forget about Photoshop default ugly watercolor filters. Unlike other watercolor effects, the methods shown here allow you to create unique, personal touches because you brush in your own strokes. Watch tutorial
Create painterly backgrounds in Photoshop FAST!
Painting in Photoshop doesn’t have to be flat and lifeless. In this quick 1-minute video tutorial, Kyle T Webster shows you how to create vibrant painterly backgrounds with ease. By taking advantage of color dynamics, you can add depth and life to your backgrounds, transforming them from flat to fabulous in no time. Kyle demonstrates how simple adjustments and techniques can significantly enhance the overall look and feel of your digital paintings. Whether you're a beginner or an experienced ar

Get tutorials & freebies delivered to you.

Subscribe to the Photoshop Roadmap newsletter, a weekly roundup of new tutorials, insights and quality downloads, trusted by 6500+ readers.

You might also like

Complete Photoshop Editing Workflow: 5 Steps from Raw to Polished

Photoshop offers endless possibilities for photo enhancement, but many photographers never move beyond basic adjustments because the software feels overwhelming. This comprehensive workflow breaks down photo editing into five manageable stages that work consistently across different photography styles. The systematic approach covers everything from initial raw processing to advanced lighting...

Photoshop Workspace Basics: Navigation, Zooming, and Essential Interface Elements

Photoshop's interface can feel overwhelming when you first open the program. Dozens of panels, tools, and menus compete for attention, making simple tasks feel complicated. This tutorial breaks down the essential workspace elements and teaches fundamental navigation skills that form the foundation of efficient Photoshop work. Watch the...

How to Restore Old Damaged Photos Using Nano Banana in Photoshop

Old family photos with scratches, tears, and missing sections can seem beyond repair. Google's Nano Banana AI model, now integrated into Photoshop, makes full restoration possible in minutes rather than hours. This powerful tool excels at maintaining facial characteristics while automatically filling in damaged areas and adding realistic...

How to Get Higher Quality Results from Photoshop's Generative Fill Tool

Photoshop's Generative Fill creates impressive AI extensions, but the results often look blurry and pixelated when viewed at full size. This quality limitation makes many AI-generated areas unusable for printing or large displays. This technique shows how to work around the 1024x1024 pixel quality limit to create much...

How to Use Photoshop's Liquify Tool for Non-Destructive Portrait Retouching

Clothing wrinkles, hair that lacks volume, and awkward fabric bunching can distract from an otherwise great portrait. Photoshop's Liquify tool offers a powerful solution for smoothing out these issues while preserving the natural look of your subject. This tutorial demonstrates how to use the Liquify tool non-destructively with...

You’ve successfully subscribed to Photoshop Roadmap
Welcome back! You’ve successfully signed in.
Great! You’ve successfully signed up.
Success! Your email is updated.
Your link has expired
Success! Check your email for magic link to sign-in.