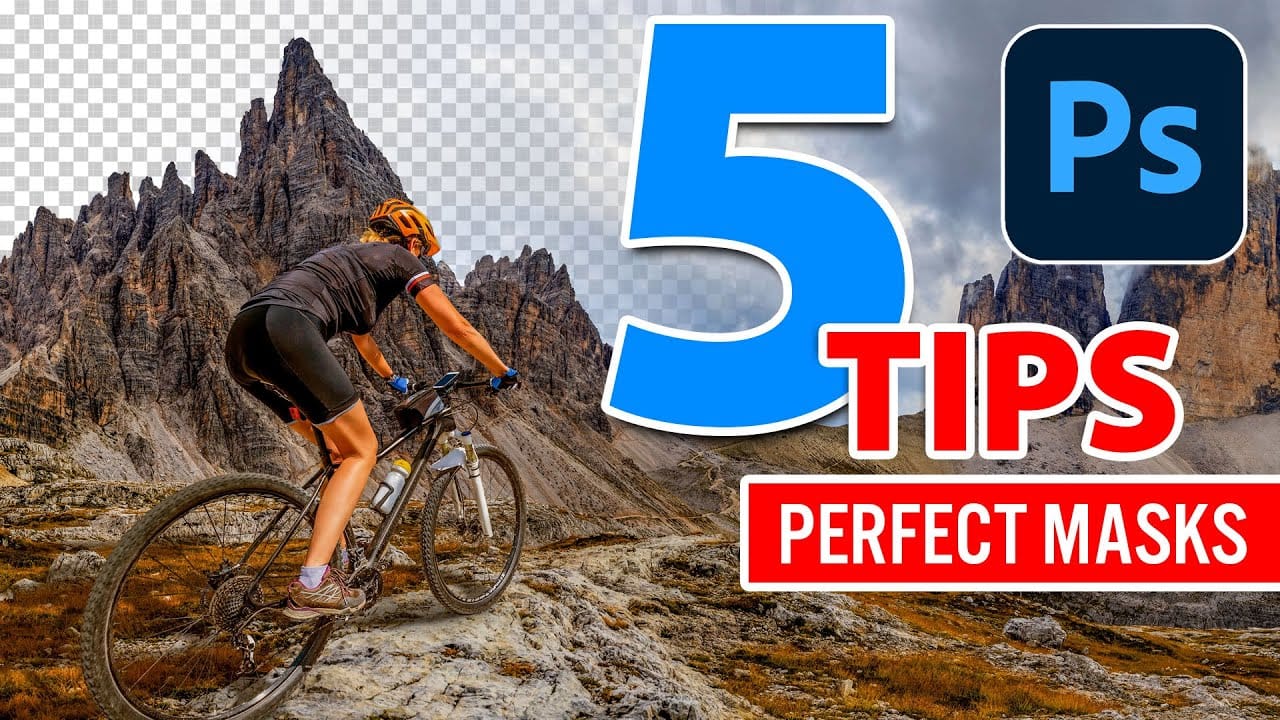
5 hidden Tips to make perfect Photoshop mask edges

5 hidden Tips to make perfect Photoshop mask edges

Achieving flawless cutouts and seamless composites in Photoshop often depends on one crucial element: clean mask edges. Rough fringes, jagged lines, or semi-transparent halos can instantly undermine the realism of any image. This video demonstrates powerful techniques to transform your selections from good to truly professional.

It provides five actionable tips, allowing you to meticulously refine and perfect your mask edges, ensuring your subjects blend effortlessly into any new background without tell-tale signs of editing.

Watch the Full Tutorial

Video by photoshopCAFE. Any links or downloads mentioned by the creator are available only on YouTube

Why Clean Mask Edges are Essential for Professional Results

The quality of mask edges significantly impacts the realism and professionalism of any composite image. Even with advanced selection tools, initial cutouts often leave behind subtle imperfections like color fringing, rough pixels, or semi-transparent halos. These seemingly minor flaws can draw the viewer's eye away from the main subject, making the image appear noticeably artificial. A crisp, clean edge ensures that the subject integrates seamlessly into its new environment, maintaining visual believability.

Professional retouchers understand that achieving a perfect mask is an iterative process, involving not just the initial selection but also meticulous refinement. This attention to detail transforms a basic cutout into an indistinguishable part of a new scene. It is about creating an illusion where the viewer perceives a single, coherent image rather than disparate elements hastily combined.

Effective mask refinement relies on understanding how light and color interact at the boundaries of objects. When dealing with fine hair, complex textures, or subtle gradients, the goal is always to achieve a transition that mimics natural observation. This level of precision is what separates amateur work from polished, high-end composites.

Practical Tips for Refining Mask Edges

  • Visualize transparency by adding a temporary stroke effect to your mask, making it easier to identify and paint away subtle imperfections.
  • Eliminate color fringing around your subject by utilizing the Decontaminate Colors option within the Properties panel for cleaner cutouts.
  • Achieve seamless blending by expanding your selection by one pixel, then feathering it by one pixel, and carefully painting on the mask while hiding the selection.
  • Refine rough edges by applying a small amount of Gaussian Blur to the mask, then using the Levels adjustment to choke the mask inward.
  • Clean up scattered bits and semi-transparent areas on a mask by applying a subtle Gaussian Blur, then using Levels to aggressively boost the blacks and whites.

More Tutorials about Photoshop Masking

Explore additional resources to deepen your understanding of masking and other essential Photoshop techniques.
5 tips to make your photos better in Photoshop
Colin Smith from Photoshop Cafe shares a comprehensive tutorial on five essential tips to rapidly enhance your photos using Photoshop. These tips are designed to help both beginners and experienced users elevate the quality of their images with ease. One key aspect Smith covers is improving exposure. He demonstrates how to adjust brightness and contrast effectively to bring out the best in your photos, ensuring they are well-lit and visually appealing. Sharpening details is another crucial tip,
How to Create and Use Layer Masks in Photoshop
Layer masks represent one of Photoshop's most powerful non-destructive editing tools, providing photographers and designers with precise control over image visibility. Unlike permanently deleting parts of an image, layer masks allow for reversible adjustments that can be refined throughout the creative process. In this comprehensive tutorial, you'll explore everything from fundamental layer mask concepts to advanced techniques like mask copying, unlinking, and group masking. Learn how to use th
How to Use Photoshop's Smudge and Blur Tools for Perfect Masking
Professional photo composites often fall apart at the edges. Sharp selection lines and harsh transitions make even the best cutouts look artificial and fake. The solution lies in two overlooked Photoshop tools that most editors dismiss as destructive and useless. The smudge and blur tools become powerful allies when applied to layer masks instead of image pixels. This approach creates natural, realistic edges that match the original photo's depth of field and lighting conditions. Watch the Tut
5 Essential Photoshop Techniques for Better Portrait Editing
Portrait editing often feels overwhelming, especially when trying to balance natural-looking results with professional polish. Many photographers struggle with where to start and which adjustments will have the biggest impact on their images without making them look over-processed. This tutorial covers five fundamental Photoshop techniques that will immediately improve any portrait. From creating better subject focus to color correction and skin retouching, these methods provide a solid foundat

Get tutorials & freebies delivered to you.

Subscribe to the Photoshop Roadmap newsletter, a weekly roundup of new tutorials, insights and quality downloads, trusted by 6500+ readers.

You might also like

How to Wrap Designs Around Complex Objects Using Displacement Maps in Photoshop

Professional mockups require more than simply placing a design onto an object. Complex surfaces like crushed aluminum cans demand advanced techniques to achieve realistic wrapping that follows every contour and deformation. This process combines displacement mapping, smart objects, and blending modes to create reusable templates that automatically conform any design...

How to Fix Three Confusing Default Settings in Photoshop

Sometimes Photoshop's default settings can make beginners think their software or hardware is broken. Images that fly around uncontrollably when panning, scroll bars appearing on full-size images, and zoom tools that seem to have a mind of their own are all caused by simple preference settings that can...

How to Create Better Shadows Than Drop Shadow in Photoshop

The basic drop shadow effect often looks flat and artificial compared to how shadows actually behave in real environments. Professional designers know that convincing shadows require understanding light direction, surface interaction, and atmospheric perspective. This technique demonstrates how to create custom shadows that respond naturally to your composition's...

How to Customize Your Photoshop Toolbar and Find Hidden Tools

A cluttered toolbar can slow down your workflow when you can't find the tools you need. Meanwhile, dozens of useful tools remain hidden in groups or completely out of sight. Learning to customize your toolbar lets you organize tools according to your actual workflow, remove tools you never...

How to Change Backgrounds and Match Lighting in Photoshop

Creating seamless background replacements requires more than just cutting out your subject. The real challenge lies in making the new composition look natural through proper lighting, color matching, and depth of field consistency. Modern Photoshop tools have simplified this process significantly, allowing you to achieve professional results with automated background...

How to Create a Colorful Aura Effect for Portraits in Photoshop

Portrait photography becomes truly captivating when enhanced with atmospheric effects that draw the viewer's eye. The colorful aura effect transforms ordinary portraits into striking visual statements by surrounding the subject with ethereal, glowing light that feels both magical and professional. This technique works best with portraits shot against...

You’ve successfully subscribed to Photoshop Roadmap
Welcome back! You’ve successfully signed in.
Great! You’ve successfully signed up.
Success! Your email is updated.
Your link has expired
Success! Check your email for magic link to sign-in.