3 must-try techniques to enhance colors in Photoshop

3 must-try techniques to enhance colors in Photoshop

Many photographers and designers seek to infuse their images with vibrant, true-to-life colors that truly stand out. Achieving this level of color enhancement often requires more than basic adjustments; it demands a nuanced approach that breathes life into every detail.

This tutorial uncovers three powerful, yet often overlooked, Photoshop techniques to elevate your color grading. Discover how to apply subtle, realistic color changes, sculpt specific color moods, and selectively refine tones within your photos.

Watch the Full Tutorial Here

Video by Brendan Williams. Any links or downloads mentioned by the creator are available only on YouTube

Beyond Basic Adjustments: Mastering Color Fidelity

Photoshop offers a vast array of tools for color adjustment, but true mastery lies in understanding how to apply these tools with precision and realism. Moving past standard sliders, advanced techniques ensure that color enhancements integrate naturally into an image rather than appearing as an artificial overlay. By leveraging detailed masks and selective targeting, artists can achieve nuanced color shifts that maintain image integrity while significantly boosting visual impact. This approach allows for a transformative yet authentic color grading process, bringing depth and emotion to digital art.

Key concepts explored include:

  • Using layer masks with the Apply Image function for realistic blending.
  • Sculpting specific color moods with Gradient Maps and Blend If.
  • Precisely targeting colors and luminance values with Range Masks in Camera Raw.
  • Avoiding unnatural color casts by integrating adjustments seamlessly.
  • Achieving greater control over how color effects interact with image tones.

Practical Tips for Enhancing Colors

  • Apply Color Balance or Selective Color adjustments with an Apply Image layer mask for natural color blending. This ensures colors interact realistically with the underlying image exposures.
  • Utilize Gradient Maps with Overlay or Soft Light blending modes to introduce specific color vibes, such as warm summer tones or cool atmospheric effects.
  • Refine Gradient Map adjustments by employing the Blend If feature in Layer Styles to control which exposure ranges are affected. Hold Alt/Option while dragging sliders to feather the effect smoothly.
  • Convert your layer to a Smart Object before entering Camera Raw Filter to maintain non-destructive editing for selective adjustments.
  • Use Range Masks within Camera Raw's selective adjustment tools (e.g., Radial Filter) to precisely target specific colors or luminance values. This enables localized color and exposure correction without complex manual masking.

More Tutorials about Color Enhancement in Photoshop

Explore additional resources to deepen your understanding of color theory and advanced editing techniques in Photoshop.
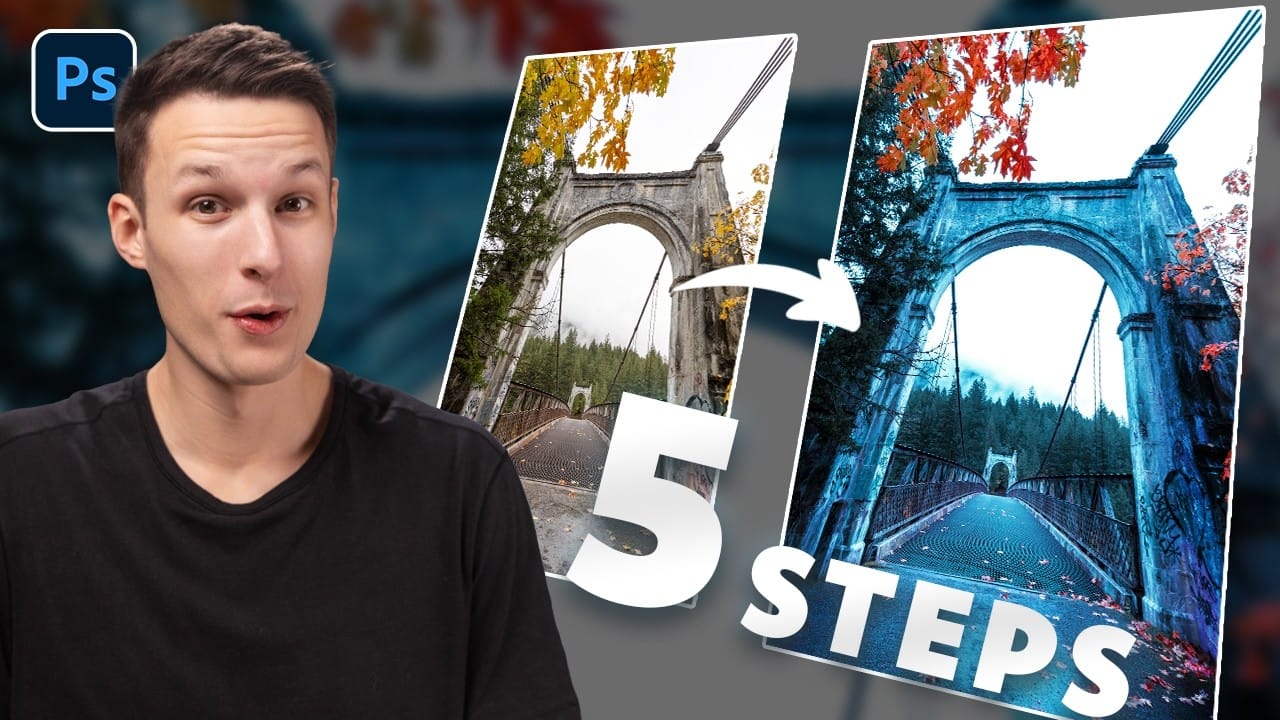
How to Create Dramatic Colors in Photoshop: A 5-Step Color Grading Process
Photography often captures moments in natural tones, but sometimes an image calls for something bolder. Dramatic color grading transforms ordinary photos into striking visual statements that grab attention and evoke emotion. This comprehensive approach combines Camera Raw adjustments with Photoshop's powerful color tools to create rich, cinematic looks. The process works especially well for outdoor scenes where you can push blues, oranges, and complementary colors to their limits. Watch the T
Six easy ways to select colors in Photoshop
In this episode of "3, 2, 1… Photoshop!", longtime Adobe evangelist Julieanne Kost shares essential tips and tricks for selecting colors in Photoshop. Julieanne introduces six easy methods to choose colors effectively, whether you're working on a detailed project or just need a quick color pick. You'll learn how to use the eyedropper tool for precise color selection, manipulate foreground and background colors, and utilize the heads-up-display (HUD) color picker for a more interactive experienc
How to Apply Graphics and Change Colors in Photoshop
Integrating graphics and adjusting colors are fundamental skills in Photoshop, enabling designers and artists to transform disparate elements into cohesive visual narratives. From compositing a logo onto a product image to blending text into a scene, mastering these techniques is crucial for achieving professional results. This video demonstrates practical methods for seamlessly applying graphics from one image to another, extracting specific elements like text, and efficiently changing their c
How to Color, Brighten and Sharpen Eyes in Photoshop
In this tutorial by Aaron Nace from Phlearn, learn how to enhance eyes in Photoshop to make them captivating and sharp. Techniques include coloring the eyes by sampling natural hues and adjusting lightness and saturation, using blending modes like "Soft Light" or "Overlay" for a natural look, and softening edges with Gaussian Blur. Dodge and Burn techniques are used to enhance depth and light in the pupils, while selective sharpening draws attention to the eyes, making them stand out in portrai

Get tutorials & freebies delivered to you.

Subscribe to the Photoshop Roadmap newsletter, a weekly roundup of new tutorials, insights and quality downloads, trusted by 6500+ readers.

You might also like

How to Use the Automatic Blemish Removal Tool in Adobe Camera Raw

Adobe Camera Raw's blemish removal tool scans a portrait and cleans skin imperfections in seconds, without any manual selection. The workflow stays entirely non-destructive when the layer is converted to a smart object first, and a fade slider lets you control how much retouching is actually applied...

How to Use a Grey Layer to Spot and Fix Mask Edges in Photoshop

Edge halos and stray artifacts are easy to miss when masking a subject, especially with AI-generated selections. Placing a neutral grey layer beneath your masked subject forces those problem areas into plain view, making cleanup faster and more precise. Practical Tips These steps cover the core workflow shown in...

How to Use the Light Adjustment Layer in Photoshop Effectively

Photoshop's Light adjustment layer brings Camera Raw-style tonal controls — exposure, contrast, highlights, shadows, whites, and blacks — directly into a non-destructive layer workflow. The real value isn't in what the sliders do individually, but in how you sequence them to expand dynamic range and reveal...

Photoshop’s Big 5: The Features That Actually Mattered This Year So Far

Photoshop updates land continuously throughout the year, but not every new addition reshapes how we actually work. While some releases bring minor UI polish or experimental tools, a handful of recent additions stand out as genuine upgrades to daily creative production. Rather than sifting through endless release notes, here is...

How to Use the Vectorscope in Camera Raw to Correct Skin Tones

Monitors vary, room lighting shifts, and your eyes adapt — none of which makes for reliable skin tone judgments. Camera Raw's vectorscope gives you a measurement-based alternative, displaying hue and saturation data visually so you can align skin tones to a scientifically accurate target line, regardless of your...

You’ve successfully subscribed to Photoshop Roadmap
Welcome back! You’ve successfully signed in.
Great! You’ve successfully signed up.
Success! Your email is updated.
Your link has expired
Success! Check your email for magic link to sign-in.