How to change the material of objects in Photoshop

How to change the material of objects in Photoshop

This video explores a powerful Photoshop technique for altering the perceived material of objects within an image. Whether you aim to turn a stone statue into wood or give a metallic object a new finish, mastering this skill can significantly enhance your photo manipulation capabilities.

Viewers will discover how to use Photoshop's displacement maps to realistically warp new textures onto existing objects, ensuring the new material conforms naturally to the subject's contours and lighting. The tutorial covers everything from precise selections to final adjustments, enabling you to achieve convincing material transformations.

Watch the Video

Video by Blue Lightning TV. Any links or downloads mentioned by the creator are available only on YouTube

Understanding Displacement Maps for Realistic Texture Application

Applying a new texture to an object in Photoshop often requires more than just overlaying an image. For a truly realistic effect, the new texture must appear to wrap around the object's original form, respecting its three-dimensional contours, shadows, and highlights. This is where displacement maps become indispensable.

A displacement map is essentially a grayscale image where the tonal values dictate how pixels in another image are "displaced" or shifted. Lighter areas on the map push pixels in one direction, while darker areas push them in another, creating the illusion of depth and adherence to a surface. To create an effective displacement map, the source image of the object is typically desaturated and then processed with filters like Median and Gaussian Blur. The Median filter helps to remove fine details while preserving the general shape and mid-tones, and a slight Gaussian blur ensures a smoother, more natural warp.

The success of this technique hinges on the quality of the displacement map and the appropriate settings in the Displace filter. Key parameters to consider include the horizontal and vertical scales, which determine the intensity of the displacement, and options like Stretch to Fit and Repeat Edge Pixels, which manage how the texture behaves at the boundaries. By carefully preparing the map and adjusting these settings, artists can achieve seamless and believable material transformations that fool the eye.

Practical Tips for Material Transformation

  • Begin by making a precise selection of your subject to ensure a clean separation from the background.
  • Desaturate the subject layer to remove color, providing a neutral base for creating the grayscale displacement map.
  • Apply a Median filter to the displacement map layer to smooth fine details while preserving essential contours and shadows.
  • Use a slight Gaussian Blur on the displacement map to prevent overly sharp or jagged texture distortions.
  • Clip the Levels adjustment layer to your texture layer to restrict its effect only to the newly applied material.

Explore more Photoshop tutorials to enhance your image manipulation skills and creative projects.
How to change the color of clothing in Photoshop
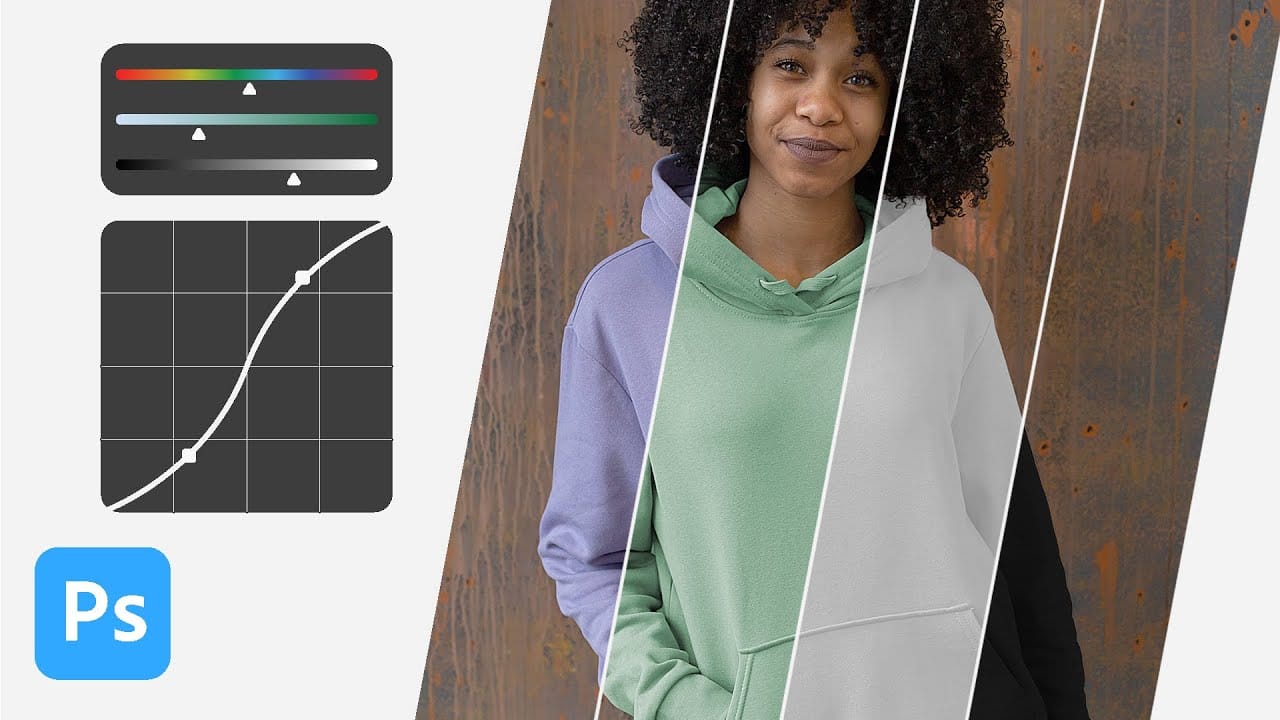
In this tutorial, Aaron Nace from Phlearn shows you how to change the color of clothing in Photoshop, even transforming it to black or white. This comprehensive guide covers essential tools and techniques to ensure perfect detail and realistic highlights and shadows. Aaron demonstrates how to use Layer Masks, Curves Adjustment Layers, and Hue/Saturation Adjustment Layers to create precise selections that isolate the clothing from the rest of the image, adjust brightness and contrast, and manipu
Change the Colors of Objects and Backgrounds with Photoshop on the Web
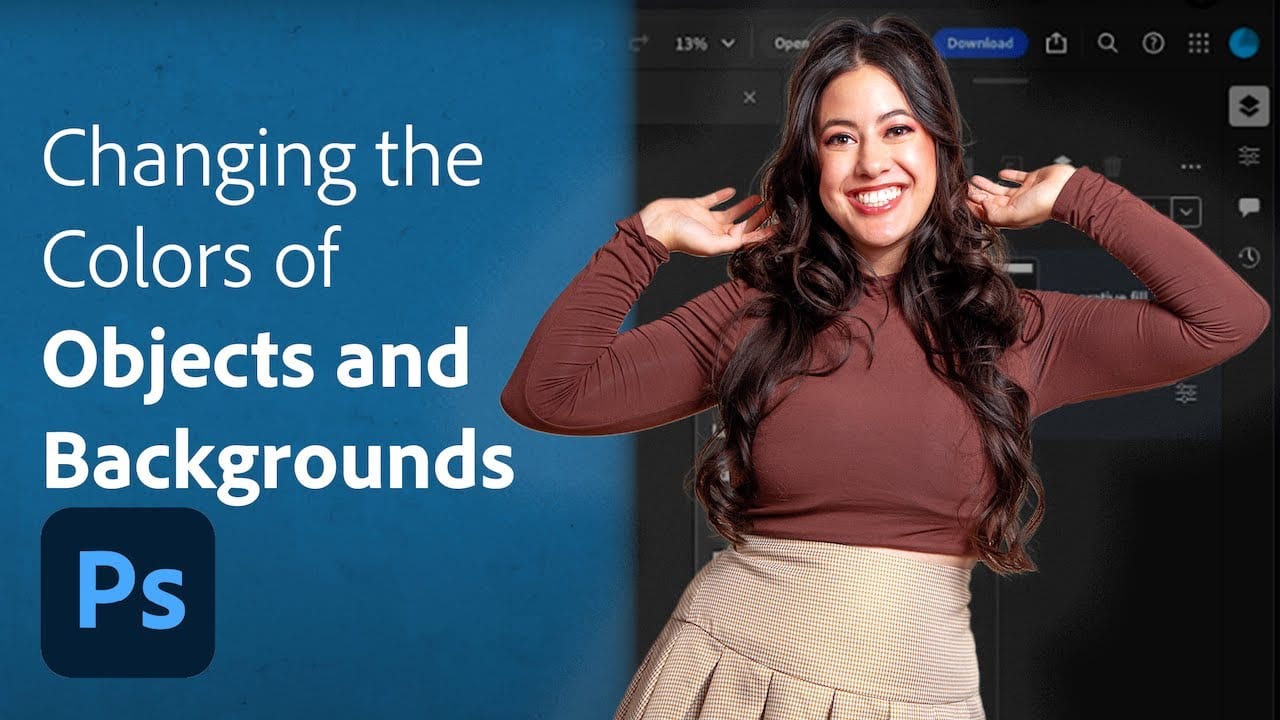
Transforming basic paper backdrops into limitless creative opportunities is more achievable than you might think. With @ruthiesmagicalcamera, this tutorial guides you through the process using Photoshop on the web, ensuring that you can follow along seamlessly. In this lesson, you will explore various techniques to enhance your images. Gain a clear understanding of selection tools and how to refine masks effectively. Additionally, the tutorial covers color adjustments that can help breathe new
How to Remove Unwanted Objects in Different Ways in Photoshop
Do you have photographs with distracting elements that need removing? In this insightful Photoshop tutorial from artist Zak Eazy, viewers will learn several effective techniques for eliminating unwanted objects from their images. Whether it’s removing superfluous signs, wires or passersby, Zak walks through practical use cases that showcase the Patch and Clone Stamp tools as well as Content-Aware Fill. Through demonstration on real-world sample images, viewers will gain an understanding of when
How to Apply Graphics and Change Colors in Photoshop
Integrating graphics and adjusting colors are fundamental skills in Photoshop, enabling designers and artists to transform disparate elements into cohesive visual narratives. From compositing a logo onto a product image to blending text into a scene, mastering these techniques is crucial for achieving professional results. This video demonstrates practical methods for seamlessly applying graphics from one image to another, extracting specific elements like text, and efficiently changing their c

Get tutorials & freebies delivered to you.

Subscribe to the Photoshop Roadmap newsletter, a weekly roundup of new tutorials, insights and quality downloads, trusted by 6500+ readers.

You might also like

9 Photoshop Tools That Still Outperform AI for Precision and Control

AI generates images from descriptions, but it cannot hand you the brush. When a project demands exact colors, editable text, precise retouching, or seamless mockups, Photoshop's native tools remain the more reliable choice — not because AI is weak, but because these workflows require control that generative tools simply...

How to Create a Vintage Film Look in Photoshop Using Adjustment Layers

Aging a photo convincingly takes more than a preset — it requires control over highlights, color channels, and grain working together. This walkthrough covers a fully manual, non-destructive workflow for building a vintage film effect in Photoshop, using Color Range selections, Smart Filters, a Grain adjustment layer, and per-channel...

How to Use the Object Selection Tool in Photoshop for Faster Edits

The Object Selection tool lets you isolate parts of an image with a simple drag, and it becomes even more useful when paired with adjustment layers and layer masks. These techniques are practical for targeted color edits, texture work, and building selections that cover multiple elements like a flower, stem,...

How to Set Up Bleed and Crop Marks for Print in Photoshop

Sending a print file without proper bleed is one of the most common mistakes in print production. A bleed — typically 1/8 inch of extra canvas on all sides — prevents white slivers from appearing when a printer trims the finished piece. Photoshop's Canvas Size tool and AI-powered...

How to Use Camera Raw's Feathered Sky Mask to Create a Natural Glow Effect

Camera Raw now lets you feather and expand AI-generated masks directly in the masking panel — a feature that makes it possible to create a convincing light bloom effect without any manual brush work. This tutorial covers the full editing process for a dark, underexposed landscape shot, with the feathered...

How to Build a Photo Manipulation in Photoshop: A 4-Step Compositing Workflow

Building a convincing photo manipulation from scratch requires more than creativity — it demands a repeatable process. This breakdown covers the four core steps used to composite multiple images into a single cohesive scene, from rough layout through exposure matching, color balancing, and shadow painting. Watch the Video Practical Tips These...

You’ve successfully subscribed to Photoshop Roadmap
Welcome back! You’ve successfully signed in.
Great! You’ve successfully signed up.
Success! Your email is updated.
Your link has expired
Success! Check your email for magic link to sign-in.