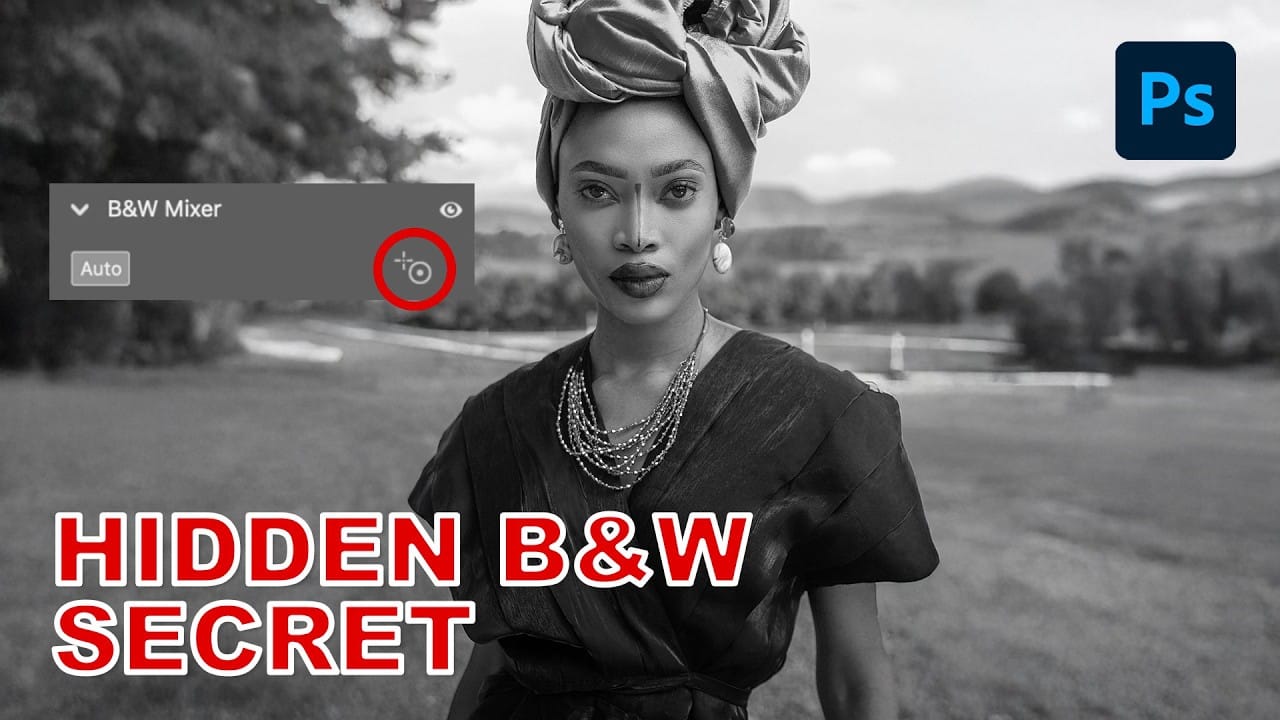
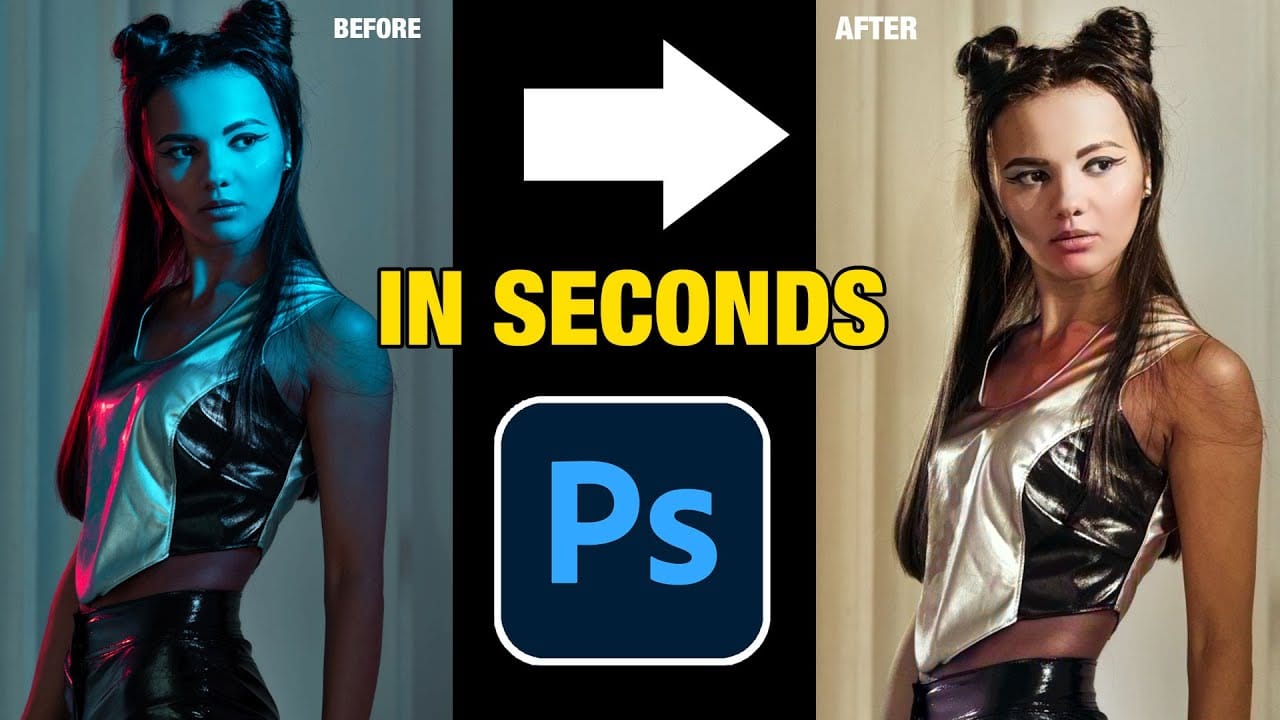
Color casts can overwhelm an entire image, especially when they dominate the lighting and affect skin tones. Traditional color correction methods often fall short when dealing with extreme cases where unwanted colors make up the majority of the photo.
This advanced technique uses complementary color theory and layer blending to cancel out even the strongest color casts while preserving the colors you want to keep. The method works by inverting colors and using precise channel blending to target specific areas.
Watch the Video
Practical Tips
Master the complementary color cancellation technique with these essential steps:
- Duplicate your background layer with Cmd/Ctrl+J, then invert it with Cmd/Ctrl+I to create the opposite color values
- Set the inverted layer to Color blend mode at 50% opacity to neutralize the dominant color cast
- Use channel blending options to protect specific colors like reds while targeting problem colors like greens
- Apply the technique multiple times for extreme color casts by creating stamp visible layers between each application
- Use Color Range selections to target remaining problem areas and fine-tune them with Color Balance adjustments
Related Articles and Tutorials
Explore more advanced color correction techniques and targeted adjustment methods.
Remove color cast from your photos in Photoshop
In this tutorial, Michael Woloszynowicz demonstrates how to effectively remove color cast from photos in Photoshop, particularly addressing an overall orange tint common in portraits. Instead of the usual Color Balance method, Michael introduces a more nuanced technique involving the creation of a new group called Offset. Within this group, layers are created and filled with sampled colors from the photo's highlight and shadow areas. By adjusting these layers' blending modes and opacities, the u
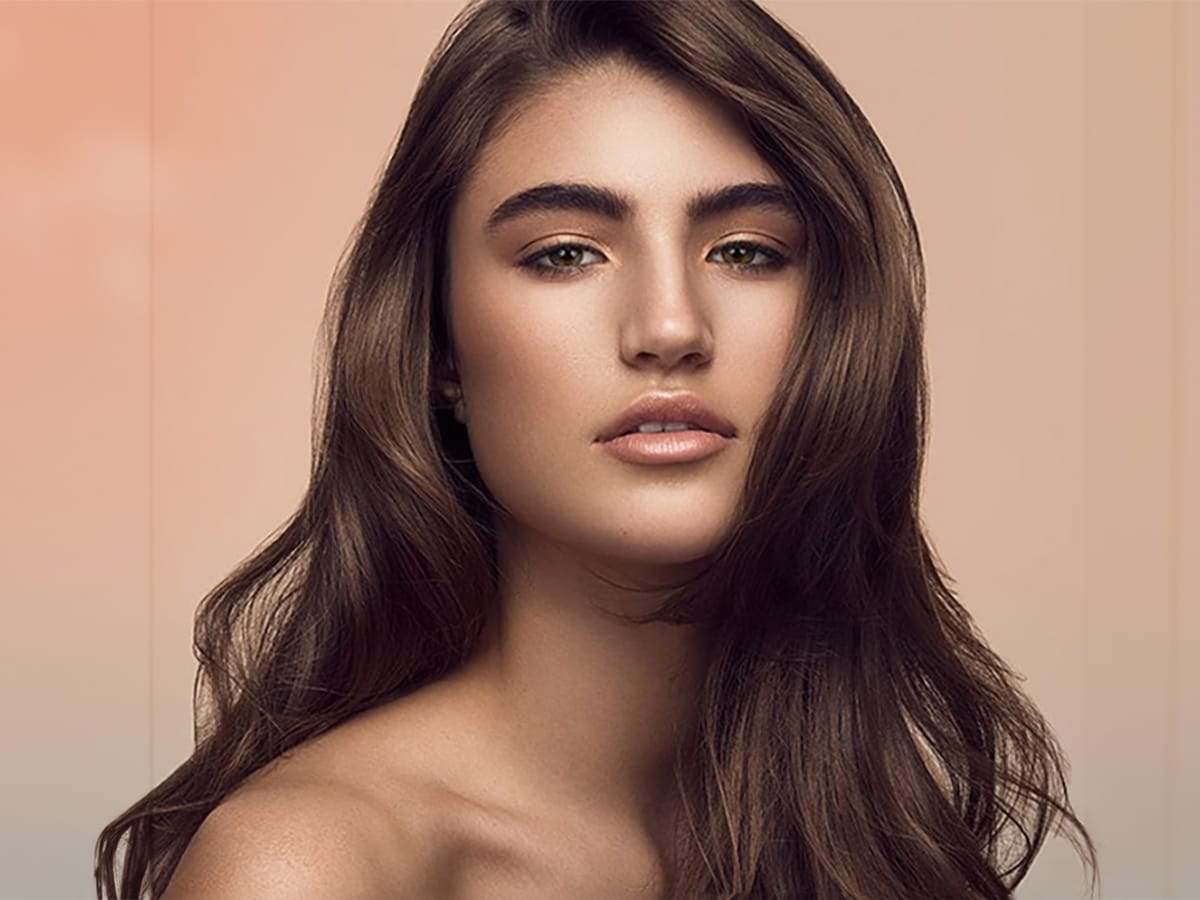
Previously impossible way to remove blue tint from pictures in Photoshop
In this tutorial, Colin Smith reveals a groundbreaking method to eliminate blue tints and color casts from your photos using a feature in Adobe Photoshop 2021. Traditionally, removing unwanted color casts could be a complex and tedious process, but Colin demonstrates a more straightforward approach using the Colorize filter in an unconventional manner.
Colin explains how the Colorize filter, part of Photoshop's latest update, can be utilized to address color imbalances and fix multiple colored
One click instantly fixes color in Photoshop
In this tutorial by Colin Smith from Photoshop Cafe, you'll learn how to instantly fix the color of your photos in a single click using Photoshop and Lightroom. Colin introduces a powerful tool that can correct color issues effortlessly, making your images look more natural and vibrant.
This quick tutorial focuses on achieving perfect color balance with minimal effort. Whether you're a beginner or a seasoned Photoshop user, Colin's method is straightforward and effective, allowing you to enhanc

How to select and remove specific colors from images in Photoshop
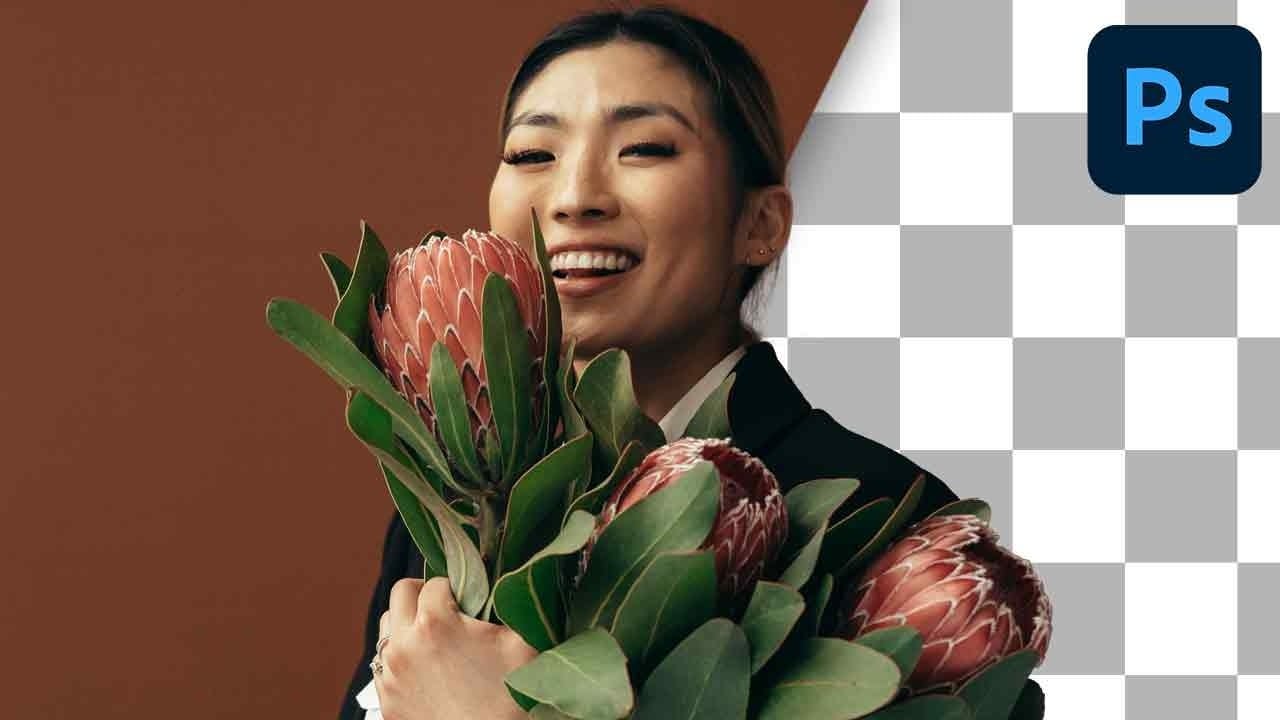
Color removal can transform any image, from isolating subjects against clean backgrounds to creating dramatic artistic effects. The challenge lies in making precise selections that capture only the colors you want to eliminate while preserving the integrity of your main subject.
The Magic Wand tool offers powerful solutions for color-based selections, especially when combined with layer masks and selection refinement techniques. This approach gives you the control needed to achieve professional
Color Correction Using Lab Mode in Photoshop
In this informative tutorial by Aaron Nace from Phlearn, you will discover how to utilize LAB Mode versus RGB Mode for effective color correction in Photoshop. Many photographers face the challenge of enhancing colors without making the image appear unnatural.
While working in RGB Mode, adjustments made in curves can inadvertently alter brightness and exposure. This can lead to frustrating results, especially when the goal is to maintain the integrity of the original photo.
Fortunately, switch
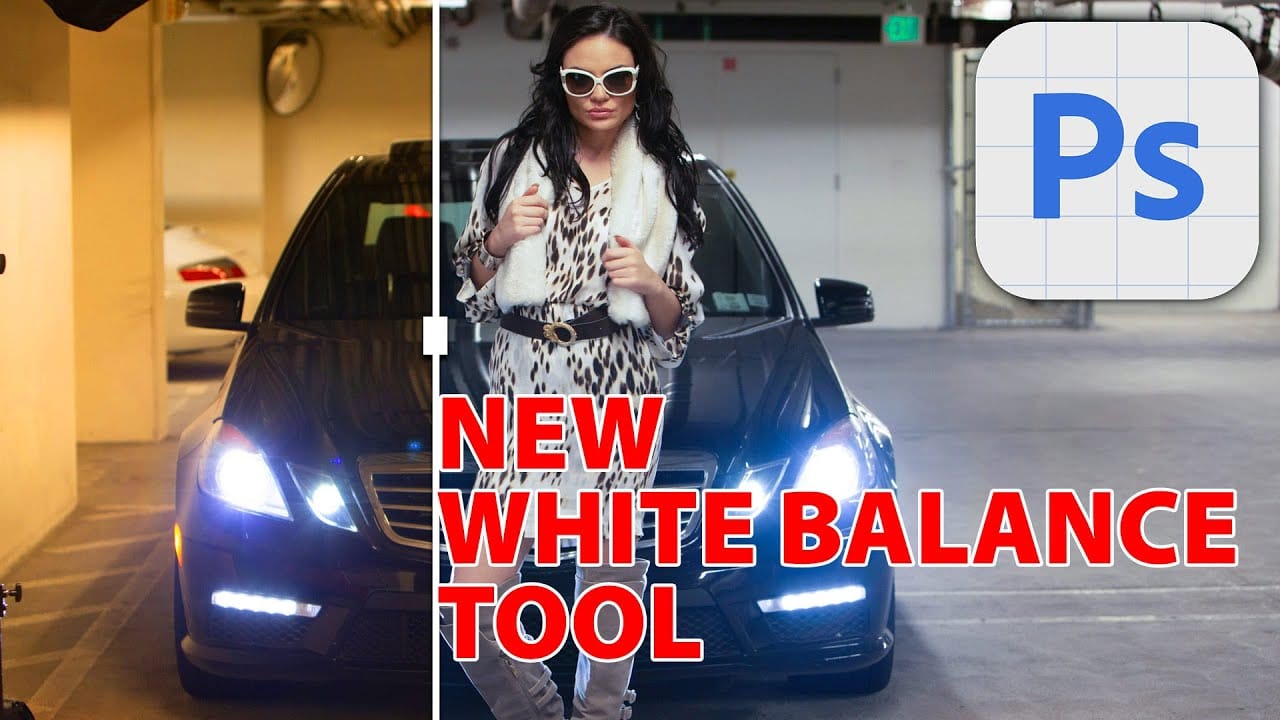
Understanding White Balance in Photoshop: Temperature vs Tint Explained
White balance confusion ends here. Temperature and tint work differently to fix color casts, and knowing when to use each tool transforms how you correct photos.
Photoshop's new Color and Vibrance adjustment layer finally brings these essential controls natively into the workspace, eliminating the need to jump into Camera Raw for basic corrections.
Watch the Tutorial
Essential White Balance Tips
* Temperature controls warm versus cool colors - drag right for yellows and oranges, left for
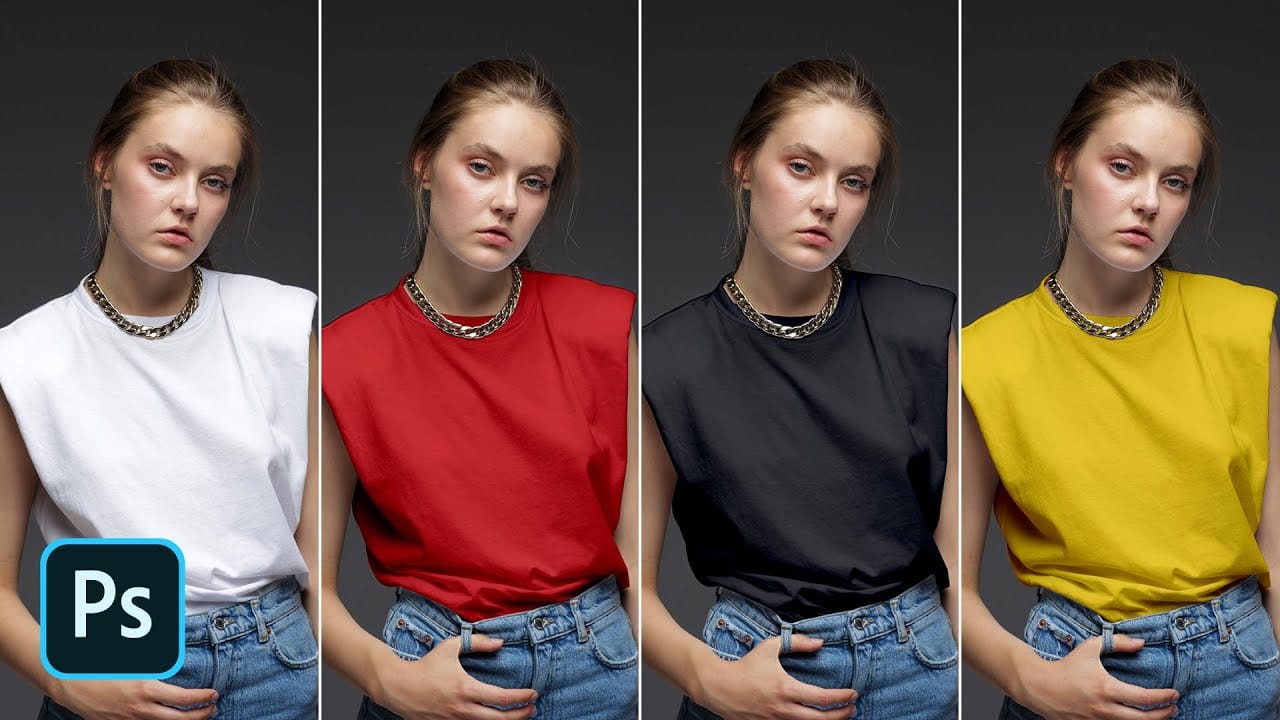
Turn White into Any Color in Photoshop
In this tutorial, WebFlippy demonstrates how to effortlessly transform white areas into any color using blending modes in Photoshop. This technique is especially useful for photo retouching and product photography, allowing for versatile color adjustments without affecting the overall image quality.
The tutorial provides a straightforward approach to applying this method, ensuring that you can quickly adapt white elements in your photos to match your desired color scheme. With clear instruction
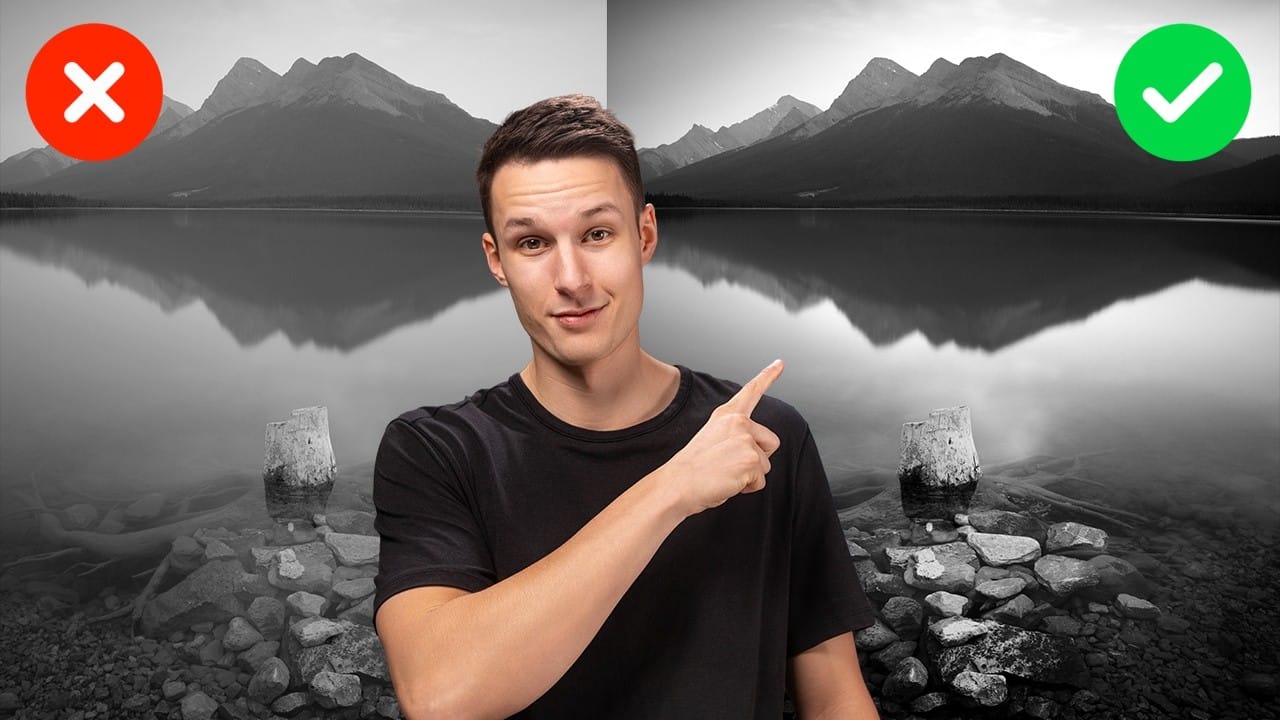
Advanced Black and White Photo Editing with Selective Masking in Photoshop
Most black and white conversions fall flat because they rely on simple global adjustments that treat the entire image uniformly. Professional-level dramatic black and white photos require selective contrast adjustments that target specific areas like skies, foregrounds, and tonal ranges independently.
This approach transforms ordinary monochrome images into compelling, high-contrast photographs with depth and visual impact.
Watch the Full Tutorial
Essential Tips for Advanced Black and White
How to Create Perfect Black and White Photos Using Camera Raw Filter in Photoshop
Camera Raw's black and white mixer transforms color photos into striking monochrome images with precision control. The built-in adjustment tool lets you click and drag directly on your image to lighten or darken specific tones.
This non-destructive method preserves your original photo while giving you complete creative control over contrast and tonal balance.
Watch the Tutorial
Essential Tips for Black and White Conversion
* Convert your layer to a Smart Object first by choosing Filter >