Create a Nice Polaroid Photo Montage in Photoshop

Create a Nice Polaroid Photo Montage in Photoshop

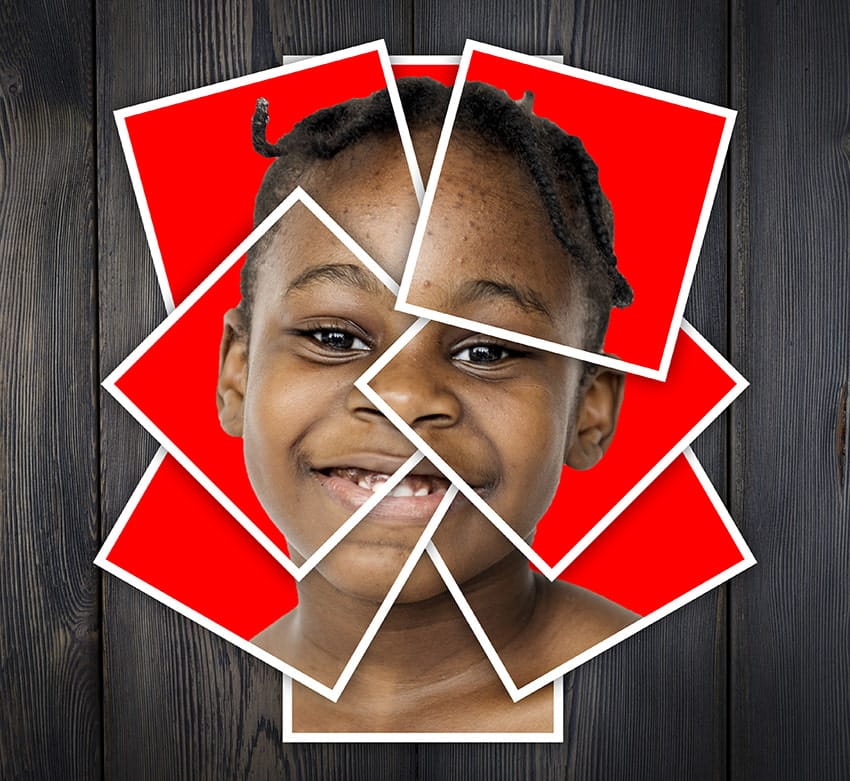
Creating a sense of nostalgia with photo effects remains a popular trend. The Polaroid look, with its distinctive frame and vintage vibe, can transform ordinary photos into something special. By arranging multiple Polaroid-style images from a single source, you can create a unique collage effect.

This tutorial demonstrates how to craft a Polaroid photo montage using Photoshop. The process involves duplicating and arranging Polaroid frames, adding shadows for depth, and applying creative lighting effects to enhance the final composition.

Watch the Video

Video by Blue Lightning. Any links or downloads mentioned by the creator are available only on YouTube

Exploring the Art of Photo Montages

Photo montages are more than just a collection of images; they tell a story through visual arrangement. The human brain is wired to seek patterns and connections, and a well-crafted montage plays into this cognitive tendency. By strategically positioning and overlapping images, artists can guide the viewer's eye and create a narrative flow that enhances the emotional impact of the piece.

The art of photo montage gained prominence in the early 20th century with Dadaist and Surrealist movements, used to express anti-establishment sentiments and explore subconscious themes. Today, digital tools make it easier than ever to experiment with this technique. Modern artists use montages to explore themes ranging from personal identity to social commentary, taking advantage of the layered and complex narratives that this medium can convey. This includes, for example:

  • Juxtaposing contrasting elements
  • Creating visual metaphors
  • Adding layers of meaning through careful composition

Practical Tips for Creating a Polaroid Montage

  • Start with a high-resolution image: Beginning with a high-quality image ensures the final montage retains detail, especially when creating multiple Polaroid copies.
  • Use consistent drop shadows: Applying consistent drop shadows to each Polaroid frame adds depth and realism, making the montage visually appealing.
  • Vary the rotation and placement: Rotate and reposition each Polaroid to create a dynamic and organic arrangement, avoiding a static or uniform look.
  • Add a background texture: Incorporating a background texture or pattern complements the Polaroid montage, enhancing the overall aesthetic and providing context.

Expand your knowledge with these hand-picked tutorials and articles. Learn new skills, discover different techniques, and boost your creative ideas.
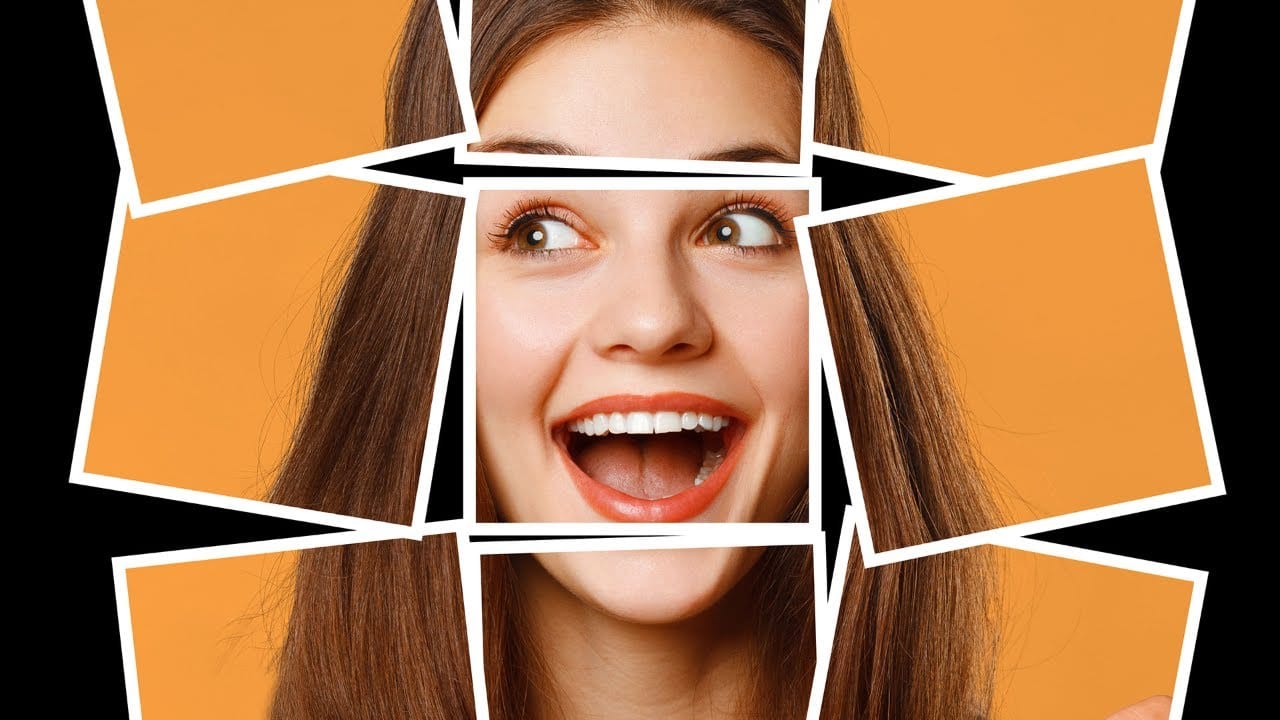
Create A Collage Of Polaroids From A Single Photo
Transforming a single photo into a collage of polaroids is a straightforward yet enjoyable process. Begin by selecting your image and cropping it into a square format. This sets the foundation for creating multiple smaller sections, each representing a part of the whole. Next, you divide the square image into smaller squares. Adding a white border around each square will give them a distinct polaroid look. Once that's done, the fun continues as you arrange and rotate each piece to create an eye
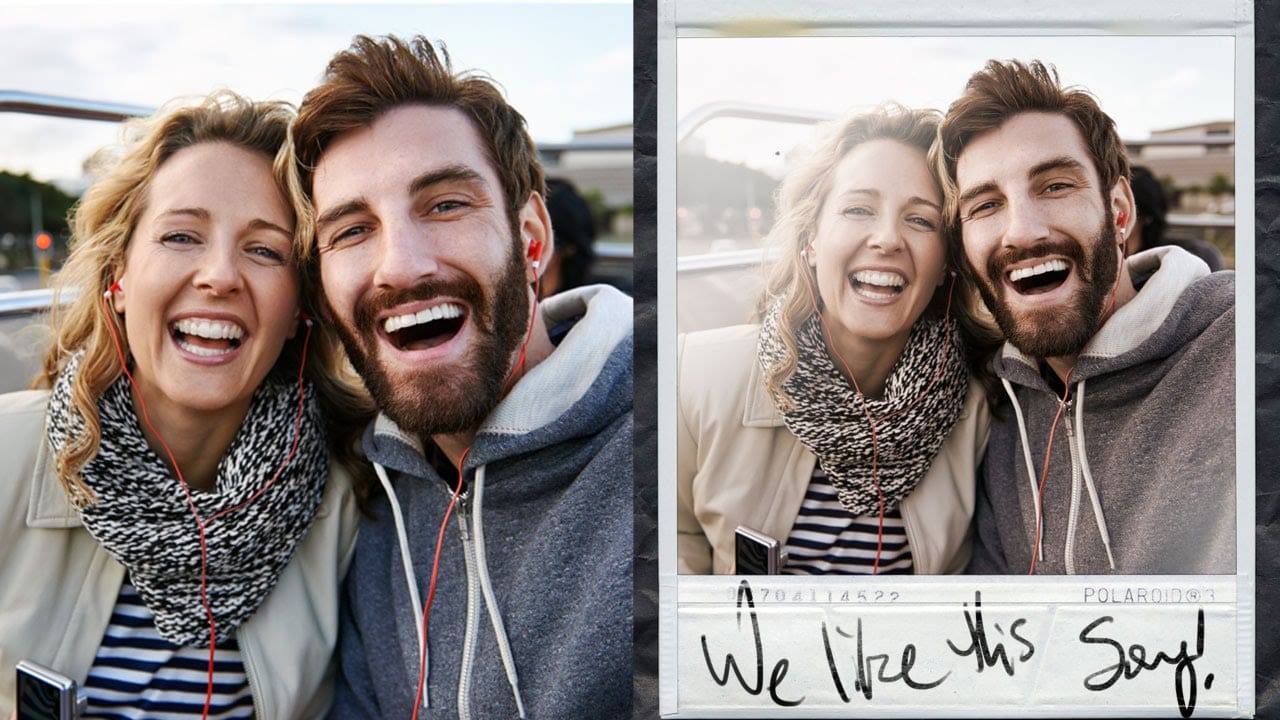
How to Make a Polaroid Framed Picture in Photoshop
You can create a Polaroid-framed picture in Photoshop using a tutorial by Aaron Nace from Phlearn. In this tutorial, you will learn how to make a Polaroid-style frame for your image in just a few simple steps. The process involves downloading a Polaroid frame image and then incorporating it into your photo using Photoshop. The tutorial guides you through the necessary techniques, such as resizing the frame, adjusting the placement, and blending it seamlessly with your image. By following this
How to Make a Photo Collage in Photoshop
In this tutorial by Envato Tuts, you'll delve into a unique technique for creating photo collages in Photoshop. Rather than assembling a traditional multi-image composition, this approach focuses on crafting a striking portrait using scattered polaroid-style photos. The tutorial guides you through the process of arranging individual snapshots of a young teen girl smiling, each positioned to contribute to a cohesive, unified portrait. This technique is distinct from standard collages as it forms
How to Create Simple Photo Collages in Photoshop
In this Photoshop tutorial, you’ll learn an easy technique for creating collages by using grids and the Frame Tool. The process starts with setting up guides to create a structured layout, making it simple to place and organize your images. You’ll see how to position photos within frames, adjust them as needed, and even add clean borders for a polished look. This method is adaptable to any collage style, allowing you to customize layouts and frame sizes based on your preferences. Once your desi

Get tutorials & freebies delivered to you.

Subscribe to the Photoshop Roadmap newsletter, a weekly roundup of new tutorials, insights and quality downloads, trusted by 6500+ readers.

You might also like

How to Remove Skin Blemishes and Fix Skin Tones in Camera Raw

Two recent additions to Camera Raw make skin retouching significantly faster: an automatic blemish removal tool with separate controls for moles and freckles, and a vectorscope-based skin tone indicator for correcting off-color skin. Both features work non-destructively inside a smart object workflow, so no pixel data is...

Portrait Retouching in Photoshop: Smooth Skin While Keeping Natural Texture

Smooth skin and natural texture are not opposites — achieving both at once is the mark of a professional retouch. This workflow covers blemish removal, flyaway hair cleanup, dark under-eye correction, and eye brightening, all while keeping the skin looking like skin. Watch the Video Practical Tips These key points...

How to Use Camera Raw's Blemish Removal Tool in Photoshop

Camera Raw 18.5 introduced an automatic blemish removal tool that does something previous solutions rarely managed: it removes skin imperfections while preserving the underlying skin texture. It also distinguishes between temporary marks and permanent ones like moles, giving you separate controls for each. Watch the Video Practical Tips These...

Portrait Slice Effect in Photoshop Using Step and Repeat

The portrait slice effect splits a single image into offset vertical bars, creating the illusion of a displaced or fragmented face. The entire technique relies on layer masks and a lesser-known Photoshop shortcut called step and repeat — no filters, no AI, no destructive edits required. Watch the Video Practical...

How to Remove Blemishes in Photoshop: Camera Raw vs. Generative AI

Photoshop now offers two distinct approaches to removing skin blemishes automatically. The Camera Raw Filter includes a dedicated Blemishes option that analyzes and cleans skin with a single checkbox, while Generative AI fills a face selection with clean, texture-consistent results using a simple text prompt. Each method has clear...

Common Photoshop Compositing Mistakes and How to Fix Them

Most compositing errors come down to a handful of repeatable problems: mismatched lighting direction, inconsistent white points, misaligned perspective, and atmosphere applied in the wrong layer order. Catching these issues early — ideally before you shoot — saves significant time in post. Watch the Video Practical Tips These corrections apply to nearly...

You’ve successfully subscribed to Photoshop Roadmap
Welcome back! You’ve successfully signed in.
Great! You’ve successfully signed up.
Success! Your email is updated.
Your link has expired
Success! Check your email for magic link to sign-in.