Creating a convincing invisible person effect requires careful planning from photography to post-processing. This technique combines strategic shooting with precise layer masking to make clothing appear empty while maintaining realistic shadows and interactions with props.
The key lies in photographing multiple versions of each scene - one with the subject present and additional shots of empty clothing in identical positions. White clothing significantly simplifies the blending process in post-production.
Watch the Video
Practical Tips
Follow these essential steps to achieve a professional invisible person effect:
- Use a tripod and manual camera settings to maintain identical framing and exposure across all shots
- Shoot tethered to a computer with overlay capabilities for precise alignment between reference and replacement images
- Wear simple, solid-colored clothing - white works best for seamless blending in post-processing
- Take more photos than needed, including separate shots for each body part that needs to be removed
- Use layer masks and adjustment layers for non-destructive editing and fine-tune color matching between composite elements
Related Articles and Tutorials
Explore more techniques for creating transparency and special effects in your images.
How to create a ghost in Photoshop
Transforming ordinary photos into something extraordinary often involves exploring creative digital manipulation techniques. The ability to create a convincing ghostly apparition, for instance, adds an intriguing and ethereal dimension to an image. This process, once more complex, has become significantly more streamlined with updates in modern photo editing software.
This tutorial guides you through the process of converting a regular subject into a transparent, spectral figure. You will disco
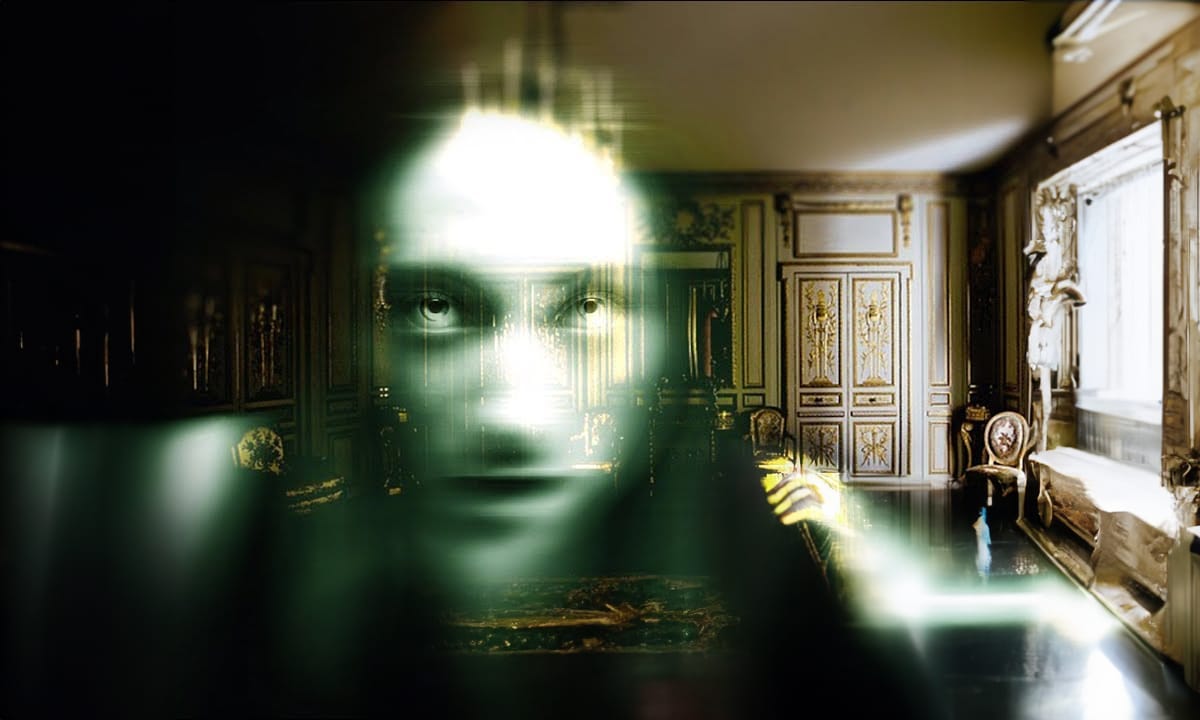
Create a Ghostly Image Effect in Photoshop
In this engaging Photoshop tutorial, you will discover how to create a ghostly effect that transforms a person into a transparent figure, resembling a ghost. This technique is perfect for adding an eerie vibe to your images.
You'll begin by selecting the person in your photo and adjusting the layers to achieve the desired transparency. The step-by-step instructions will guide you through the process of refining the edges and enhancing the overall look to ensure a realistic ghost appearance.
By
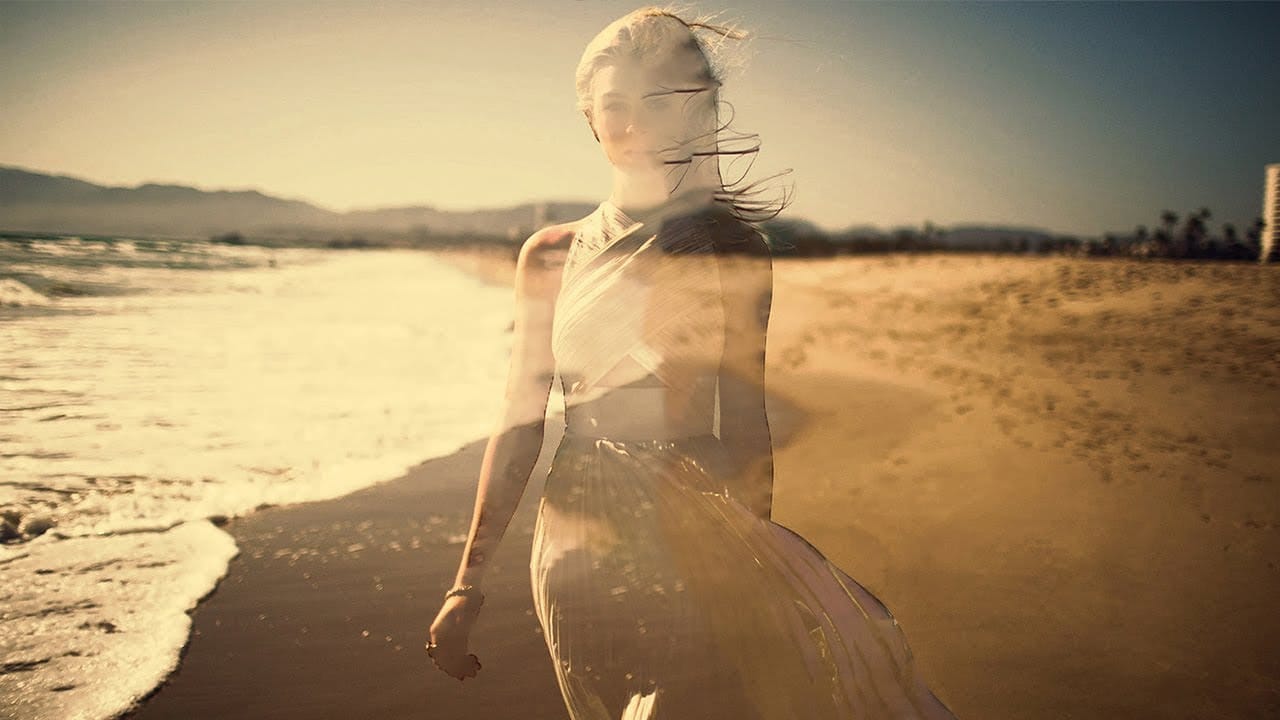
Hide the Marching Ants Photoshop Tip
Nathaniel Dodson from TutVid shares a helpful Photoshop tip in this tutorial. The author guides the viewer through the process of temporarily hiding the marching ants that appear around a selection and then bringing them back with a hotkey.
The tutorial is concise and straightforward, allowing users to quickly learn this useful technique. The author's clear instructions and visual demonstrations make it easy to follow along and apply the same method in one's own Photoshop projects.
This #PSin3

Create See-Through Ghost Photos in Photoshop
This tutorial offers a straightforward guide to creating an eerie see-through ghost photo using just one image. Perfect for beginners, it simplifies the process while ensuring you can achieve impressive results.
You will learn essential techniques that allow you to manipulate your image effectively. The tutorial walks you through each step, ensuring that even those new to Photoshop can follow along with ease.
By the end, you'll be able to transform an ordinary photo into something hauntingly b
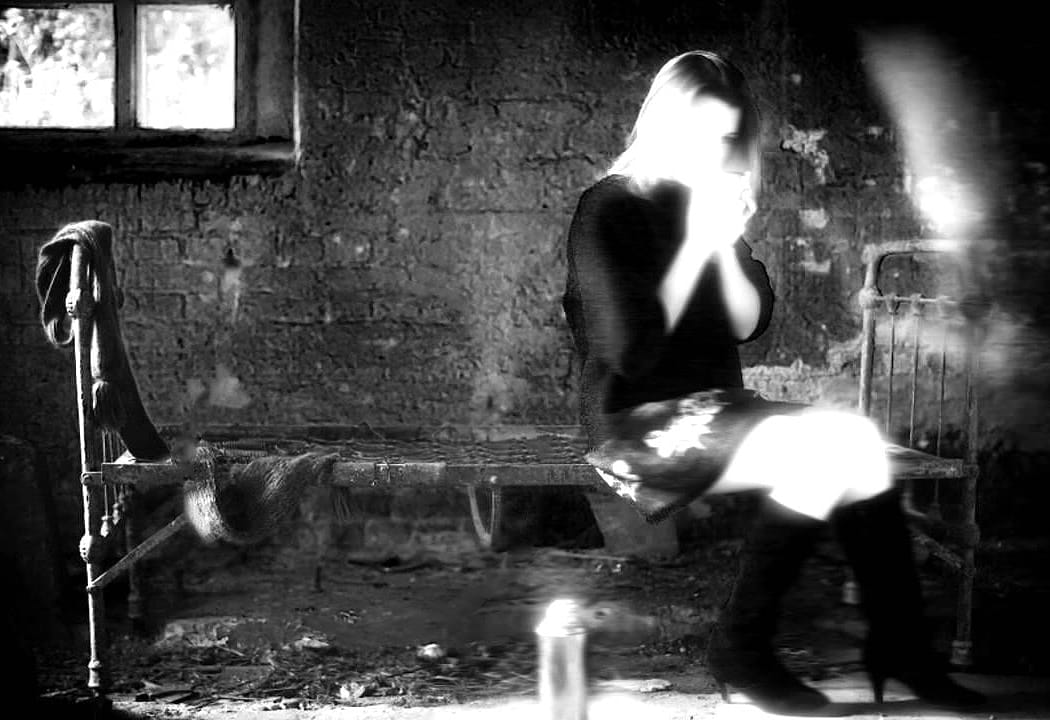
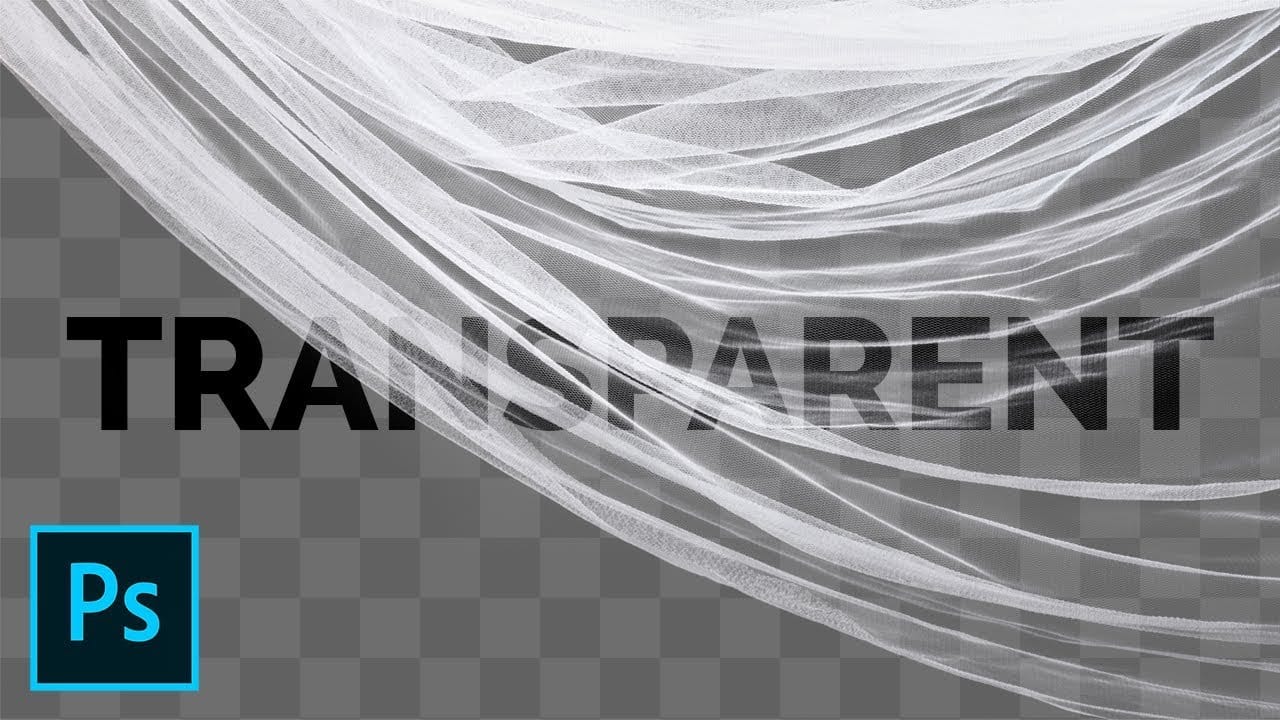
How to select transparent objects in Photoshop
In this tutorial, PiXimperfect shares two simple techniques to mask transparent or translucent objects in Photoshop. The tutorial explains how to select and cut out see-through objects using the Refine Edge Tool and advanced selection features like Color Range.
The author first demonstrates how to use the Refine Edge Tool to refine the selection and create a clean, detailed mask for the transparent object. This method is particularly useful for objects with intricate details or soft edges.
Nex
Create a transparent clothes effect in Photoshop
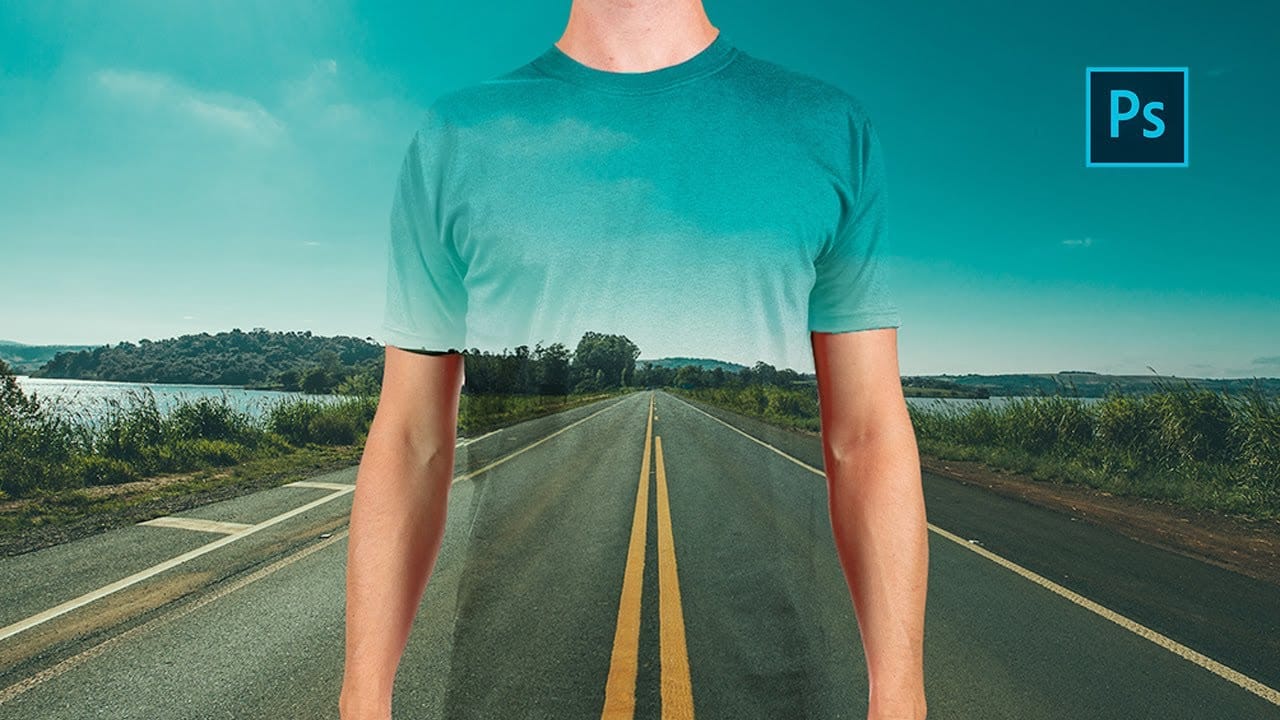
In this Photoshop tutorial you will to achieve a camouflage photo effect where we make t shirt look transparent. It's a super simple tutorial, quite easy for beginners to learn some things.
We will cut out the background and and than separate t-shirt from body and will change the blending mode to make it mix with background. The real trick is to make t-shirt black and white before making it transparent so we don't have any trouble with miss matching colors. Also we will use displacement map, wh
How to Black Out Eyes in Photoshop
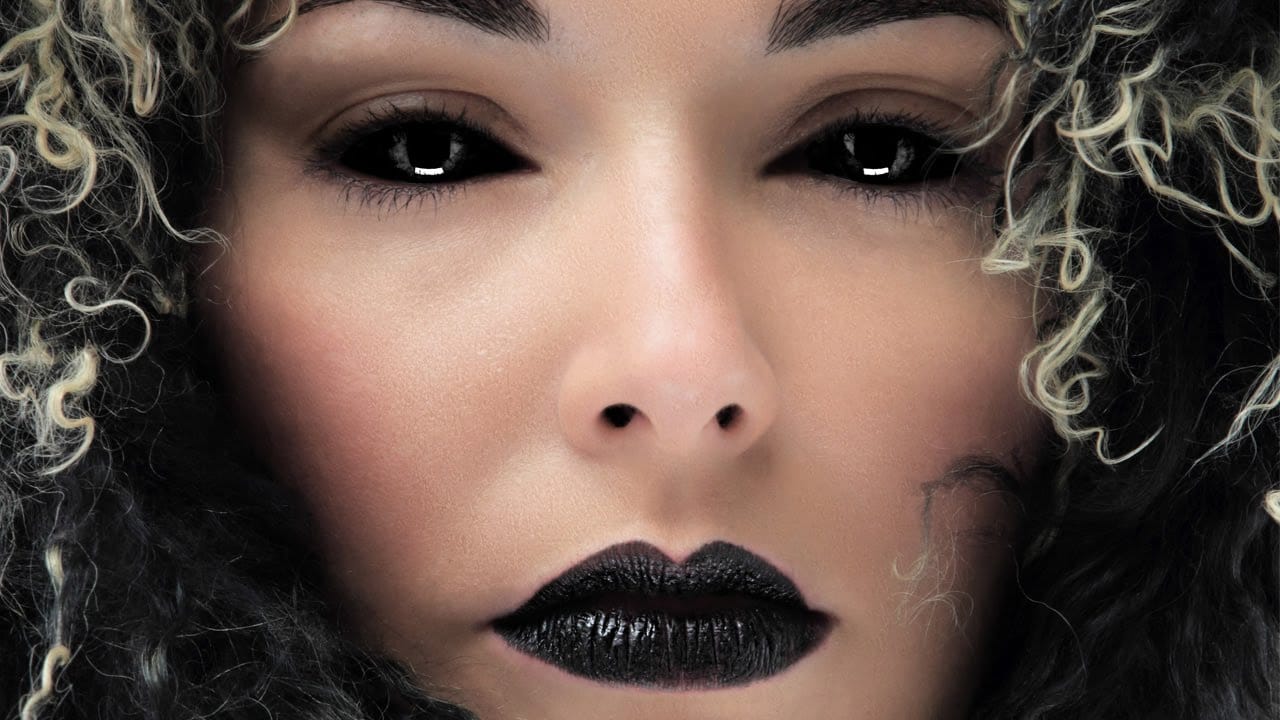
Creating convincing black eyes in Photoshop requires more than simply painting over them with black. The key to believable results lies in preserving light reflections and creating realistic depth through strategic layering techniques.
This tutorial demonstrates how to achieve this dramatic effect while maintaining the natural lighting and shadows that make eyes appear three-dimensional rather than flat.
Watch the Tutorial
Essential Tips for Blacked-Out Eyes
Success with this technique dep
Masking Glass and Transparent Objects
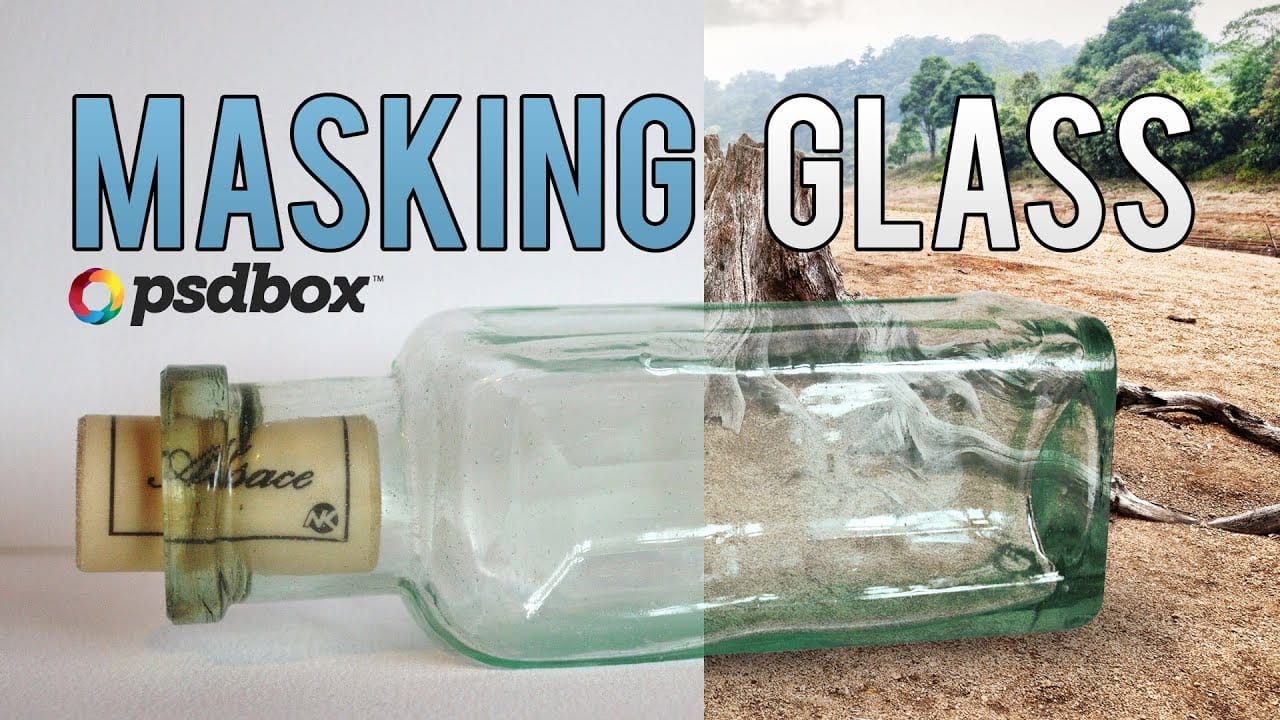
In this Photoshop tutorial by PSD Box, you'll master the art of masking glass using a straightforward selection method.
The focus is on preserving the natural reflections and highlights present on the glass object, ensuring a realistic and seamless integration into new backgrounds or compositions. This technique is crucial for maintaining the transparency and depth of glass while removing its background, making it ideal for product photography or creative digital art projects.
Follow along as
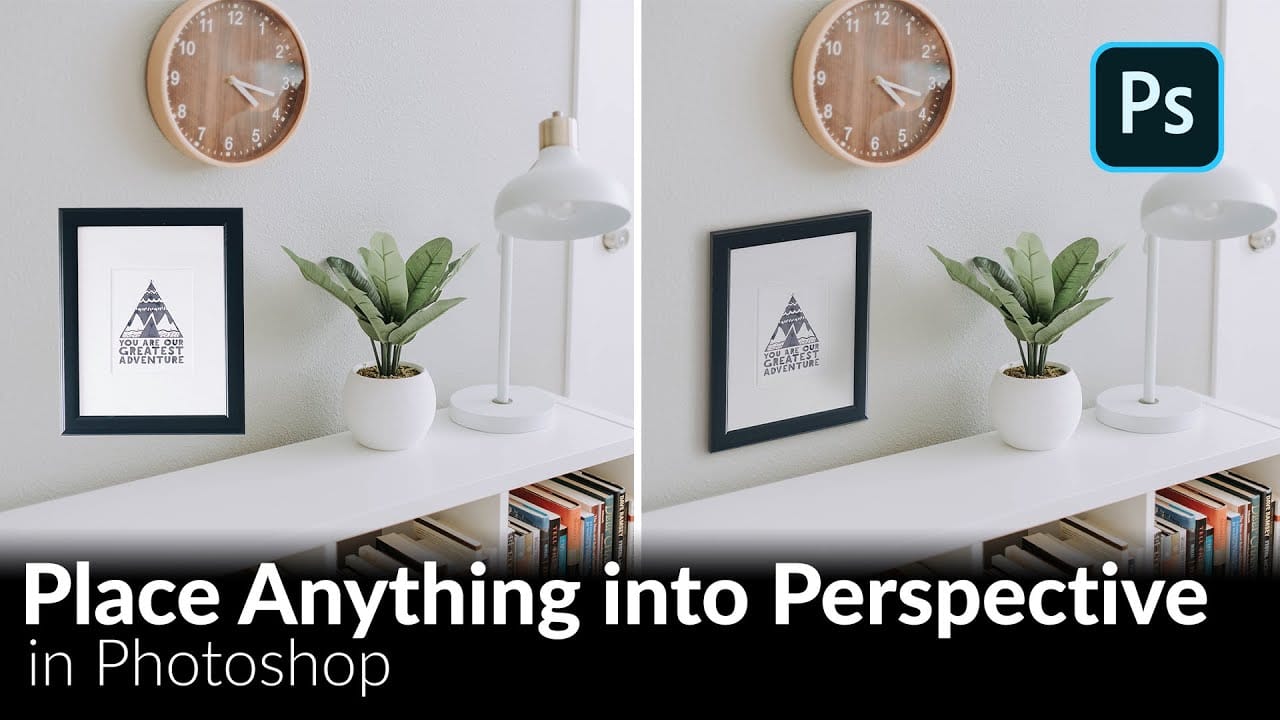
How to Place Anything into Perspective in Photoshop
In this tutorial, we'll demonstrate a technique that allows you to seamlessly incorporate any object into a new scene, ensuring perfect perspective alignment. First, we'll guide you through the process of precisely cutting out the desired object using advanced selection tools. Next, we'll utilize the powerful Vanishing Point Filter to position the object within the target scene, aligning it perfectly with the existing perspective.
But we don't stop there. To achieve a truly professional-looking