The Nashville effect transforms photos with a distinctive warm, faded look that became popular on social media. This color grading technique uses a combination of levels adjustments, color overlays, and curves to create that characteristic yellowish tint with lifted shadows and reduced contrast.
Recording this effect as a Photoshop action lets you apply the same treatment to multiple images with one click, then fine-tune the settings for each individual photo.
Watch the Video
Practical Tips
These key techniques will help you achieve the Nashville effect more effectively:
- Start by adjusting the blue channel in Levels to around 50-70% in the shadows for the characteristic warm tone
- Use a solid color adjustment layer set to Multiply mode with a light yellow-orange color (#F5DFB5) for the vintage overlay
- Create an S-curve in the Curves adjustment layer, lifting shadows to 36-40% output and pulling highlights down slightly
- Group all adjustment layers together and record the process as an action for quick application to future images
- Fine-tune the blue channel levels after applying the action since different images may need stronger or weaker effects
Related Articles and Tutorials
Explore more color grading and photo effect techniques to expand your creative toolkit.
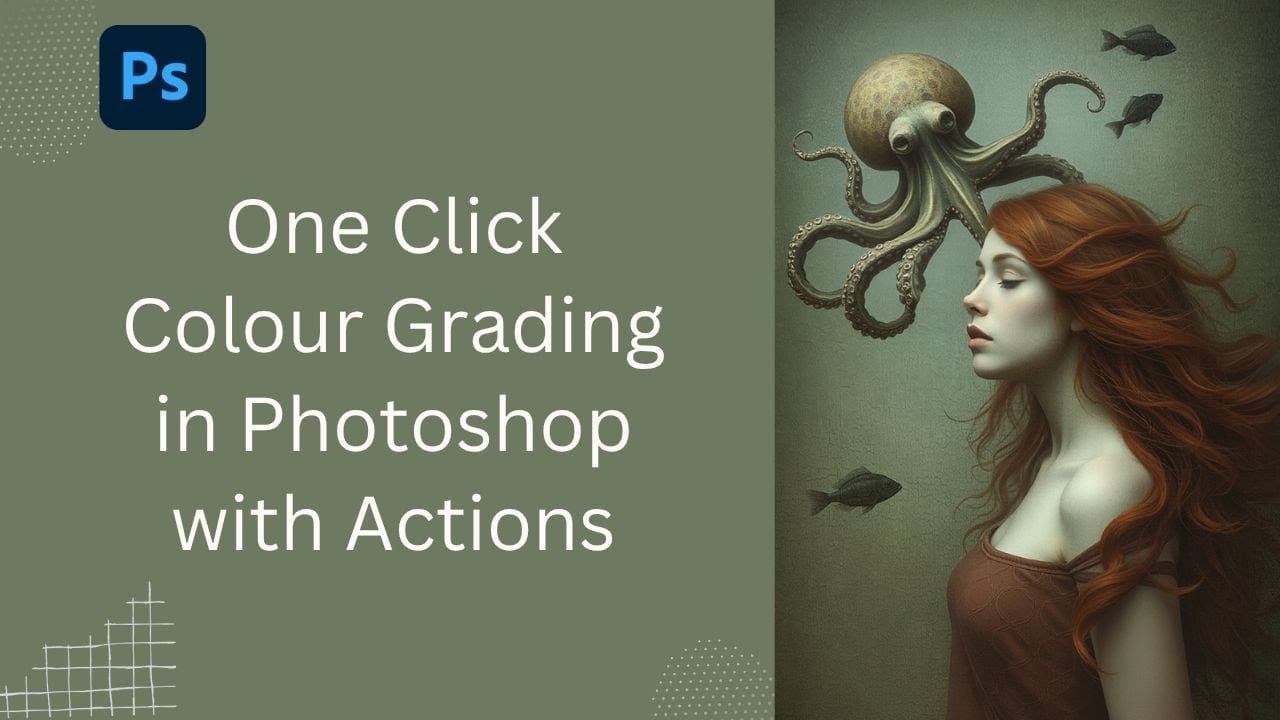
Speed Up Your Color Grading Workflow with Photoshop Actions
Color grading can transform your images, but manually adjusting curves and levels for every photo takes time. Photoshop actions offer a faster approach by applying professional color treatments with a single click.
This workflow uses pre-built actions, tints, and LUTs to achieve various moods and styles instantly, letting you layer multiple effects to build the exact look you want.
Watch the Tutorial
Practical Tips for One-Click Color Grading
* Set your Actions panel to button mode for fa
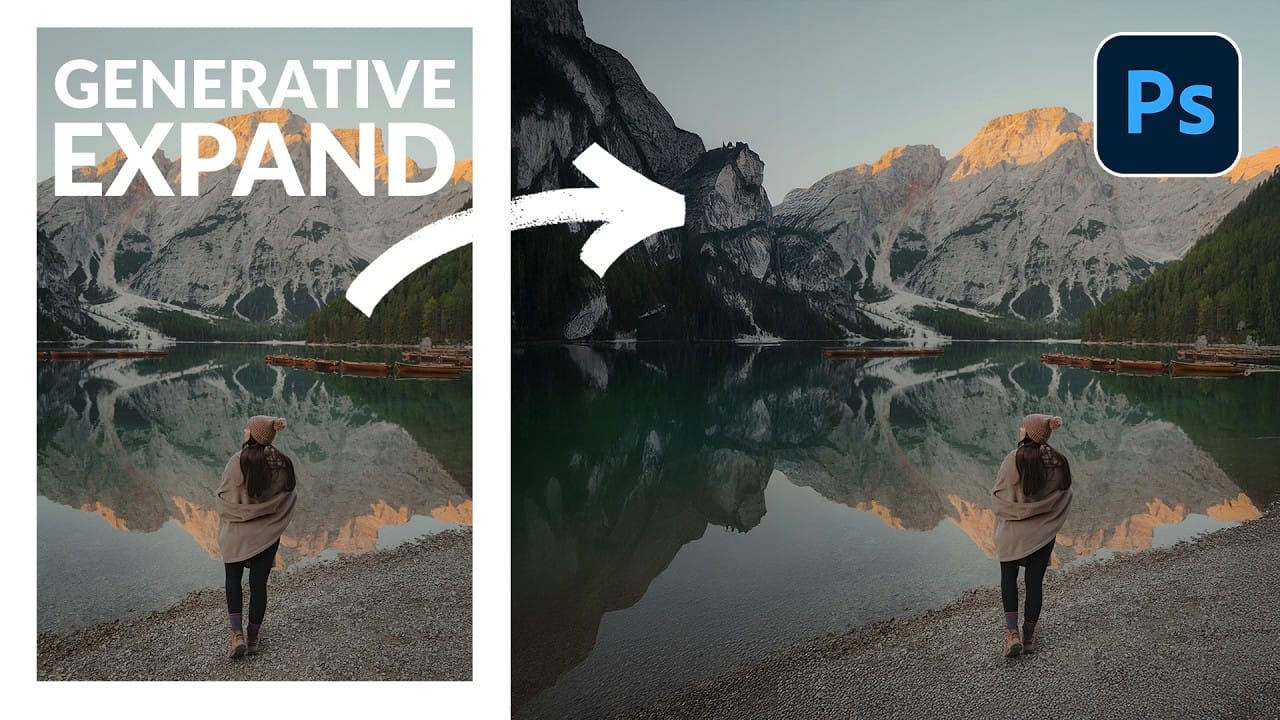
How to Expand Photos Beyond Their Edges Using AI Generative Expand in Photoshop
Sometimes your best photos need more breathing room or a different aspect ratio. Generative Expand in Photoshop lets you extend your canvas beyond the original image boundaries, using AI to intelligently fill in missing areas with content that matches your scene.
This technique works for changing portrait photos to landscape orientation, adding more space around subjects, or even changing the camera angle of existing photographs entirely.
Watch the Video
Practical Tips
These key techniques
How to Remove Objects from Photos Using AI Tools in Photoshop
Photoshop's AI-powered object removal tools can eliminate unwanted distractions from your photos with minimal effort. The Remove Tool and Generative Fill feature automated detection for common distractions like people and wires, plus manual painting options for custom removals.
These tools work on separate layers, preserving your original image while giving you complete control over what gets removed and how the final result looks.
Watch the Video
Practical Tips
These key techniques will h

Artistic Photoshop Actions to Make Photography Fun
Photoshop actions are a simple way to speed up editing and give your photos a consistent look without spending hours on adjustments. From subtle color shifts to bold artistic transforms, actions can help you work faster and keep your style consistent across different projects.
They're useful for anyone who wants reliable one-click effects for portraits, landscapes, and creative photography.
Why Creative Fabrica?
You'll notice that all the actions in this roundup come from Creative Fabrica. T

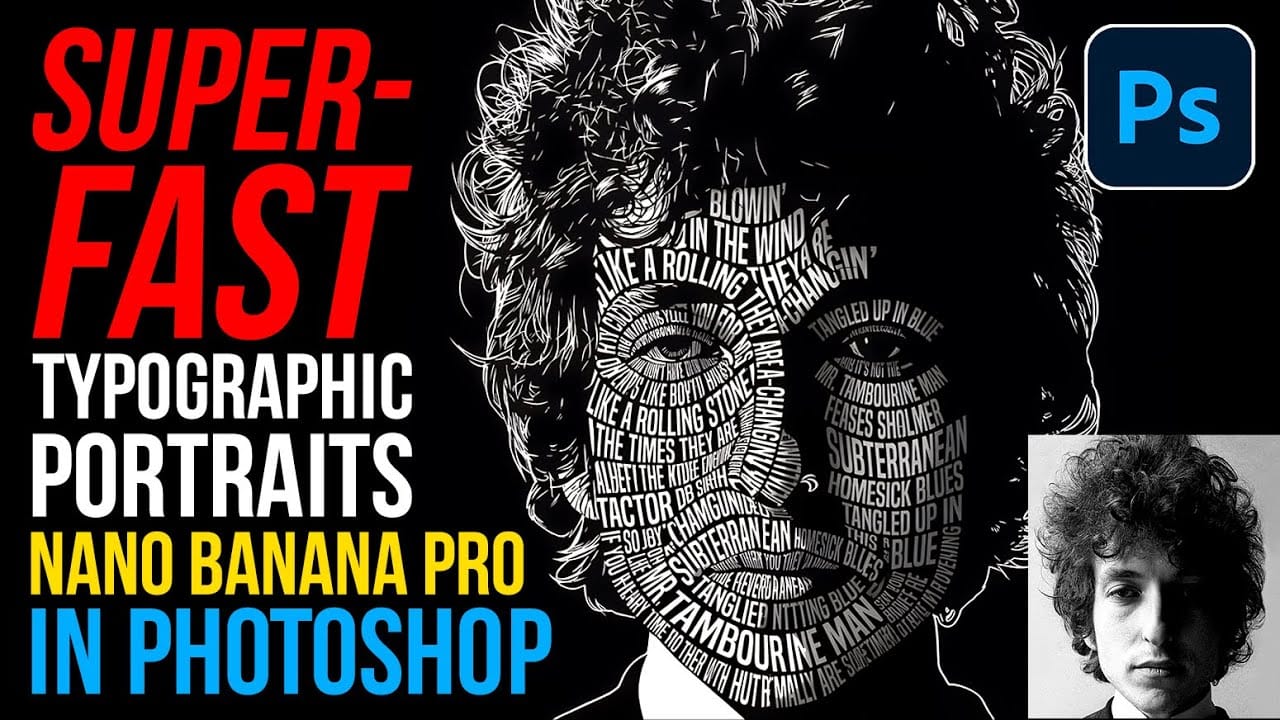
How to Create Typographic Portraits Using AI in Photoshop with Gemini 3
Typographic portraits transform ordinary photos into striking vector-style graphics where flowing text wraps naturally around facial contours and features. This AI-powered technique uses two strategic prompts to first create a high-contrast version of your portrait, then fills it with customizable text that follows the curves and shadows of the face.
The process works with any portrait photo, whether color or black and white, and takes just minutes to complete using the advanced capabilities of