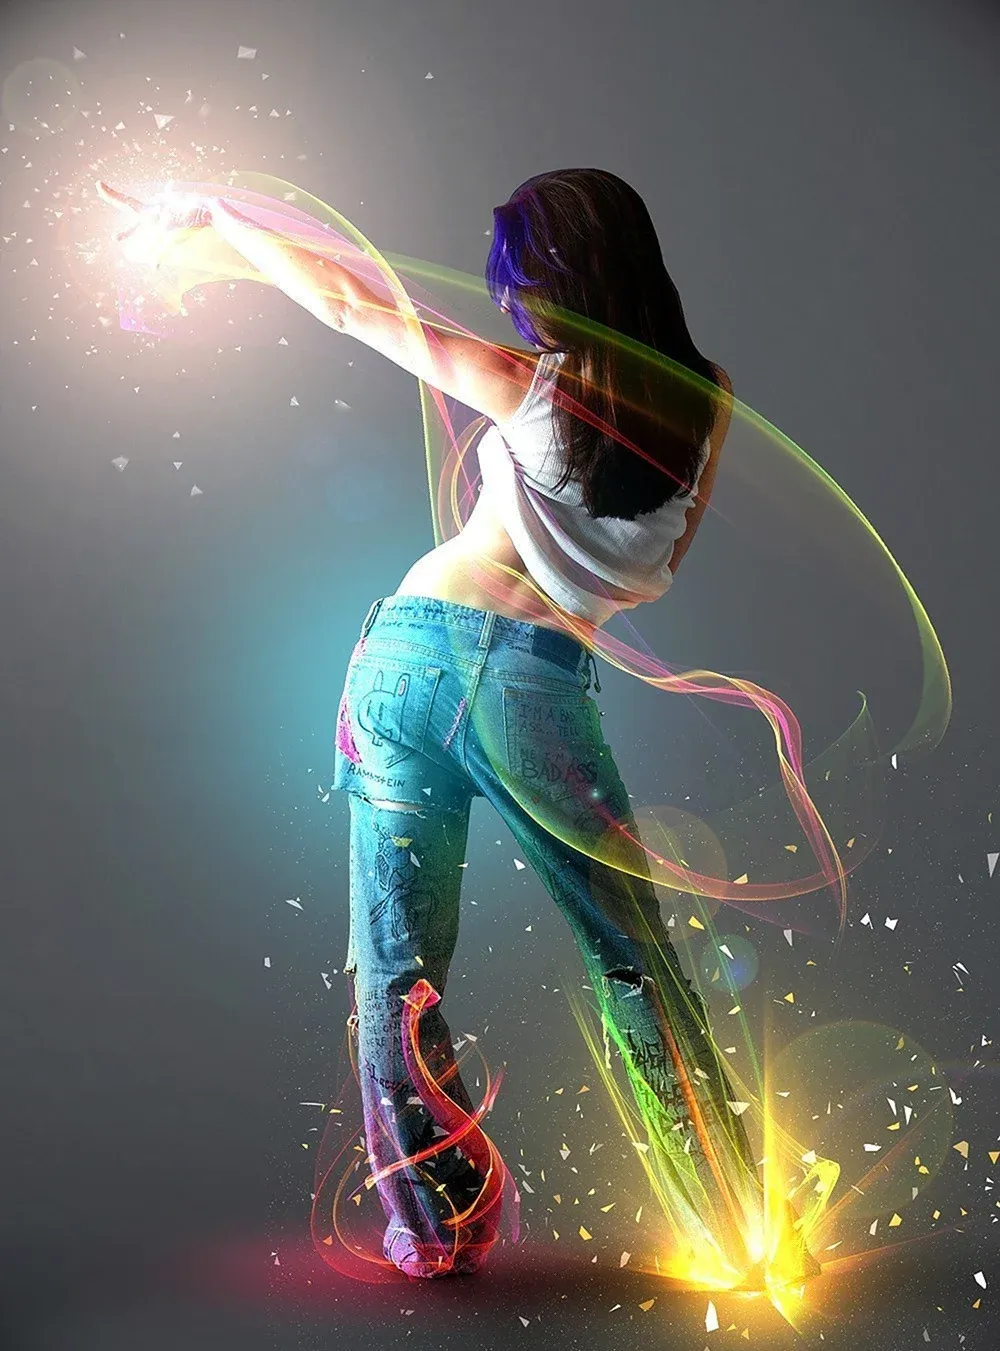
Selective color enhancement transforms dull photographs into vibrant, dramatic images by targeting specific areas like hair, skin, eyes, and clothing. This non-destructive approach uses precise selections and adjustment layers to boost colors naturally.
The technique creates professional results by treating each element separately, allowing you to enhance blue sweaters, brighten eyes, warm skin tones, and intensify hair colors without affecting the entire image.
Watch the Tutorial
Practical Tips for Color Enhancement
These techniques help you achieve natural-looking color enhancement without over-processing your images.
- Create separate groups for each element (hair, skin, eyes, lips, clothing) to maintain organized, non-destructive editing
- Use Select and Mask for hair selections and refine edges with the dedicated brush tool for smoother transitions
- Apply S-curves to increase contrast by darkening shadows and brightening highlights within each selected area
- Reduce opacity of color correction layers to 30-70% when effects appear too strong or artificial
- Paint on black masks with low opacity brushes (20-50%) to selectively reveal adjustments only where needed
Related Articles and Tutorials about Color Enhancement
Explore more techniques for creating vibrant, eye-catching images in Photoshop.
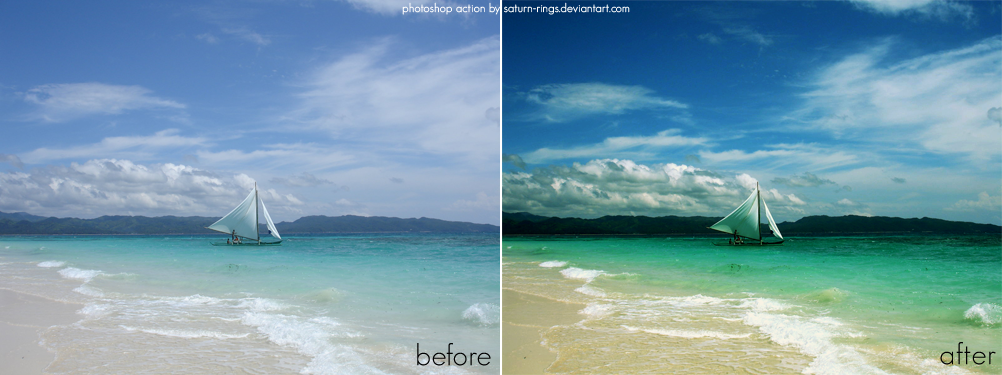
Saturated Photoshop Action
If you're looking to enhance your photos with a controlled saturated color effect, this free Photoshop action is a fantastic option. It allows you to achieve vibrant results without complicated steps or advanced skills.
Once applied, this action transforms your images, making colors pop while maintaining a balanced look. This is especially useful for those who want to draw attention to certain elements without overwhelming the viewer.
Using this action is straightforward. Simply load it into P
Add creative lights and colors to your image in Photoshop
You're about to learn how to transform your images with creative lights and colors in Photoshop. This tutorial will guide you through the process of adding vibrant hues and eye-catching effects to your photographs.
First, you'll explore the use of gradients and brushes to enhance your image. These tools will allow you to layer different colors and luminous accents, creating a visually striking result. With a few simple steps, you'll be able to turn your ordinary image into an impressive work of
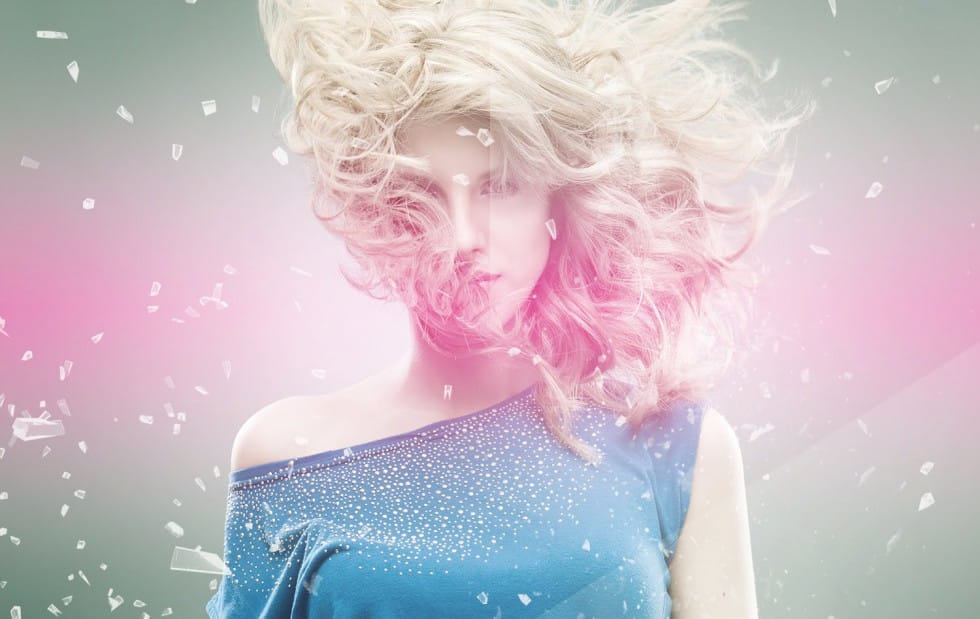
Create a colorful Pop duotone in Photoshop
In this Photoshop tutorial, you are heading straight back to the 80s to play with fluoro colors, a trend that transforms modern-day photos into intense, oversaturated images with a retro twist.
You'll learn how to effortlessly recreate this duotone effect, allowing you to infuse your photos with a bold and sensual visual style. Whether you're looking to evoke nostalgia, add vibrancy to portraits, or simply experiment with striking color palettes, mastering this technique empowers you to create
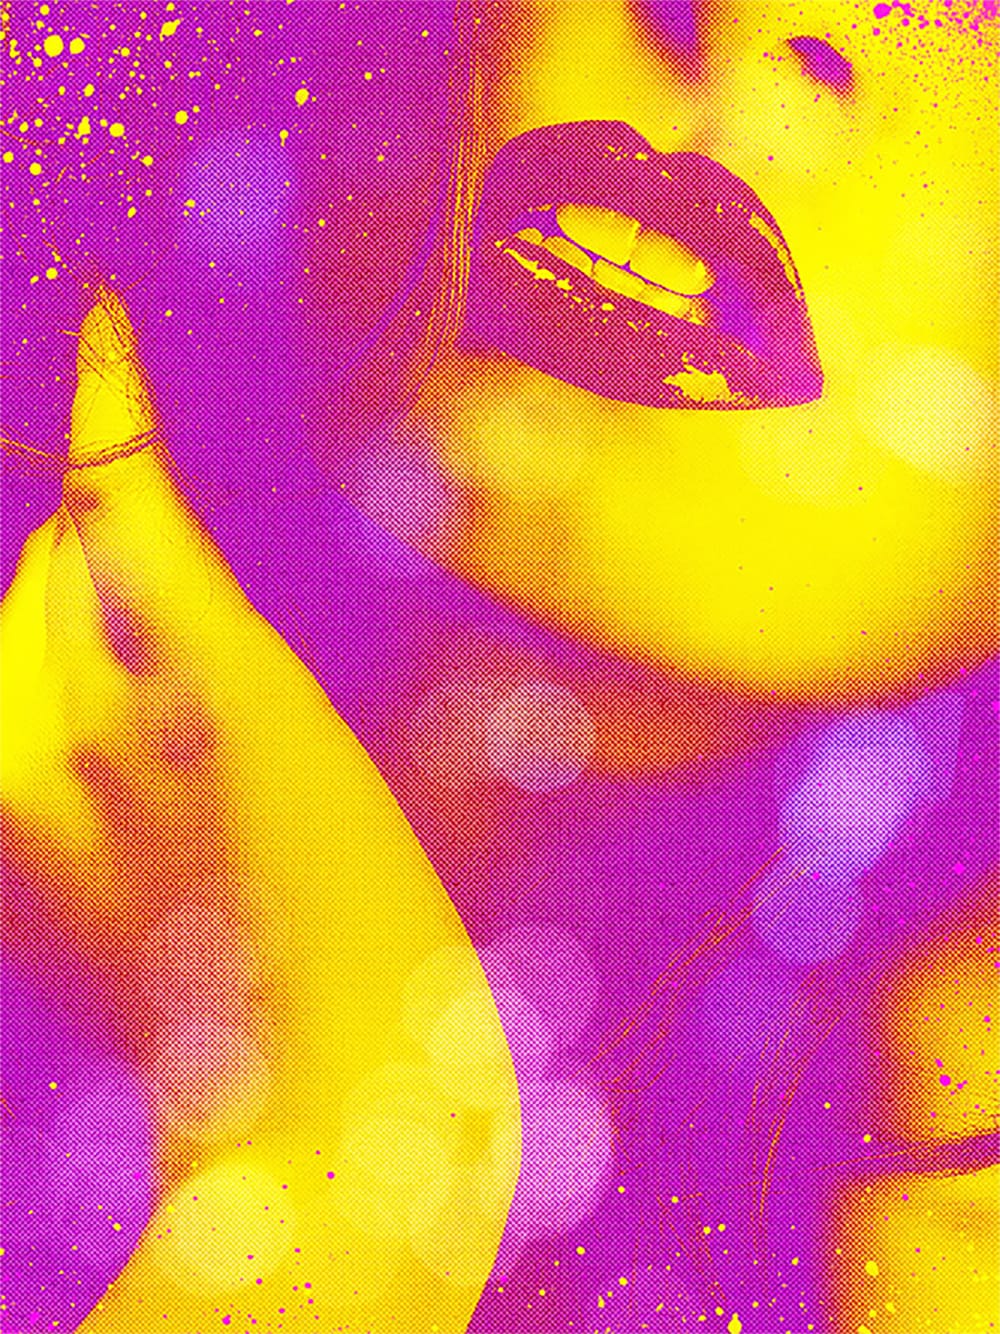
Add Striking Light Effects to Your Photos in Photoshop
In this Photoshop tutorial from PSD Box, using the "Colors in Motion" textures pack and a model image from deviantArt or ISO Stock, you'll create a vibrant digital artwork.
Start by meticulously removing the background with the Pen Tool and placing the model on a new canvas with a gradient backdrop. Enhance the image with non-destructive adjustments for color and contrast, adding realistic shadows for depth. Integrate various light effects from the packs, adjusting blending modes and using tool