How to create a ghost in Photoshop

How to create a ghost in Photoshop

Transforming ordinary photos into something extraordinary often involves exploring creative digital manipulation techniques. The ability to create a convincing ghostly apparition, for instance, adds an intriguing and ethereal dimension to an image. This process, once more complex, has become significantly more streamlined with updates in modern photo editing software.

This tutorial guides you through the process of converting a regular subject into a transparent, spectral figure. You will discover practical methods for isolating subjects, applying non-destructive adjustments, and utilizing blend modes to achieve a captivating ghostly effect.

Watch the Tutorial

Video by Blue Lightning. Any links or downloads mentioned by the creator are available only on YouTube

Mastering Transparency for Ethereal Photo Effects

Creating ethereal imagery in digital art frequently relies on a nuanced understanding of light, transparency, and subtle distortions to evoke a sense of the supernatural. The perception of a ghost or spirit is often linked to its translucent quality and how it interacts with its environment, appearing as if it's not fully present in the physical world.

Key to achieving this illusion are blend modes, particularly Screen and Color Dodge. The Screen mode is fundamental as it brightens underlying layers, making elements appear luminous and translucent, mimicking light passing through a semi-transparent object. Conversely, Color Dodge increases brightness and contrast, often employed for intensifying glowing effects or accentuating highlights, which can simulate an otherworldly glow emanating from the spectral figure.

Beyond blend modes, the practice of non-destructive editing is crucial for fine-tuning such delicate effects. Techniques like using Smart Objects allow for transformations and filter applications without permanently altering original pixel data. Similarly, Clipping Masks restrict adjustment layers to affect only specific underlying layers, ensuring precise control over the spectral appearance without impacting the background, thereby preserving flexibility throughout the creative process.

Practical Tips for Creating Ghostly Effects

  • Optimize background choice: Darker backgrounds provide better contrast, enhancing the visibility of translucent effects.
  • Utilize Smart Objects: Convert your subject to a Smart Object early in the process for non-destructive transformations and filter applications, allowing for flexible adjustments.
  • Employ Clipping Masks: Restrict adjustment layers, such as Curves or Solid Color, to affect only the specific layers below them, preventing unintended changes to your background.
  • Control effects with Layer Masks: Invert layer masks (Ctrl/Cmd + I) to initially hide an effect, then use a white brush to selectively reveal it in desired areas, such as the eyes.
  • Leverage Blend Modes: Apply the Screen blend mode for overall transparency and luminosity, and consider Color Dodge for specific glowing or ethereal highlights.
  • Experiment with Liquify: Use the Liquify filter (available in Photoshop CC versions and later) to subtly distort facial features, adding an otherworldly and unsettling appearance to your ghost.

Explore these additional resources to further enhance your skills in creating captivating and eerie photo manipulations.
Create See-Through Ghost Photos in Photoshop
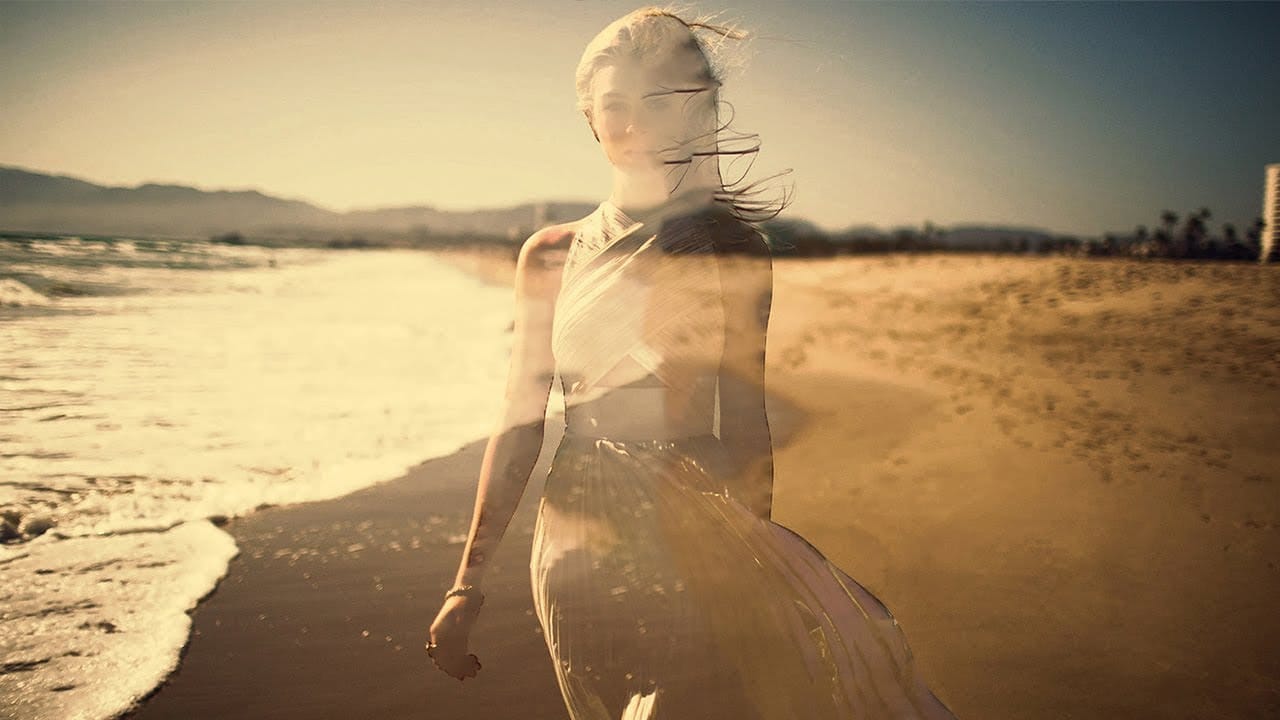
This tutorial offers a straightforward guide to creating an eerie see-through ghost photo using just one image. Perfect for beginners, it simplifies the process while ensuring you can achieve impressive results. You will learn essential techniques that allow you to manipulate your image effectively. The tutorial walks you through each step, ensuring that even those new to Photoshop can follow along with ease. By the end, you'll be able to transform an ordinary photo into something hauntingly b
Create a Ghostly Image Effect in Photoshop
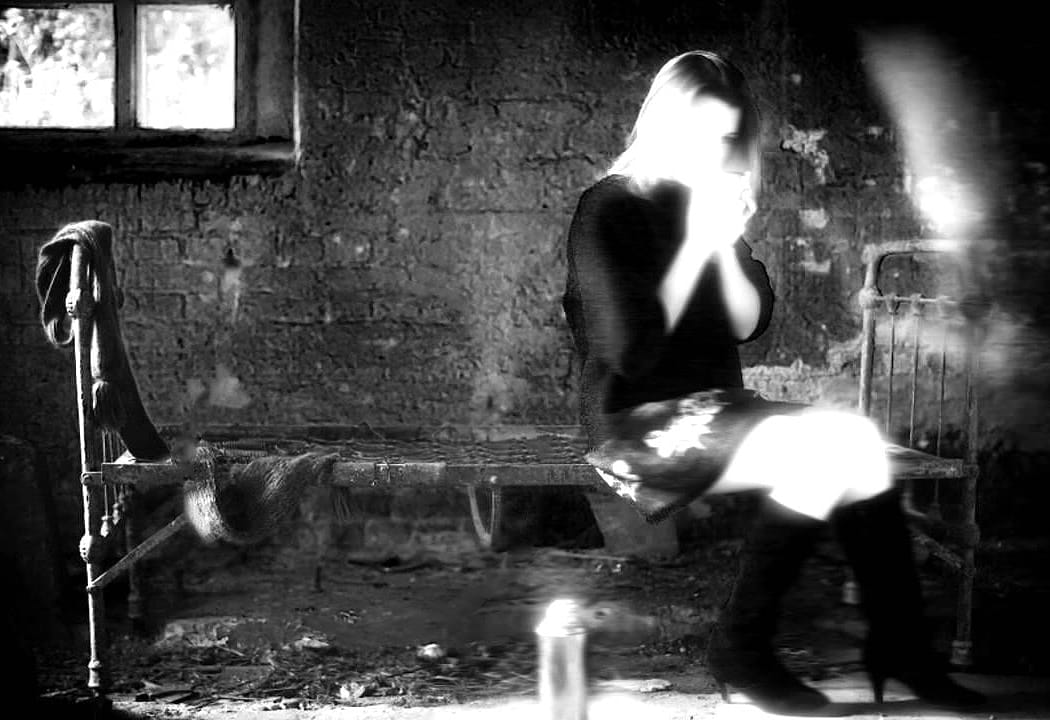
In this engaging Photoshop tutorial, you will discover how to create a ghostly effect that transforms a person into a transparent figure, resembling a ghost. This technique is perfect for adding an eerie vibe to your images. You'll begin by selecting the person in your photo and adjusting the layers to achieve the desired transparency. The step-by-step instructions will guide you through the process of refining the edges and enhancing the overall look to ensure a realistic ghost appearance. By
How to Make Grungy Ghost Text Effects in Photoshop
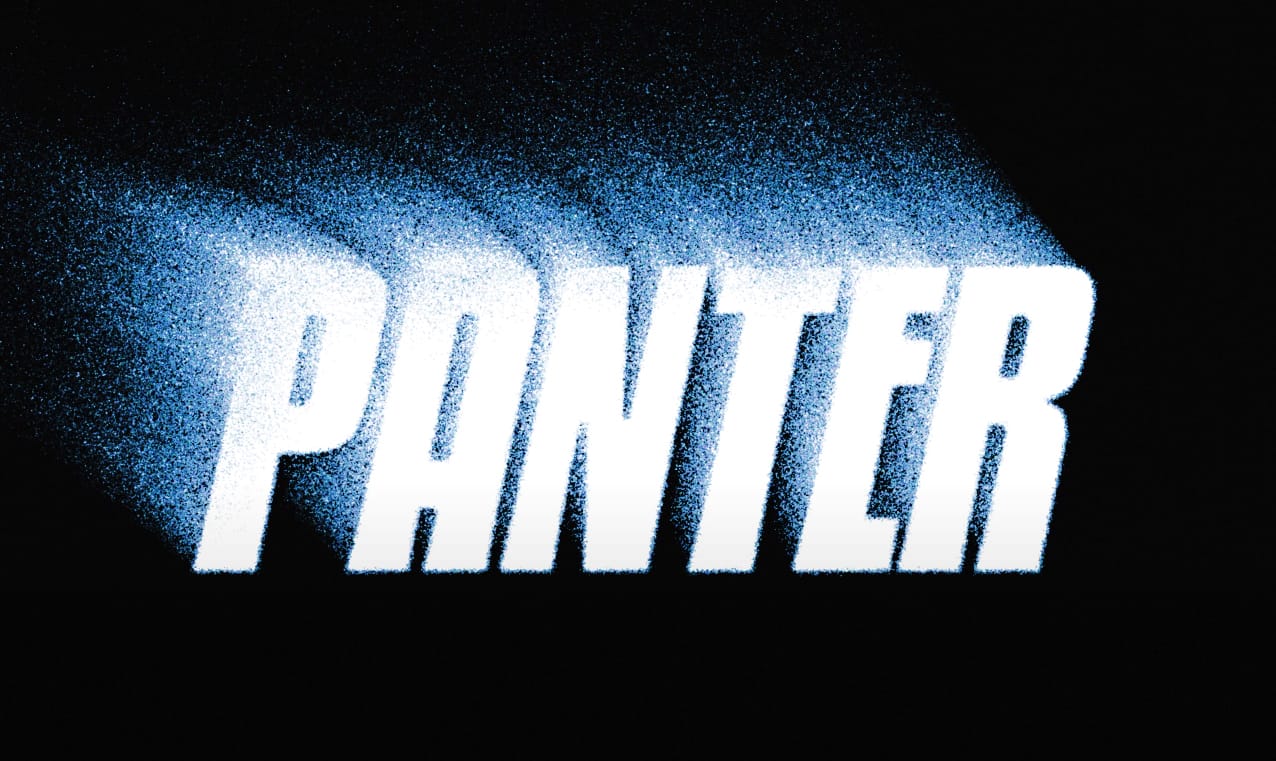
In this tutorial, you'll learn how to create a grungy ghost text effect in Photoshop. The process begins with setting up your artboard and using the type tool to input your desired text. By scaling the text with shortcuts, you can achieve the perfect size for your design. Next, converting the text to a smart object enables you to apply filters. Two important steps involve using the path blur to customize the direction and speed of the blur. After applying this effect, you can adjust the blend m
Create a Portrait Mask Illusion With Photoshop
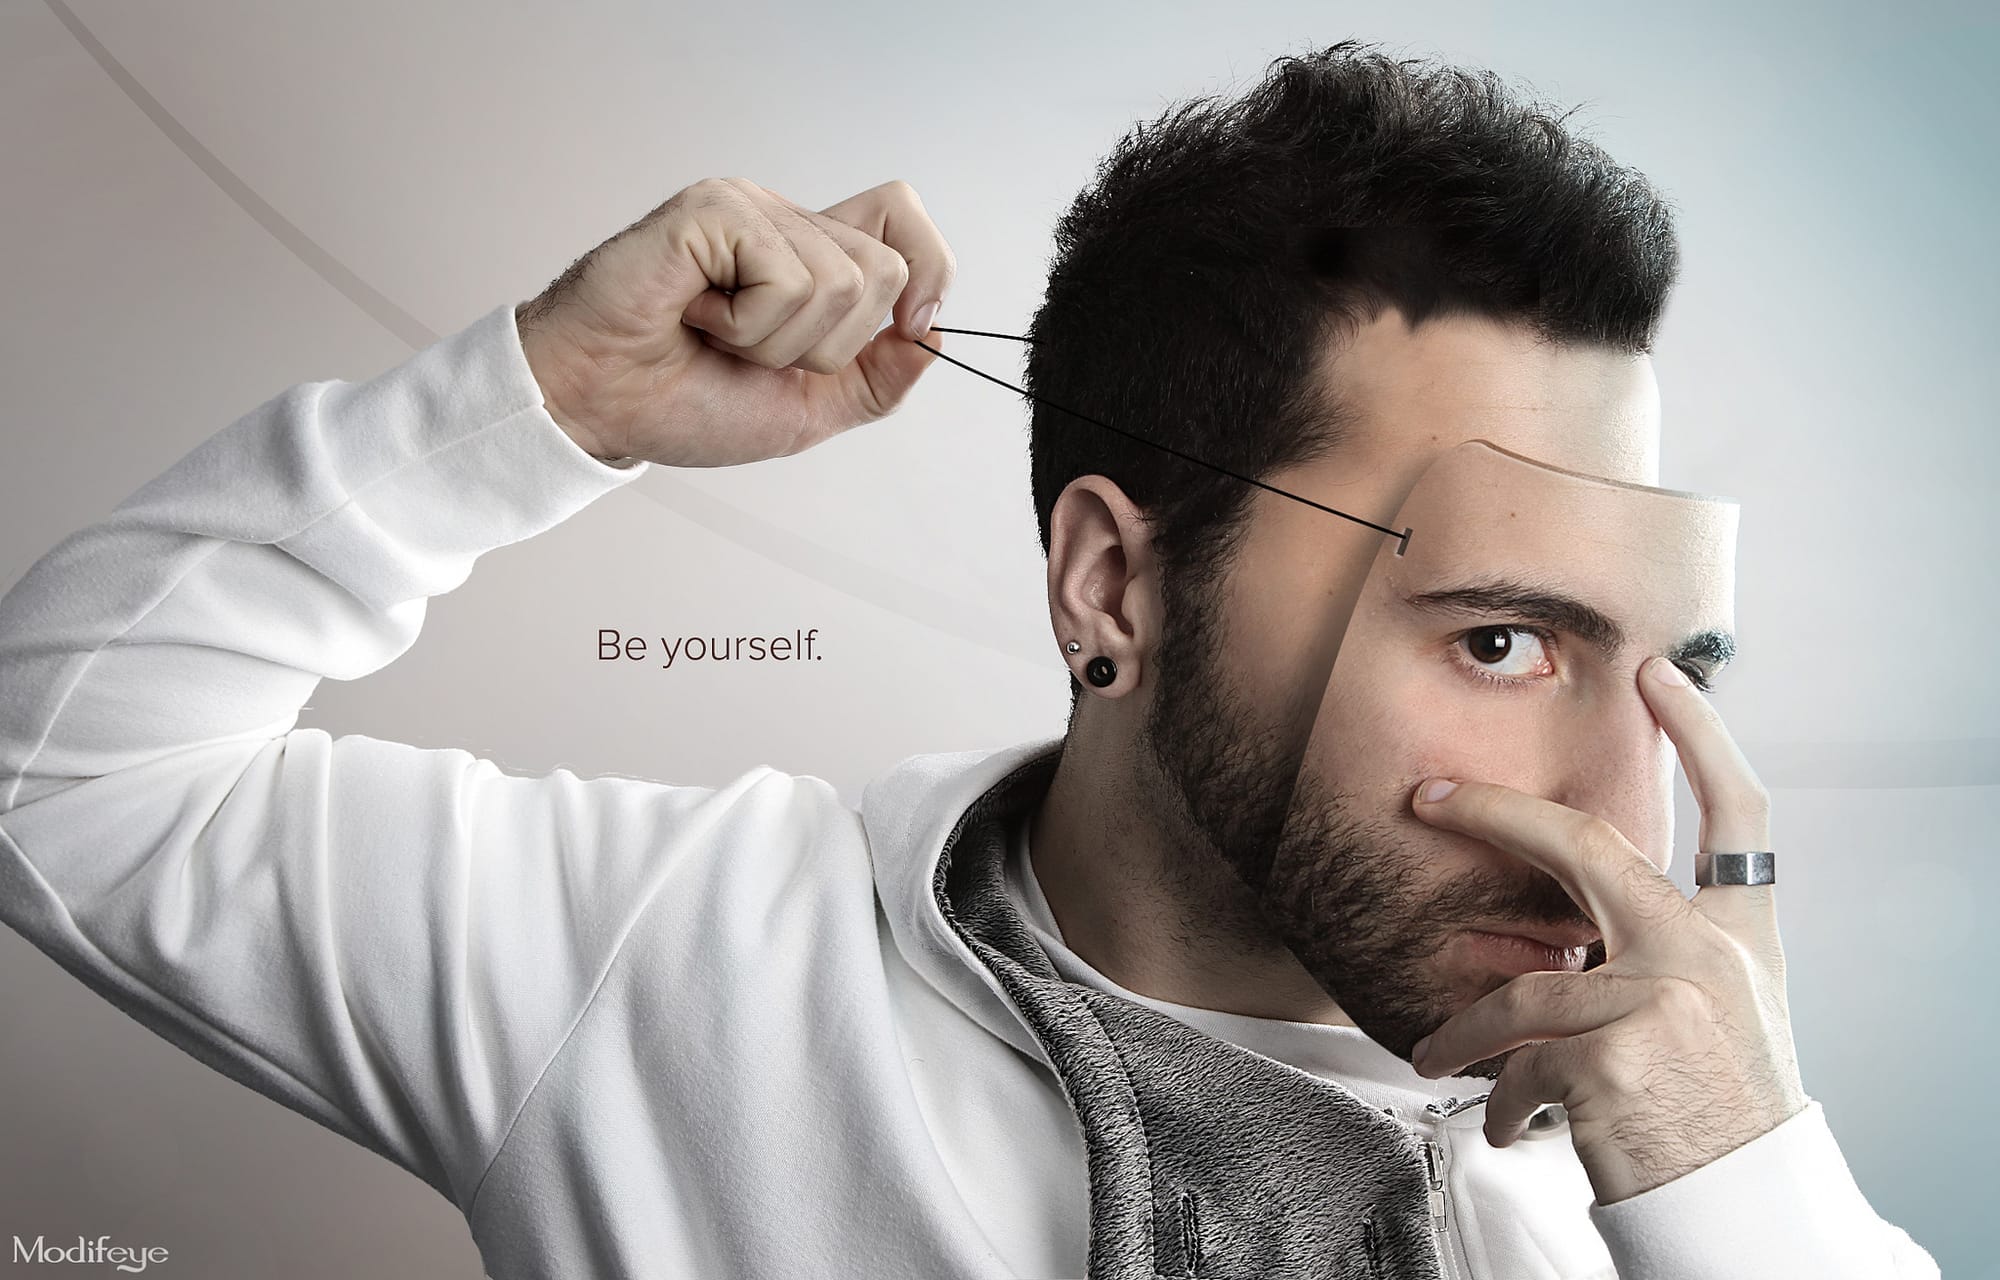
Here is a longer version with paragraphs, written in the third person or second singular voice, and without using the prohibited words: If you're looking to create an eye-catching portrait illusion, this tutorial is for you. You'll learn how to make a face mask using a photo of the subject's own face. The author demonstrates the simple techniques they used to achieve this effect in Photoshop. First, you'll need to capture a high-quality photo of the subject's face. Then, you'll edit the image

Get tutorials & freebies delivered to you.

Subscribe to the Photoshop Roadmap newsletter, a weekly roundup of new tutorials, insights and quality downloads, trusted by 6500+ readers.

You might also like

Understanding RGB, Curves, and Color Adjustment Tools in Photoshop

Every color adjustment tool in Photoshop — Curves, Color Balance, Selective Color — operates on the same underlying logic: the RGB color model. Understanding how red, green, and blue light combine, and how tonal values are distributed across highlights, midtones, and shadows, gives you the foundation to use any of these tools...

How to Edit Moody Lighting and Colors in Photoshop

Moody lighting in Photoshop comes down to controlling where light appears to originate and how color reinforces that direction. This walkthrough covers a full editing workflow — from separating the subject and building a colored background, to using Burn and Dodge tools, Camera Raw, and Color Balance to shape a dark,...

How to Fix Wardrobe Problems in Portraits by Overpainting in Photoshop

A poorly fitting dress, an unflattering sash, or a neckline that just doesn't work can ruin an otherwise strong portrait. Rather than reshooting, overpainting with a brush lets you reshape clothing, slim silhouettes, and even paint an entirely new neckline — all without touching an AI tool. Watch the...

7 Practical Photoshop Tips for 2026: Selections, AI Tools, and Generative Fill

Several of Photoshop's most useful tools have hidden options that most users overlook — small settings that make a real difference in how accurately and efficiently you work. This tutorial covers seven practical techniques built around newer features, including smarter selection subtraction, refined color adjustments, non-destructive object removal,...

5 Recent Photoshop Features Worth Adding to Your Workflow

Photoshop has been receiving a steady stream of updates, and a handful of genuinely useful features have quietly slipped past most users. From one-click lighting harmonization to AI-powered object removal and automatic layer naming, these tools can meaningfully reduce the time spent on repetitive editing tasks. Watch the...

You’ve successfully subscribed to Photoshop Roadmap
Welcome back! You’ve successfully signed in.
Great! You’ve successfully signed up.
Success! Your email is updated.
Your link has expired
Success! Check your email for magic link to sign-in.