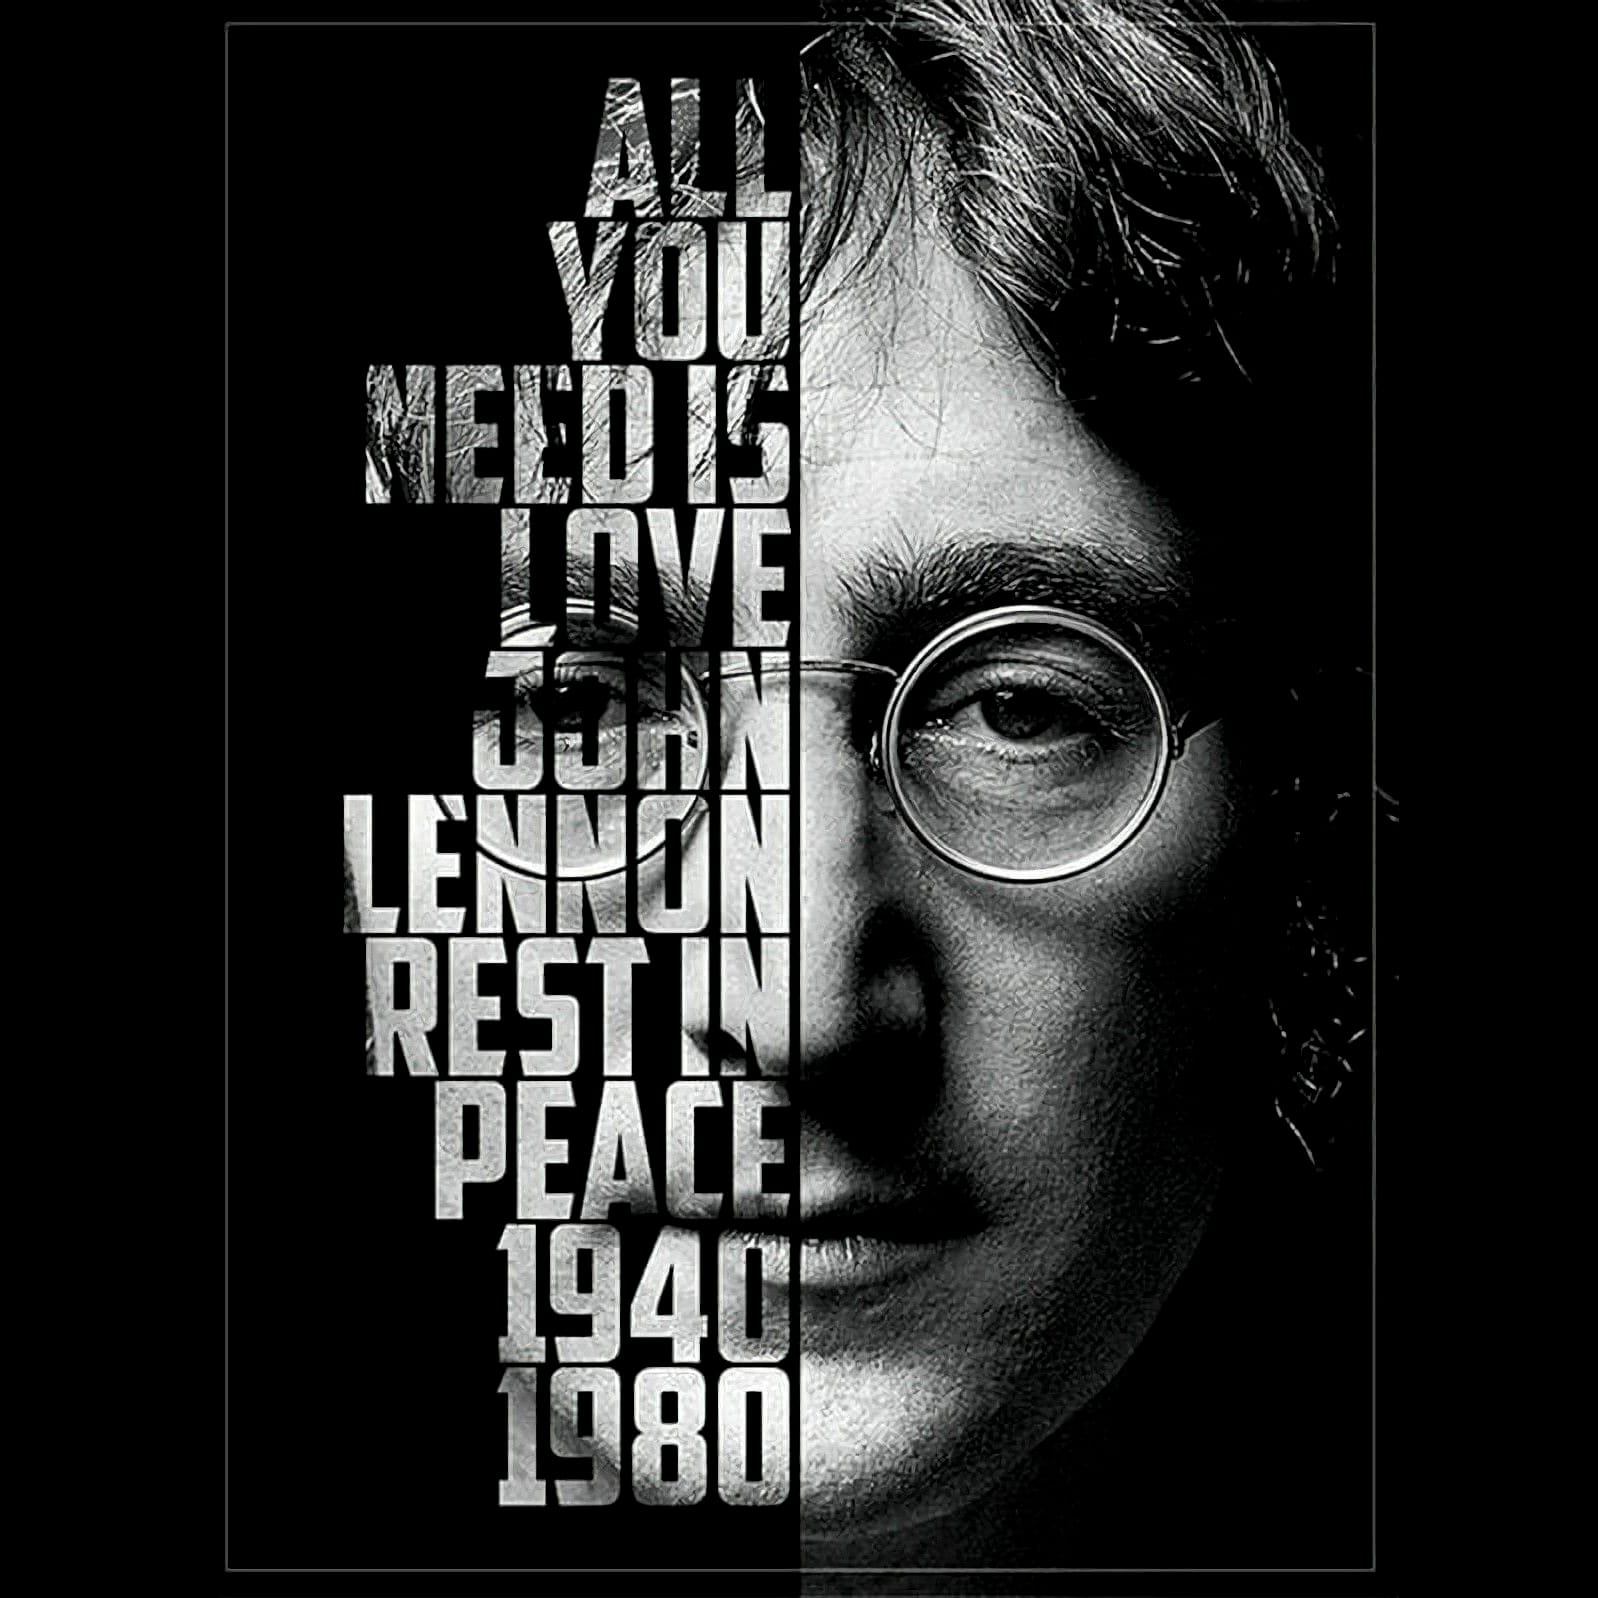
Transform ordinary text into a captivating fur-covered design with this Photoshop tutorial. Discover how to apply a realistic animal fur effect to any text and complement it with an African or Aboriginal-inspired background texture.
Watch the Video Tutorial
Video by Blue Lightning. Any links or downloads mentioned by the creator are available only on YouTube
Practical Tips for Creating Furry Text
Achieve a realistic fur text effect by understanding these key steps from the tutorial:
- Install custom fur brushes from reliable sources and organize them in your brush presets for quick access.
- Convert your text layer into a work path, then stroke the path with your chosen fur brush for precise furry edges.
- Fine-tune brush tip shape and shape dynamics, including size, angle, and roundness jitter, as well as scattering, for natural-looking fur.
- Apply an animal texture, such as a giraffe pattern, to the text using a layer mask for an authentic fill.
- Enhance the fur's depth and realism with Layer Styles like Inner Glow and Drop Shadow, adjusting blend modes and opacities accordingly.
Related Articles and Tutorials about Text Effects
Explore more creative ways to transform text and integrate it into compelling designs.
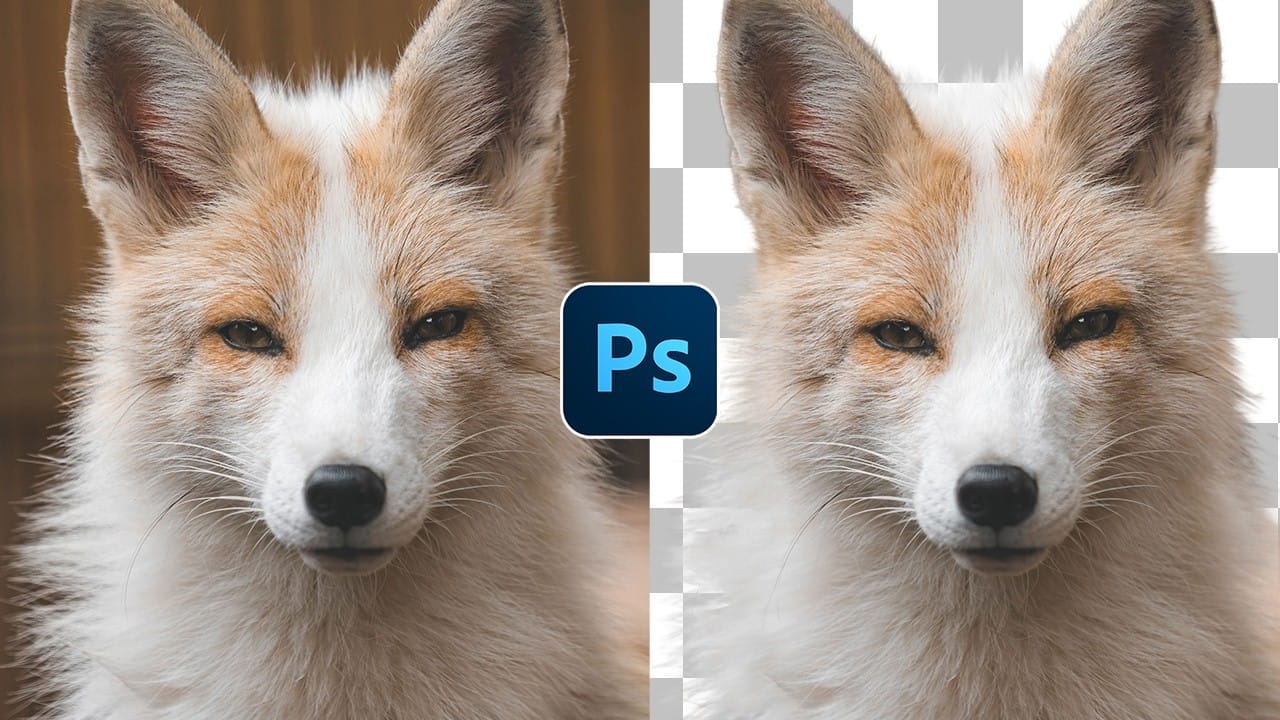
How to Cut Out Complex Hair and Fur in Photoshop Without Fringing
Sharp, clean cutouts separate amateur photo edits from professional composites. Subjects with hair or fur challenge even experienced Photoshop users because standard selection tools often leave noticeable color fringing around delicate edges.
This tutorial demonstrates a complete workflow that combines Photoshop's cloud-powered selection tools with manual refinement techniques to create flawless cutouts ready for any background.
Watch the Tutorial
Advanced Selection Methods for Complex Subj
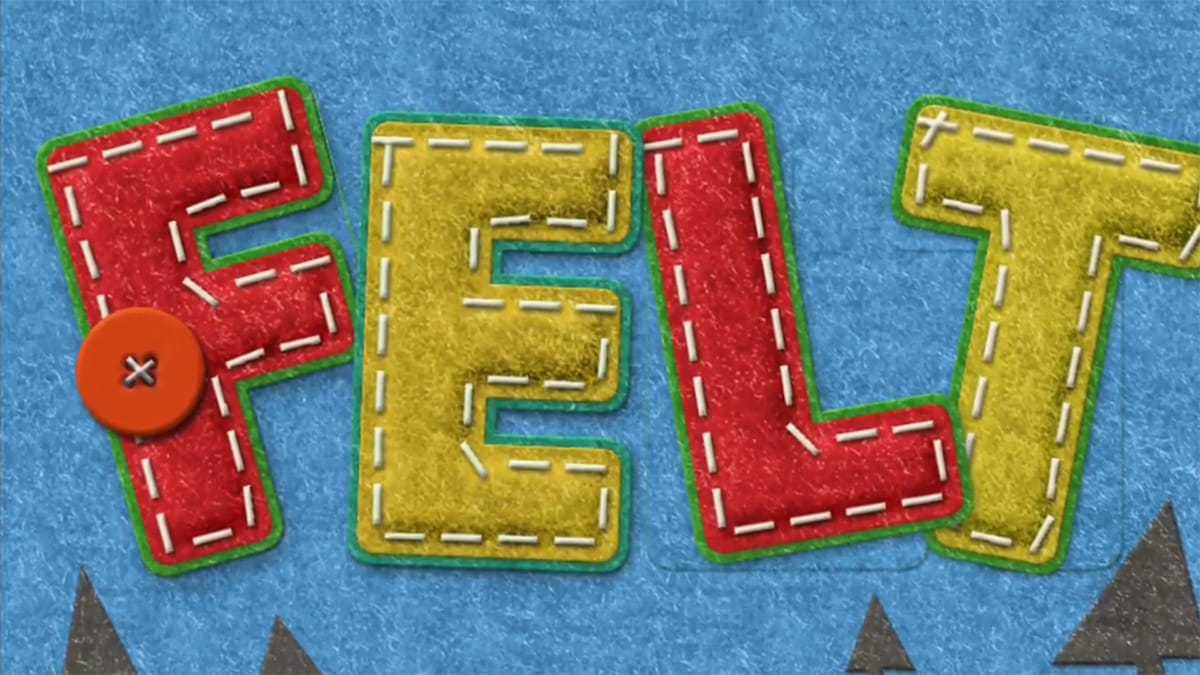
How to Create a Fun Felt Photoshop Text Effect
In this tutorial presented by Photoshop Palace, you'll learn how to create a charming and colorful stitched felt Photoshop text effect set against a rich blue felt background.
This artistic endeavor includes the addition of meticulously crafted felt pine elements, enhancing the seasonal appeal, especially fitting for winter holiday-themed designs.
The tutorial methodically guides you through the process with easy-to-follow steps, ensuring that even beginners can achieve a delightful and festiv
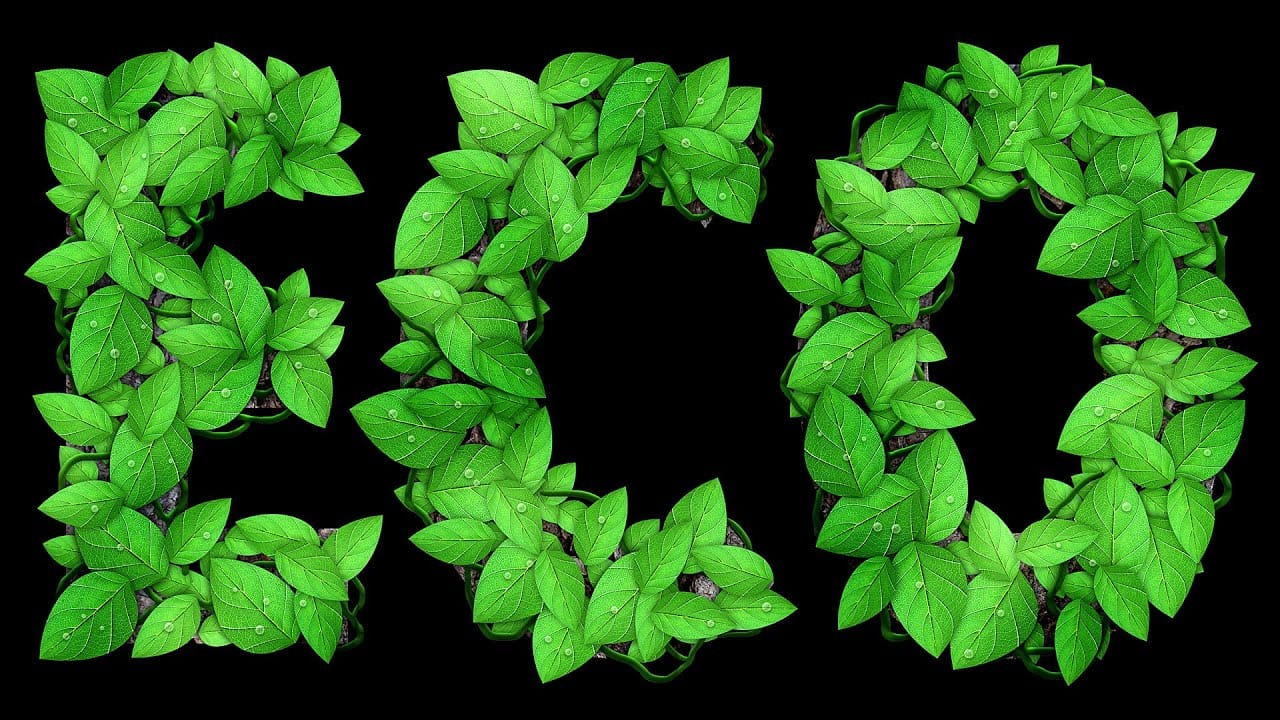
Leafy Text Effect Photoshop Tutorial
In this tutorial by Spoon Graphics, you'll learn how to create a text covered with leaves in Adobe Photoshop.
The tutorial guides you through the process of designing text made up of tiny leaves, vines, and water droplets. While the tools and techniques used are straightforward, the tutorial emphasizes the importance of patience in achieving a complex and detailed final result.
The outcome is a stunning and intricate piece of eco-themed artwork that showcases the beauty of nature.
Watch tutor
Create a cool text portrait in Photoshop
This tutorial explores the process of creating a powerful typographic portrait poster using Adobe Photoshop. It transforms a standard photo into a visually striking artwork where text forms the contours of a subject's face.
Viewers will learn essential Photoshop techniques, from precise subject selection and background preparation to the artful integration of text and subtle refinements that enhance legibility and visual impact.
Watch the Video
The Art of Typographic Portraiture
Typographi