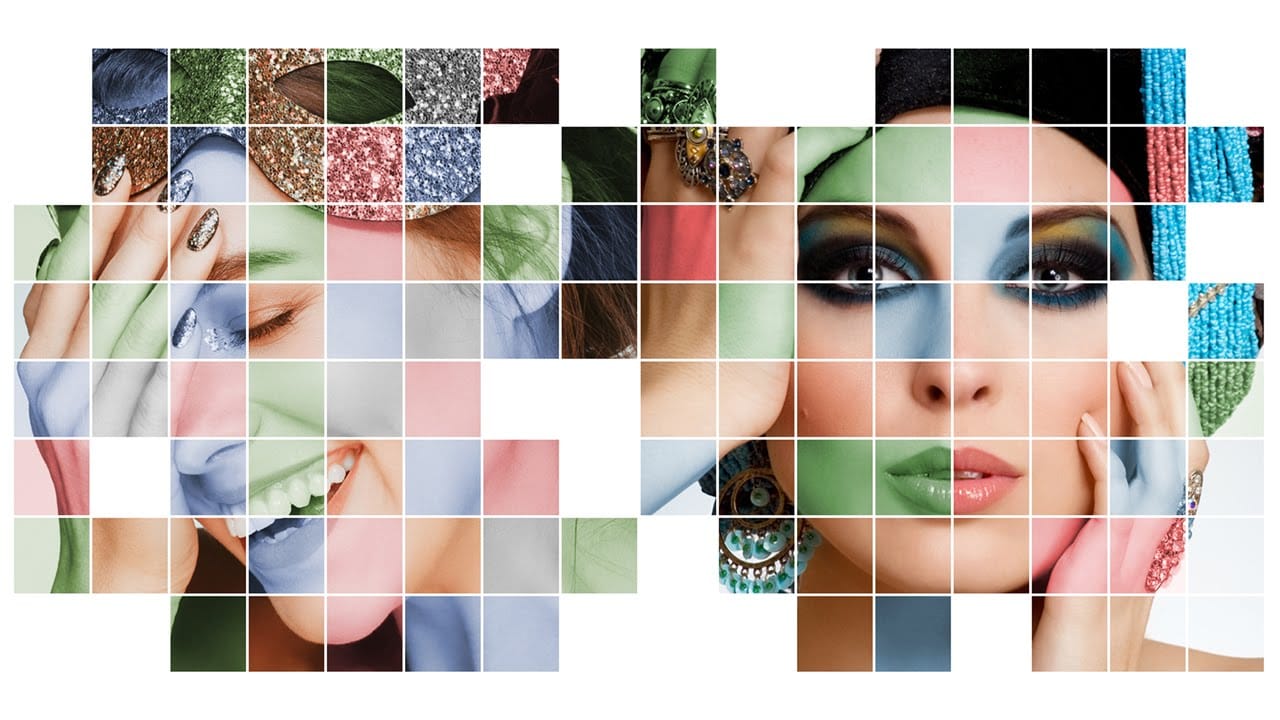
Photo mosaic portraits offer a unique way to transform a primary image into a captivating artwork composed of numerous smaller photographs. This technique allows for the creation of intricate visual narratives, where individual details contribute to a larger, unified image.
This video tutorial guides you through the entire process of designing and assembling these complex portraits in Photoshop. You will discover practical steps for preparing your source images, configuring the mosaic layout, and applying the final pattern to your chosen subject, enhancing its visual impact.
Watch the Video
Video by Blue Lightning. Any links or downloads mentioned by the creator are available only on YouTube
The Art and Science of Photo Mosaics
The creation of a photo mosaic involves a fascinating interplay between individual photographic elements and their collective contribution to a larger image. At its core, this technique leverages the brain's ability to perceive both micro and macro details simultaneously. Each small image acts as a 'pixel,' contributing color and tone to the overall composition, while retaining its own distinct identity upon closer inspection.
Achieving a compelling photo mosaic requires careful consideration of several factors. The quality and variety of the source images are paramount, as they directly influence the richness and detail of the final pattern. Equally important is the balance between the visibility of the individual mosaic photos and the clarity of the overarching portrait, ensuring that neither element overshadows the other.
This method transforms a collection of disparate images into a cohesive visual statement, making it a powerful tool for artistic expression or personalized gifts. The subtle blending of the mosaic pattern with the subject's features adds depth and a unique textural quality that traditional portraits cannot replicate.
Practical Tips for Photo Mosaic Creation
- Organize all small photos into a single folder before starting to streamline the mosaic creation process.
- Use Photoshop's File > Automate > Contact Sheet II feature to arrange your photos, ensuring that "Flatten All Layers" is unchecked for individual photo manipulation.
- After the initial layout, unlink the layer and layer mask of individual photos to precisely resize and reposition them within their mask using the Transform Tool (Ctrl/Cmd + T).
- Crop any thin white borders around the mosaic after assembly using the Rectangular Marquee Tool and Image > Crop.
- Define your completed mosaic as a pattern via Edit > Define Pattern, allowing for easy application to your main subject.
- Adjust the visibility of the mosaic pattern on your subject by converting the subject to a Smart Object and using Image > Adjustments > Shadows/Highlights, then refining the Pattern Fill layer's size and Blend Mode to Overlay.
Related Articles and Tutorials about Photo Mosaics
Explore more creative Photoshop techniques to enhance your digital art and photography projects.