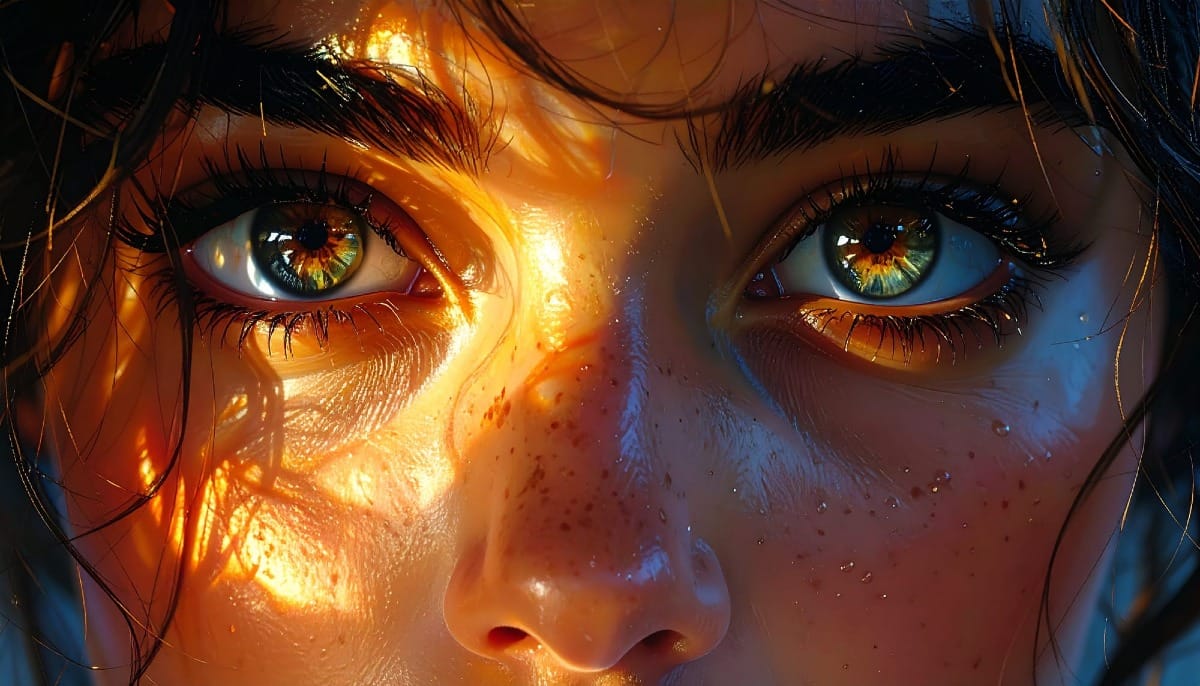
Double exposure effects blend two images to create striking artistic compositions where textures and subjects merge seamlessly. This technique transforms ordinary portraits by layering natural elements like leaves or cityscapes directly onto faces and silhouettes.
The process combines masking, blending modes, and layer adjustments to achieve professional-looking results that would traditionally require specialized camera techniques.
Watch the Tutorial
Video by . Any links or downloads mentioned by the creator are available only on YouTube
Practical Tips for Double Exposure Effects
These key techniques will help you create compelling double exposure compositions:
- Use Vivid Light blending mode on your portrait layer to create the strongest integration between subject and texture
- Unlink masks from layers using the chain icon so you can move texture elements independently for better positioning
- Apply layer masks by holding Alt and dragging from one layer to another to quickly transfer selections
- Invert your texture layer using Command+I (Ctrl+I on Windows) to dramatically change color relationships and contrast
- Add Hue/Saturation adjustment layers with colorize enabled to unify the overall color scheme and mood
More Tutorials about Creative Photo Effects
Explore additional techniques for artistic photo manipulation and creative compositing.
Double Exposure Glitch Poster Design in Photoshop
In this Photoshop tutorial you will learn how to create double exposure glitch poster design step by step. You can use this technique to create a double exposure effect for your own photos. Download tutorial images here… More
 Click3D
How to Quickly Create a Monochrome Double-Exposure Photo Portrait in Photoshop
The double exposure effect, a classic technique originating from film photography, allows for the striking fusion of two distinct images into a single, cohesive composition. This method is particularly effective for creating surreal and evocative portraits, blending a subject with landscapes, textures, or abstract elements to convey deeper meaning or
 Blue Lightning TV
Double Exposure Effect Photoshop Tutorial – Photoshop Roadmap
Double exposure creates striking visual art by blending two images into one seamless composition. This surreal effect transforms ordinary portraits into captivating pieces worthy of album covers and movie posters. The technique combines portrait silhouettes with landscape scenes, producing dreamlike results that tell stories through visual layers. Watch the Tutorial
 Spoon Graphics
Make highly creative brushes from photos in Photoshop
How to make your own brushes from photos and use them to create Composites, digital art and collages. Colin Smith shows you how to make a double exposure effect in Photoshop. • Download 100 amazing custom fonts for FREE and also for commercial use here… • Download On1 PhotoRaw 2022 and try it for free […] More
 Photoshop Cafe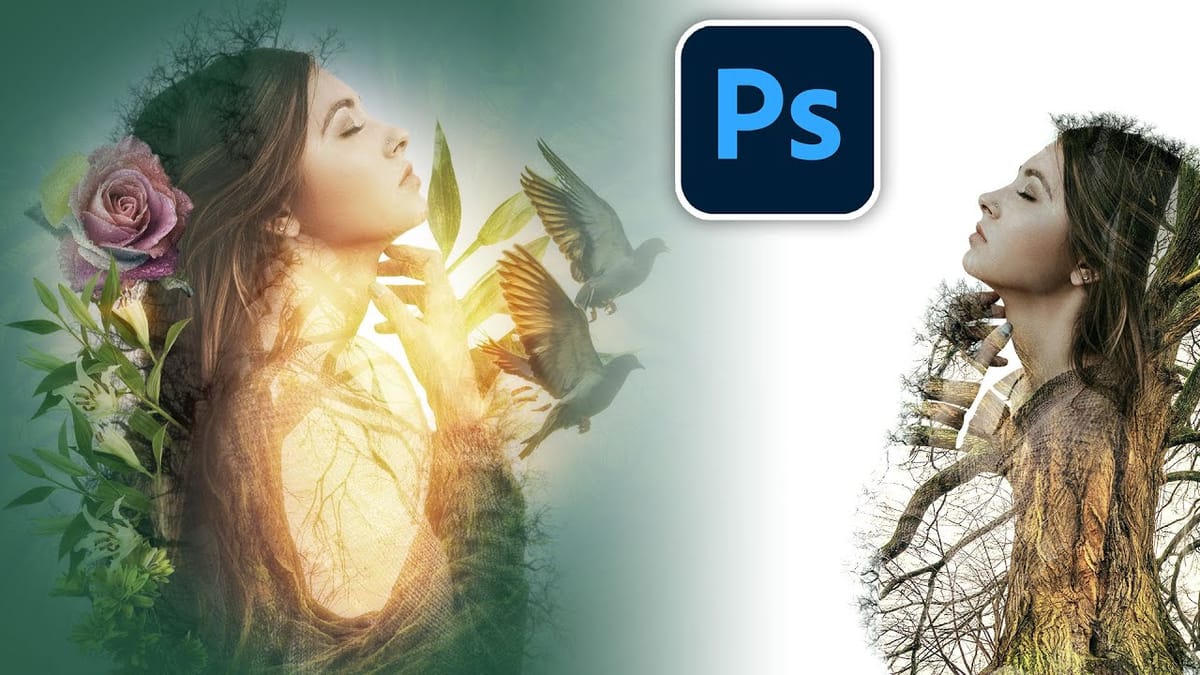
Artistic Photoshop Actions to Make Photography Fun
Photoshop actions are a simple way to speed up editing and give your photos a consistent look without spending hours on adjustments. From subtle color shifts to bold artistic transforms, actions can help you work faster and keep your style consistent across different projects.
They're useful for anyone who wants reliable one-click effects for portraits, landscapes, and creative photography.
Why Creative Fabrica?
You'll notice that all the actions in this roundup come from Creative Fabrica. T