Create an old-school halftone photo effect in Photoshop

Create an old-school halftone photo effect in Photoshop

Creating authentic vintage halftone effects can be challenging when working with modern digital photography. Many designers struggle to achieve that classic print aesthetic without the result looking artificial or overdone.

This tutorial demonstrates a multi-layer approach to building realistic halftone vintage effects using threshold adjustments, pattern overlays, and selective masking. The technique creates depth and authenticity by working with multiple halftone variations rather than a single flat effect.

Watch the Tutorial

Any links or downloads mentioned by the creator are available only on YouTube

The Art of Digital Halftone Design

Halftone printing originated in the 1880s as a way to reproduce continuous-tone imagery using dots of varying sizes. This technique became the foundation of newspaper and magazine printing for over a century, creating the distinctive aesthetic we associate with vintage publications and pop art.

Digital halftone effects work best when they mimic the imperfections and variations of real printing processes. Rather than applying uniform dot patterns, effective vintage halftones incorporate multiple threshold levels, selective masking, and subtle lighting effects that suggest aged paper and worn printing plates.

The layered approach allows for greater control over different tonal ranges, with separate patterns for highlights, midtones, and shadows. This creates more convincing results than single-layer effects and provides flexibility for different source images.

Essential Halftone Effect Techniques

  • Use multiple threshold adjustments at different levels (80-90, 110, and 130-140) to create distinct tonal separations for your halftone patterns
  • Apply expand and feather selection modifications when masking subjects to ensure clean edges that work well with high-contrast halftone effects
  • Set layer fill to 0% when using pattern overlays to maintain full control over the effect intensity without affecting underlying adjustments
  • Experiment with color range selections on white and black areas to create precise masks for different halftone pattern applications
  • Combine glowing edges filter with screen blend mode and channel adjustments to add authentic vintage lighting effects

Explore additional techniques for creating retro and vintage photo effects in Photoshop.

Create Authentic Vintage Halftone Effects with Custom Patterns in Photoshop
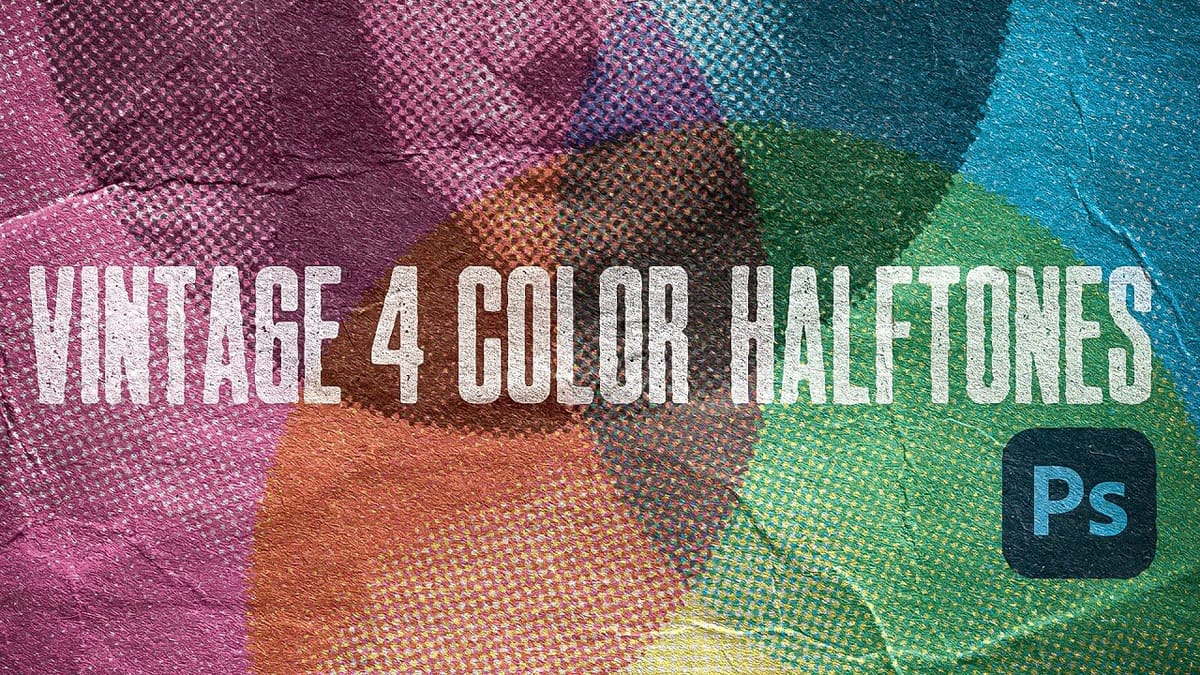
Photoshop’s built-in Color Halftone filter creates rigid, geometric results that lack the authentic character of vintage print work. The filter also fails to produce true CMYK separations in RGB documents, missing the black channel entirely and creating an unconvincing simulation of traditional printing methods. This technique uses custom patterns and
Create awesome retro halftone effects in Photoshop
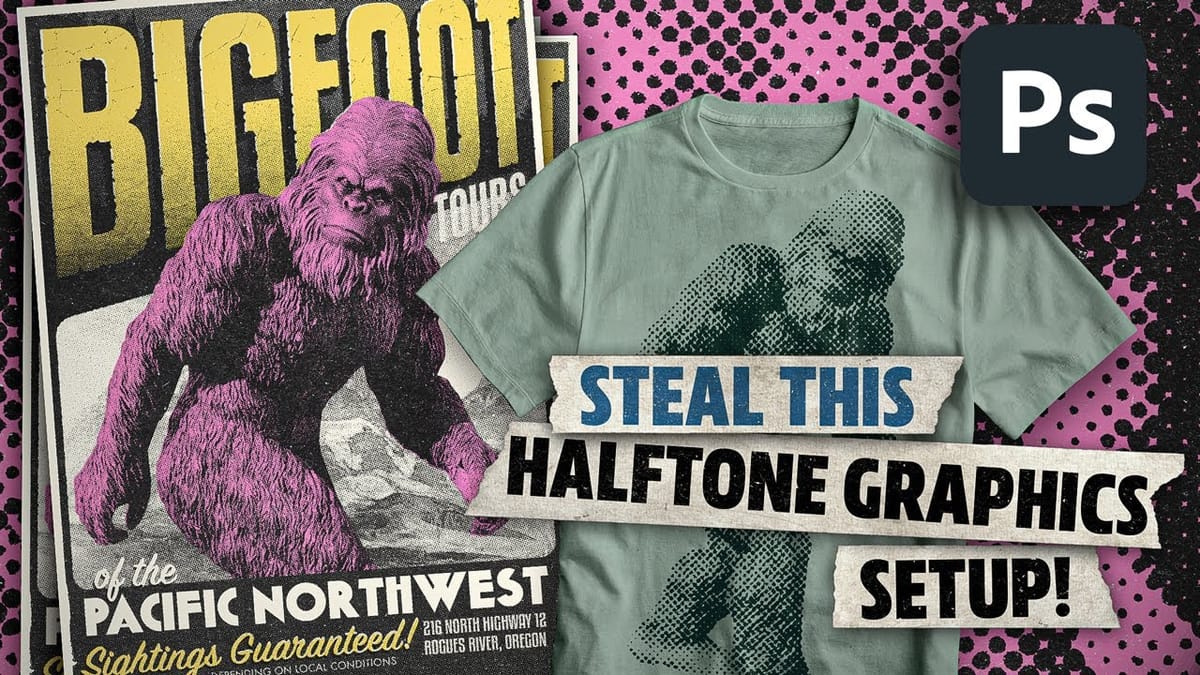
In this tutorial, I’ll run through the setup I use to create halftone effects in Photoshop. Great for posters, apparel, stickers, or just making cool retro-lookin stuff! This approach will bypass the halftone filters and create the effect from scratch, with the added benefit of being live and adjustable. In the second half of the […] More
Ultimate Halftone Effect in Photoshop
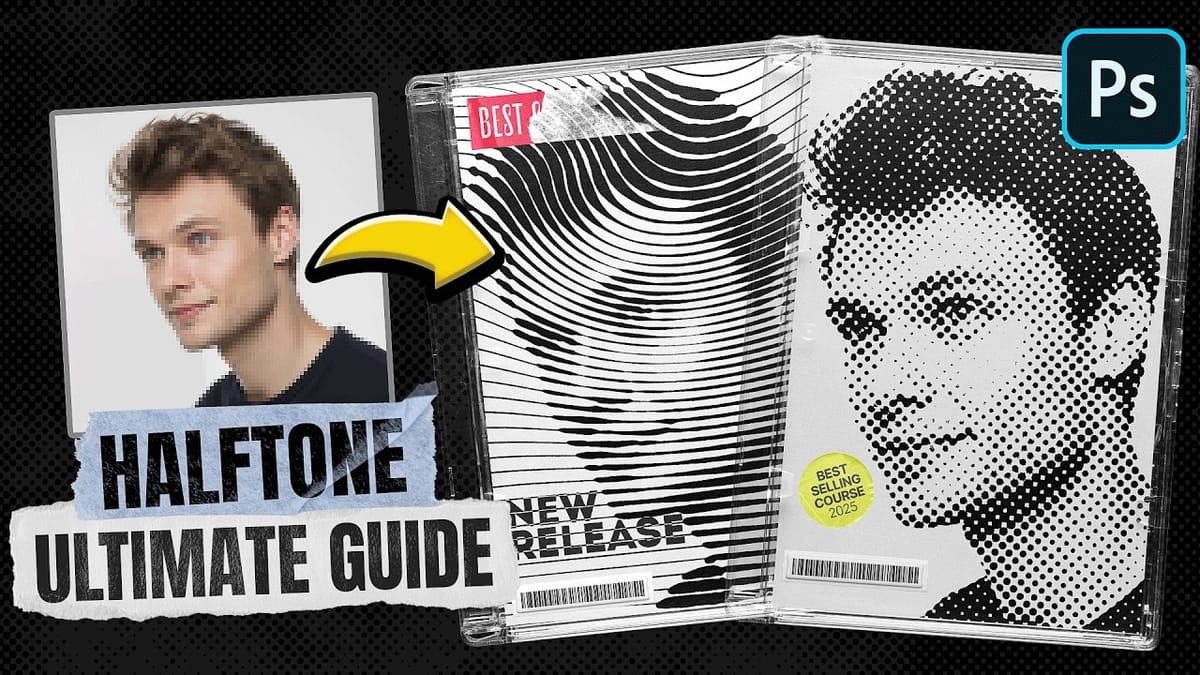
Learn how to create stunning halftone effects in Photoshop step by step with this comprehensive tutorial. Whether it’s a classic black-and-white halftone, a vibrant color halftone, or even a smooth gradient halftone, this guide will teach you everything you need to know. You’ll explore how to use the

Get tutorials & freebies delivered to you.

Subscribe to the Photoshop Roadmap newsletter, a weekly roundup of new tutorials, insights and quality downloads, trusted by 6500+ readers.

You might also like

How to Use Floral Appliqué PNGs to Create Fine Art Portraits in Photoshop

High-resolution floral appliqué PNGs on transparent layers open up a straightforward path to fine art portrait compositing. By combining them with subject cutouts, blend modes, clipped adjustment layers, and foliage brushes, a standard photograph can take on the depth and texture of a painted piece. Watch the Video Practical...

Simulate the 2000s Digicam Look in Photoshop and Camera Raw

Early 2000s point-and-shoot cameras produced a distinctive look: punchy contrast, cool color casts from on-camera flash, deep shadows, and a soft glow around bright areas. This walkthrough covers how to replicate that aesthetic non-destructively using Camera Raw, radial gradient masking, and a blurred highlight layer. Watch...

How to Combine Two Photos in Photoshop Using AI Tools

Placing a subject from one photo into a completely different background used to require a long chain of manual steps. Photoshop's AI-powered tools now handle background removal, color matching, and shadow generation in just a few clicks, making the entire process accessible even to beginners. Watch the...

How to Remove Skin Blemishes and Fix Skin Tones in Camera Raw

Two recent additions to Camera Raw make skin retouching significantly faster: an automatic blemish removal tool with separate controls for moles and freckles, and a vectorscope-based skin tone indicator for correcting off-color skin. Both features work non-destructively inside a smart object workflow, so no pixel data is...

Portrait Retouching in Photoshop: Smooth Skin While Keeping Natural Texture

Smooth skin and natural texture are not opposites — achieving both at once is the mark of a professional retouch. This workflow covers blemish removal, flyaway hair cleanup, dark under-eye correction, and eye brightening, all while keeping the skin looking like skin. Watch the Video Practical Tips These key points...

You’ve successfully subscribed to Photoshop Roadmap
Welcome back! You’ve successfully signed in.
Great! You’ve successfully signed up.
Success! Your email is updated.
Your link has expired
Success! Check your email for magic link to sign-in.