Create a retro ’50s Sci-Fi poster in Photoshop

Create a retro ’50s Sci-Fi poster in Photoshop

Achieving a distinct vintage sci-fi aesthetic often involves intricate color manipulation beyond simple desaturation. This tutorial demonstrates a surprising approach to color grading, using specific color balance adjustments across shadows, midtones, and highlights to infuse a retro tone. For instance, cyan/red is pushed to +100 in all three tones, while yellow/blue is consistently set to -100.

This precise method, combined with the Diffuse Glow filter and careful Brightness/Contrast settings, transforms a standard skyline into a scene reminiscent of 1950s cinematic backdrops. The technique is a masterclass in shaping mood and era without relying on complex, multi-layered color lookups.

Watch the Video

Video by Blue Lightning. Any links or downloads mentioned by the creator are available only on YouTube

Emulating Vintage Sci-Fi Aesthetics in Photoshop

1950s science fiction movie posters captured the public's imagination with their distinct visual language, often characterized by dramatic illustrations, stark contrasts, and a limited, yet impactful, color palette. These posters aimed to convey a sense of wonder, impending doom, or technological marvel, frequently employing simplified forms and a focus on iconic elements like towering robots or futuristic cityscapes. The aesthetic frequently borrowed from pulp magazine covers, emphasizing bold typography and a tangible, almost tactile, quality.

Replicating this era's visual style in digital art involves more than just applying a sepia tone. It requires understanding how to manipulate color channels and luminosity to mimic the limitations and artistic conventions of the time. Filters like Diffuse Glow can simulate the soft, slightly out-of-focus quality of older film, while precise Color Balance adjustments can shift the entire tonal range to a specific historical tint.

Furthermore, integrating authentic textures, such as paper creases and stains, is crucial for grounding the digital creation in a tangible, vintage reality. These subtle details, often achieved through blend modes like Multiply, provide the visual cues that transport the viewer back to a bygone era of cinematic promotion.

Practical Tips for Retro Poster Design

  • Global Layer Control: Quickly hide or show multiple layers by Alt/Option-clicking the eyeball icon of a single layer, making it efficient to isolate elements.
  • Precise Color Toning: Use Color Balance adjustments across shadows, midtones, and highlights with specific numeric inputs to achieve consistent vintage color grades.
  • Atmospheric Vignettes: Create a darkening vignette effect by using the Elliptical Marquee tool, Transform Selection (with locked aspect ratio), and a high Feather radius to seamlessly blend the edges.
  • Text Styling for Impact: Employ Vertical Scale and Warped Text (Arc Upper) to create dynamically stretched and curved titles, enhancing the retro aesthetic.
  • Texture Integration: Apply paper textures with Multiply blend mode to instantly age and distress the entire poster, adding a crucial layer of authenticity.

Explore further techniques for creating vintage and movie poster designs in Photoshop with these related articles and tutorials.
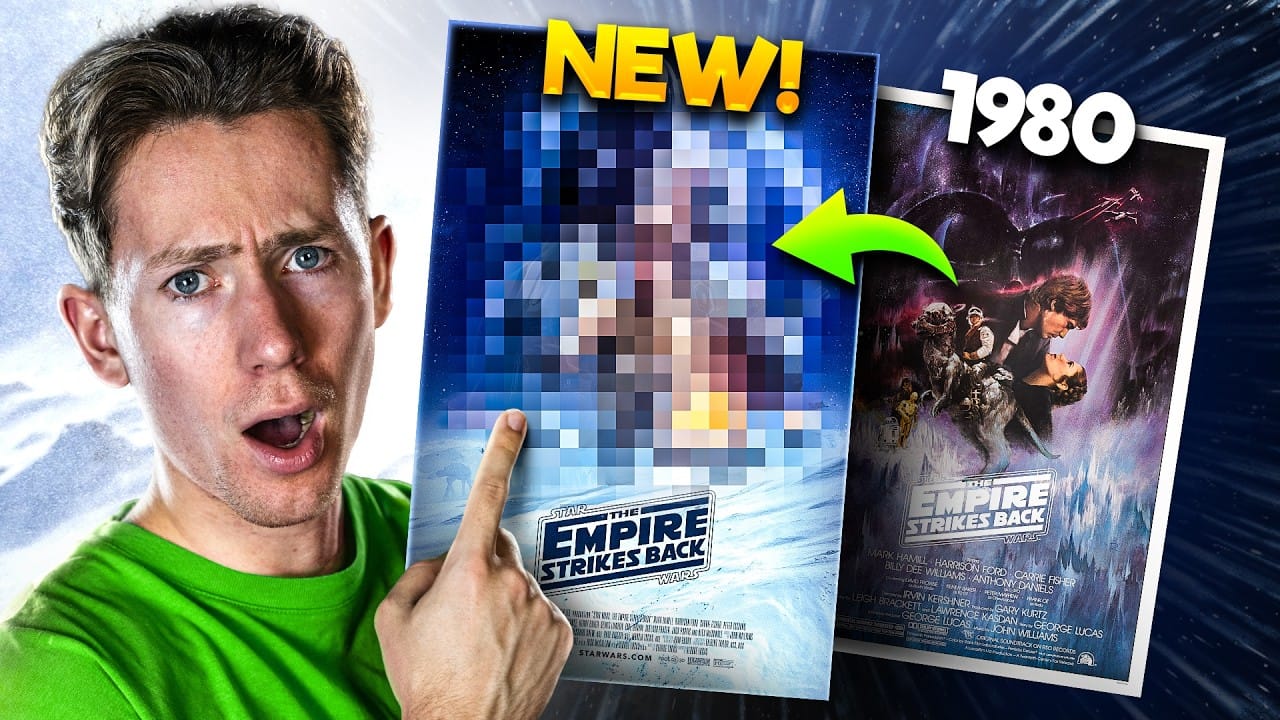
Redesigning a Classic Star Wars Poster in Photoshop
Creating compelling digital art, especially when working with existing iconic material, often presents unique technical and creative challenges. Sourcing high-quality images for older films can be a significant hurdle, leading to compromises in detail and overall visual fidelity. Furthermore, maintaining a consistent design style across a series while allowing for personal skill development over time requires thoughtful execution. This tutorial provides insight into overcoming these common frus
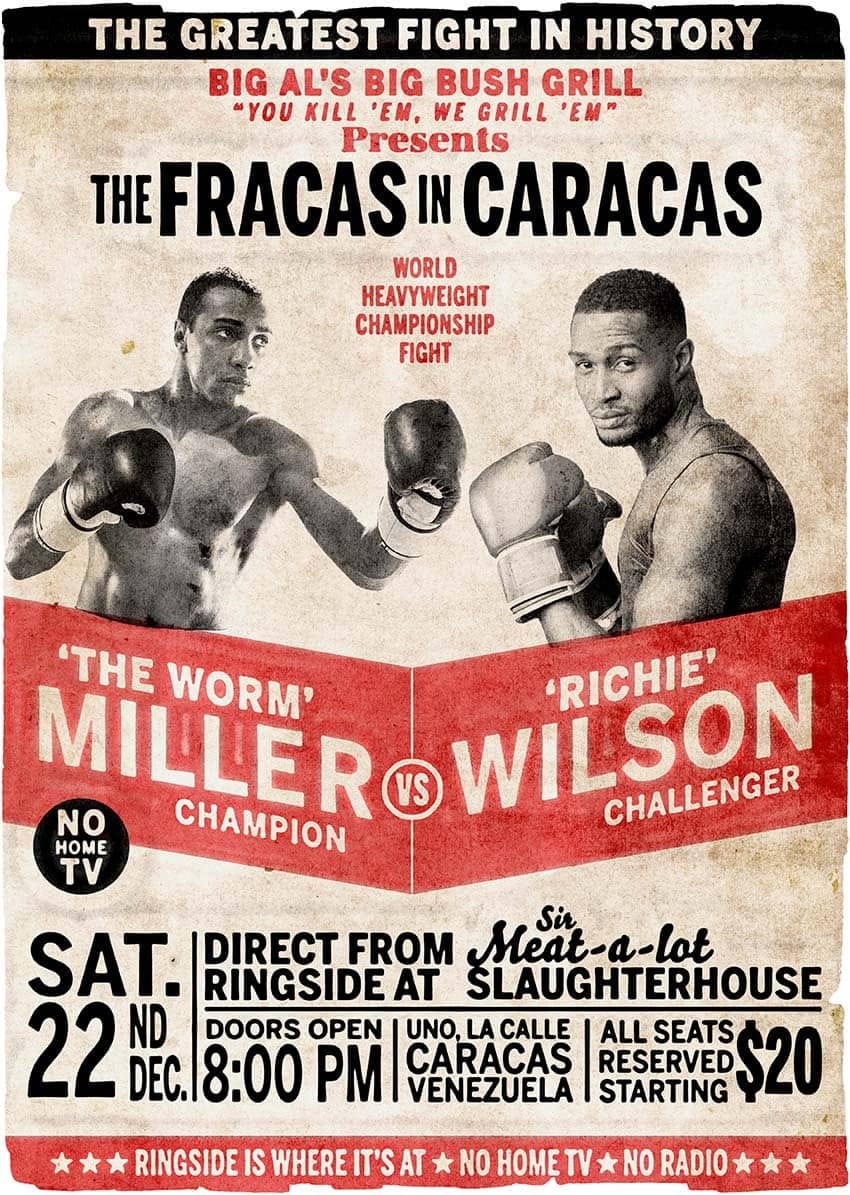
How to Create a Retro Boxing Poster in Photoshop
Calling all boxing enthusiasts and design aficionados! Dust off your love for vintage aesthetics and step into the ring with this dynamic Photoshop tutorial. We’ll be throwing punches (figuratively, of course) to create a captivating retro-boxing poster, brimming with the bold energy of the golden age of the sport. This tutorial is perfect for both seasoned Photoshop users and aspiring designers. Regardless of your experience level, the instructor will meticulously guide you through the creatio
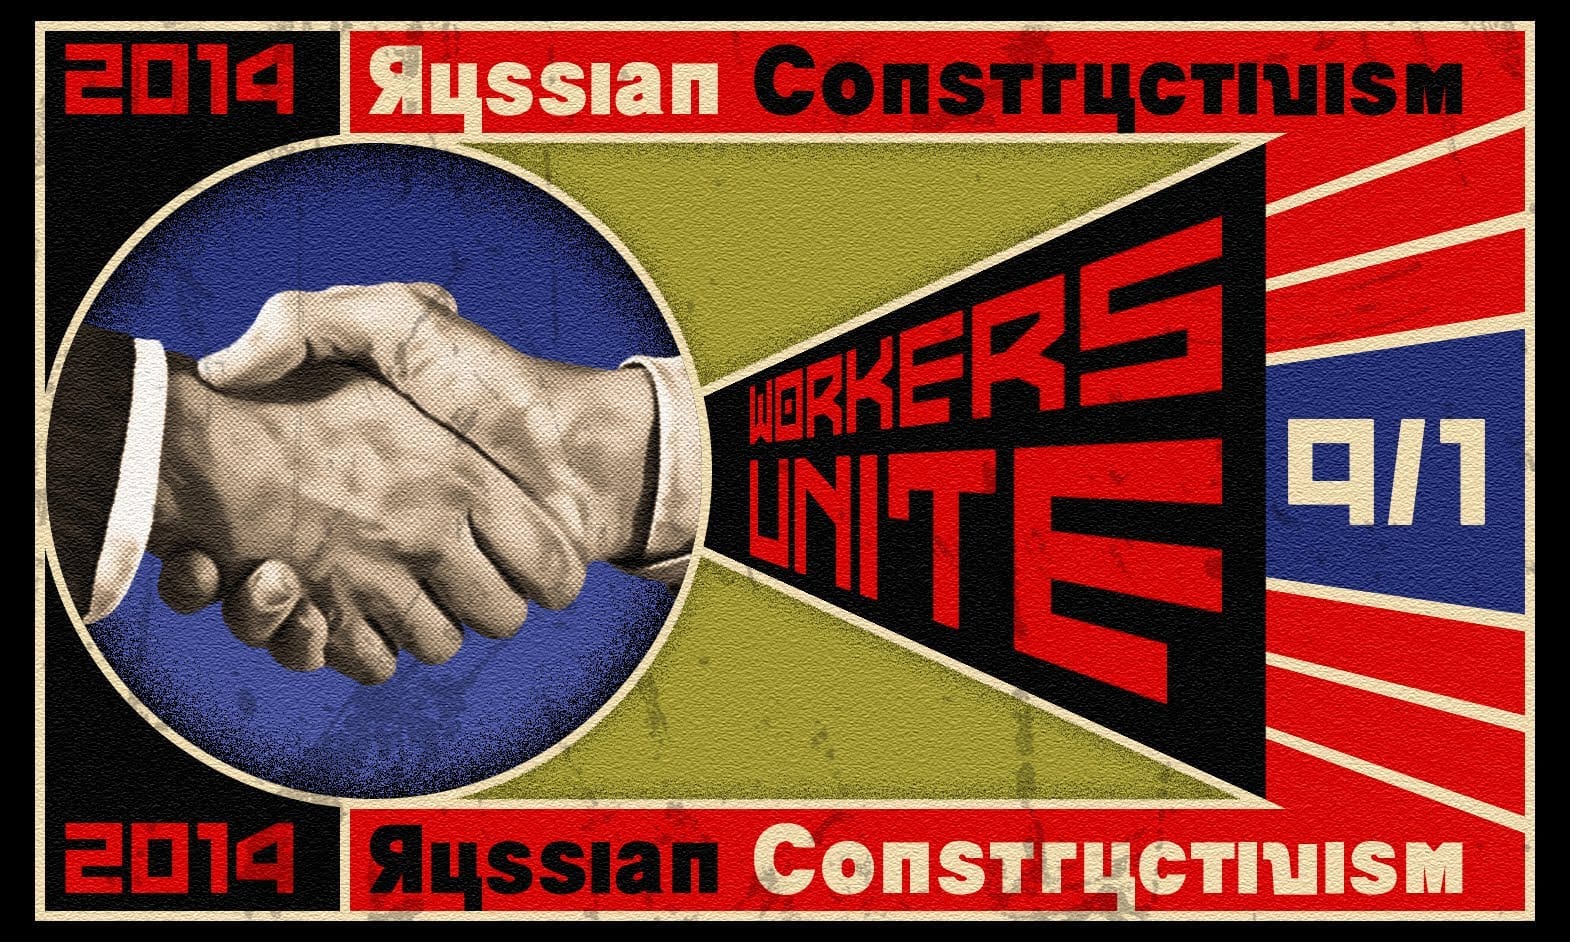
Create a Vintage, Russian Constructivist Poster in Photoshop
Marty Geller, the creator of Blue Lightning TV, shares a Photoshop tutorial on how to craft a vintage, Russian Constructivist poster. The tutorial draws inspiration from the work of renowned artist Alexander Rodchenko. In this step-by-step guide, Geller walks the reader through the process of creating a striking, retro-inspired poster. The tutorial emphasizes the use of Photoshop's tools and techniques to achieve the distinct aesthetic of the Russian Constructivist movement. Readers can expect
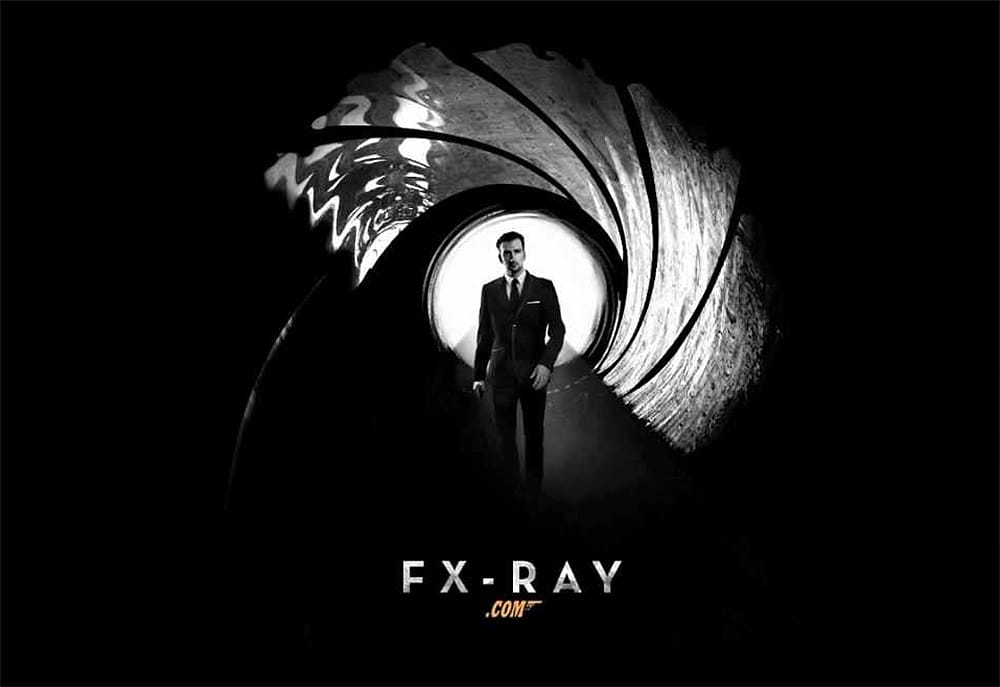
Create a Sky Fall Inspired Movie Poster in Photoshop
If you're looking to create an eye-catching movie poster in Photoshop, this guide offers a straightforward approach to designing a dark, black and white James Bond-inspired piece, reminiscent of Skyfall. You will start with essential techniques, including layering, blending, and using filters to achieve that cinematic feel. Each step is well-explained, allowing you to understand the process clearly. You'll learn how to manipulate images effectively, ensuring that every element of your poster a

Get tutorials & freebies delivered to you.

Subscribe to the Photoshop Roadmap newsletter, a weekly roundup of new tutorials, insights and quality downloads, trusted by 6500+ readers.

You might also like

Painting Digital Art Backgrounds: Techniques and Workflow

A well-crafted background can anchor an entire digital painting, providing atmosphere, depth, and visual context for the subject. This video demonstrates practical approaches to building backgrounds from scratch using digital tools, covering brush selection, color layering, and compositional thinking. Watch the Video Practical Tips Keep these core principles in...

How to Use the Light Adjustment Layer in Photoshop

Photoshop's new Light adjustment layer brings Camera Raw controls — exposure, contrast, highlights, shadows, whites, and blacks — directly into the layers panel as a fully non-destructive, maskable layer. This means you can stack multiple light adjustments, target specific subjects, and combine them with Blend If and other adjustment...

How to Use Object Selection, Remove Background, and the Selection Brush in Photoshop

Selections determine the quality and flexibility of almost every edit you make in Photoshop. Three modern tools — the Object Selection tool, Remove Background with Harmonize, and the Selection Brush — handle the most common selection tasks with far less manual effort, while keeping your original image intact through non-destructive layers....

How to Paint a Digital Background and Composite Wildlife Into It

Building a painted digital background from scratch gives you full control over color, mood, and composition before a single wildlife photo is placed. This walkthrough covers the complete process: blocking in shadows on a black canvas, layering foliage with textured brushes, positioning bird subjects on hand-painted stones, and using...

How to Sharpen Skin Texture Using Frequency Separation in Photoshop

Retouched skin can look great up close but lose all its natural texture the moment you zoom out. Rather than relying on standard sharpening filters, you can recover that texture by duplicating the high-frequency layer inside a frequency separation setup — a method that works whether or not you'...

You’ve successfully subscribed to Photoshop Roadmap
Welcome back! You’ve successfully signed in.
Great! You’ve successfully signed up.
Success! Your email is updated.
Your link has expired
Success! Check your email for magic link to sign-in.