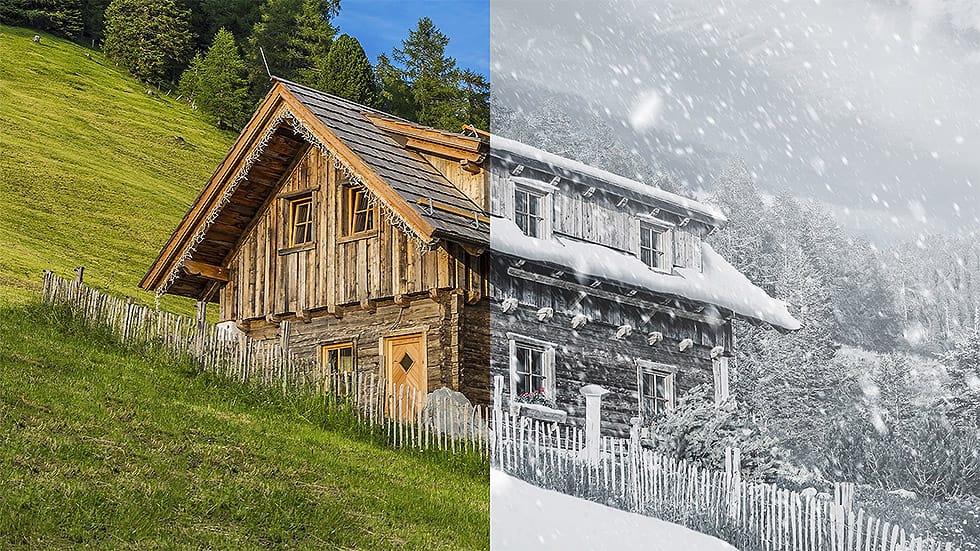
Winter scenes gain magical atmosphere when snowflakes drift naturally through the frame. This video demonstrates how to build a realistic snow brush from scratch using Photoshop's noise filters and brush settings.
The technique creates multiple layers of snow at different sizes and blur levels to simulate depth, from distant background flakes to prominent foreground snowfall.
Watch the Video
Practical Tips for Creating Realistic Snow
Building convincing snowfall requires attention to depth and natural variation.
- Start with a 1000x1000 pixel document and add noise at 200 amount with Gaussian distribution and monochromatic checked
- Use the Glowing Edges filter in the Stylize folder to create random snowflake shapes from the noise pattern
- Set brush spacing to 50%, angle jitter to 100%, and scattering to 50% to avoid repetitive patterns
- Create depth by painting multiple layers with increasing brush sizes (200px for background, 500px, 800px, up to 1100px for foreground)
- Apply motion blur with varying angles and distances to simulate natural snowfall movement rather than straight-down motion
More Tutorials about Snow Effects
Explore additional techniques for creating winter atmospheres and snow effects.
Add realistic falling snow to a photo in Photoshop
The process involves a few simple steps that can help enhance your winter photography and make it more visually appealing.
First, you'll need to create a snowflake brush. This can be done by selecting a suitable image of a snowflake and converting it into a custom brush. Once you have your snowflake brush, you can then use it to add the falling snow effect to your image.
Next, you'll need to adjust the brush settings to create a realistic snowfall. This includes adjusting the size, opacity, an
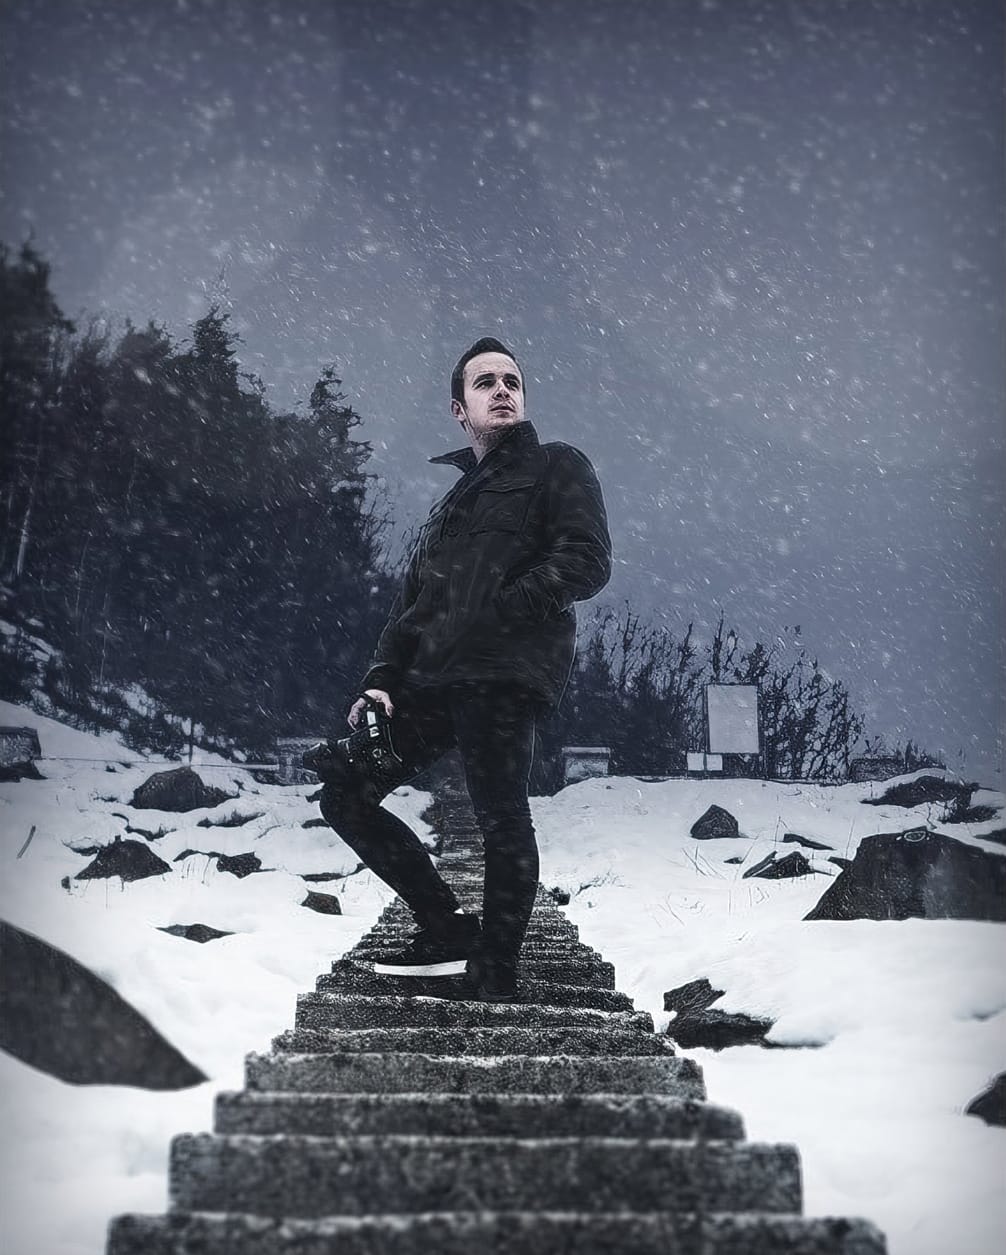
Add a Snow Storm Effect to a Regular Winter Photo in Photoshop
The serene beauty of a winter landscape often hinges on the delicate dance of falling snow, transforming ordinary scenes into magical vistas. Capturing this ephemeral quality in photography, however, often requires more than just waiting for the perfect storm. Digital artistry can enhance or even generate these atmospheric elements, lending a profound sense of depth and realism to any image.
This tutorial unveils a surprisingly effective method for generating photorealistic snow using just a fe
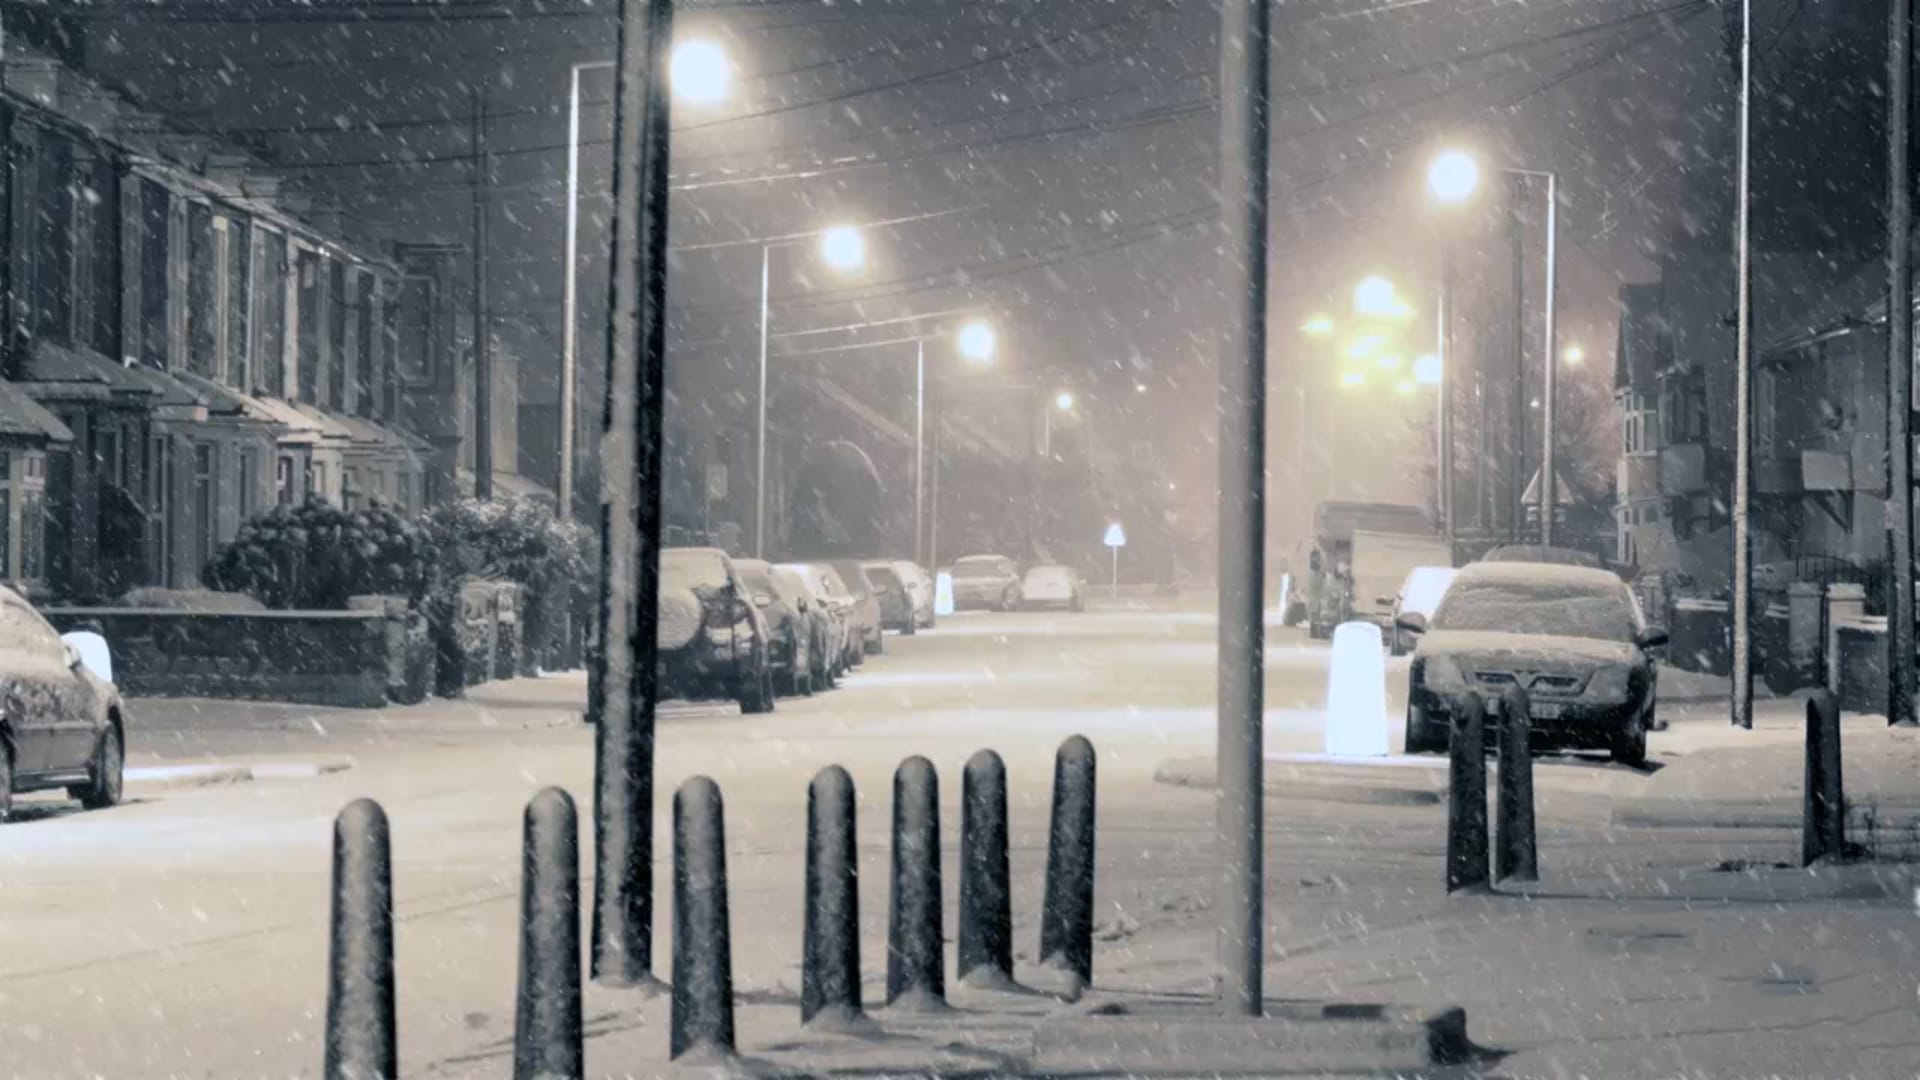
Create a Winter Snow Scene with Photoshop
In this tutorial, you'll learn how to transform a regular photograph into a captivating winter snow scene using Adobe Photoshop. The step-by-step approach is straightforward and easy to follow, making it accessible for both beginners and experienced Photoshop users.
The tutorial covers the key techniques required to add realistic-looking snow to your image. You'll discover how to create a snowy atmosphere, including snowflakes and icy effects, to bring your scene to life. The instructor's clear
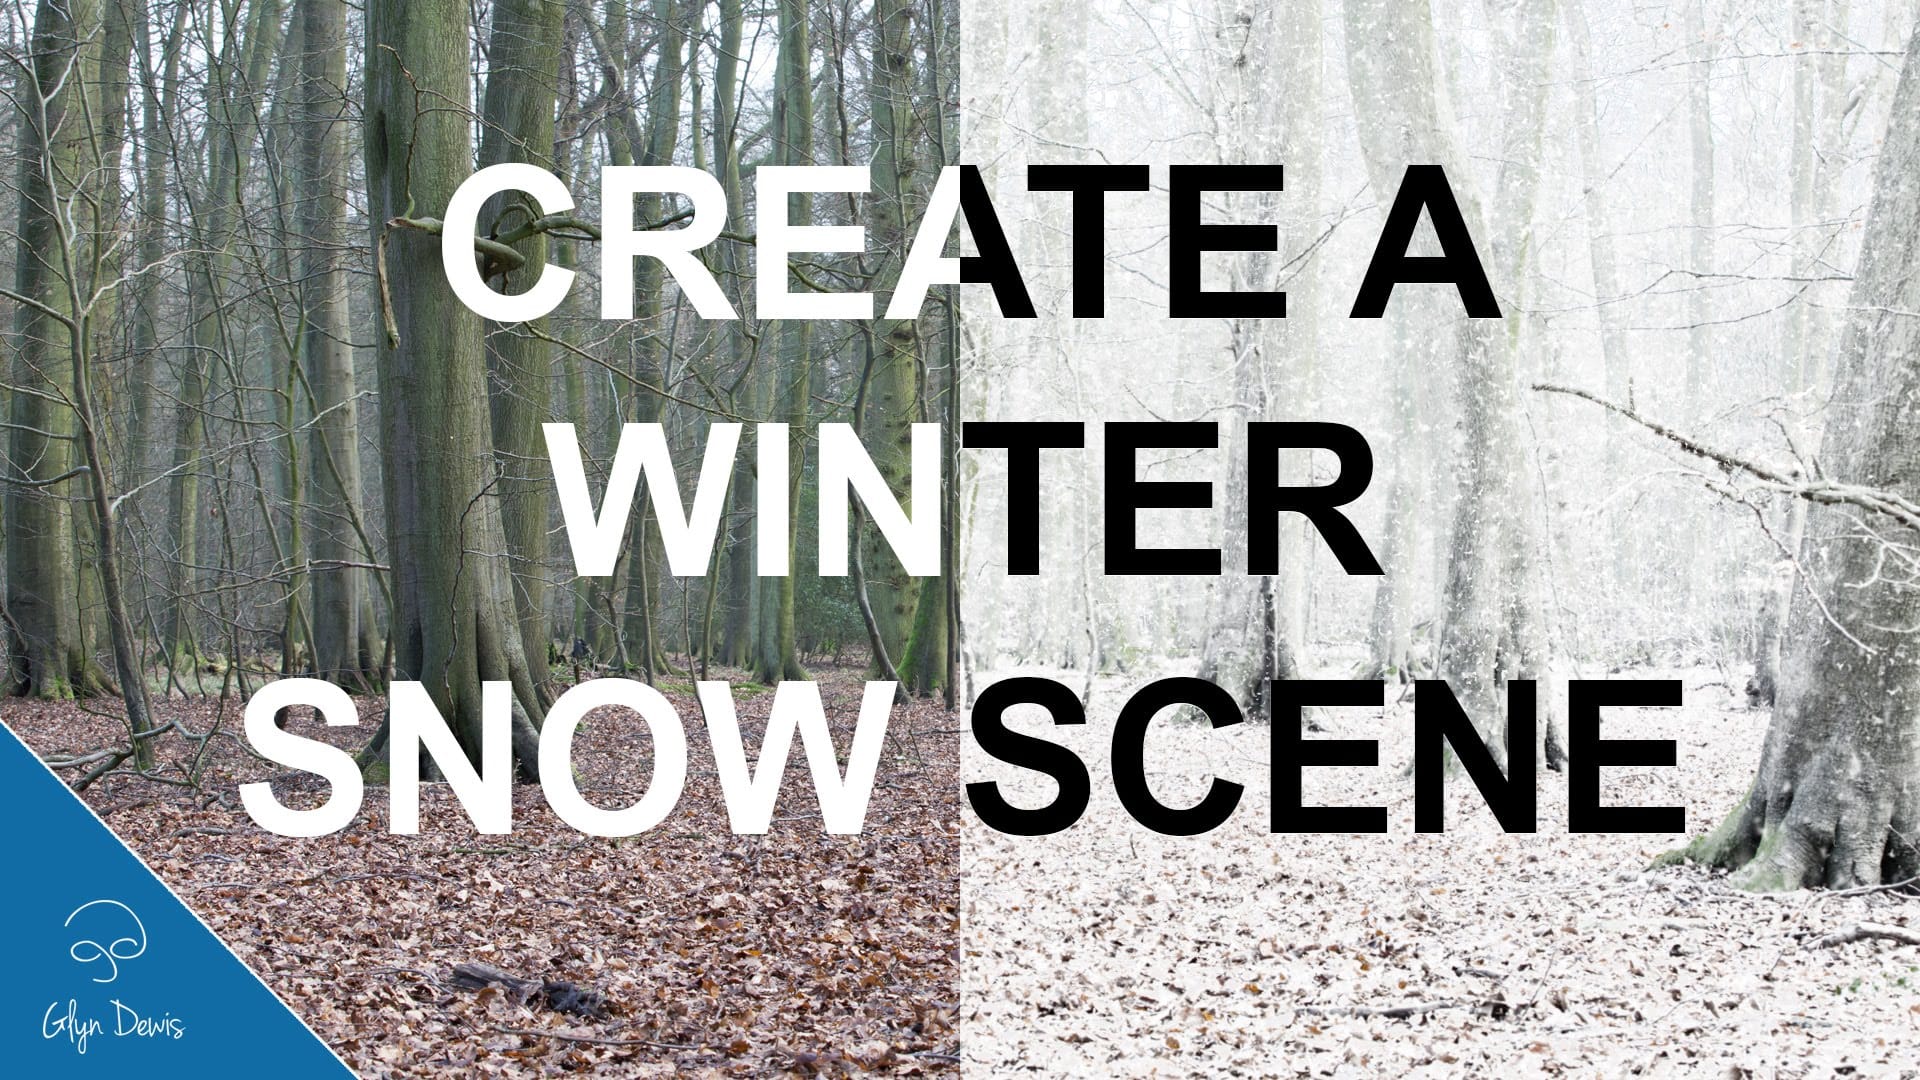
Transform a summer photo into a winter scene
In this tutorial, you will learn how to transform a summer photo into a captivating winter scene using Photoshop. The instructor expertly guides you through desaturating colors to create a wintry feel, adding snow to trees, grass, and the ground, and creating falling snow with custom brushes. The tutorial also covers using adjustment layers to enhance contrast and add a cold blue tint, completing the transformation.
This technique is ideal for creating seasonal photo manipulations, adding a fes