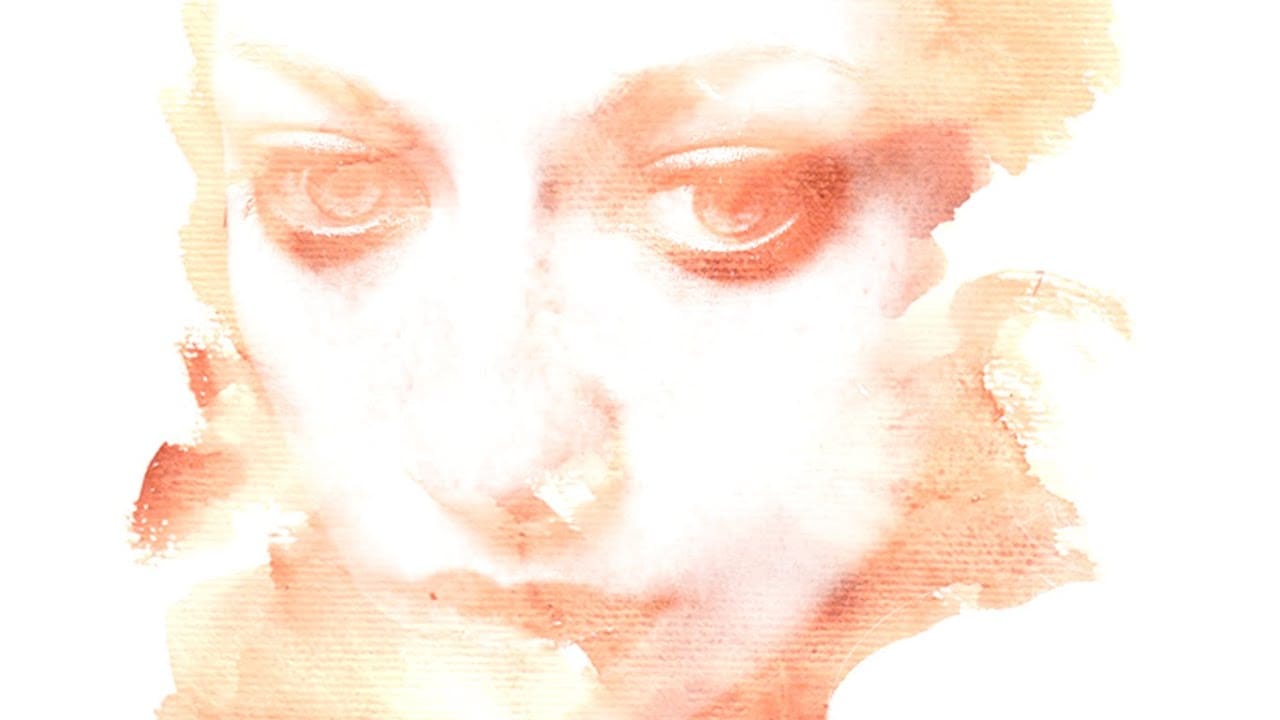
Add a beautiful watercolor effect to your photos in Photoshop

Add a beautiful watercolor effect to your photos in Photoshop

Digital art offers versatile ways to reinterpret photography. One popular technique involves transforming ordinary photographs into painterly artworks, such as watercolor portraits.

This tutorial demonstrates a method for achieving a beautiful watercolor effect in Photoshop, emphasizing the use of custom brush strokes to introduce unique artistic nuances. Viewers will learn how to prepare images, apply specific filters, and utilize various brushes to mimic the fluidity and texture of traditional watercolor paintings.

Watch the Video

Video by Blue Lightning. Any links or downloads mentioned by the creator are available only on YouTube

Key Considerations for Digital Watercolor Effects

Creating a convincing watercolor effect from a photograph in Photoshop goes beyond simply applying a single filter. The process involves a multi-layered approach that aims to replicate the unique characteristics of traditional watercolor, such as its transparency, soft edges, and granular texture. This digital rendition allows artists to maintain control over subtle details while achieving an expressive, hand-painted look.

The initial qualities of a photograph significantly influence the final watercolor outcome. Factors like the subject's skin tone, the background's brightness, and the overall lighting, brightness, contrast, and color balance all play a role. For instance, very light skin tones might require darkening mid-tones to ensure they retain definition within the watercolor effect. Similarly, a photo's resolution and dimensions are crucial, as these determine the appropriate settings for filters and brushes, ensuring the effect scales correctly and looks natural.

Unlike automated filters, this approach emphasizes the artist's interaction through custom brush strokes. This interactive element is key to introducing the organic variations and nuanced color blending that define authentic watercolor. By selectively brushing over areas, one can enhance specific features, deepen colors, or soften transitions, allowing for a personalized artistic interpretation of the original photograph.

Practical Tips for Creating Watercolor Portraits

  • Adjust mid-tones for subjects with very light skin using the Levels window (Ctrl/Cmd + L) to ensure proper definition.
  • Lighten dark backgrounds in your photo to prevent them from overpowering the watercolor effect.
  • Unlock the background layer and make copies for specific effects, such as a "Smart Blur" layer and a "Pencil Lines" layer.
  • Apply the Smart Blur filter (Filter > Blur > Smart Blur) and the Glowing Edges filter (Filter > Filter Gallery > Stylize > Glowing Edges) with settings adjusted to your photo's size and resolution.
  • Utilize Photoshop's default "Dry Brush" and "Watercolor Textured Surface" brushes, varying their size and opacity, to build up the watercolor effect selectively.
  • Create a layer mask on the "Pencil Lines" layer to selectively lighten or remove unwanted line details.
  • Generate a composite snapshot (Ctrl + Shift + Alt + E or Cmd + Shift + Option + E) of your image before adjusting the input darks with Levels to refine brushstroke contrast without affecting line art.
  • Finish by applying the Texturizer filter (Filter > Filter Gallery > Texture > Texturizer) with "Sandstone" texture to add a realistic paper-like surface.

More Tutorials about Watercolor Photo Effects

Explore additional resources to deepen your understanding of transforming photographs into stunning watercolor art.
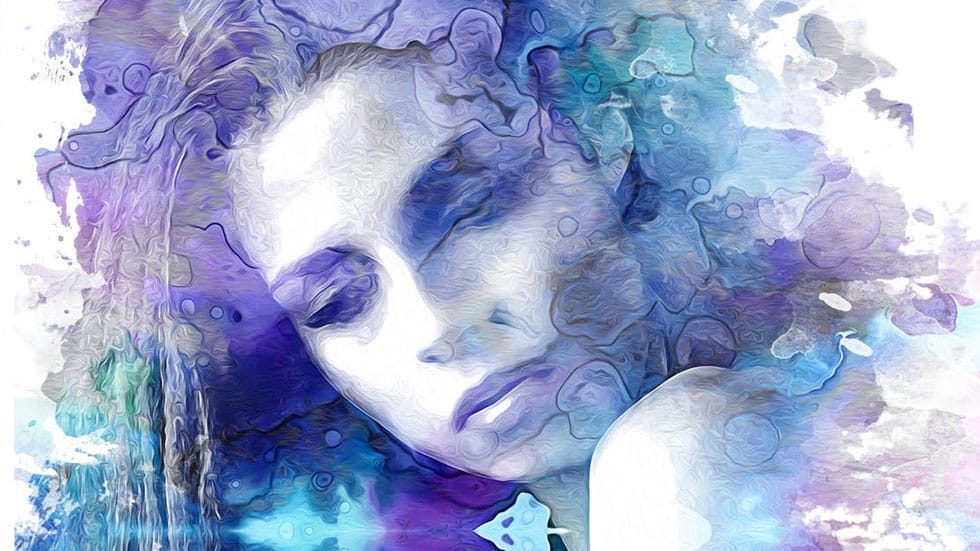
Beautiful watercolor portrait effect in Photoshop
This video explores the artistic technique of adding watercolor textures to photographs. Learn how to seamlessly overlay a watercolor texture onto your image, creating a beautiful painterly effect. You'll discover methods for adjusting the texture's opacity and blending modes for a natural, watercolor-like finish. This tutorial is a great way to add a touch of artistic flair to your photography projects. Watch tutorial
Learn How to Create a Watercolor Photo Effect in Photoshop
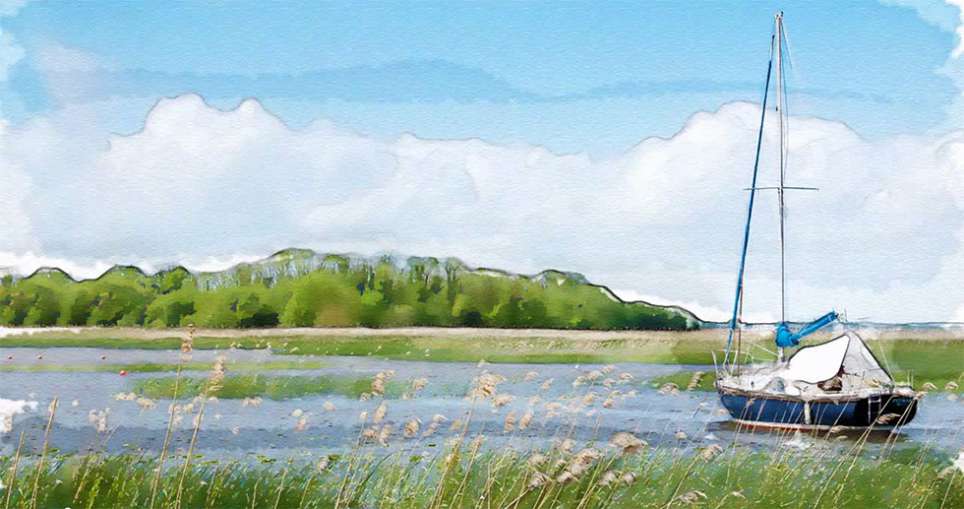
In this tutorial by Blue Lightning TV, Marty demonstrates how to transform an ordinary photograph into a stunning hand-painted watercolor painting using Photoshop. This method surpasses the built-in watercolor filter in Photoshop by allowing users to hand paint the image, offering greater nuance and control. The process begins with setting up the document at 1280 by 720 pixels with a resolution of 72 pixels per inch, then renaming the initial layer to “base” and creating a copy named “smart blur
Photoshop Watercolor Photo Effect Tutorial
In this comprehensive tutorial by Arunz Creations, you'll discover how to transform a portrait into a beautiful watercolor painting using Photoshop. The process begins by organizing your layers into a group and temporarily hiding it. Next, you'll select specific colors from the portrait using the Color Range tool to create a precise selection. After applying the selection as a mask on the group and inverting it, you'll create a new empty layer beneath the group and fill it with white to serve a
How To Make a Watercolor Photo Manipulation In Photoshop
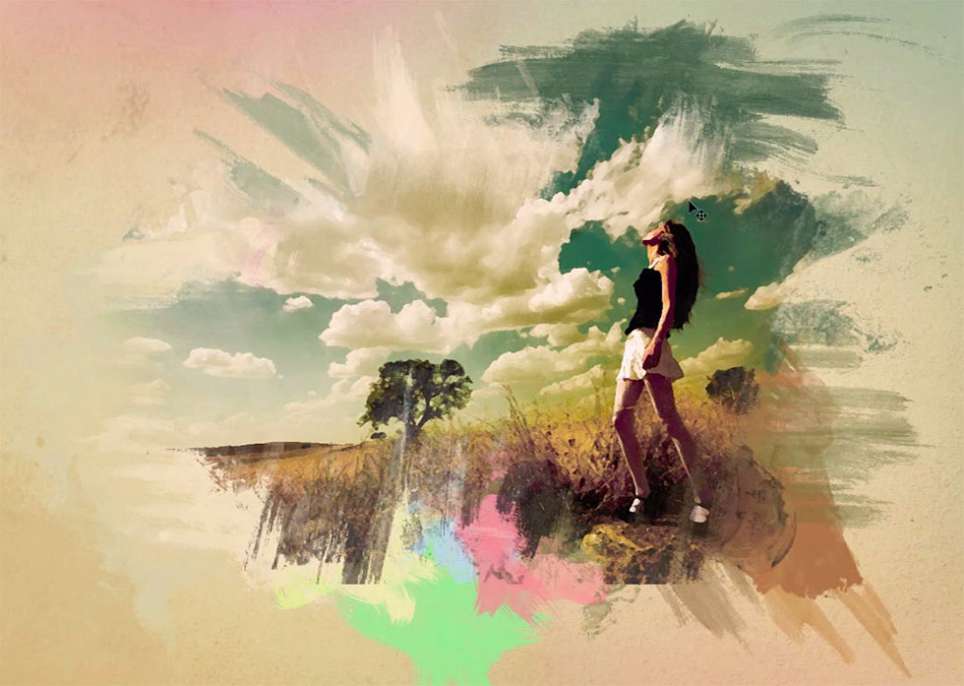
This tutorial by Maarten Rietdijk provides a step-by-step guide on how to combine watercolor brushstrokes and photos in Photoshop. The author explains the process in a clear and concise manner, making it accessible to both beginners and experienced Photoshop users. The tutorial begins by teaching the reader how to create a set of custom watercolor brushes. These brushes are then used to add a unique, artistic touch to the photograph. The author emphasizes the importance of experimenting with di

Get tutorials & freebies delivered to you.

Subscribe to the Photoshop Roadmap newsletter, a weekly roundup of new tutorials, insights and quality downloads, trusted by 6500+ readers.

You might also like

How to Remove Skin Blemishes and Fix Skin Tones in Camera Raw

Two recent additions to Camera Raw make skin retouching significantly faster: an automatic blemish removal tool with separate controls for moles and freckles, and a vectorscope-based skin tone indicator for correcting off-color skin. Both features work non-destructively inside a smart object workflow, so no pixel data is...

Portrait Retouching in Photoshop: Smooth Skin While Keeping Natural Texture

Smooth skin and natural texture are not opposites — achieving both at once is the mark of a professional retouch. This workflow covers blemish removal, flyaway hair cleanup, dark under-eye correction, and eye brightening, all while keeping the skin looking like skin. Watch the Video Practical Tips These key points...

How to Use Camera Raw's Blemish Removal Tool in Photoshop

Camera Raw 18.5 introduced an automatic blemish removal tool that does something previous solutions rarely managed: it removes skin imperfections while preserving the underlying skin texture. It also distinguishes between temporary marks and permanent ones like moles, giving you separate controls for each. Watch the Video Practical Tips These...

Portrait Slice Effect in Photoshop Using Step and Repeat

The portrait slice effect splits a single image into offset vertical bars, creating the illusion of a displaced or fragmented face. The entire technique relies on layer masks and a lesser-known Photoshop shortcut called step and repeat — no filters, no AI, no destructive edits required. Watch the Video Practical...

How to Remove Blemishes in Photoshop: Camera Raw vs. Generative AI

Photoshop now offers two distinct approaches to removing skin blemishes automatically. The Camera Raw Filter includes a dedicated Blemishes option that analyzes and cleans skin with a single checkbox, while Generative AI fills a face selection with clean, texture-consistent results using a simple text prompt. Each method has clear...

Common Photoshop Compositing Mistakes and How to Fix Them

Most compositing errors come down to a handful of repeatable problems: mismatched lighting direction, inconsistent white points, misaligned perspective, and atmosphere applied in the wrong layer order. Catching these issues early — ideally before you shoot — saves significant time in post. Watch the Video Practical Tips These corrections apply to nearly...

You’ve successfully subscribed to Photoshop Roadmap
Welcome back! You’ve successfully signed in.
Great! You’ve successfully signed up.
Success! Your email is updated.
Your link has expired
Success! Check your email for magic link to sign-in.