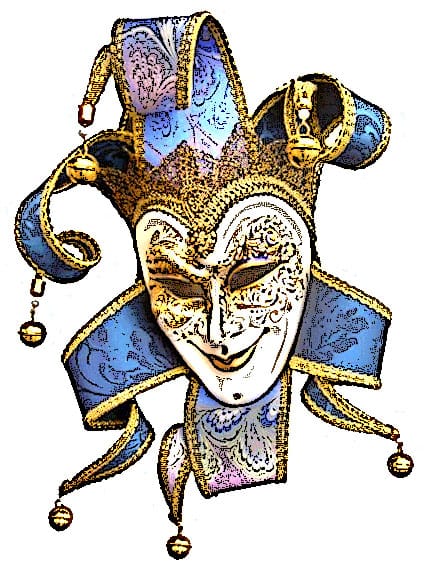
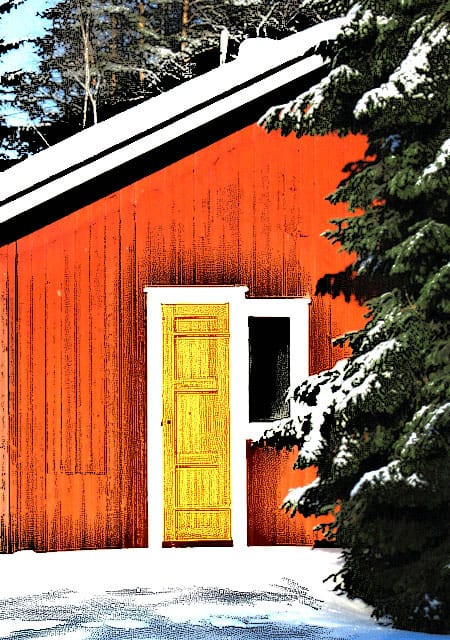
No matter how good the photos we take are, we always feel the urgent need to turn them into a drawing effect. The standard installation of Adobe Photoshop gives you a wide range of artistic plugins that have very specific names, but fail to deliver when used with the default settings.
That's the case of the Graphic Pen plugin. The resulting image is far from acceptable. Perhaps it looked good, many years ago, when it was part of the revolutionary Artistic Effects collection published by the now defunct, Aldus Software. But now, with the vast amount of artistic effects plugins and applications you should have to find a way to make the most of those plugins.
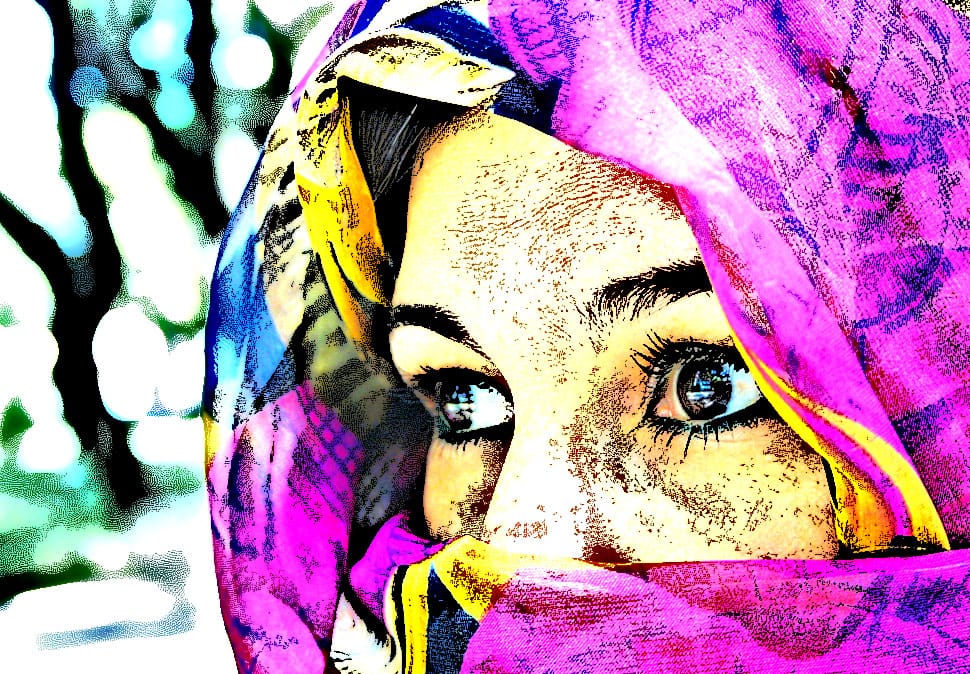
In this tutorial you will learn how to use the Photocopy and Sharpen More filters, and the Overlay blending mode to archieve colored ink drawings.
Creating the ink sketch effect
For this tutorial we will use images from MorgueFile, an incredible repository of free images. Download and open this image named One Look by Luis C. Tejo from Argentina.
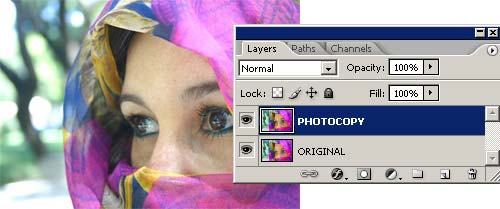
Step 1: Make a copy of the image in a different layer and select that layer.
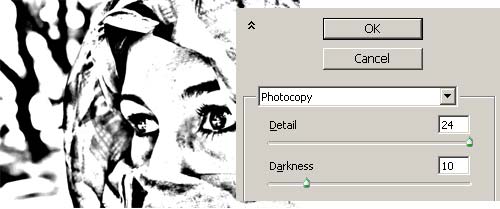
Step 2: Apply the Photocopy filter (FILTERS >> SKETCH >> PHOTOCOPY) to the topmost layer using the settings shown in the image above. Click on the image to se a larger version of the result.
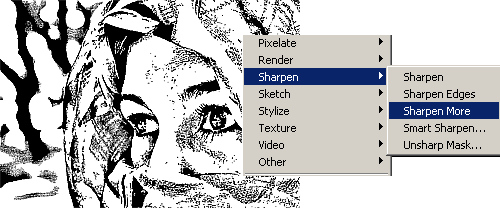
Step 3: Apply the Sharpen More filter (FILTERS >> SHARPEN >> SHARPEN MORE ) three times. Click on the image to se a larger version of the result.
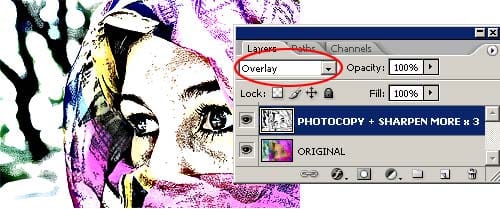
Step 4: Select Overlay as the blending mode of the layer. This will make the underlying colors visible. Click on the image to se a larger version of the result.
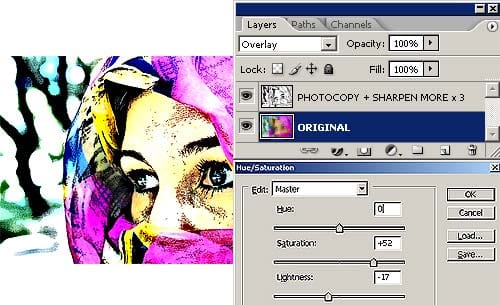
Step 5: Select the Original layer and modify the colors using the Hue/Saturation command (IMAGE >> ADJUSTMENTS >> HUE/SATURATION).
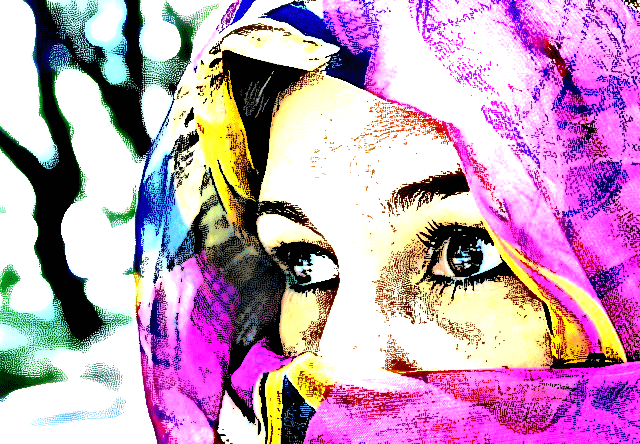
The final image will look like this one:

A little explanation and other examples
The secret of this technique relies in the Photocopy filter. The settings used in the example outlined previously, shouldn't be used as is. You should try different Photocopy filter settings for each image, even for the same image when used at different resolutions. The same goes to the Sharpen More filter. If the Photocopy filter results are light and thin, then applying the Sharpen More filter once or twice will be enough. But if the results are dark and thick, then you should apply the Sharpen More filter three or more times. You will have to play with those settings for a while with each image.
The Overlay blending mode was chosen because the Multiply blending mode reveals all the imperfections and textures of the image below through the white areas of the sketched face.
The Overlay blending mode, instead, is like applying a Lighten and Darken blending modes at the same time. This results in a mixture of contrast and saturation increase.
In the end it doesn't matter why, the point is that it looks good in this case.
Other examples
